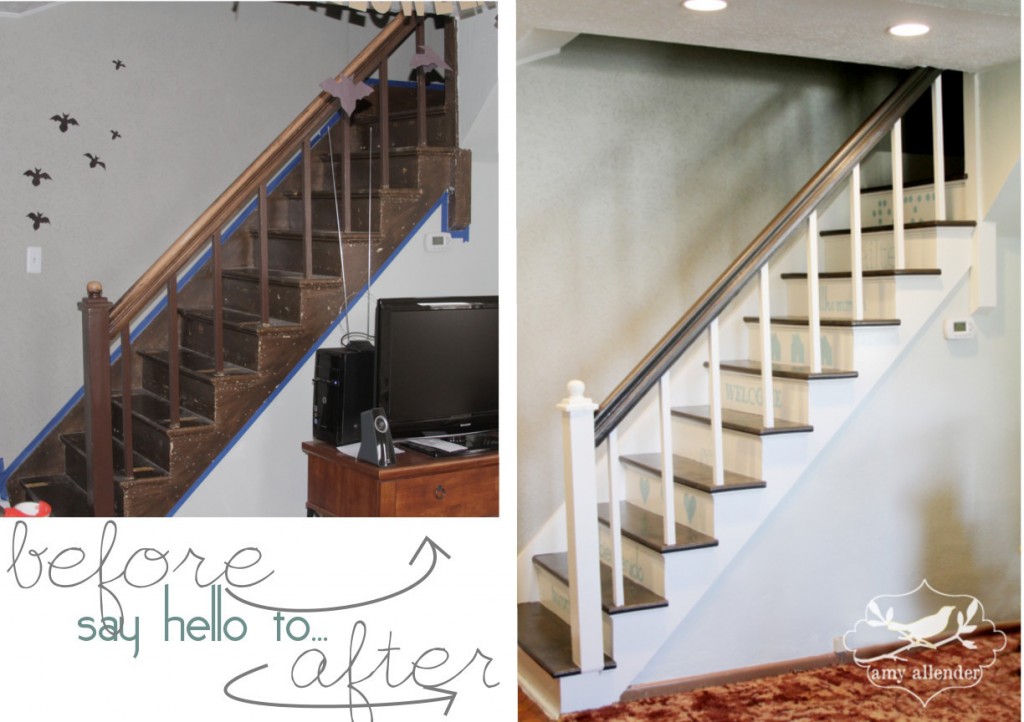
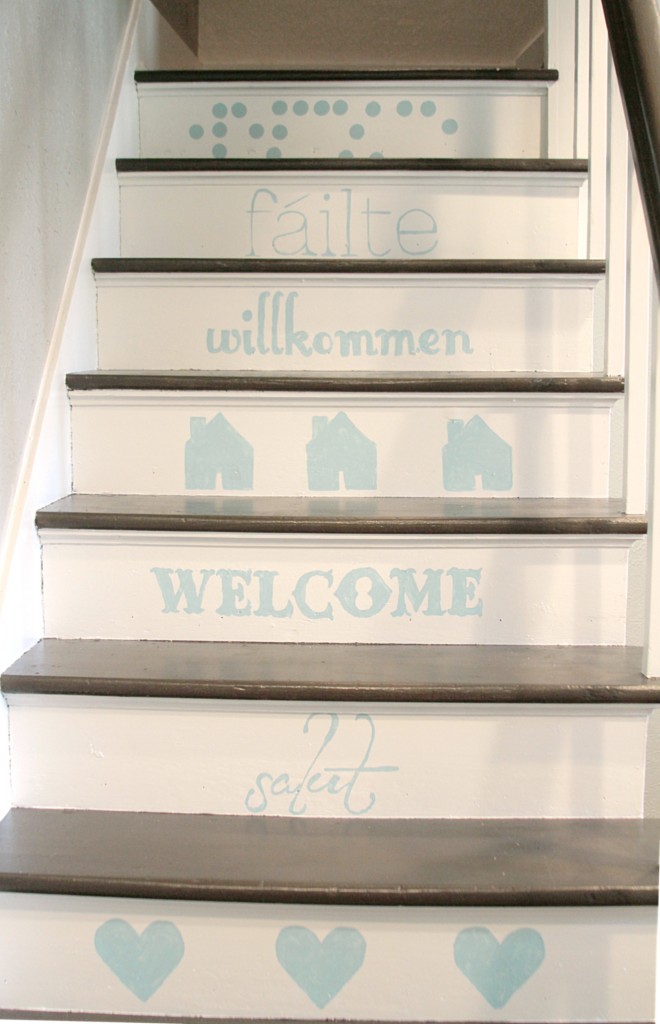
So, yesterday I showed you the finished product of my weekend of hard work on the stairs. I just couldn’t resist putting together one more B&A photo. Today I’ll give you the skinny on how I did it.
The first thing you need to know is that I’m not especially skilled. If I can do it, you can do it.
All it takes is some elementary school craft skills, painter’s tape and a little patience.
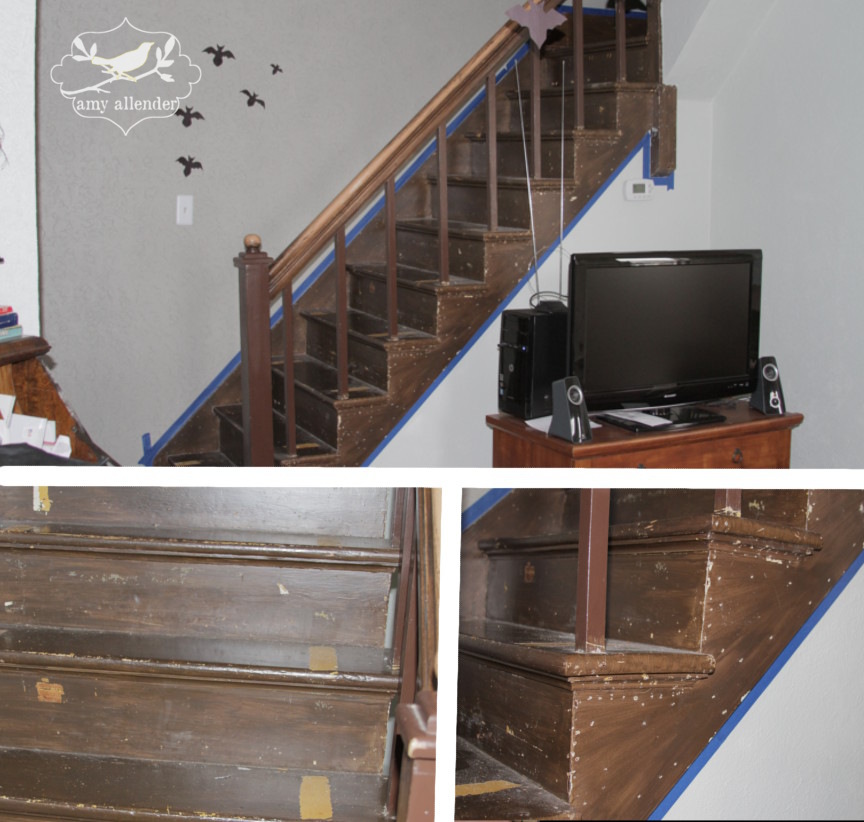
Here’s a good look at where I started. Yuck, right? When I ripped up the brown carpet I found even more brown. Brown paint. And under the brown paint, yellow-brown paint. Brown paint issues consumed Day #1.
The paint is old. I don’t know how old. It was chipping in places and covered with pock marks from where we removed the millions of carpet staples from the wood.
The old chipping paint presented a real problem. My original plan was to sand down the stairs and use a paint stripper to remove the old paint before freshening things up. But here’s the problem: lead. Lead wasn’t required to be removed from paint until 1978…so anything older than that probably has the metal in it. Lead becomes particularly dangerous when you stir it up…since it turns into dust. Lead is also particularly dangerous to women. Ingesting it can cause trouble for both genders, but can also cause infertility in women.
So paranoia kicked in and the idea of stripping things down got kicked out. Instead, I had a nice long conversation with my Daddy, who knows all things DIY. He told me if it were his project, he’d “Go ahead and sand the hell out of it.” {That’s a direct quote.} But he understood my fertility concerns {side note: we aren’t trying for kids now…but they would be nice in the future} so he recommended I spot sand then use an awesome primer. Which is what I did.
Any time you may stir up lead dust take precautions. Cover the vents in the room you are working in. Wear a dust mask. Clean up all dust immediately after sanding {so you don’t track it around your house.} Take off the clothing you wore while exposed to the dust and shower as soon as you finish cleaning up all the residue. If you are going to stir up a lot of dust…you should hire a professional.
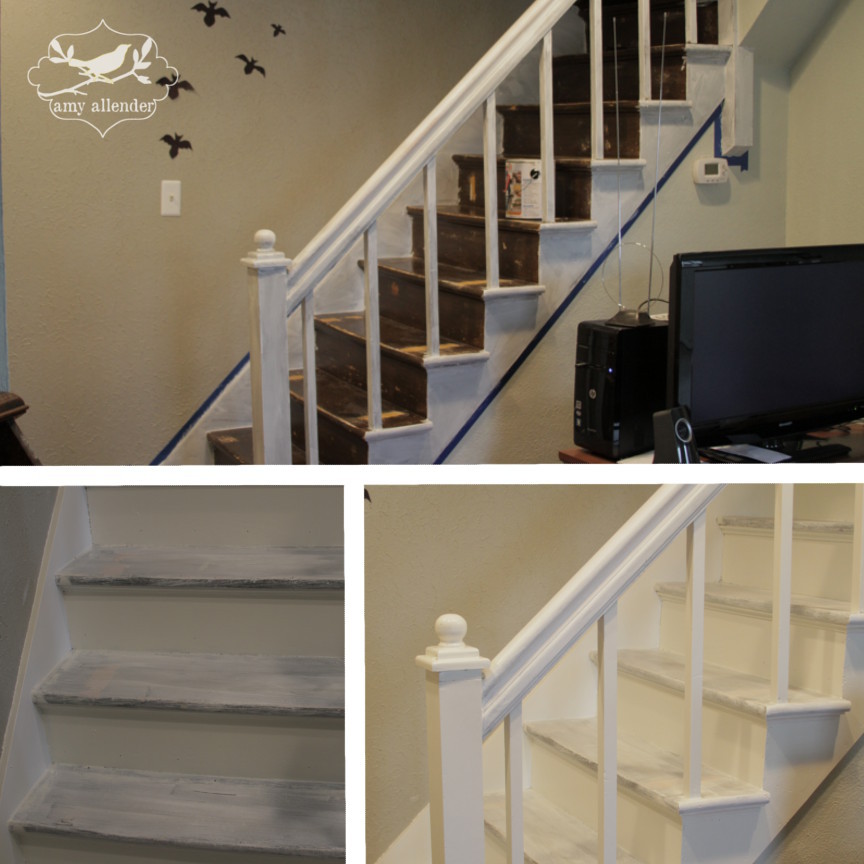
Okay. Enough boring precautions. Now the fun stuff. Daddy recommended 1-2-3 Zinsser. It’s awesome!! I will probably never use another primer again. It’s formulated to fill porous surfaces {like pock marked wood from carpet staples}, seal cracked paint {like from chipping lead paint}, and create a matte surface ready for a top coat. Even better…it adheres perfectly to glossy paint, so you don’t have to worry about roughing up shiny surfaces.
I used two coats of primer, to ensure good coverage of the top coat. I did most of this priming between the hours of 11pm and 2 am. All the while, having a Netflix Pretty Little Liars marathon. It’s surprisingly easy to listen to and follow the plot without ever looking at the screen. Downside…now I’m hooked. And obsessed with making my hair look like the girls’ on the show. So that was Day #2: Priming.
Day #3 was spent applying the white paint to the spindles, risers, and sides. I did white first so I wouldn’t have to worry about taping things off. {I’m lazy.} I used Dover White from Sherwin Williams. After the awesome primer, I used less than a quart on the whole staircase. Two coats took care of the job.
Day #4 was a whole lot of painter’s taping. Woof. Then painting the treads and handrail. Again two coats. I used Sherwin William’s Black Fox.
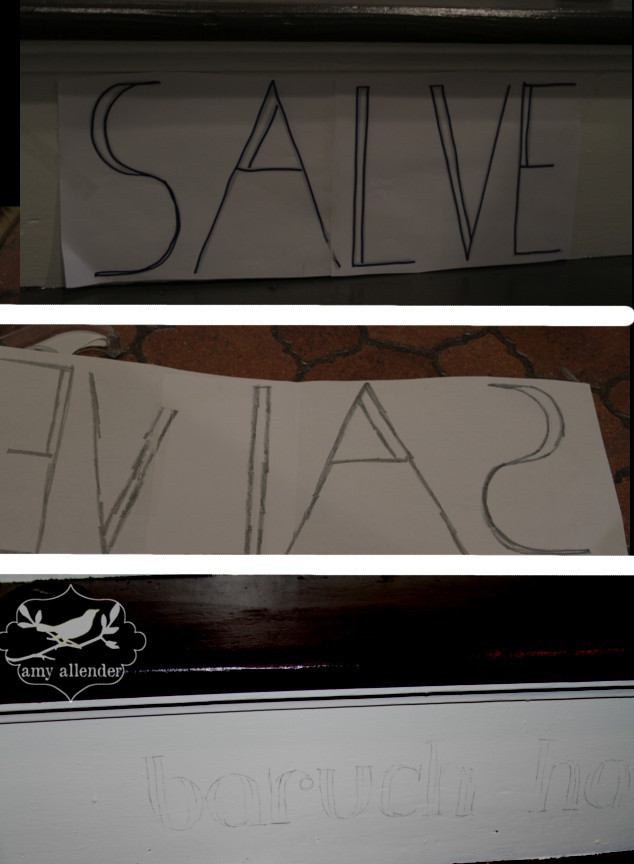
On day #5 I got locked into my garage and missed church. When I figured out how to raise the door, I made it to Sunday School…then spent the rest of the day creating the writing on the risers. Anyone can do this. It doesn’t take any special skills…just a printer, a pencil and a juicy marker. Here’s what you do:
1. Download fun fonts. I use dafont.com.
2. Print out the word you want to transfer. I used Microsoft Word. First I wrote the word in a text box, then I enlarged it. For my steps I needed the text to be about 22 inches wide. So expanded to print onto to pages.
3. Cut away the extra paper. Tape the text together if you split it onto two pages.
4. Use a good juicy marker {like a Sharpie} and trace over the letters. If they are thick, just outline them. {See the top image.}
5. Now flip the paper over. Use a pencil to shade dark lines over the marker lines that have bled through the paper. {See center image.}
6. Tape the paper onto your step. {See top image.}
7. Use the pencil to trace the letters again. Use heavy pressure…you are transferring the graphite from the paper to the stair. Remove the paper and see your custom stencil.
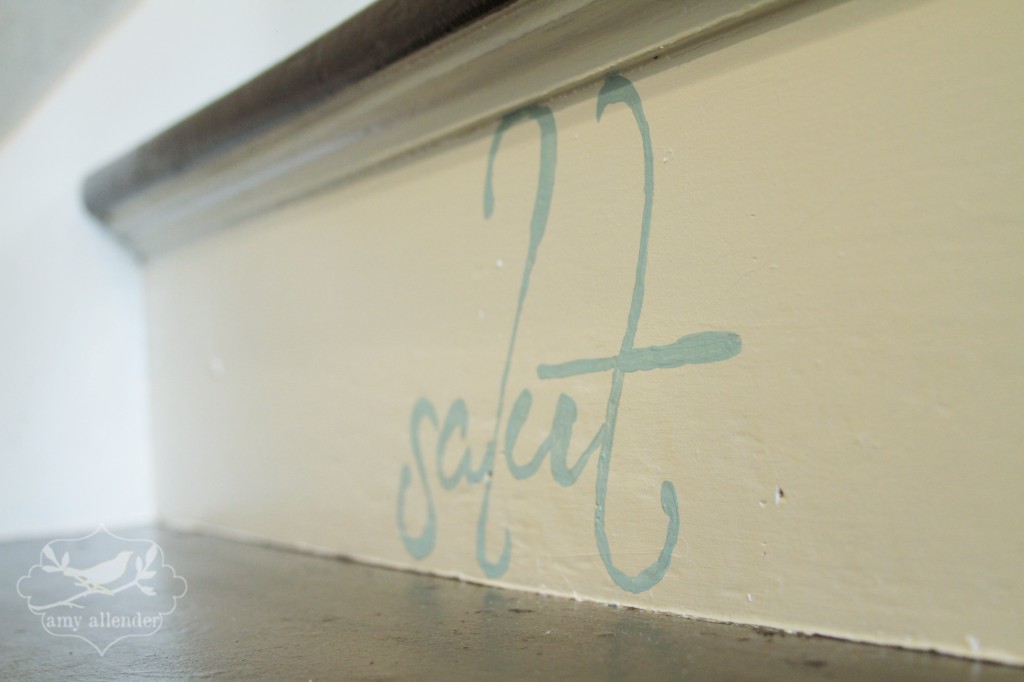
8. Use an accent color to fill in the lines.
See anyone can do it. As long as you can trace and color in the lines, you can do this! Use a small{ish} artists brush to fill in the lines. I used SW’s “Lagoon” lightened with some white. {You know I’m a colorphobe…I got nervous about the bold color.}
I cut the houses and hearts out of paper then traced around them.
And that’s all there is to it. The grand total for this project? Risking my lungs a bit with the lead paint + $50 in supplies=worth it. Now you know all my secrets! Feel free to use them and share them.
Amy

