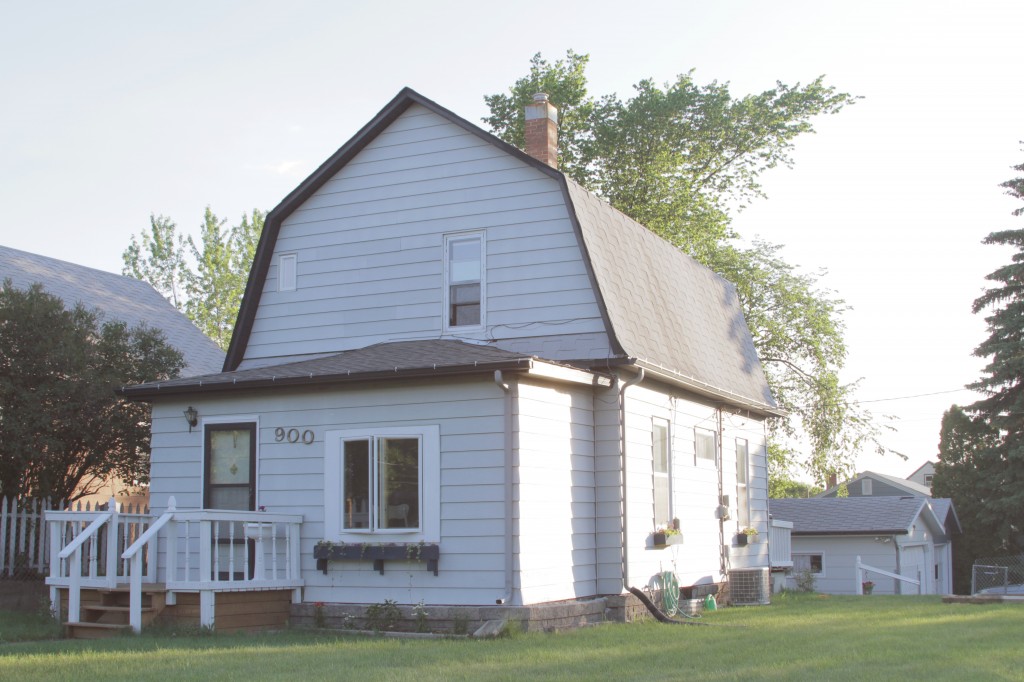
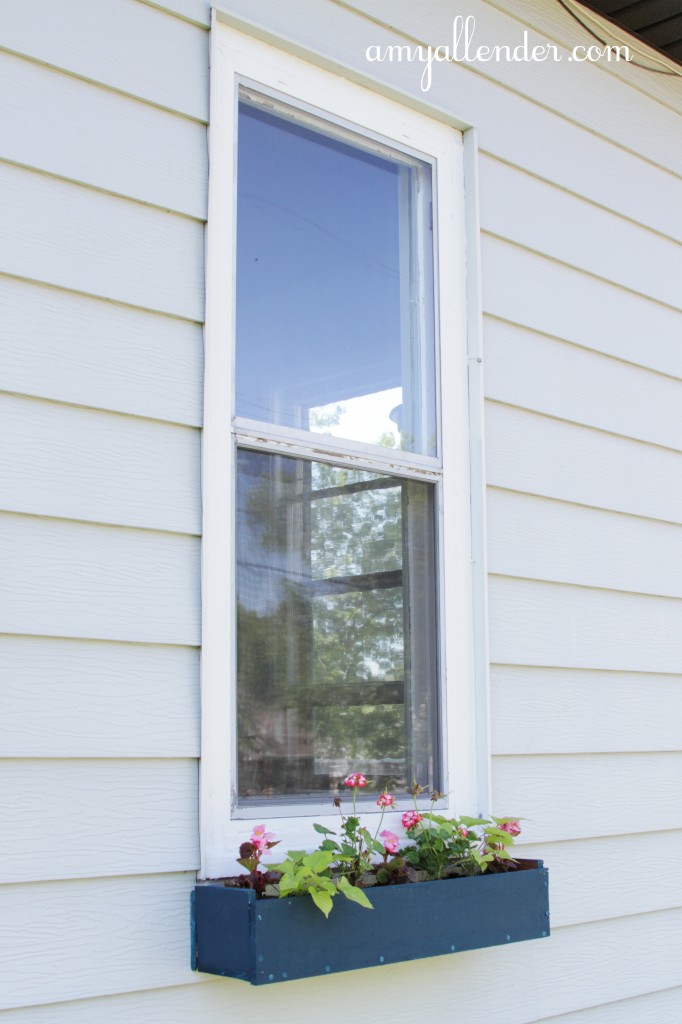
A few weeks ago I told you that I was going to try my hand at building some window boxes. I showed you a round up of good tutorials and inspiration. Now I’ve gone and done it…and I’m super please with how they turned out. Here’s an updated photo of the house. Getting cuter by the day!!
So…Let’s make a window box, shall we?
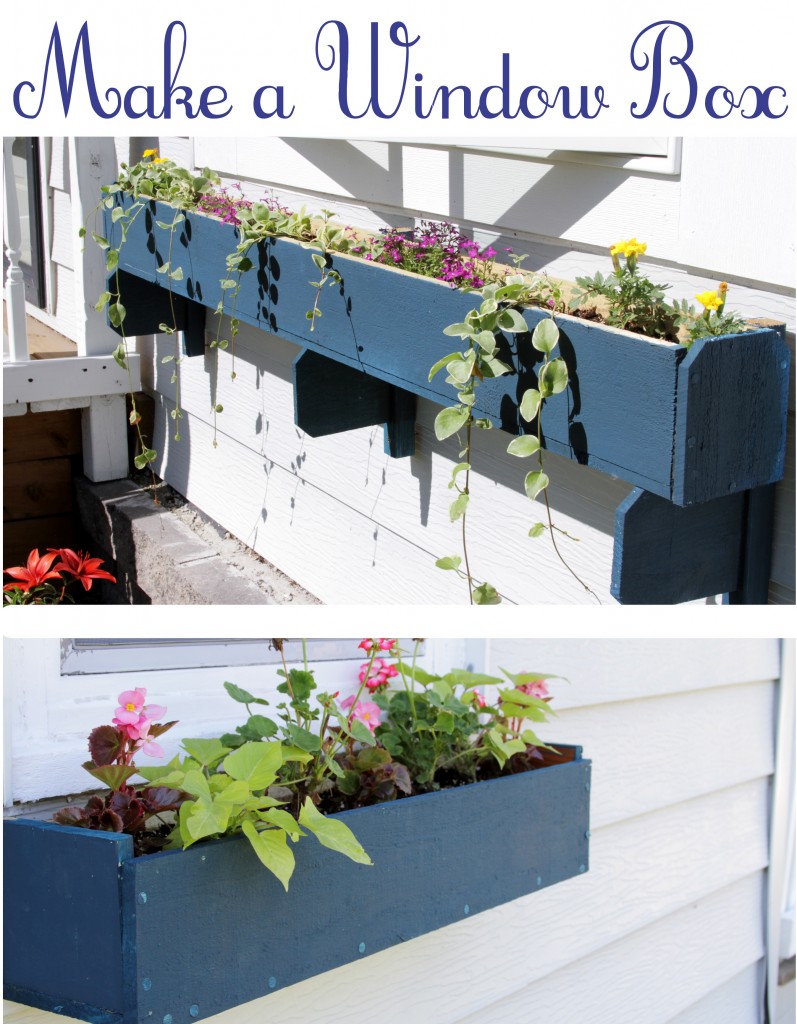
First of all, take a look at the finished product. I made two different versions. One with support brackets for my ultra big front window. The other without. The smaller version is only 23″ wide, so it really didn’t need extra support.
These were very easy to put together once I had the plan all laid out. {And trust me, I’m no carpenter.} They took about 30 minutes each {not including dry time}. I spent a total of $18 on supplies…which included the paint, screws and nails. Oh, and that was for all three boxes that I made. Pretty thrifty!
Here’s your shopping list:
Cedar fence posts
Wood glue
Primer
Exterior paint
1.5″ exterior grade nails
3″ decking screws
Here’s your tool list:
Circular or Table Saw
Drill
Drill bits
Hammer
Level
Here’s what you do:
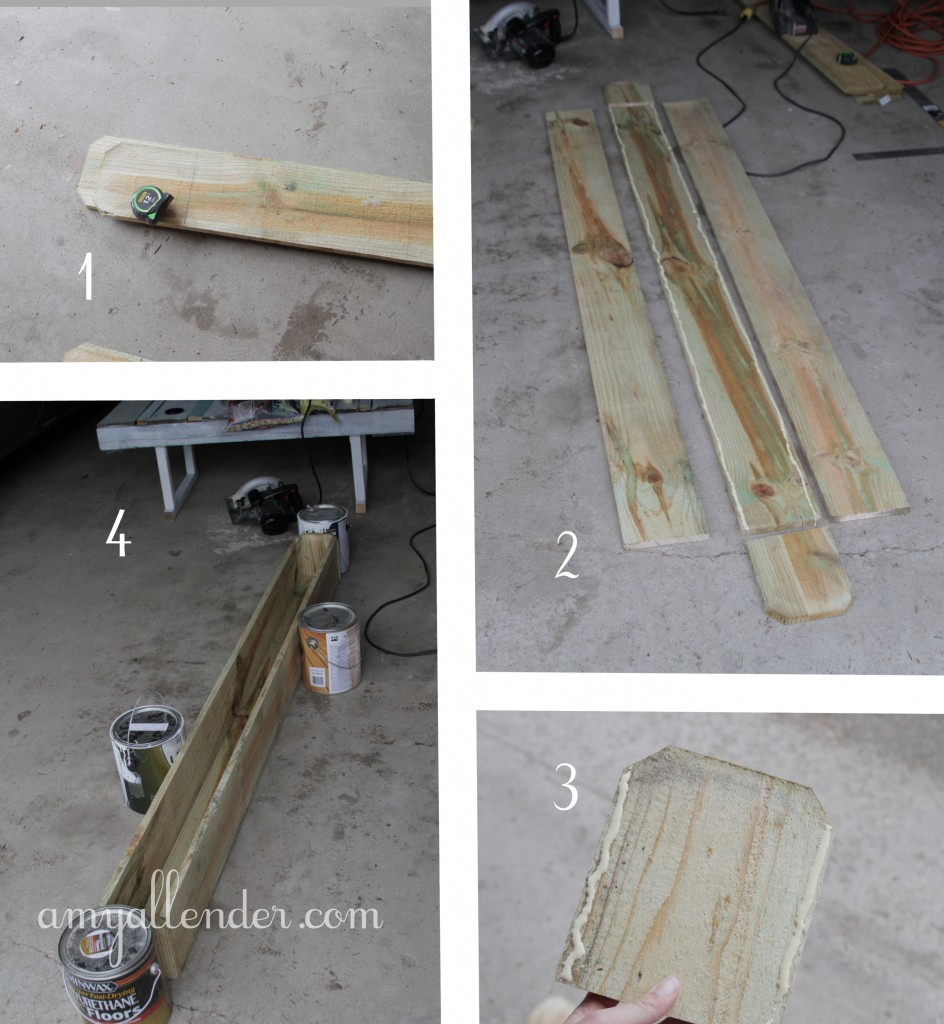
1. First, you’ll need to know how big your boxes need to be. Measure the width of your window. Then you can do the math {I know, I hate math too…but it’s just a little bit.} You’ll need three pieces as wide as your window, and two scraps for the ends. Measure it out of your fence posts and make your cuts.
2. This is what your box will look like. Here are the pieces all laid out. You’ll be placing your long side pieces on top of the bottom piece. The edges attach flush to the bottom board and the edge pieces.
3. Run a bead of wood glue along the long edges of the bottom board and the end pieces {as shown here.}
4. Put your box together. If you have a vice or something you can use that to clamp everything in place. If you are cheap and ghetto like me you can use anything lying around the garage to hold it in place and put a little pressure on it. Now just wait a while for your glue to set.
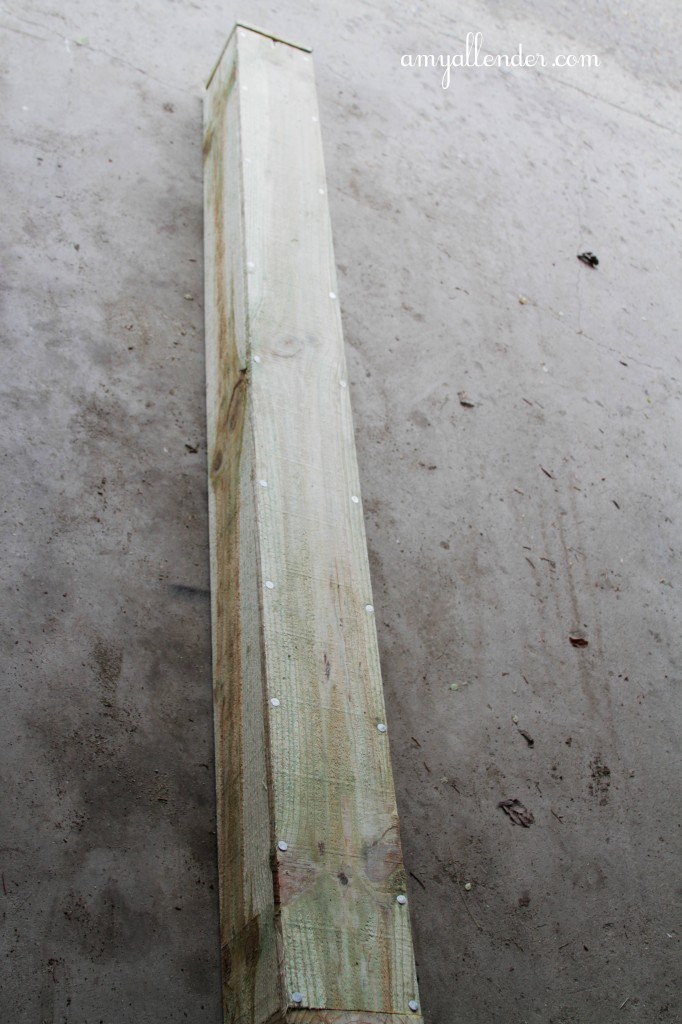
Once your glue is giving a bit of hole flip the whole operation upside down. Pound in some nails along the bottom edges. This is what really holds it together, so don’t be stingy. Every 4″ or so is a good bet. Then add nails to the end pieces too.
While your box is flipped use your thickest drill bit to punch some drainage holes in the bottom. Every 6″ at least. You don’t want rotten roots.
Good job. If you are building a small box, stop here and skip down to the mounting instructions. If yours is pretty long, you’ll need some brackets.
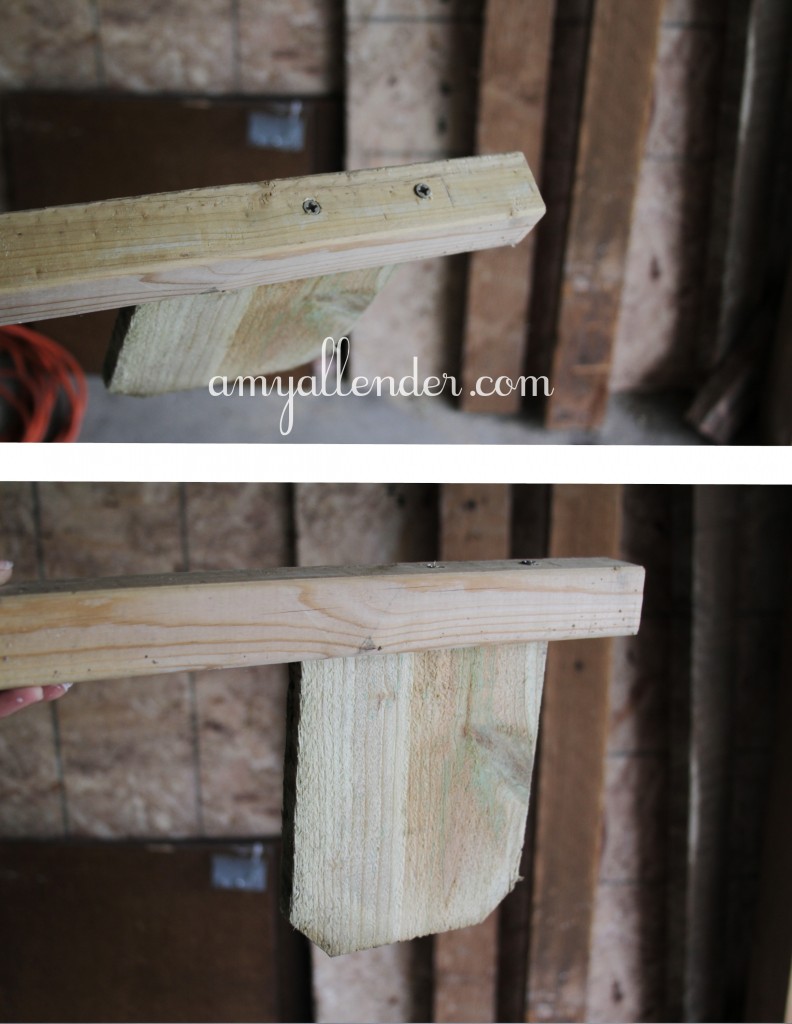
1. I used the scrap ends of my fence posts and some scrap deck rails for these. But you can use any long skinny piece.
2. Measure your longer piece first. You’ll want the end of your fence post to attach down far enough that the top of your box will be flush with the top of your bracket. I laid the bracket pieces on the floor and the box across the top of them. I got the tops flush. Then I just drew a line and cut them.
3. Attach the fence ends to your long piece with two screws. You’ll need to pre-drill.
{For my box I made three of these.} Prime and paint everything.
Now for the part that was most intimidating to me…Mounting.
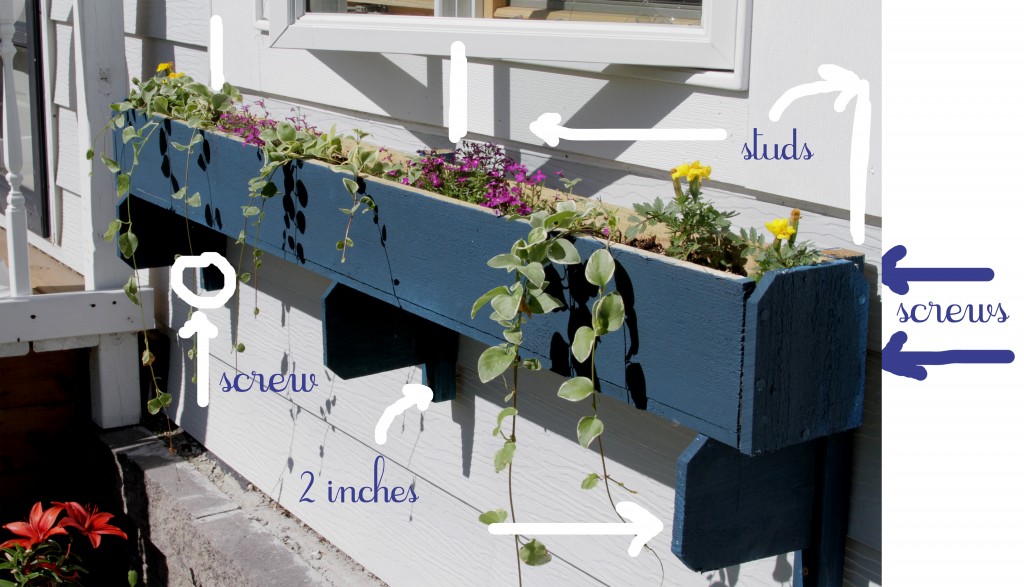
I made this special graphic for us. Let me dissect it.
First you’ll need to find some solid studs to drill into. There is a stud running down each side of a window. Usually one in the middle too.
Decide where the to of your box needs to be. For windows that open out {like this one} keep it 6-8″ below the window panes. For windows that open up you can mount the box right under the window trim. Measure down and mark the spot. Take one of your brackets and pre-drill a hole through near the top {about an inch or two down}. Then put a decking screw in to hold it in place. Repeat that on all three, using a level to make sure they are, well, level.
Now, drill a hole through the bottom of your bracket. Use your level to make sure they are straight. Put another decking screw in there.
Go get your box and place it across the brackets. Center it. Pre-drill and run a screw through the box into the bracket. The screws are long enough that they will run all the way into the house. Just press hard and it’ll go through your siding. If you have a brick house…you’ll need to ask someone else what to do, because I have no idea.
For the short boxes just screw the box into the house using 3″ screws. Make sure it’s level!
Once they are mounted, go ahead and fill and plant away. So cute!
Good work!
xo Amy

