by Amy | Oct 15, 2013 | Blog, The Art of the Kitchen
Historically speaking, I’m a terrible pumpkin carver. You can ask anyone in my family. They’ll relay stories of many pumpkin-induced rage quits. So this year when some friends asked Derek and me to participate in a friendly carving contest I was pretty nervous. The raging is now a thing of the past, but the terrible carving skills are still fully intact.
But I gave it my best shot. I obviously spent a little time on my phone Googling pumpkin carving images before beginning. Then I started. Now, maybe it was the pressure of the competition, or maybe I didn’t want to look a fool in front of new friends…whatever it was, this year I carved my best ever pumpkin.
Here are the Smith pumpkins in all their glory.
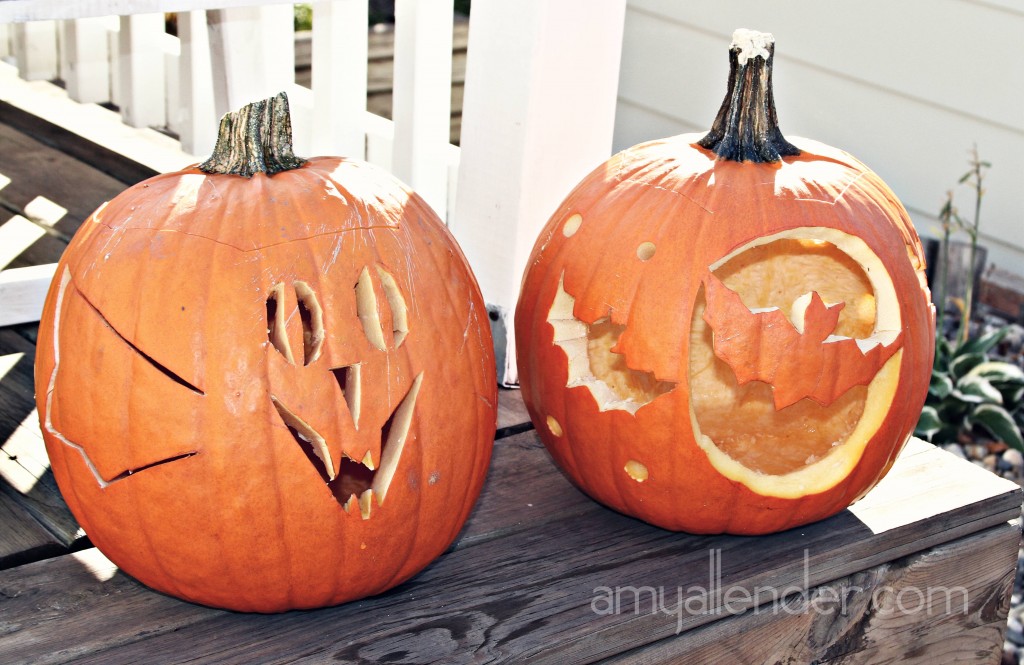
And here is the full line up from our get-together. Pretty impressive, right?

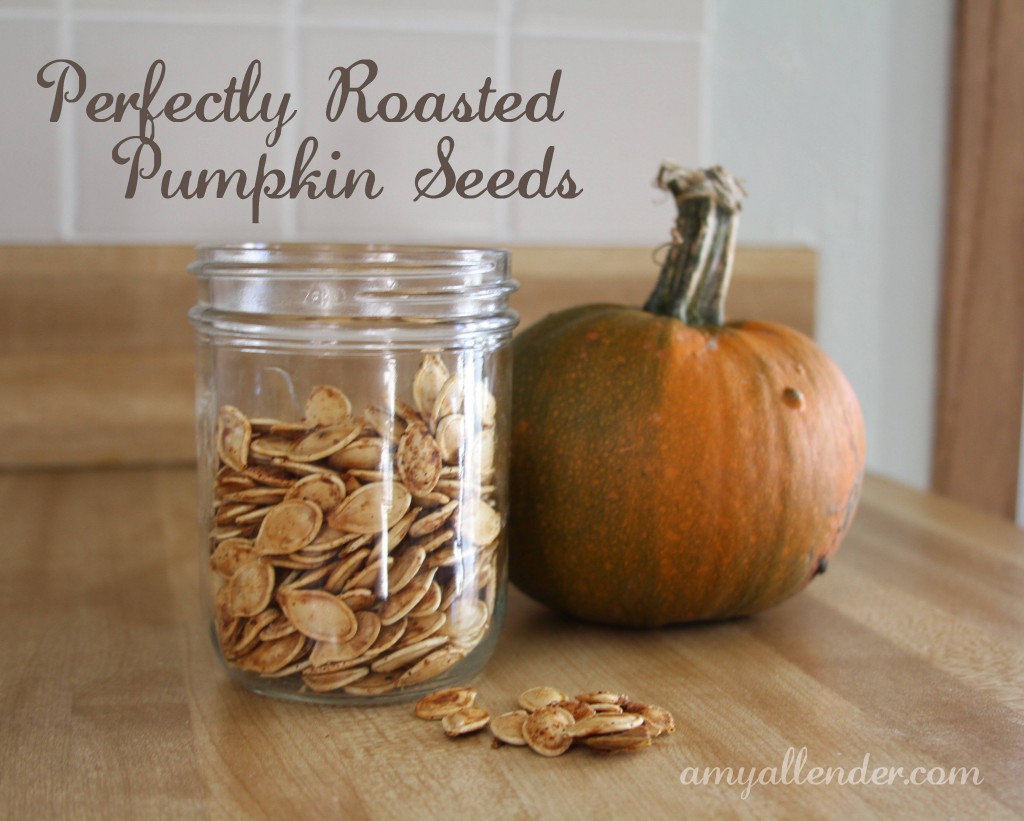
Here in PraCan, it’s almost too windy every night to actually light our pumpkins and have them stay lit. But that’s not why I really like to carve anyway. I’m mostly in it for the seeds. If they are done right, they kind of make wading through all that pumpkin goo worth the nasty.
If you’ve already carved and thrown your seeds away, don’t fret. You can use this recipe on squash seeds too. So when you hack open that butternut, put the seeds aside for later.
It’s really easy. The recipe below is good for about 2 cups of seeds. If you have more, you’ll just need to add a little more oil to get them all coated.
First, degoop all your seeds. Some stringy stuff is okay, but separate your seeds from the big chunks of pumpkin guts.
Next, I rinse mine off just a bit in a collander. Nothing too thourough. Then I shake them off and pour them into a bowl.
Add about 2 Tbsp of olive oil and stir it around. Then spread them out on a cookie sheet or pizza pan. I have a pizza pan with holes in the bottom that I like to use because it lets heat up underneath the seeds, but I’ve done it on a cookie sheet and they turn out fine too.

Once they are evenly spread, sprinkle them with some salt. Then sprinkle them again with a grill seasoning. Yep, that’s my big secret. I use a premixed seasoning. I really like this smokehouse maple from McCormick Grill Mates.
Finally put the pan in the oven and turn it on to 250 degrees. The key here is letting the seeds dry out completely. That’s the difference between a good seed and a soggy seed. So you’ll need to let them bake for 45-60 minutes. Take them out and give them a quick stir every 15 minutes or so. You’ll know they are done when they are dry and making a crackling sound.
Happy October
Amy
by Amy | Oct 14, 2013 | Blog
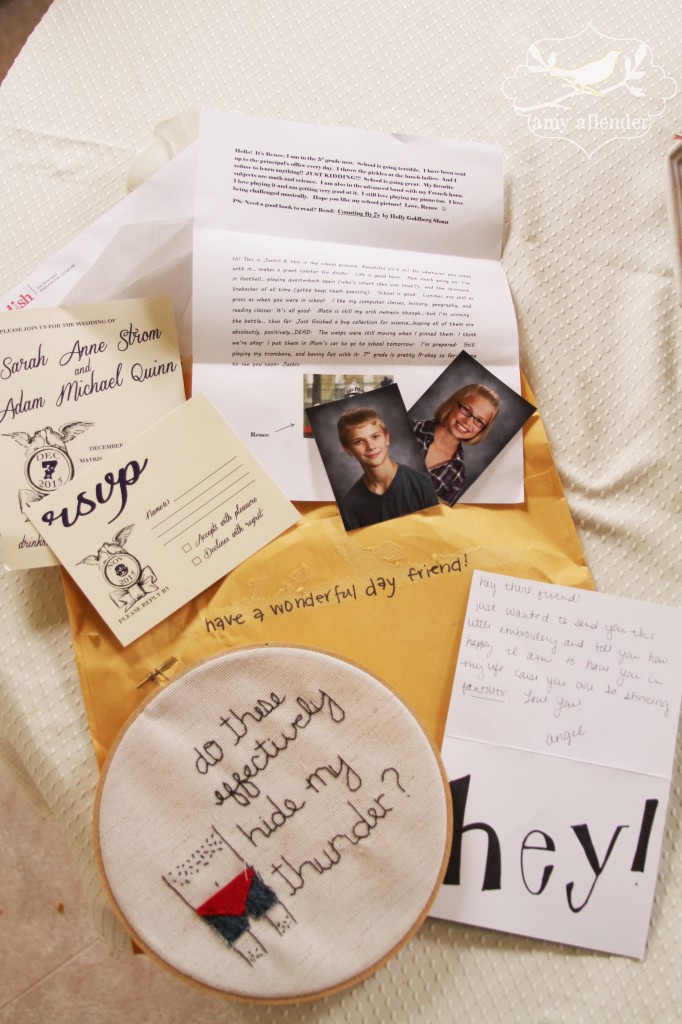
Look at all the fun mail I got yesterday. It made my day. There is no other way to put it. I wasn’t expecting any of it. But there is was in the mail box. There was a bill and a piece of junk too, but they’re not in the photo, because this is an image of my fun mail only.
We all know that electronic mail is easier to send, easier to put together. But we also know how great it feels to get some “real” mail. The kind that you have to open. The kind delivered to your house by someone in uniform. It’s special and it’s always exciting.
In the big scheme of things real mail doesn’t take that long to create and send. And a letter is only a few cents to mail. Maybe we should just store up a few texts that we’d send to a friend…and instead of sending them immediately, write them down on paper. Or, we could just take a second and write something out just for the fun of it.
I’m determined to send a letter in the coming days. This made my day. Let’s pay it forward. Slap a stamp on it and get that mail flag up.
Thanks to everyone who made yesterday so wonderful. You know who you are and you rock.
Amy
by Amy | Oct 11, 2013 | Blog, The Art of Projects, the house
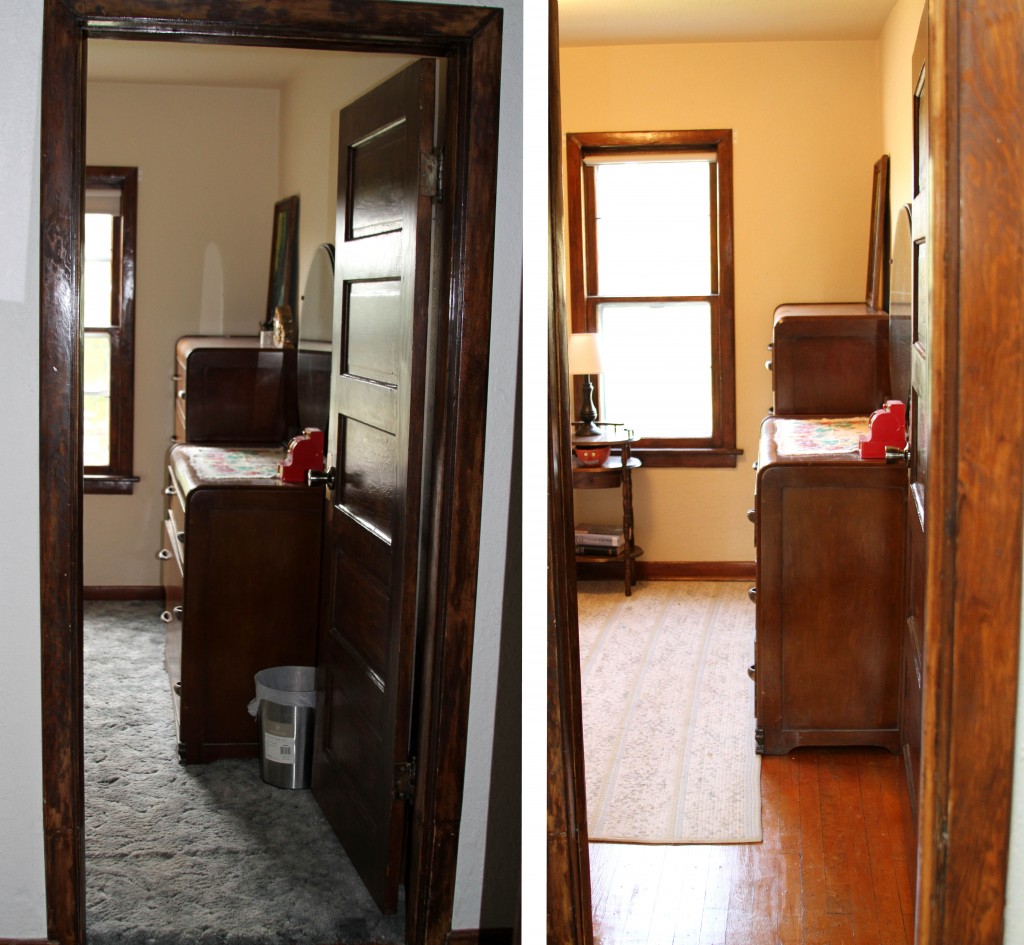
Good news everyone. The guest room floor was done in time for our latest house guest. And it’s ready for the next batch, and then the holiday batch after that. I’m so happy with the results {especially the lack of old-carpet-smell.}
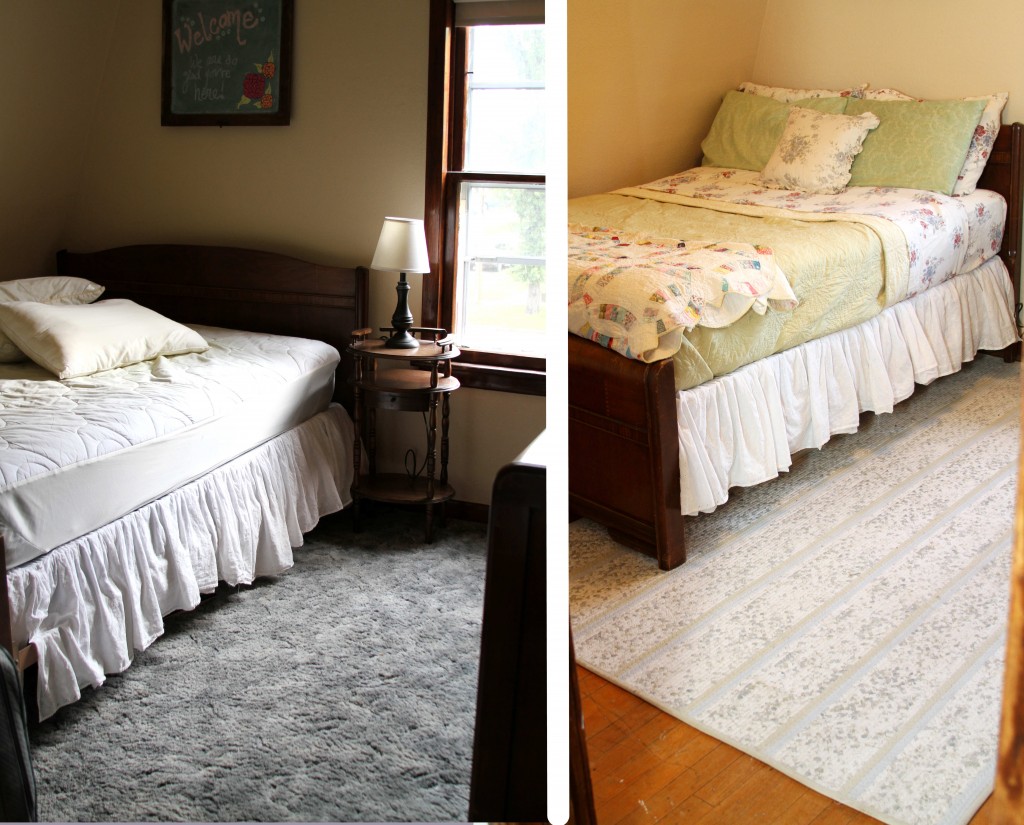
And I apologize for these hideous B&A photos. I know. It’s so cheap to show the before with the room looking like a wreck. The truth is, I was just so eager to rip that carpet up and drag it to the curb that I nearly forgot to take any before photos at all. I had the bed stripped and the mattress prepped to be moved out when I remembered. So, sorry. It is, what it is.
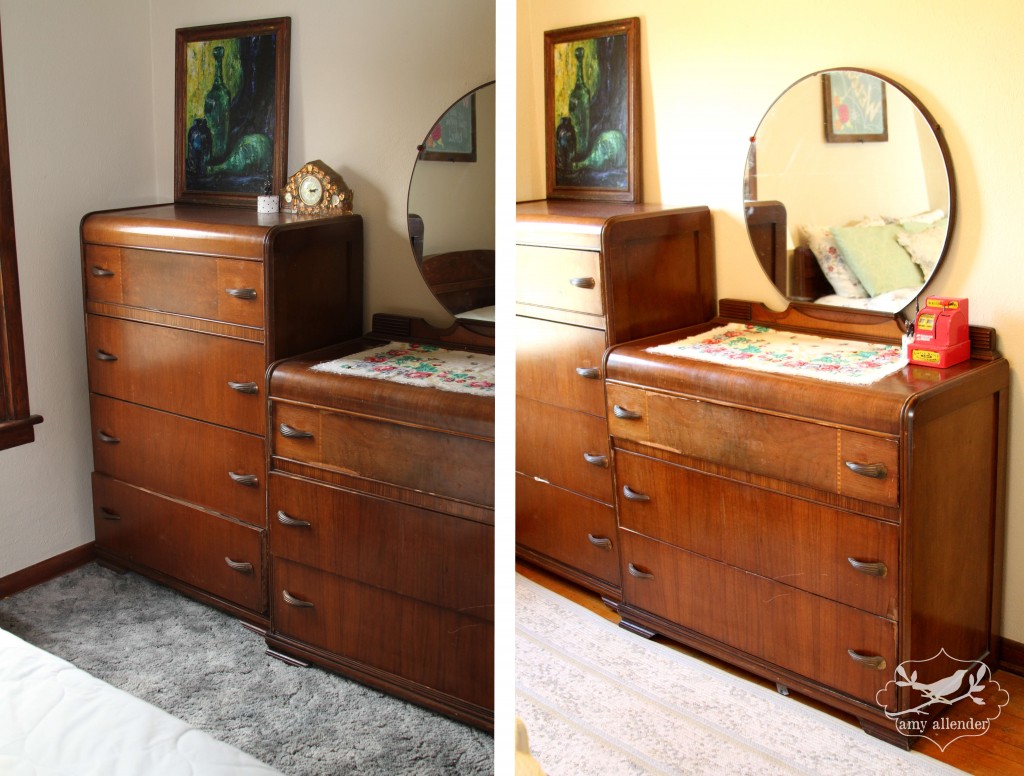
This room was so easy to work on. {Especially compared to the office.} It rolled right up. No glue. Only a few staples on the carpet pad and a tack strip to rip up. {See how it came up here.}
I scraped up some old paint splatter of yester-projects and sanded out some rough spots. Then I cleaned the whole thing with Krud Kutter {that stuff rocks} and let it dry.
Then it was two coats of Fast-Drying Polyurethane from Minwax applied with lambswool. Same stuff I used in the bedroom. In there I used a natural bristle brush. I think I like that technique better. Especially since I neglected to wear gloves and I had polyurethane all over my hands…and no mineral spirits in the garage to get it off.
Yuck.
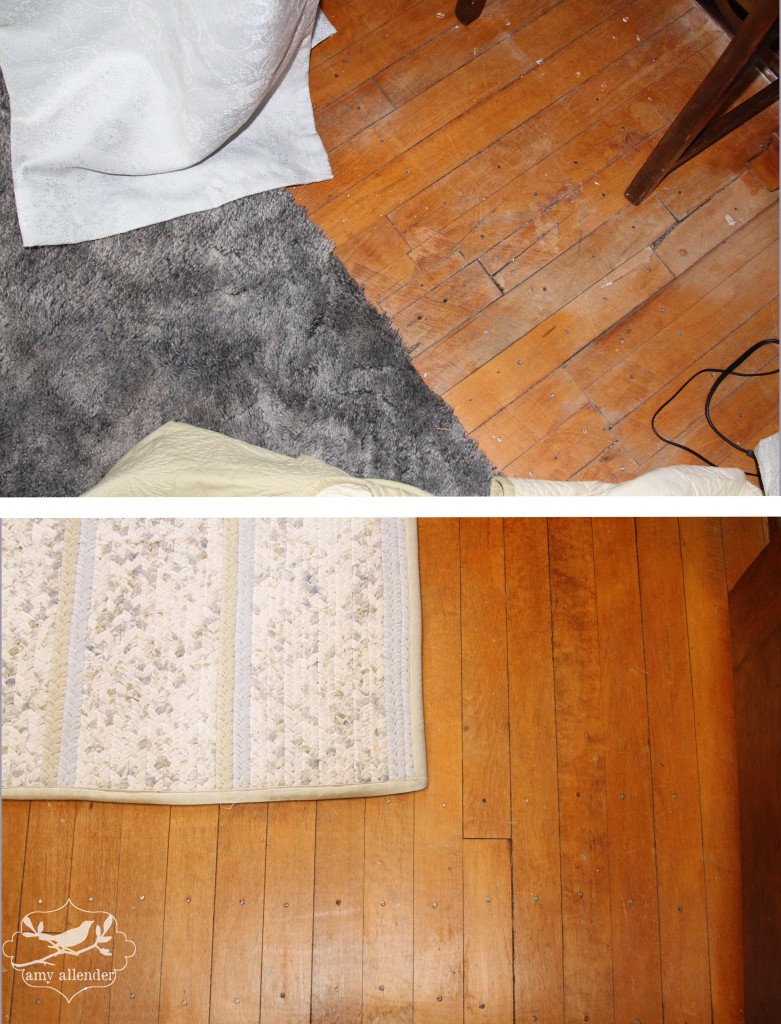
Pretty isn’t it?
I talked to some folks earlier who called this type of flooring “porch floor.” They claim it’s an old school type of sub-flooring, meant to be covered. I claim that it’s rustically perfect and full of character. I like the nails. I like that they aren’t in perfect rows. I even like the little bits of paint that are left behind. And I like the price. This redo didn’t cost me a penny.
To protect cold toes from icy hard floors we put down this braided rug that was rolled up in the basement. That’s a win-win, because it serves a purpose and frees up shelf space in the basement. It’s from the Shabby Chic collection at Target, but I {of course} bought it second hand. Whatever. Pretty is pretty, right? And I love a good bargain.
Amy
by Amy | Oct 10, 2013 | Blog, Crafts, The Art of Projects
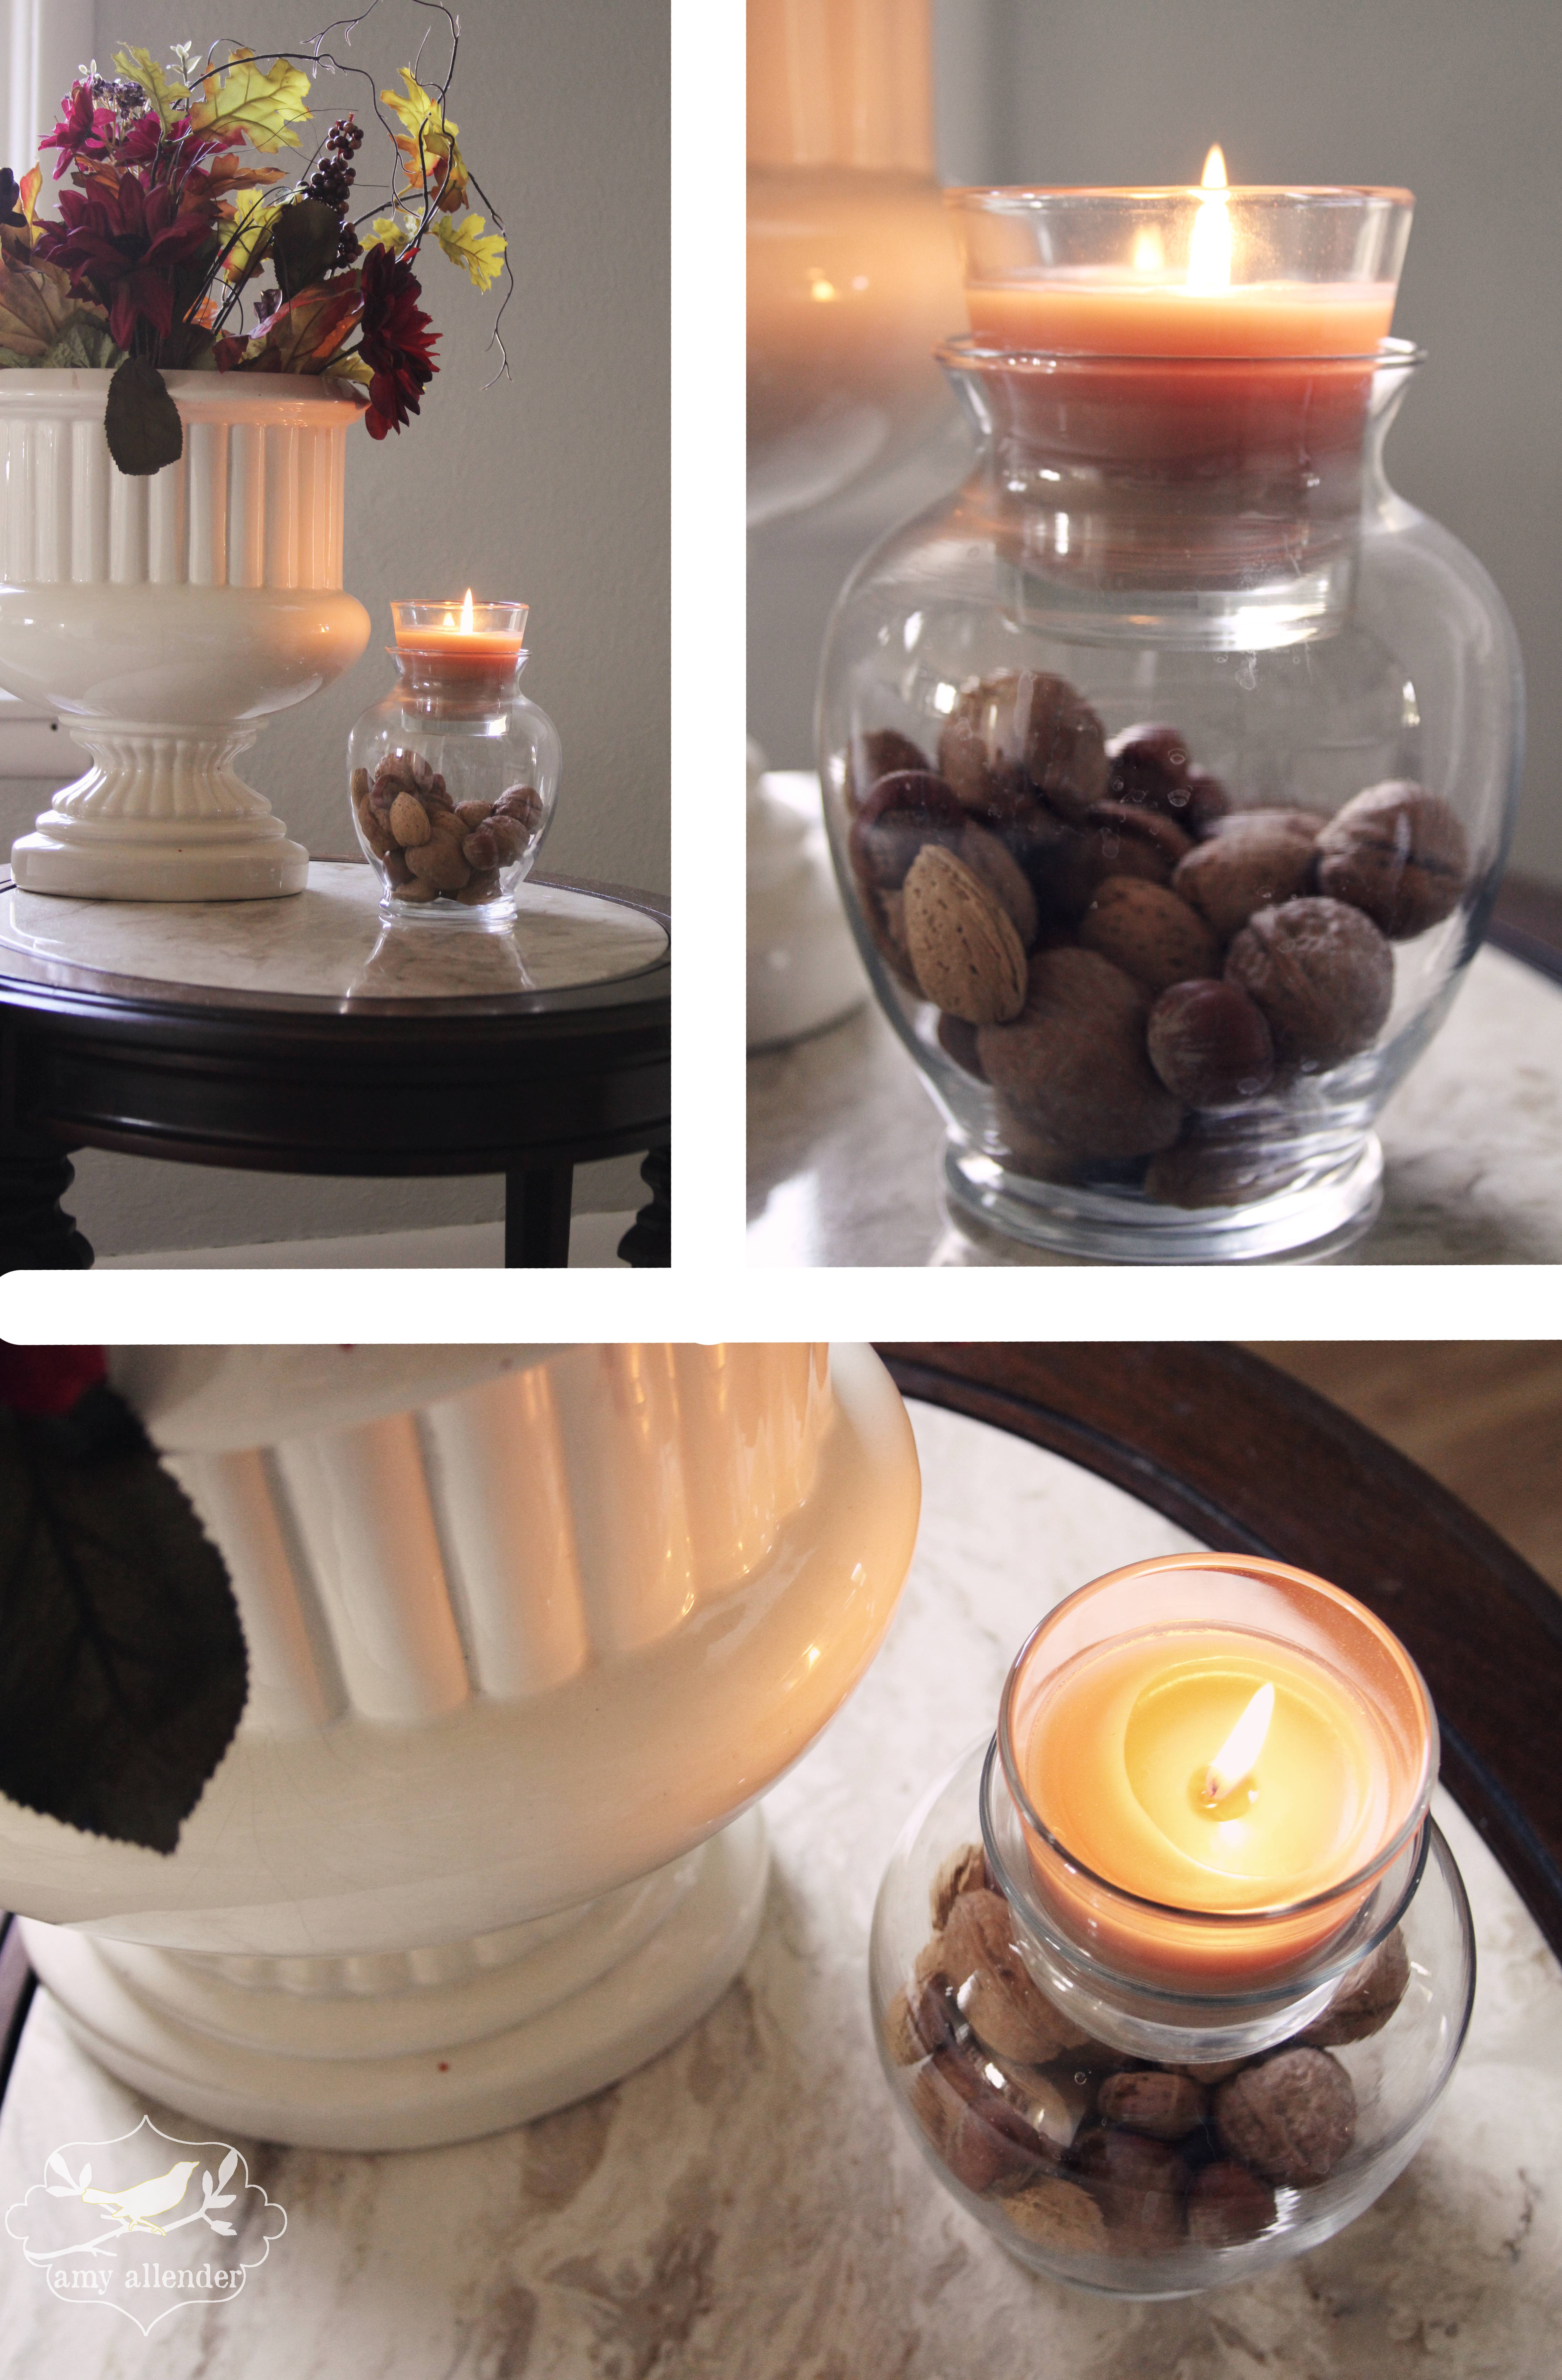
I’m in love with Glade candles. So I was super excited when I came up with this easy, cheap and quick way to dress them up for fall.
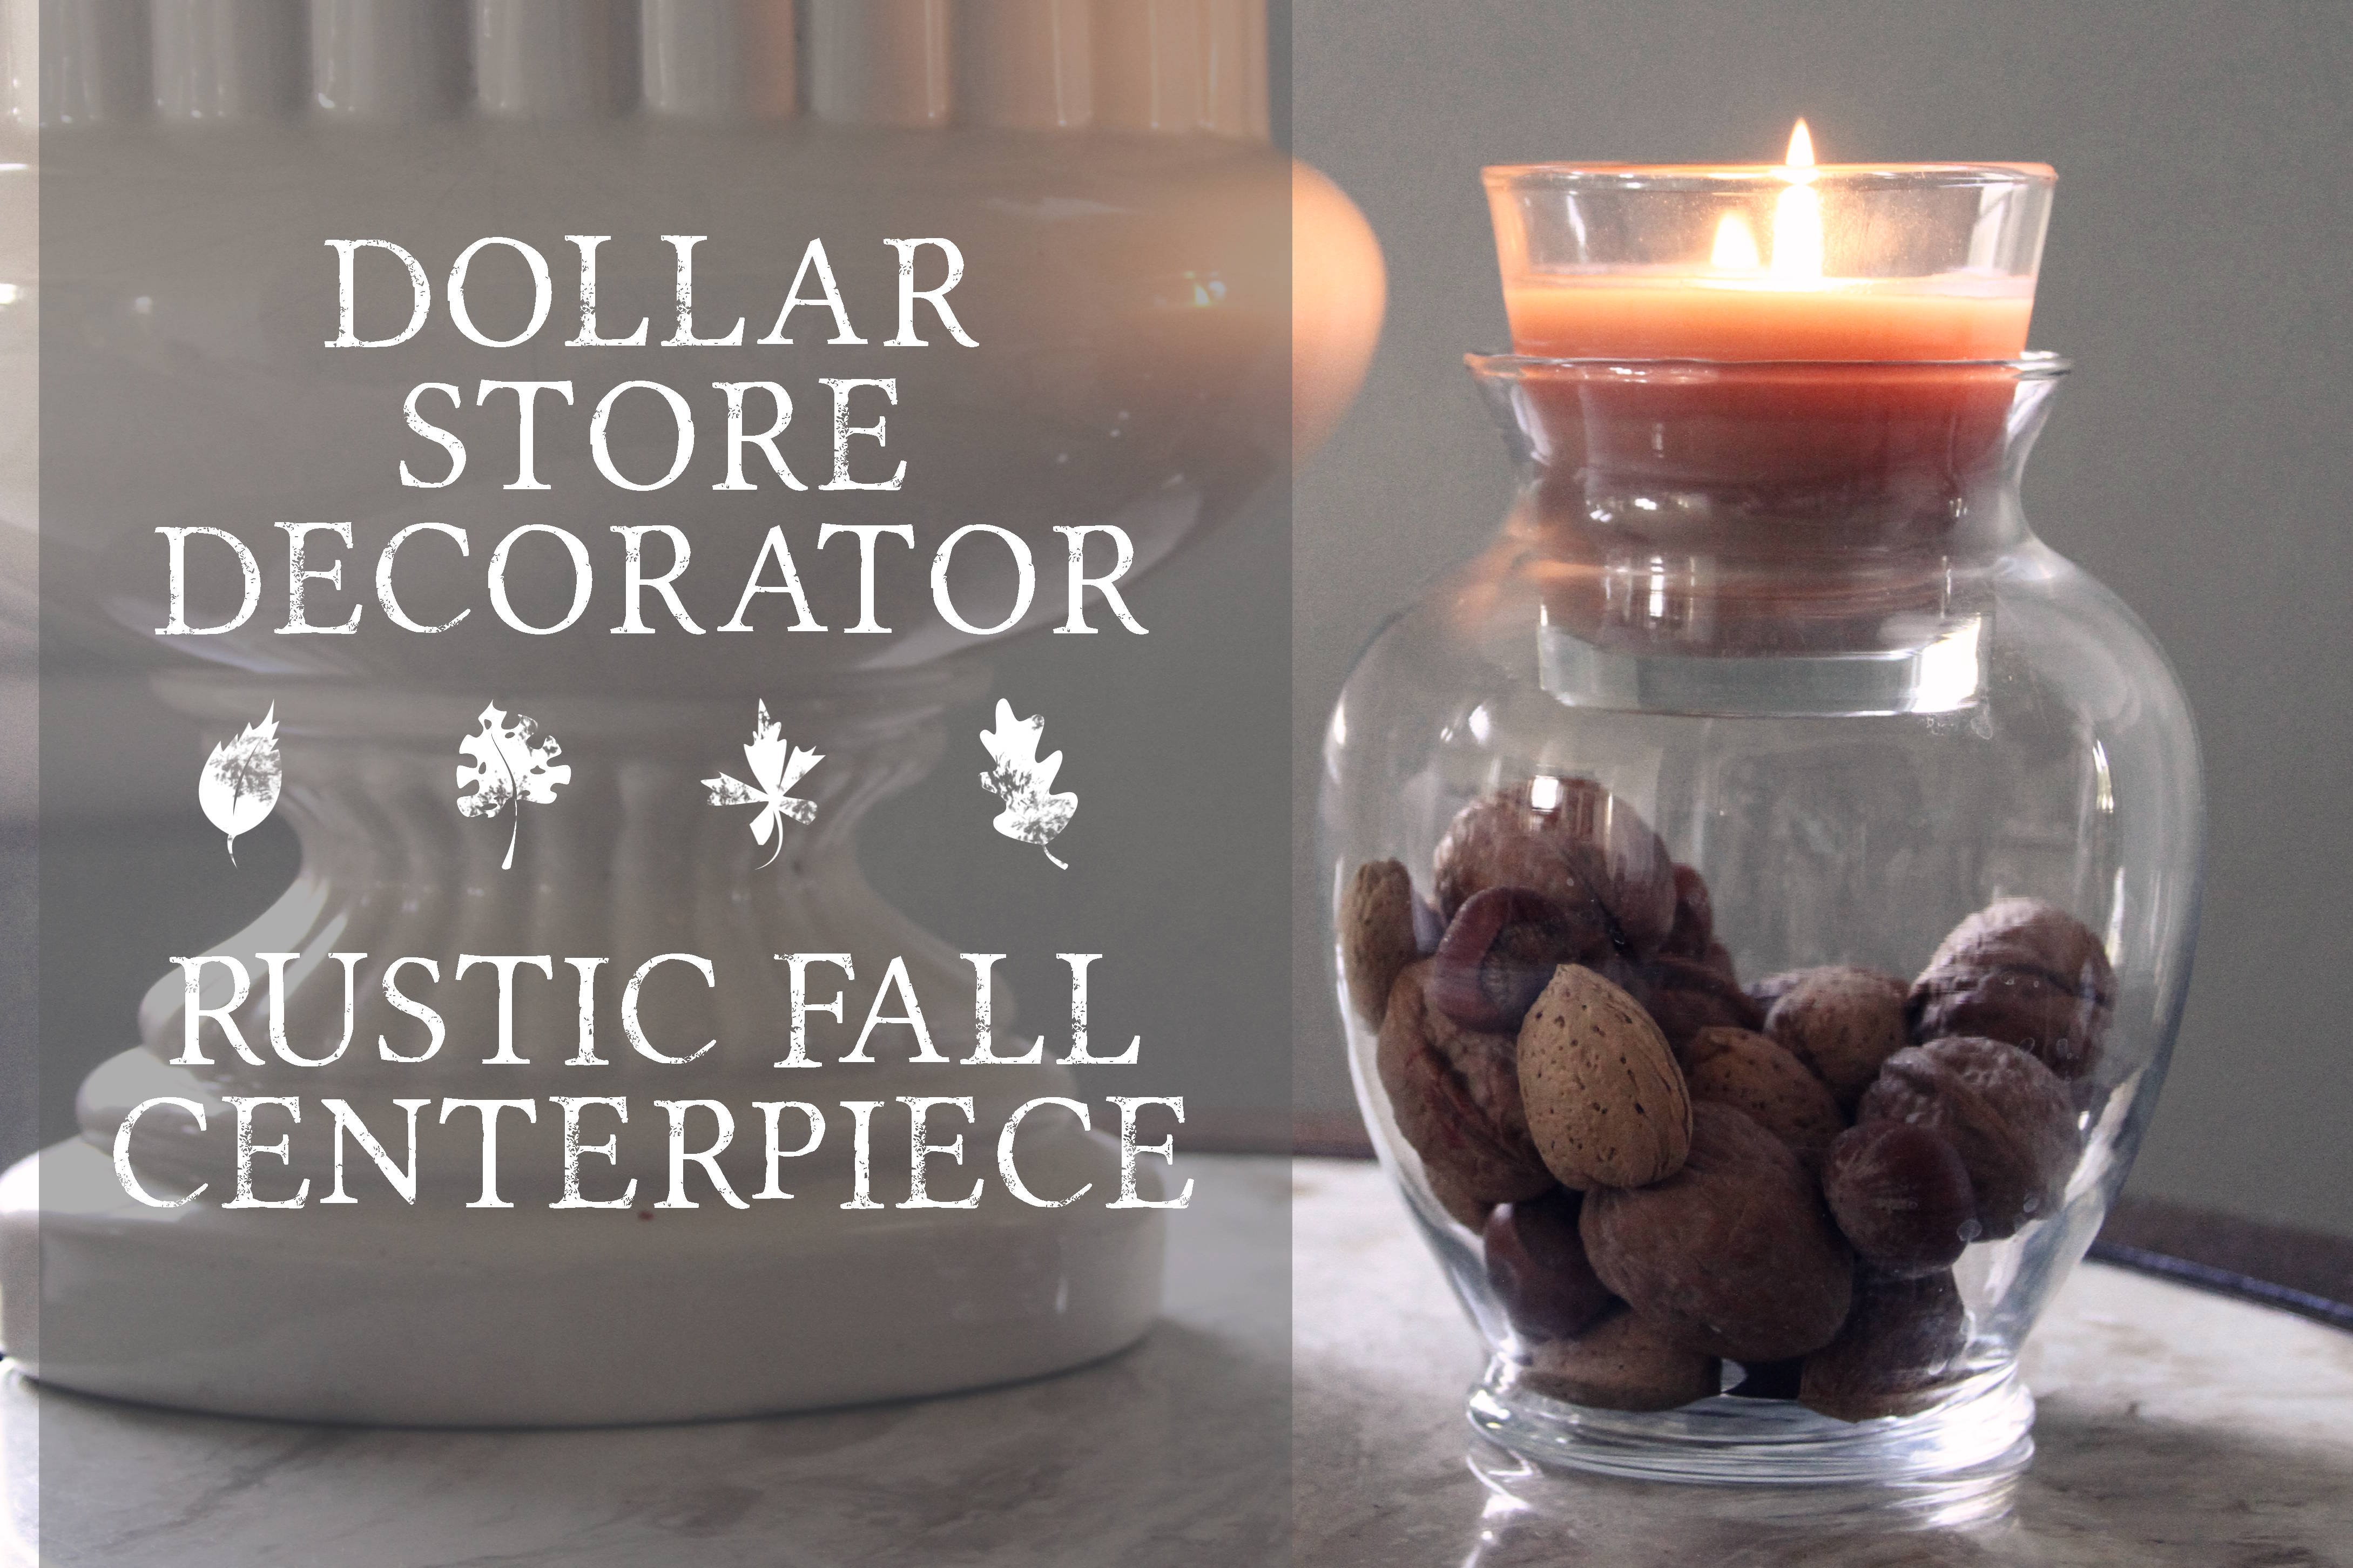
I just made one for an end table, but a group of three would be hefty enough to stand alone as a Thanksgiving centerpiece.
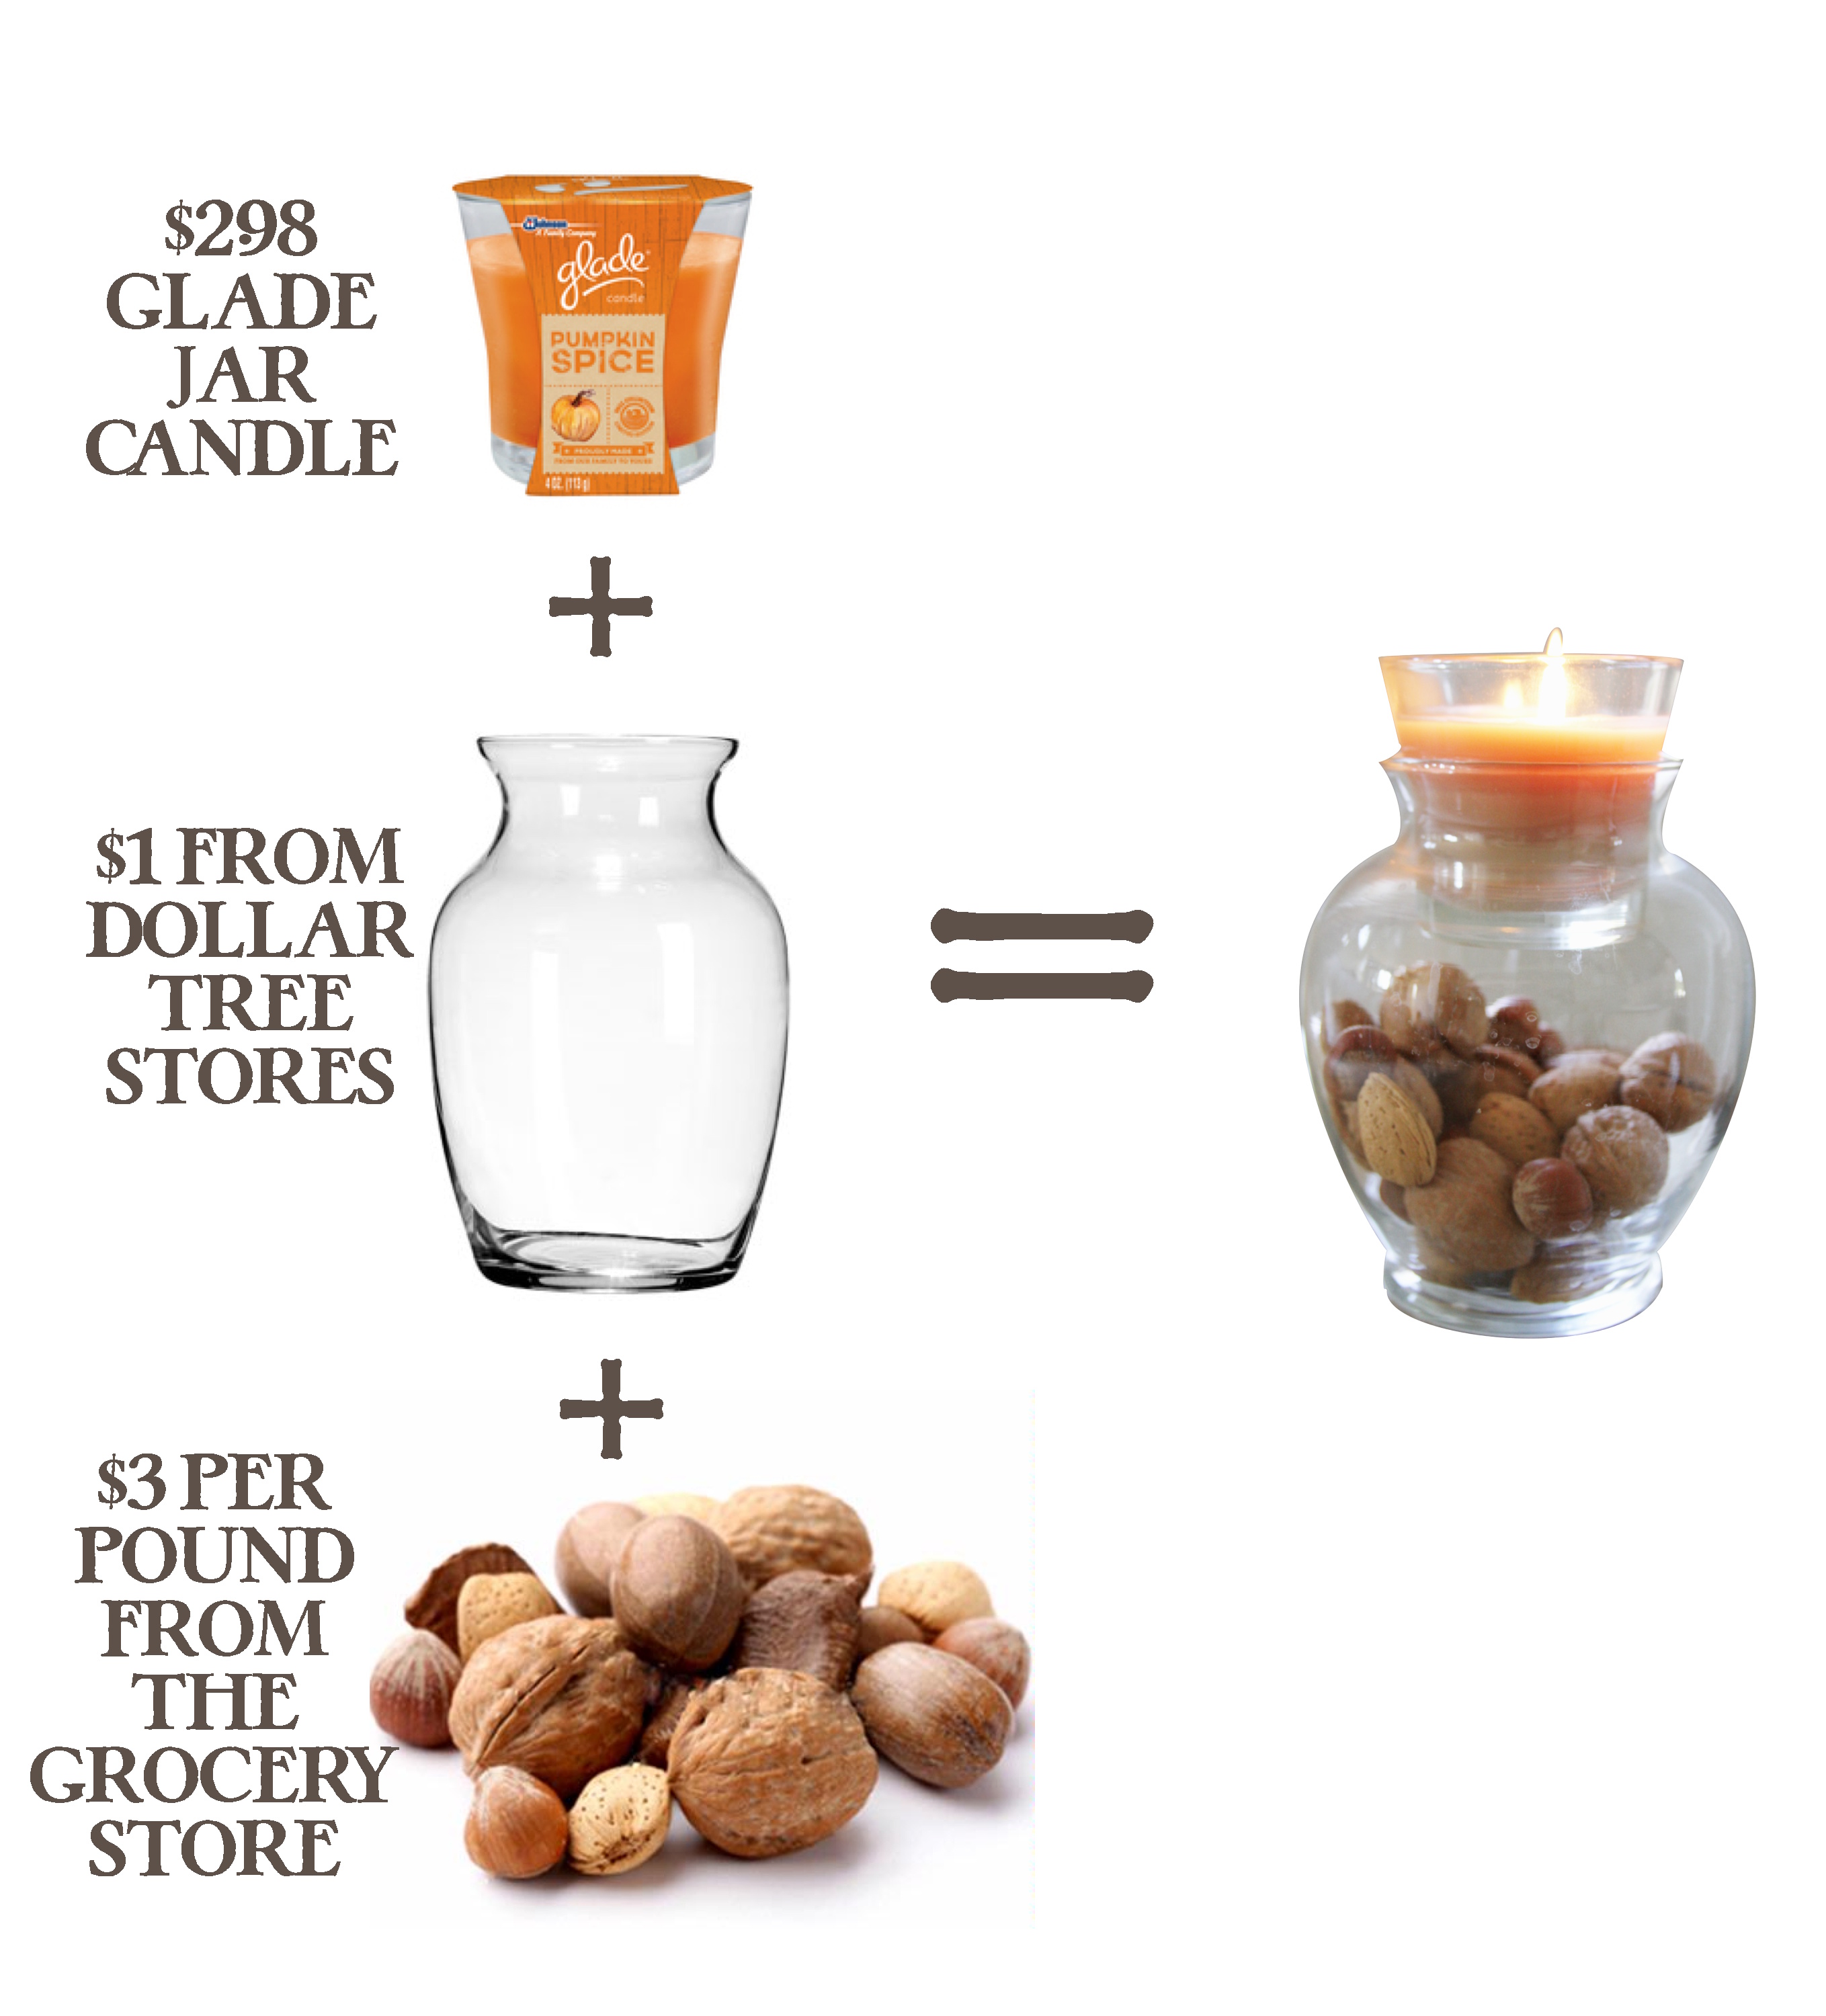
{Photos via Glade.com, DollarTree.com, and OhNuts.com}
I bought quite a few nuts, but for just this project you’ll only need a couple to keep things extra cheap. Looking for another cute way to use up those nuts? How about revisiting this centerpiece I created for last Thanksgiving. If I remember right…I think this one also featured a Glade candle. I’m telling you, they are the best.
Amy
by Amy | Oct 9, 2013 | Blog, The Art of Gathering, The Art of the Kitchen
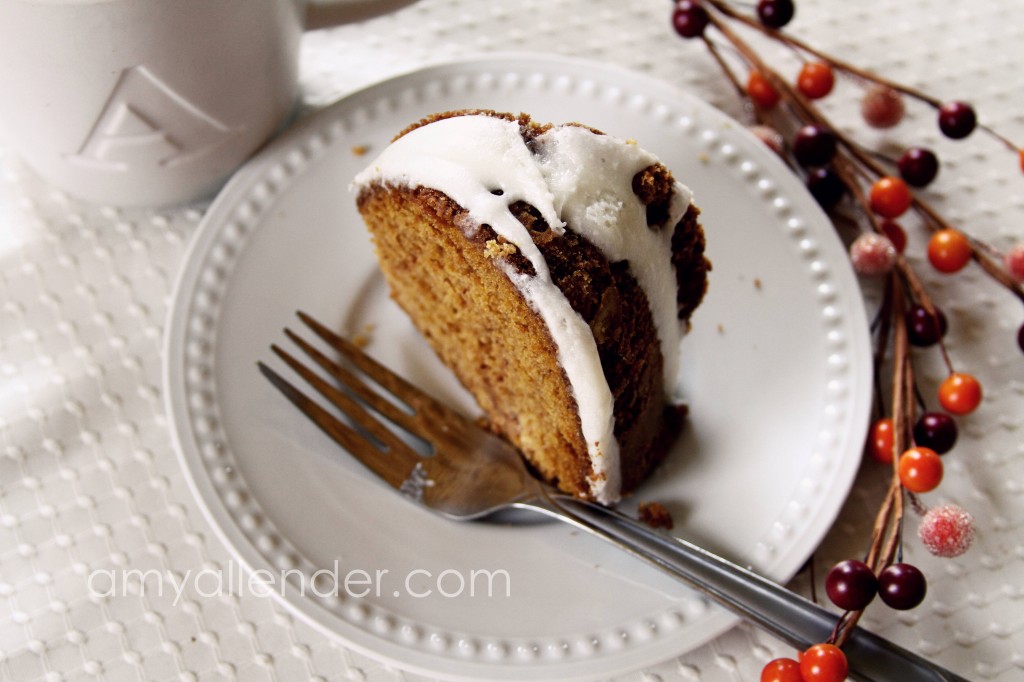
I love this recipe. It’s one that I wrote a few years ago for Thanksgiving. This year, I busted it out early. Because it’s really that easy and that good. And the batter tastes amazing, so the bowl is totally worth licking. Here’s the recipe.

You have a couple options for glaze. Super easy route:
Buy a can of cream cheese frosting from the store. Heat it up in the microwave for a few seconds at a time, until it’s liquidy and smooth. Drizzle it over the cake.
Make it yourself:
Put 1/2 block of cream cheese in a bowl. Microwave it until it’s soft. Mix in 1/2-3/4 cup powdered sugar {depending on how sweet you like it.} Add a Tbsp of milk to get a glaze consistency. Keep adding milk little by little until you have a drizzle-able consistency.
Then eat it. Or share it. Or both. But be sure to pair it with a good, hot drink. That’s the best.
Amy
by Amy | Oct 9, 2013 | Blog, The Art of the Moment
Savanna lives in the country. Shade dapples the property. Classic cars peek out from behind the barn…projects to be done. The grass is green, bunnies hop through tall weeds, the sun makes the color of the world vibrant.

In this rustically idyllic setting, Savanna fits in perfectly. She’s fun and tough, and the kind of girl who walks around outside without shoes.

Like all the seniors I’ve book so far this year, I know Savanna through the youth group I volunteer with at church. So I offered her the same discount that Gretchen took advantage of. Throughout the rest of the post you’ll find the verses she chose to memorize and recite at her session.
“They replied, ‘Believe in the Lord Jesus, and you will be saved–you and your household.” Acts 16:31

She and her dad restored this 1960’s truck together. I’m simply crazy about the color. She calls it the “Turtle” because it’s green and slow.
“For all have sinned and fall short of the glory of God,” Romans 3:23

“For the wages of sin is death, but the gift of God is eternal life in Christ Jesus our Lord.” Romans 6:23

“In fact, the law requires that nearly everything be cleansed with blood, and without the shedding of blood there is no forgiveness.” Hebrews 9:22

“For the Son of Man came to seek and save the lost.” Luke 19:10
Be on the lookout for more from this session on the Facebook page later this week. And don’t forget to come over to the Facebook page every night for a new costume idea throughout the month of October.
Amy
by Amy | Oct 7, 2013 | Blog, Crafts, The Art of Projects
Many moons ago when I first started writing about all my projects and adventures, I wrote a post about an adorable fall garland I made with my mom.
And since most of you weren’t reading back then, and it’s not fair that you miss out, just because you didn’t know this blog existed, I thought I’d do a rerun. The adorable fall garland you see below is a compliment catcher. I get comments on it every year when I hand it up. And it only cost $5 to make two of them. All you need is some felt, very sharp scissors, a Sharpie, and a buddy to chat with while you snip these bad boys out.
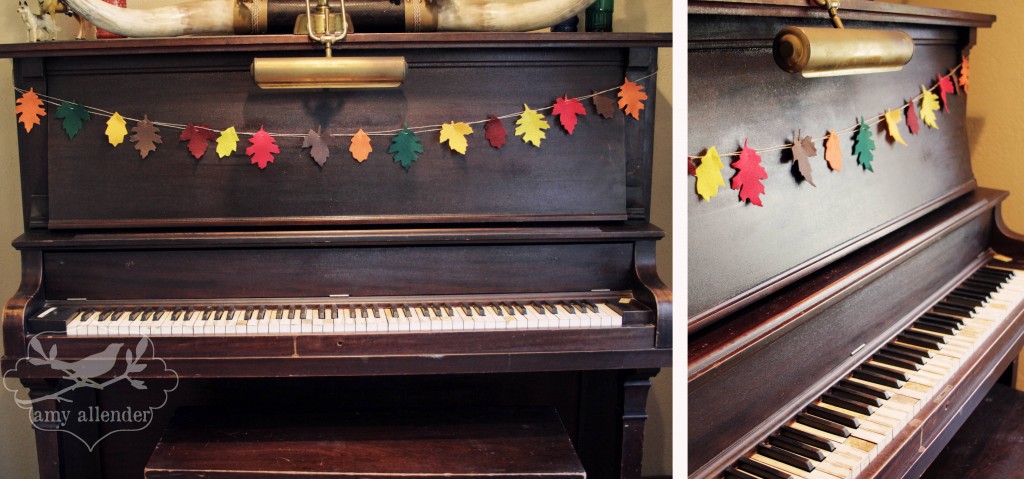
Here’s the finished product. Simple and lovely.
I originally made this to be hung on my mantle. But now I live in a house with no mantle. So it resides here. On my piano.
Here’s what you’ll need:
Craft twine–I got a big spool of it at Hobby Lobby for $2.
Felt–Your choice in colors
Computer
Paper
Sharpie
Sharp Scissors
Wide Eyed Needle
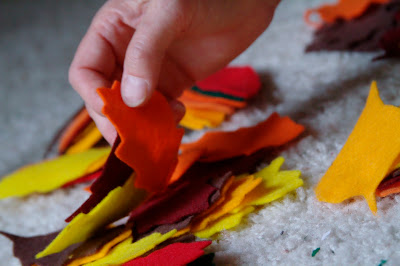
Step one: Google Image some leaves. I used five different shapes. Then, use your computer as a light-box and trace the shapes onto some regular or stiff paper. You could easily do this using only one type of leaf. The templates I made were about 3-4″ long. But, you pick the size. Next, cut your templates out and trace them onto the felt. I used a Sharpie for this.
Remember, this is a craft. It’s not going to be judged by a tree specialist. Do your best on tracing and cutting but it doesn’t have to be perfect.
Step Two: Cut out your leaves. My garland used 16 leaves for my 4′ mantle. It may be helpful to decide where you want to hang it before you start, so you have the right amount of leaves.
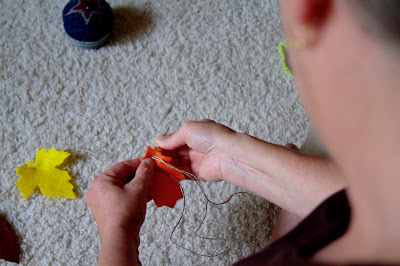
Step Three: Cut your twine the length you need. Leave a few inches on either end to hang by. Thread a wide eyed needle with the twine. Begin to stitch the leave on the line. Use a simple running stitch so you can adjust the spaces between leaves once they are all attached.
Step Four: Once they are all on the line, space them out how you like. I left a few inches between mine. My mom finished hers by tying scraps of fall colored fabric between each leaf. I left mine bare. Do what you like. To hang it, tie the extra twine into a loop on either end. Use a small nail or clear thumb tack (that’s what I use) to secure it to the wall, window or mantel on either side.
Amy
by Amy | Oct 4, 2013 | Blog, The Art of Faith
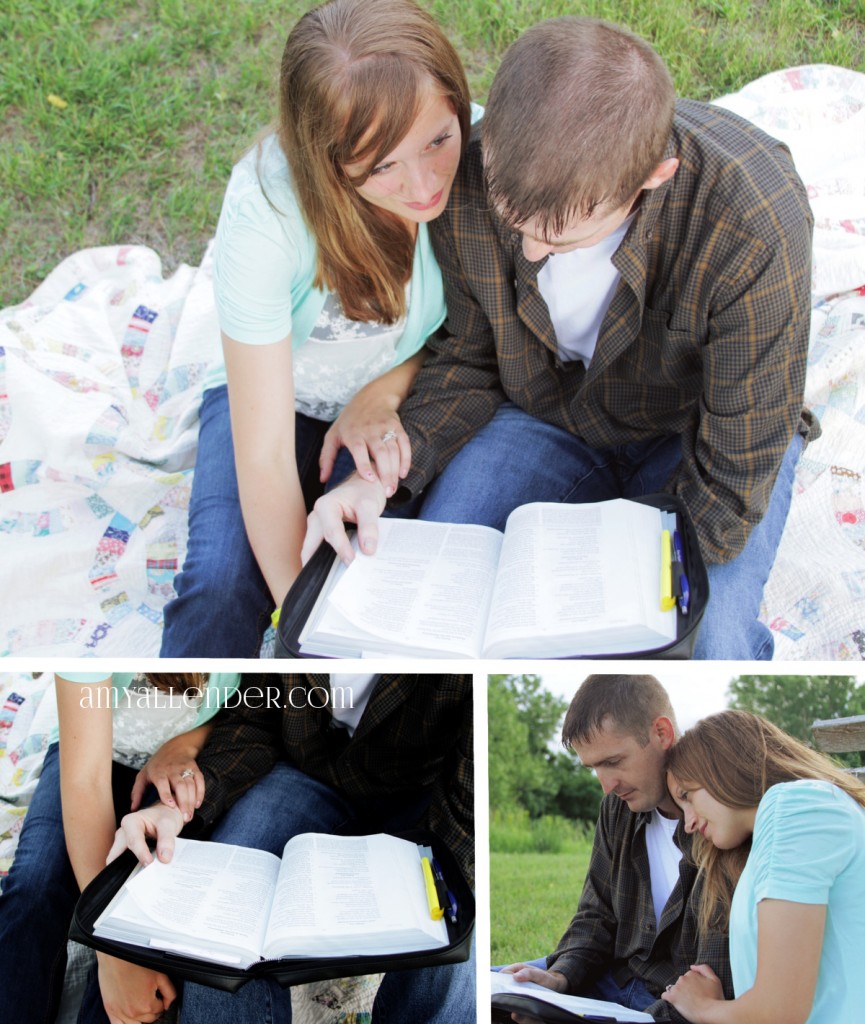
The problem with knowing a subject really well is that after a while everything we see about it seems the same. We start to read about it, whatever it is, then our eyes glaze over and we start skimming…because we have it in our heads that we’ve already seen that, heard that, know that.
That’s the problem with being raised as a Christian. Okay. That sounds bad. Being raised in a Christian home is a good thing. Definitely a good thing.
But when we grow up going to Sunday school and VBS and hearing about God over, and over…we get this idea in our head about God and stop seeking to understand Him more. We can develop a tendency to read our Bible and simply be refreshed on what the “story” is. Yes, Jesus walked on water, He calmed a storm, we know about Cain and Able and Joseph and his runway-worthy robe. When we think we “know” God, we stop trying to know Him. These words become stories. The chapters become anecdotes, reminding us of things we already know.
Just a few nights ago I was chatting with my small group within the high school Youth Group at our church. We’ve been studying how we can be better at reading the Bible. In our groups leaders were asked to pitch a few questions to the teens. Earlier in the evening, we all read a passage from James. One question we asked them was, “What does this passage tell us about God?”
When I looked at the questions, I gravitated toward the others on the sheet. Things like, “What’s the main point of this passage?” or “How should our attitudes and actions change after reading this?”
But when we started our discussion, I was surprised when the majority of my group said the question about what the passage tells us about God was their favorite. One girl explained why this was. She said that constantly asking ourselves what an individual passage says about God will continue to push our faith. We’ll continue to grow and understand Him better. Forcing ourselves to pinpoint what a small section of Biblical text says about God will help us examine Him without the context of everything else we have learned in the past.
Brilliant.
I couldn’t agree more. Every chapter, every book, every passage of the Bible speaks of our God. We can learn something about God, whether it’s His character, His plan, His love–from everything we read in the Bible. I encourage you to choose a passage and look upon it with new eyes this weekend. Isolate just a wee bit of text and ask yourself what it says, just that text, about God. You might be surprised at what you learn.
Amy


