by Amy | Jun 21, 2013 | Blog, The Art of Faith, The Art of Living
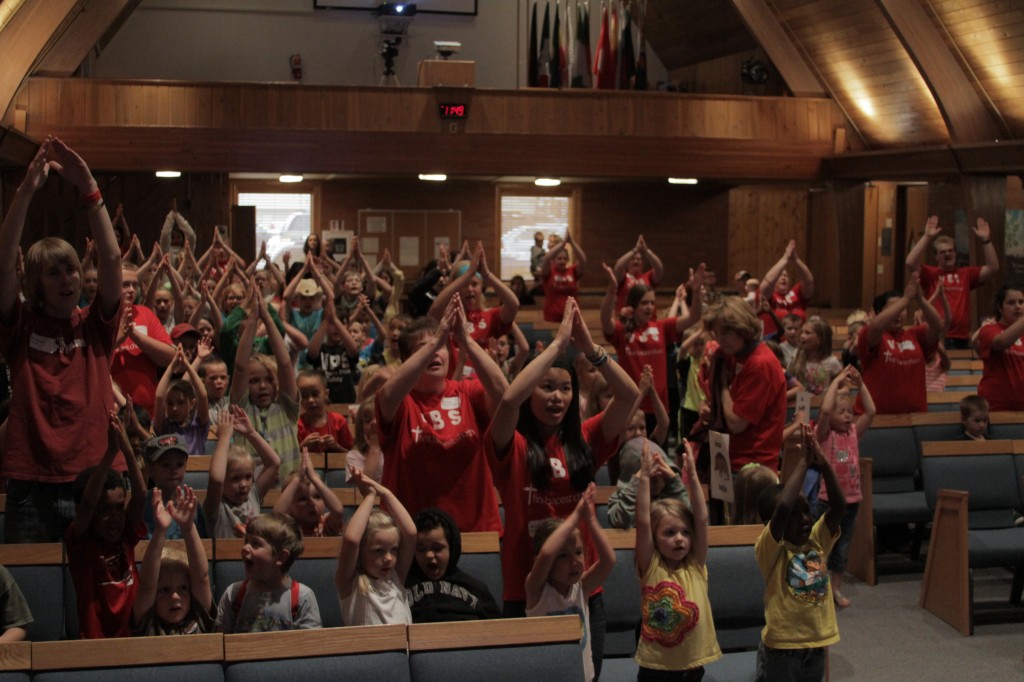
Summertime tends to make me a bit nostalgic. It’s like Christmas to some extent. The smells, the trips, the food…they all remind me of happy times gone by. Being off of school, sleeping late, days at Lake Michigan, watermelon on the patio. I spend a lot of summer moments remembering being a child.
One annual summer event {that happens no matter what state I’m living in} is Vacation Bible School. I can remember a time when I didn’t even know what VBS stood for. Now, tens of years later, it’s just part of the summer time routine. Whether I can volunteer or not is usually hit or miss. Depending on my work schedule…and up until this year our summer moving schedule. But it’s always the same. Around the middle of June colorful signs appear in church lawns advertising a fun week themed around a beach, a ranch, pirates or an African safari. As you drive through town you can see kids throwing water balloons in the parking lots, getting sprayed down with hoses during some crazy relay race, and leaving churches with their hands full of amazing crafts.
This week wrapped up our VBS at First Baptist Minot. I helped out just the teensiest, tiniest bit. Coming by for only an hour or two each day. Just long enough to grab one of the snacks from the kitchen {ahh, church kitchens…} and snap a few photographs to document the occasion.
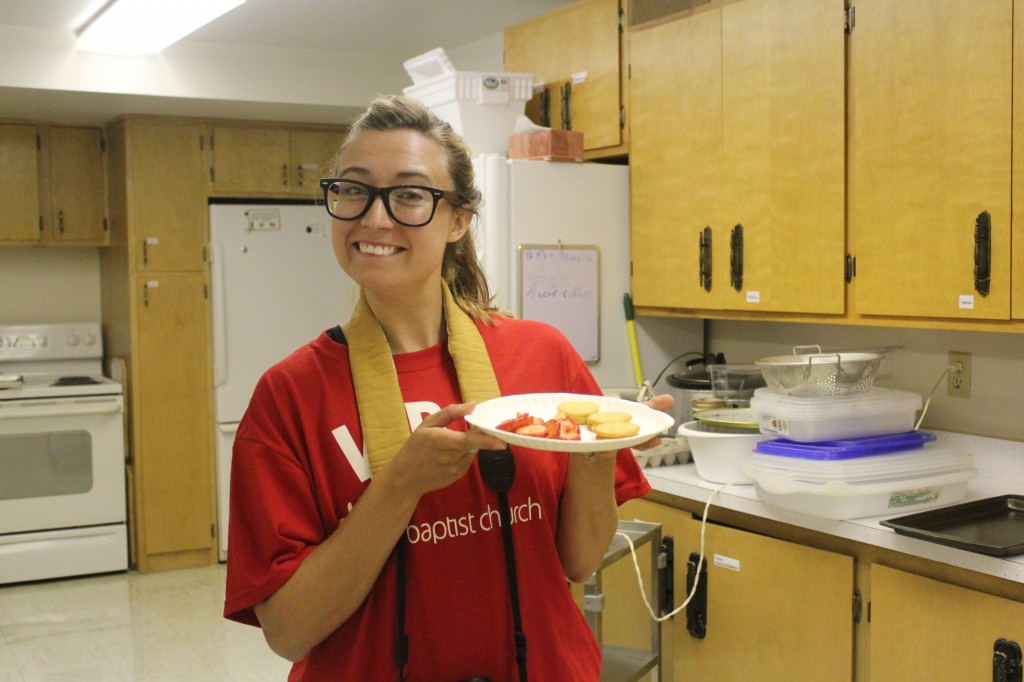
This year it got me thinking about the people who really influenced my faith as a child. People who took time out of their schedule to help me make crafts that my mom was sure to “love.” People who put on funny robes to tell me Bible stories and made up motions to catchy songs. I’ve been reflecting on the adults in my home church this week. Not only those who helped with VBS but the ones who taught my Sunday school classes, who directed our Children’s Choir, or who spent one Saturday each month with me at a club we called “Christian Critters.”
Now that I’m an adult I realize just how hard it can be to do those things. It’s not always fun, it’s not always convenient. Waking up early, clearing our plans, going to meetings, staying after church, showing up before church. It’s all work. And kids are not always on their best behavior, or openly grateful for your commitment. I know I didn’t always show my gratitude.
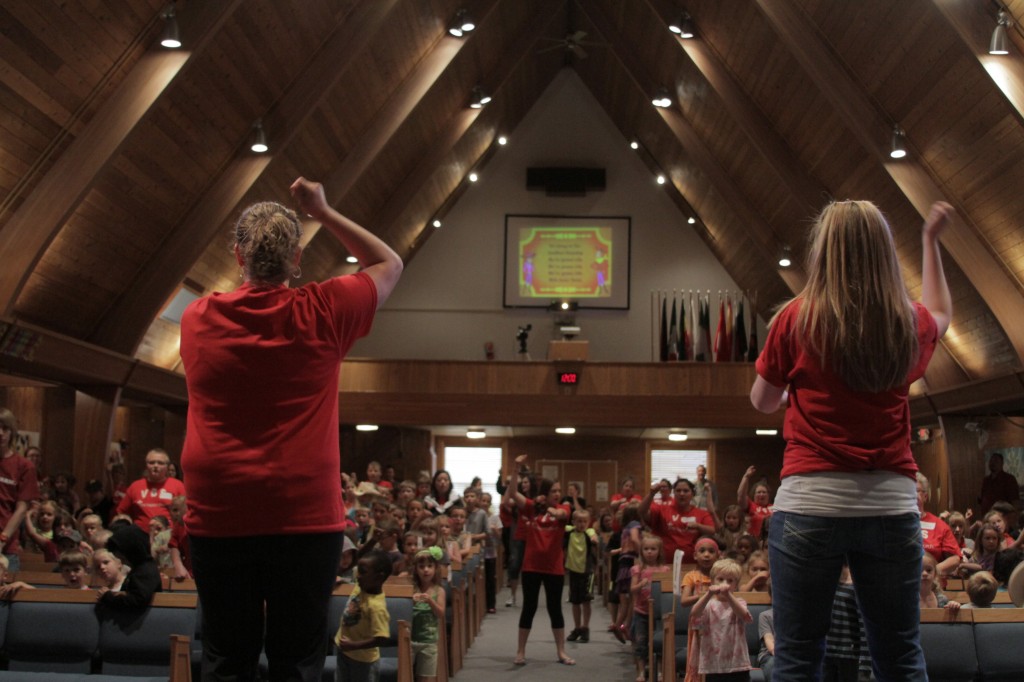
But the work of these men and women is priceless. The hard work of the adults in my childhood left memories that I still remember today, 20 years later. They are lessons that I teach children today, and I’ll teach my own children in the future. Children’s ministry volunteers cut and craft and pray and sing and dance. They create an atmosphere that allows children to learn and grow in faith. I have a vivid memory of my kid’s choir director, Sandy Metcalf, teaching us about the fruit of the spirit each week after we’d finished our songs. She gave each of us a little terracotta pot with some of that paper Easter basket grass in it. Then every week she’d give us one more fruit of the spirit. It was a little piece of construction paper cut in the shape of a fruit glued to a Popsicle stick. Each one had a label on it: Love, peace, kindness, gentleness, self control, patience, joy, goodness, faithfulness. In the end we all went home with a “garden.”
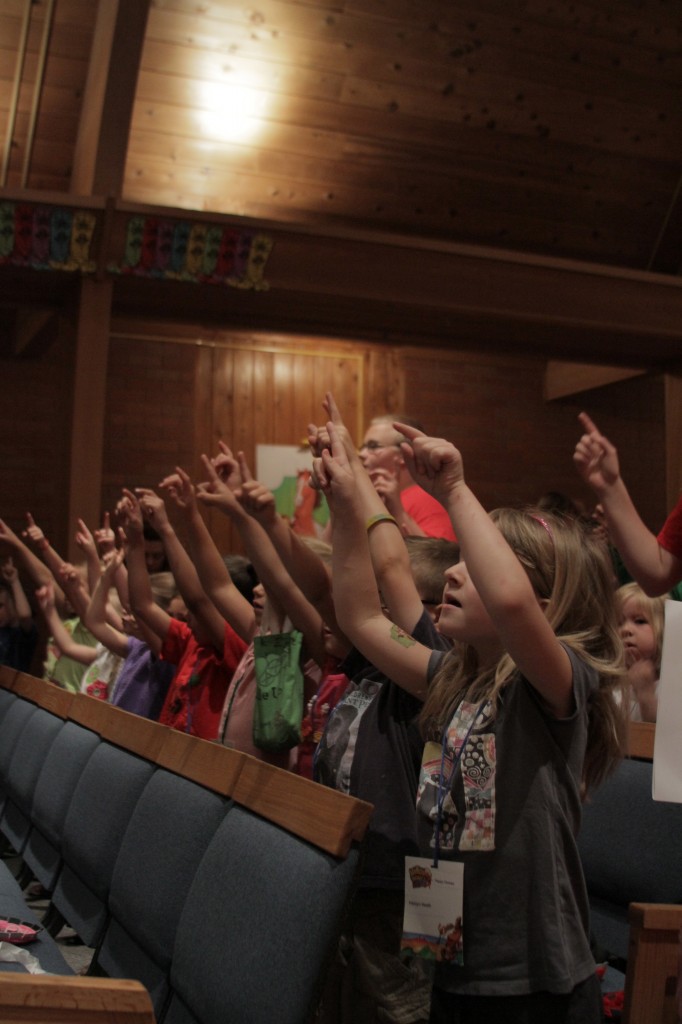
Take some time to reflect with me on the people who worked so hard to shape the faith you have today. We owe them our lives.
Amy
by Amy | Jun 20, 2013 | Blog, The Art of Projects, the house
You’ve seen “Christmas Vacation”, right? The one with Chevy Chase. Around my house it’s pretty much a holiday tradition to watch it at least once during the Christmas season.

In the movie Clark Griswold has a daydream about what he’ll do with his Christmas bonus. He looks out his frosty window and envisions his plain jane yard in an extravagant, ultra-improved way. It looks like this.
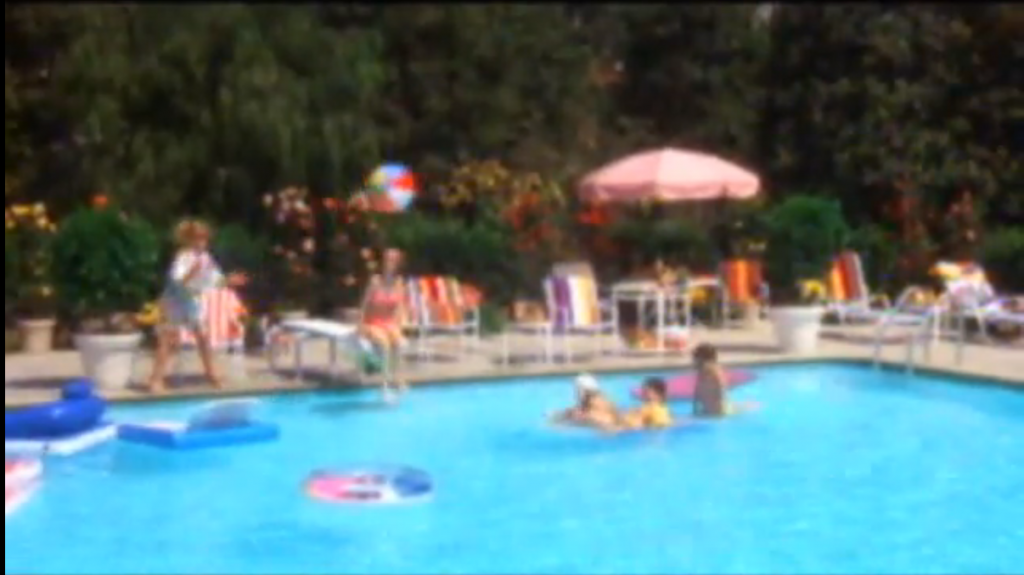
It’s a little blurry. This movie is from before the days of HD. And let’s not forget Cousin Eddie’s role in all of this.
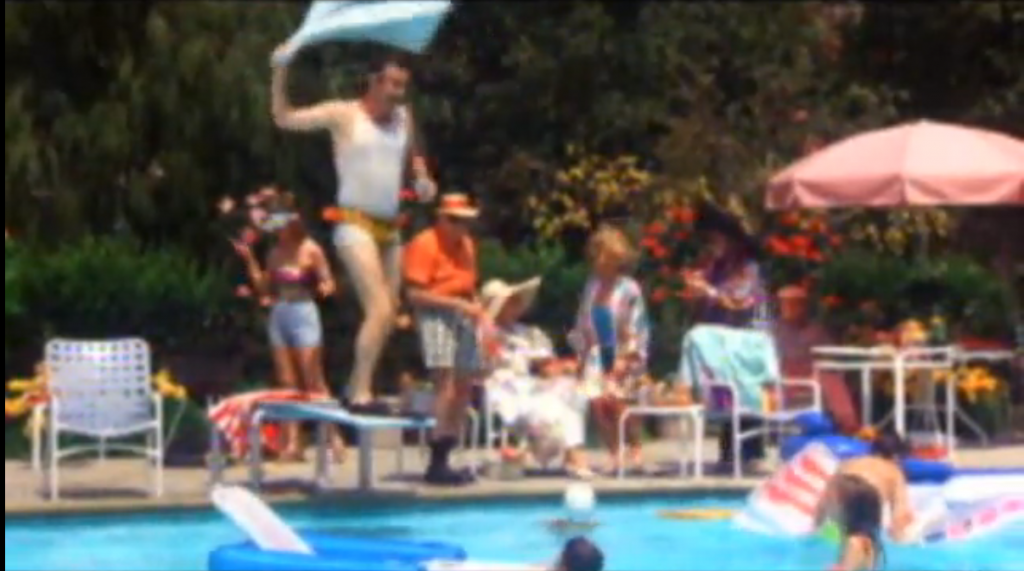
This daydream plays out to the sweet sound of Bing Crosby singing his Christmas classic, “Mele Kalikimaka.”
I’ve been acting like Clark for months now. Staring out my window, longingly looking out at the snow/sleet/rain/mud covered yard. Anxiously waiting for the day when I could make my yard dreams come true.
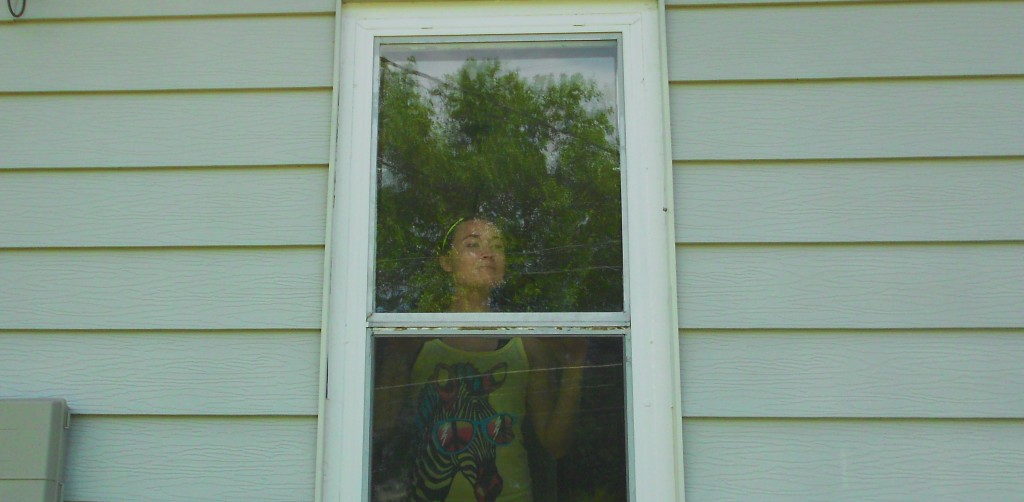
I looked out and saw this:


For the average person, yard dreams may include a little landscaping. Some grass covering the spot where that shed came down. Come on. You guys know me better than that. I”m Amy Allender, for crying out loud. I looked out at that…and saw something like this:
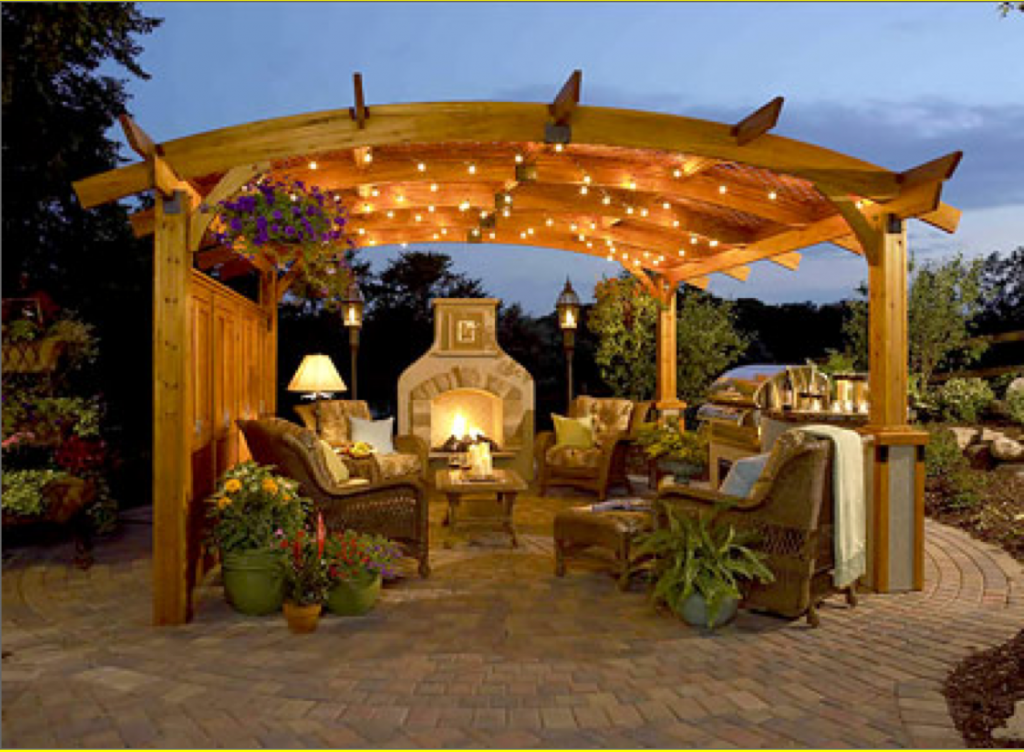
A girl can dream, right? {Image from here.}
So it’s not going to be this extravagant. Not in the least. But I am putting in a patio. You see, our house is not huge and I love having people over. The summers in North Dakota are so very, very nice I figure I could add extra room and “rooms” by adding them outdoors. {We have a very nice yard.} So I said “Adios” to that ugly, rusty shed…and “Hello” to my Mele Kalikimaka moment.
I broke ground today. More later on what you can practically and rationally expect from this project. {And of course how I’m getting it done.} But for tonight I leave you with my vision. And a challenge to have your own Mele Kalikimaka moment. Have you been staring out your window? Take the plunge, make that daydream into more than a subscription to the “Jelly of the Month” club.
Amy
PS…watch my “Outdoor Living” board on Pinterest. It’s about to explode!!
by Amy | Jun 18, 2013 | Blog, Crafts, The Art of Projects, the house

Did you know that I was formerly banned from hanging things on the walls of my house? Yes, me. The girl who can rip out a wall, tear up carpet, wire a light and texture dry wall. I can make over a room like the best on HGTV, but I was banned from putting nails in the walls. Sad, but true.
It started when I lived in Florida. I know some of you readers are friends from those days, so this story will probably ring a bell with you. Back in 2009 I was a newly wed, living in a new state and a cute rental house with my new husband. This was my first place outside of a college rental house I shared with my girlfriends down the street from our University’s village. Pretty big deal.
Like all newly wed girls I was pretty stoked over our wedding photos. I loved them and I wanted everyone who came into our house to know that we had had a wedding…and it was awesome. I wanted…a gallery wall.
I wish I had a photo of this undertaking. It was really something. Like most of my best work, I hit this project hard one evening when Derek wasn’t home. Unlike most of my best work…this was a pretty big fail.
I went in armed with a huge blank wall and a lot of photos and cute frames, but things really took a nasty turn. Here’s what went wrong:
1. My photos were TOO SMALL. At the time I had no concept of what size wall art should be. I printed a load of 4×6 and 5×7 photos {and just a couple 8×10’s} and expected them to look good strung up on my giant wall. What I ended up with was a messy looking display of things that you had to be right next to to view.
2. It was more vain than artistic. This gallery wall was dubbed by our friends {and ourselves} the “Wedding Wall.” Seriously, just photos of our wedding. Lots of them. It’s nice to have photos of yourself around, but a gallery wall is a home focal point. After a while I felt kind of weird about having so many pictures of us on display. I mean, we see ourselves all the time…A gallery wall should speak to who you are in a creative way, without becoming a shrine to you, you, you. **I’m not saying you shouldn’t include yourself on your wall. Just don’t overkill it like I did.**
3. This is the big one…I didn’t plan. I thought I could go in with a rough idea and come out with something Martha herself would envy. Wrong. The reality was I ended up hanging a frame, then hating it and moving it…and making another and another hole in the wall.
It was this second error that caused me to lose my hanging privileges. When it was time to move it looked like Al Capone himself had taken a tommy gun to our wall. There were so many, many holes. Derek and I had a pretty good laugh about that. Then he said I should probably run everything I wanted on the walls by him before any nails get hammered.
This ban was never officially lifted, but this summer Derek isn’t around and I really, really wanted another crack at the old gallery wall game. This time I was determined to do it right. It was like a Tosh.0 web-redemption. I got a second shot to do something trivial and meaningless right. And I’m happy to report that I succeeded. Here’s the secret:
PLANNING.
Go figure. One of my favorite high school teachers used to tell us that “Proper preparation prevents a poor performance.” {Bonus points to any Jimtown Jimmie that can name the author of that quote.} And boy was he right. I spent an evening looking at all my gallery options, then whittling it down to only the best. Once decided I traced the shape of everything I was going to hang on some cheap-o wrapping paper and played with my layout like so:
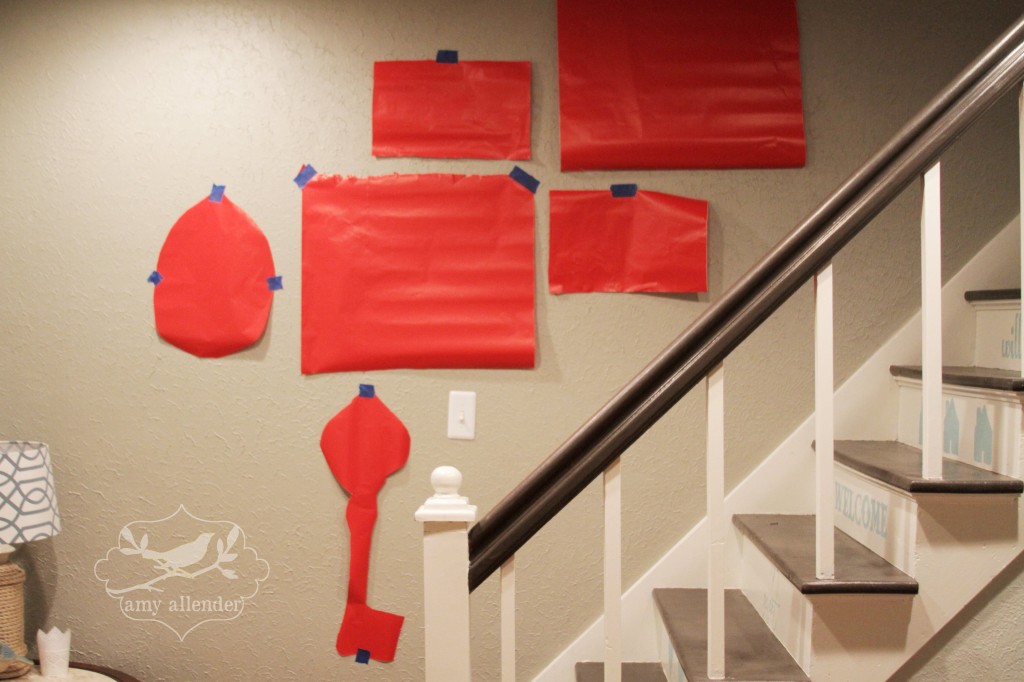
Once I was happy I carefully hammered a nail through the paper, took the paper off the wall and hung my frames.
I didn’t mis-nail once! I guess you could say I really “nailed” this one. Don’t even try to tell me that wasn’t a clever pun.
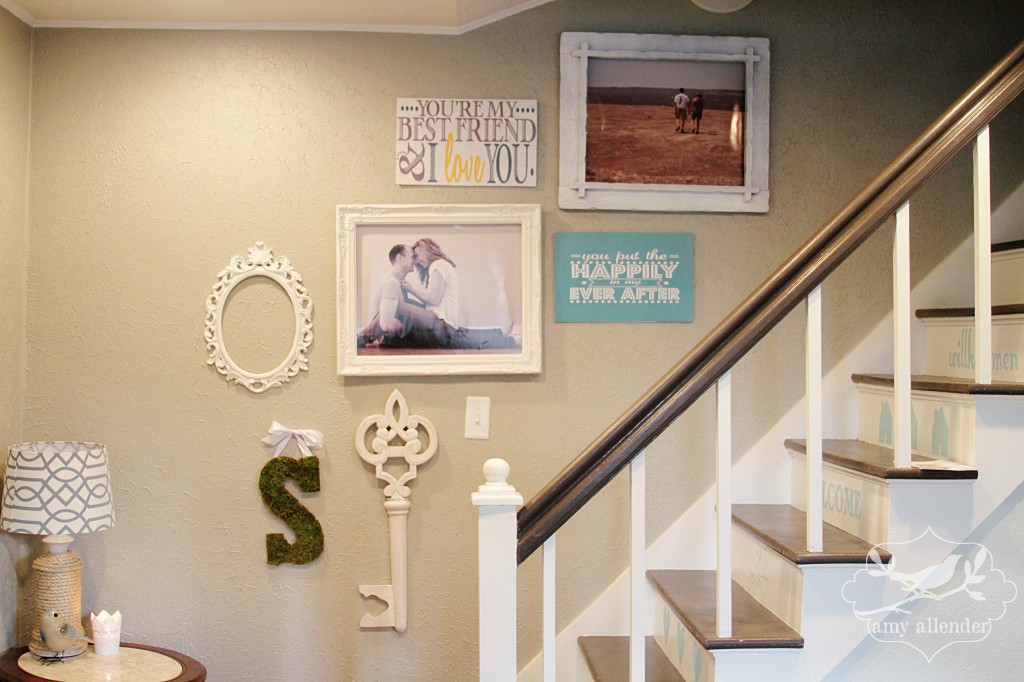
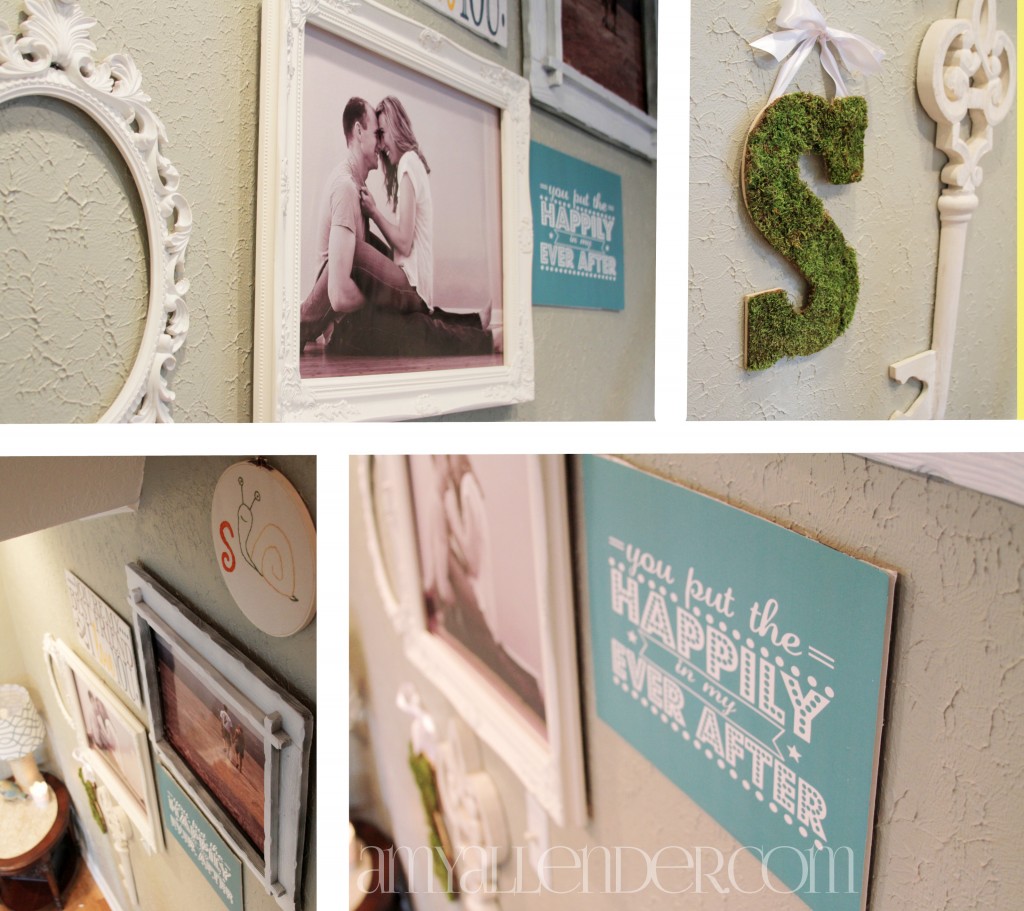
So here are my tips for being successful with your focal gallery wall.
1. Decide what you want to hang.
2. Keep a common theme. Go figure, my theme here is white…my favorite decorating color.
3. Be simple. Bigger and fewer is a good place to start. Lots of small frames can look crowded and cheap.
4. Be thrifty {that’s really a life tip.} I had my big prints made at Staples. They are printed on photo paper, then glued to foam core. Much cheaper than canvas prints and easy to switch out.
5. Put up things you love. While Derek is gone I love seeing a photo of us together on the wall. When he returns I may change it. Who knows. The other large print is of us hiking in Texas. Both remind me of happy times. I like happy. That empty oval will soon house a portrait of my cat. Don’t judge me.
6. Leave room to grow. You never know when you’ll want to add. Plan some space for future finds.
It feels so good to have my hanging privileges back!
Amy
by Amy | Jun 18, 2013 | Blog, The Art of the Moment
I cannot explain in words what a fun working weekend I had. I’ll have sneak peeks of everything up next week…but in the mean time I just couldn’t wait another minute to show you what I’ve been up to. I have a hard time picking a favorite, but here is one of my most loved from each session.
I shot a new born session for my friend Kim’s adorable twins! You remember that “Go Bananas” baby shower I threw in May? That was for these little ones. They are here…they are cute and they are tiny! Two little people in a suitcase. Eek! It’s just so precious!

A couple hours later I headed back out to capture some beautiful maternity images. Lauren and Ricky were a blast to work with. And to top it all off, they knew exactly what to do with their faces. You know what I mean? They are seriously beautiful people. No joke, no lie. Oh, and their pup isn’t too shabby either.

Sunday I had a day of rest, then this morning I was invited to capture my first ever homecoming! I’m going to write a whole post on it later, but for now I’ll just tell you that there is nothing like it. Seeing folks reunited after a deployment is pure magic.

More from these next week…and a DIY gallery wall tomorrow.
by Amy | Jun 14, 2013 | Blog, The Art of Projects, the house
Hey all!
I have had such a fun, fun week. My family has been in town and we have been running all day seeing the North Dakota Practically Canada sights.
Highlights from our visit will be up here on the blog soon…but in the meantime, I want to give you a full project breakdown! Today we’ll be looking at my whole bedroom redo from start to finish. I’m going to give you all the details {even cost} on what I did to achieve this B&A.
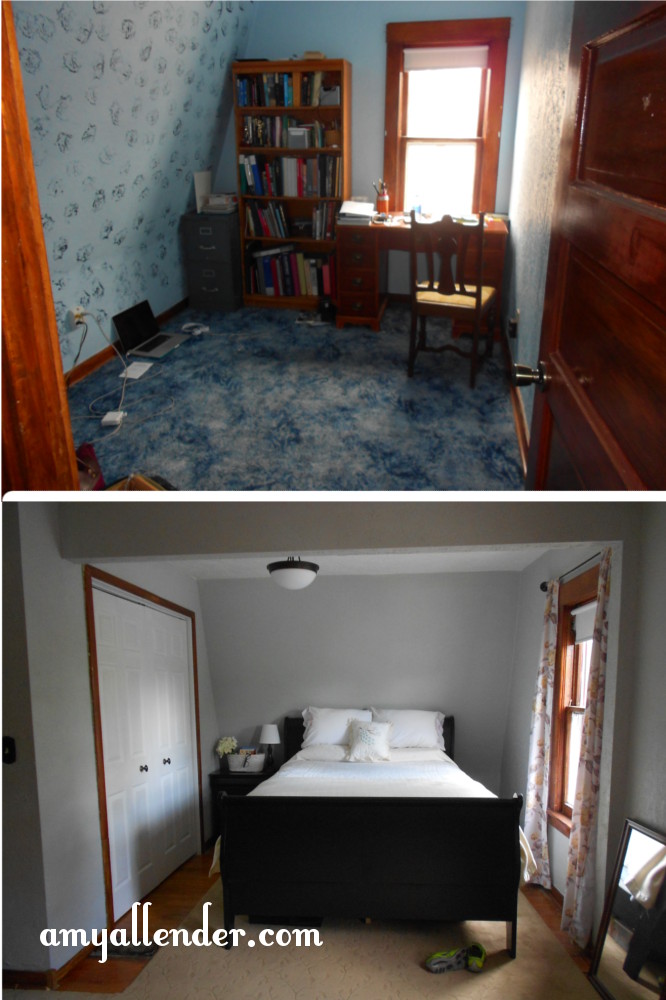
Okay, so I don’t know how projects work at your house…but around here I like to keep costs down. Even if that means it takes a little more time to finish and I do a good chunk of work myself. (more…)
by Amy | Jun 10, 2013 | Blog, The Art of the Kitchen
Today I’m revisiting a post that I ran over a year ago. Now, I wouldn’t rerun unless I really thought you should see it. This is the best salad you’ll eat all summer. It’s so amazing, so fresh, so summer.
The beauty of this salad is that it comes together quickly and can be made big enough to serve as a main dish. And you can use with lots of different fruits {peaches are photographed, but I love it with strawberries and Mandarin oranges too.} It makes a beautiful lunch paired with a soup or turkey sandwich…or a dinner with grilled chicken. Layer up all the following in a salad bowl. I just listed out the ingredients. You know how much of each you like! (And how many you are serving.)

- Spinach
- Onion (I used 1/4 of a white onion for the two of us)
- Peach–pitted and cut into small pieces (I cut up one for our salad)
- You can also sub in strawberries, mandarin oranges or mango!
- Pecans
- Feta Cheese (Not pictured because Derek doesn’t like it…I put it on my bowl and really, that’s how it should be served)
Next mix up your dressing. Making a homemade dressing is a sure fire way to impress your friends and look like some kind of award winning homemaker. So, if you are into the glory of being awesome you should definitely start making your own dressings. And once you see how easy it is–I bet you’ll start doing it.
Pour the following ingredients into a bowl OR a standard (not jelly) canning jar.
- 1/3 C Sugar
- 1/3 C Vinegar
- 1/3 C Olive Oil
- 1 t Ginger
- 1/2 t Garlic Powder
- 1/2 t Lemon Juice
- 1/2 t Chicken Bullion or Seasoned Salt
Give it a good stir until the sugar is somewhat dissolved. If you are using a jar, just cap it off and shake it up.
Pour over your salad when you are ready to serve, or over individual salads. One recipe for the dressing will cover a large pack of spinach and all the fixings.
I have made the rookie mistake of pouring is over the whole salad before, then driving to a party. Do not, I repeat, do not do this. Ever. It was all soggy and the sugar caused the fruit to juice out. It was a mess and I lost a lot of friends because of it…okay not really. But seriously, don’t dress it until you are ready to serve.
This’ll turn into one of your favorites. I just know it. I eat it multiple times a week and my friends constantly request it. Take it to a potluck this summer. I guarantee it’ll be a hit.
Enjoy!
Amy
by Amy | Jun 7, 2013 | Blog, The Art of Projects, the house
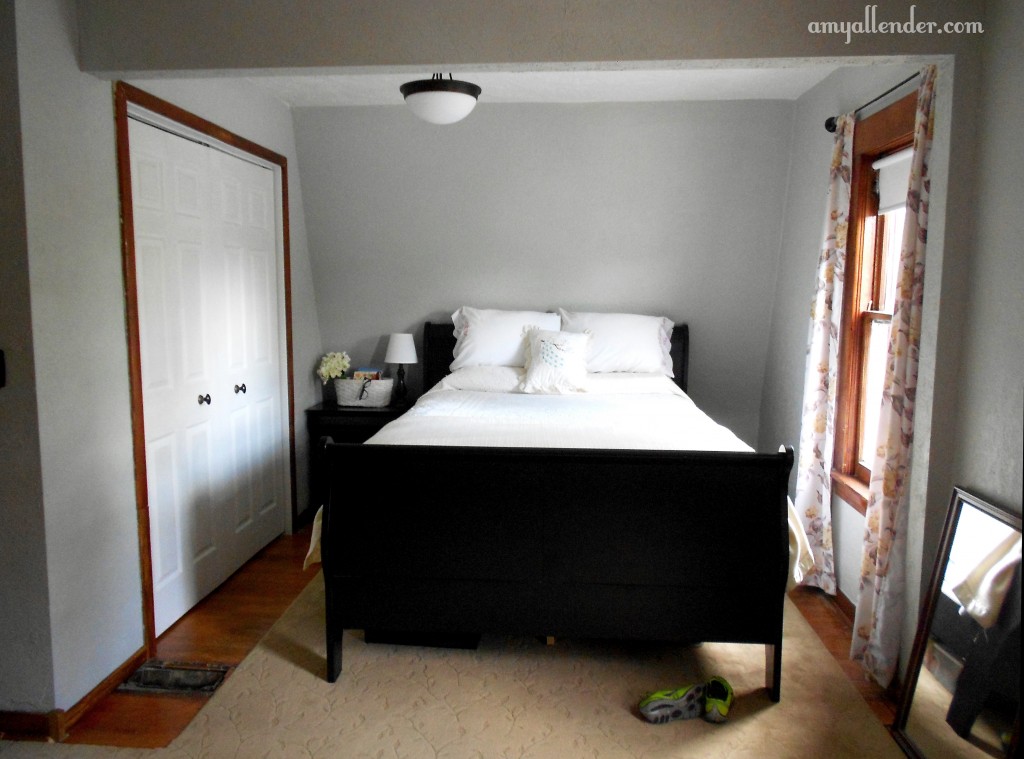
Can you believe this is my room? I can’t either. I also can’t believe it’s finished. {Minus one vent cover}. So take a look. Next week I’ll break down exactly how I did it.

Where the bed now sits where that cramped office used to be. Upgrade.

I walled off the old closet and now it’s a place for our dresser. {There is still a bit of electrical trouble, which is why that extra lamp is on the floor back there.} And take a good look at that old, unorganized closet…
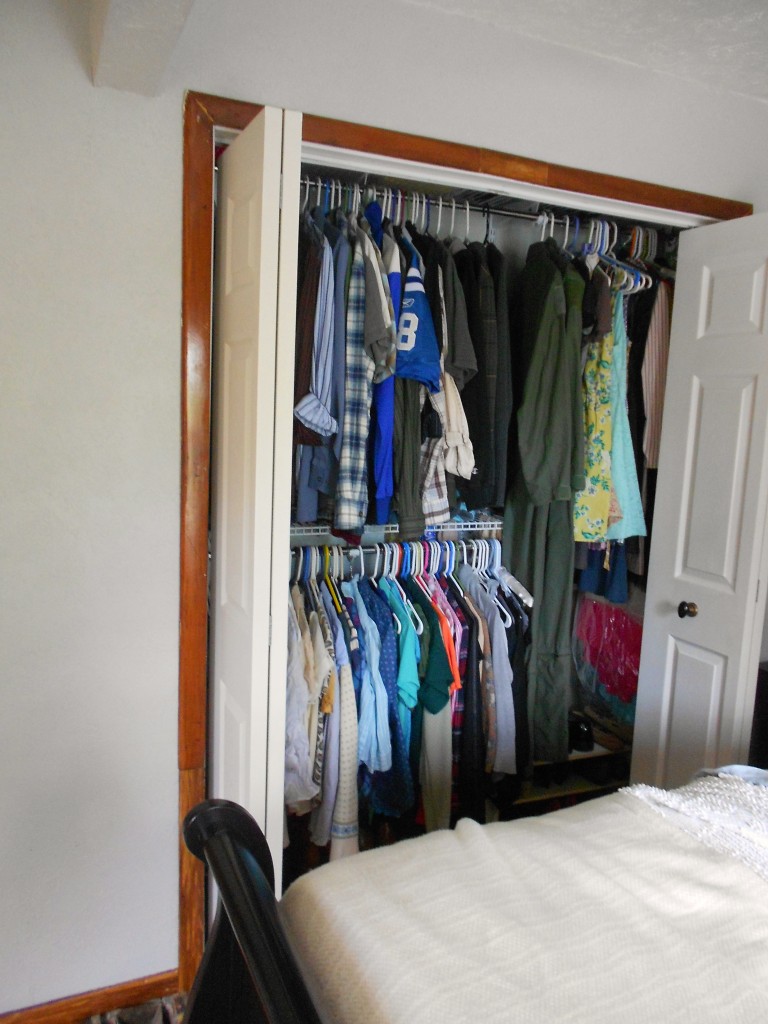
BAM! New and improved. I have more space than I’ve had in years!
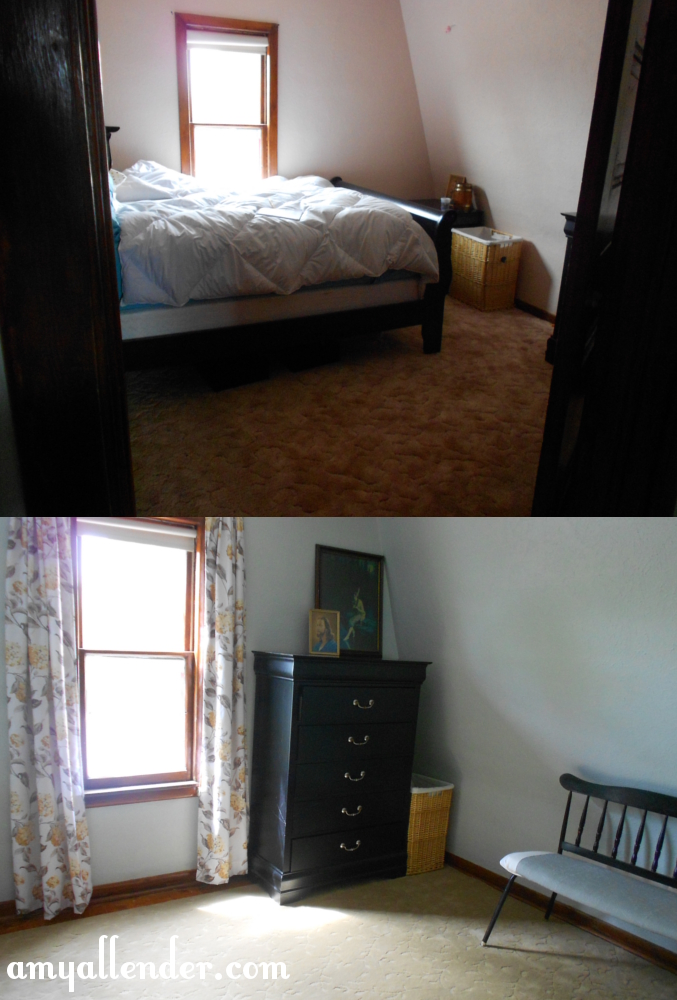
It’s hard to believe it’s the same space. The only problem now is that I don’t want to get up in the morning. Well, that was a problem before…but it has really escalated.
Have a great weekend.
xo Amy
by Amy | Jun 7, 2013 | Blog, The Art of Projects

This is a wooden shipping pallet.
And this is what creative people are doing with them.

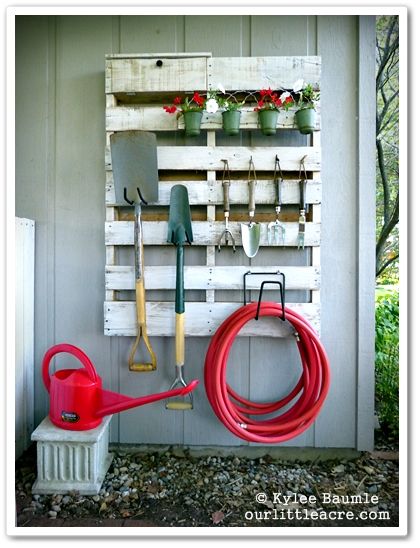

A quick search on Pinterest for the word “pallet” will pull up all kinds of awesome project you…yes, YOU can make from a shipping pallet. There are whole boards committed to pallet projects.
Now…if you are anything like me you love these projects, but you don’t own a Wal-Mart. So you probably don’t have a lot of shipping pallets hanging around. The dilemma then becomes,where to find these cast off gems.
Here’s the skinny on where to get your very own pallets. Let’s start basic. Pretty much every business that receives products, receives those products on pallets. Also, construction sites usually have them. Then they burn them at the end of the project. Which brings me to my list of tippy tips for scoring your very own free pallets.
1. Think small. A little research showed me that most big businesses are contracted with shipping companies to return their pallets and recycle them. Your best bet is to call local companies and ask them if they have pallets that they dispose of.
2. Good businesses to contact are hardware stores, garden shops, lumber yards, etc.
3. Small construction companies are good too. You can call their office and they may tell you sites that would have some you can pick up. If you are driving past a new development and you see a stack you can also stop {without obstructing their work} and ask for them. Chances are, they’ll be burning them at the end of the job.
4. If you see a stack near a business, don’t just assume you can take them. Even some small businesses recycle their pallets, so if you take them you might hurt their business or cause them to incur a fine.
5. Wear gloves when you go collecting. Pallets are not perfect and they are kind of splintery!
6. Be nice. Thank the business that give you free stuff. Maybe even shoot them an email with a photo of what you upcycled from their dumpster. I know you are awesome…so they’ll probably love you and you’ll make lots of new friends.
I called 5 businesses here in Minot. Four of the five had pallets that they dispose of free for the taking. I scoped them out and found that not all pallets are created equally. Since they are destined for the dumpster, some are pretty beat up. Some are more sturdy than others, some are longer, some are shorter. It’s all about being willing to go out and dig around until you find something worth using. A little elbow grease and a little calling around will pay off big time with free wood and free building blocks for lots of DIY projects.


