by Amy | Mar 7, 2014 | Blog, The Art of Living, The Art of Projects, The Art of the Kitchen

This week, a friend’s husband headed out for a six month deployment. She asked if I had any ideas. Here’s the truth. When it comes to mailing packages…I’m totally lame.
So I scoured the Internet and found a bundle of folks who are doing the care package thing right. I think we all know someone who could use a care package, whether your spouse is deployed or not. Hopefully this creative list will inspire you next time you need to ship some love via post. (more…)
by Amy | Jan 2, 2014 | Blog, The Art of Adventure, The Art of Faith, The Art of Gathering, The Art of Living, The Art of Projects, The Art of the Kitchen, The Art of the Moment, the house
Happy New Year! It’s hard to believe we have entered another year. If your life is anything like mine…it’s felt like a whirlwind ever since Thanksgiving. Yikes. But now the festivities are behind us and it’s time to learn from the past year and step into a fresh, new season.
The year goes by so fast that I often feel like it passed in a blur. {Any one second that?} I have to remind myself that a year is a long time. A lot can happen. One life can do a lot in one year. I really believe that and I hope you do too. For me 2013 could have been a very hard, negative year…but I think we chose how we spend our time and resources and energy. We can let negative circumstances weigh us down…or allow them to give us a chance to brush up on our hurdling skills. I may have banged my shins on hurdles a few times in the past 365, but I can confidently say that I cleared them all.
And if you don’t believe a lot can get done in a year…let’s look back at the biggest moments of a year with Amy Allender. (more…)
by Amy | Dec 5, 2013 | Blog, Crafts, The Art of Gathering, The Art of Projects, The Art of the Kitchen, The Art of the Moment
Did you have a happy Thanksgiving?
I sure did.
As most of my holidays go, the day revolved around being in the moment with family and friends. Oh, and it also involved quite a bit of food too. I’m a big fan of eating later in the day so that there isn’t a big rush with baking the turkey. It also takes away the need for a second giant meal of the day…we do dinner, pie, tea, games and bed time. Eating at dinner time {instead of that awkward 2pm “lunch”} gave everyone time for a little Thanksgiving activity time.
For Derek and my dad that meant time in the field hunting. For mom and me it meant time at the gym for a little turkey trot {aka an hour on the treadmill.} Of course we were home in time for THE parade.
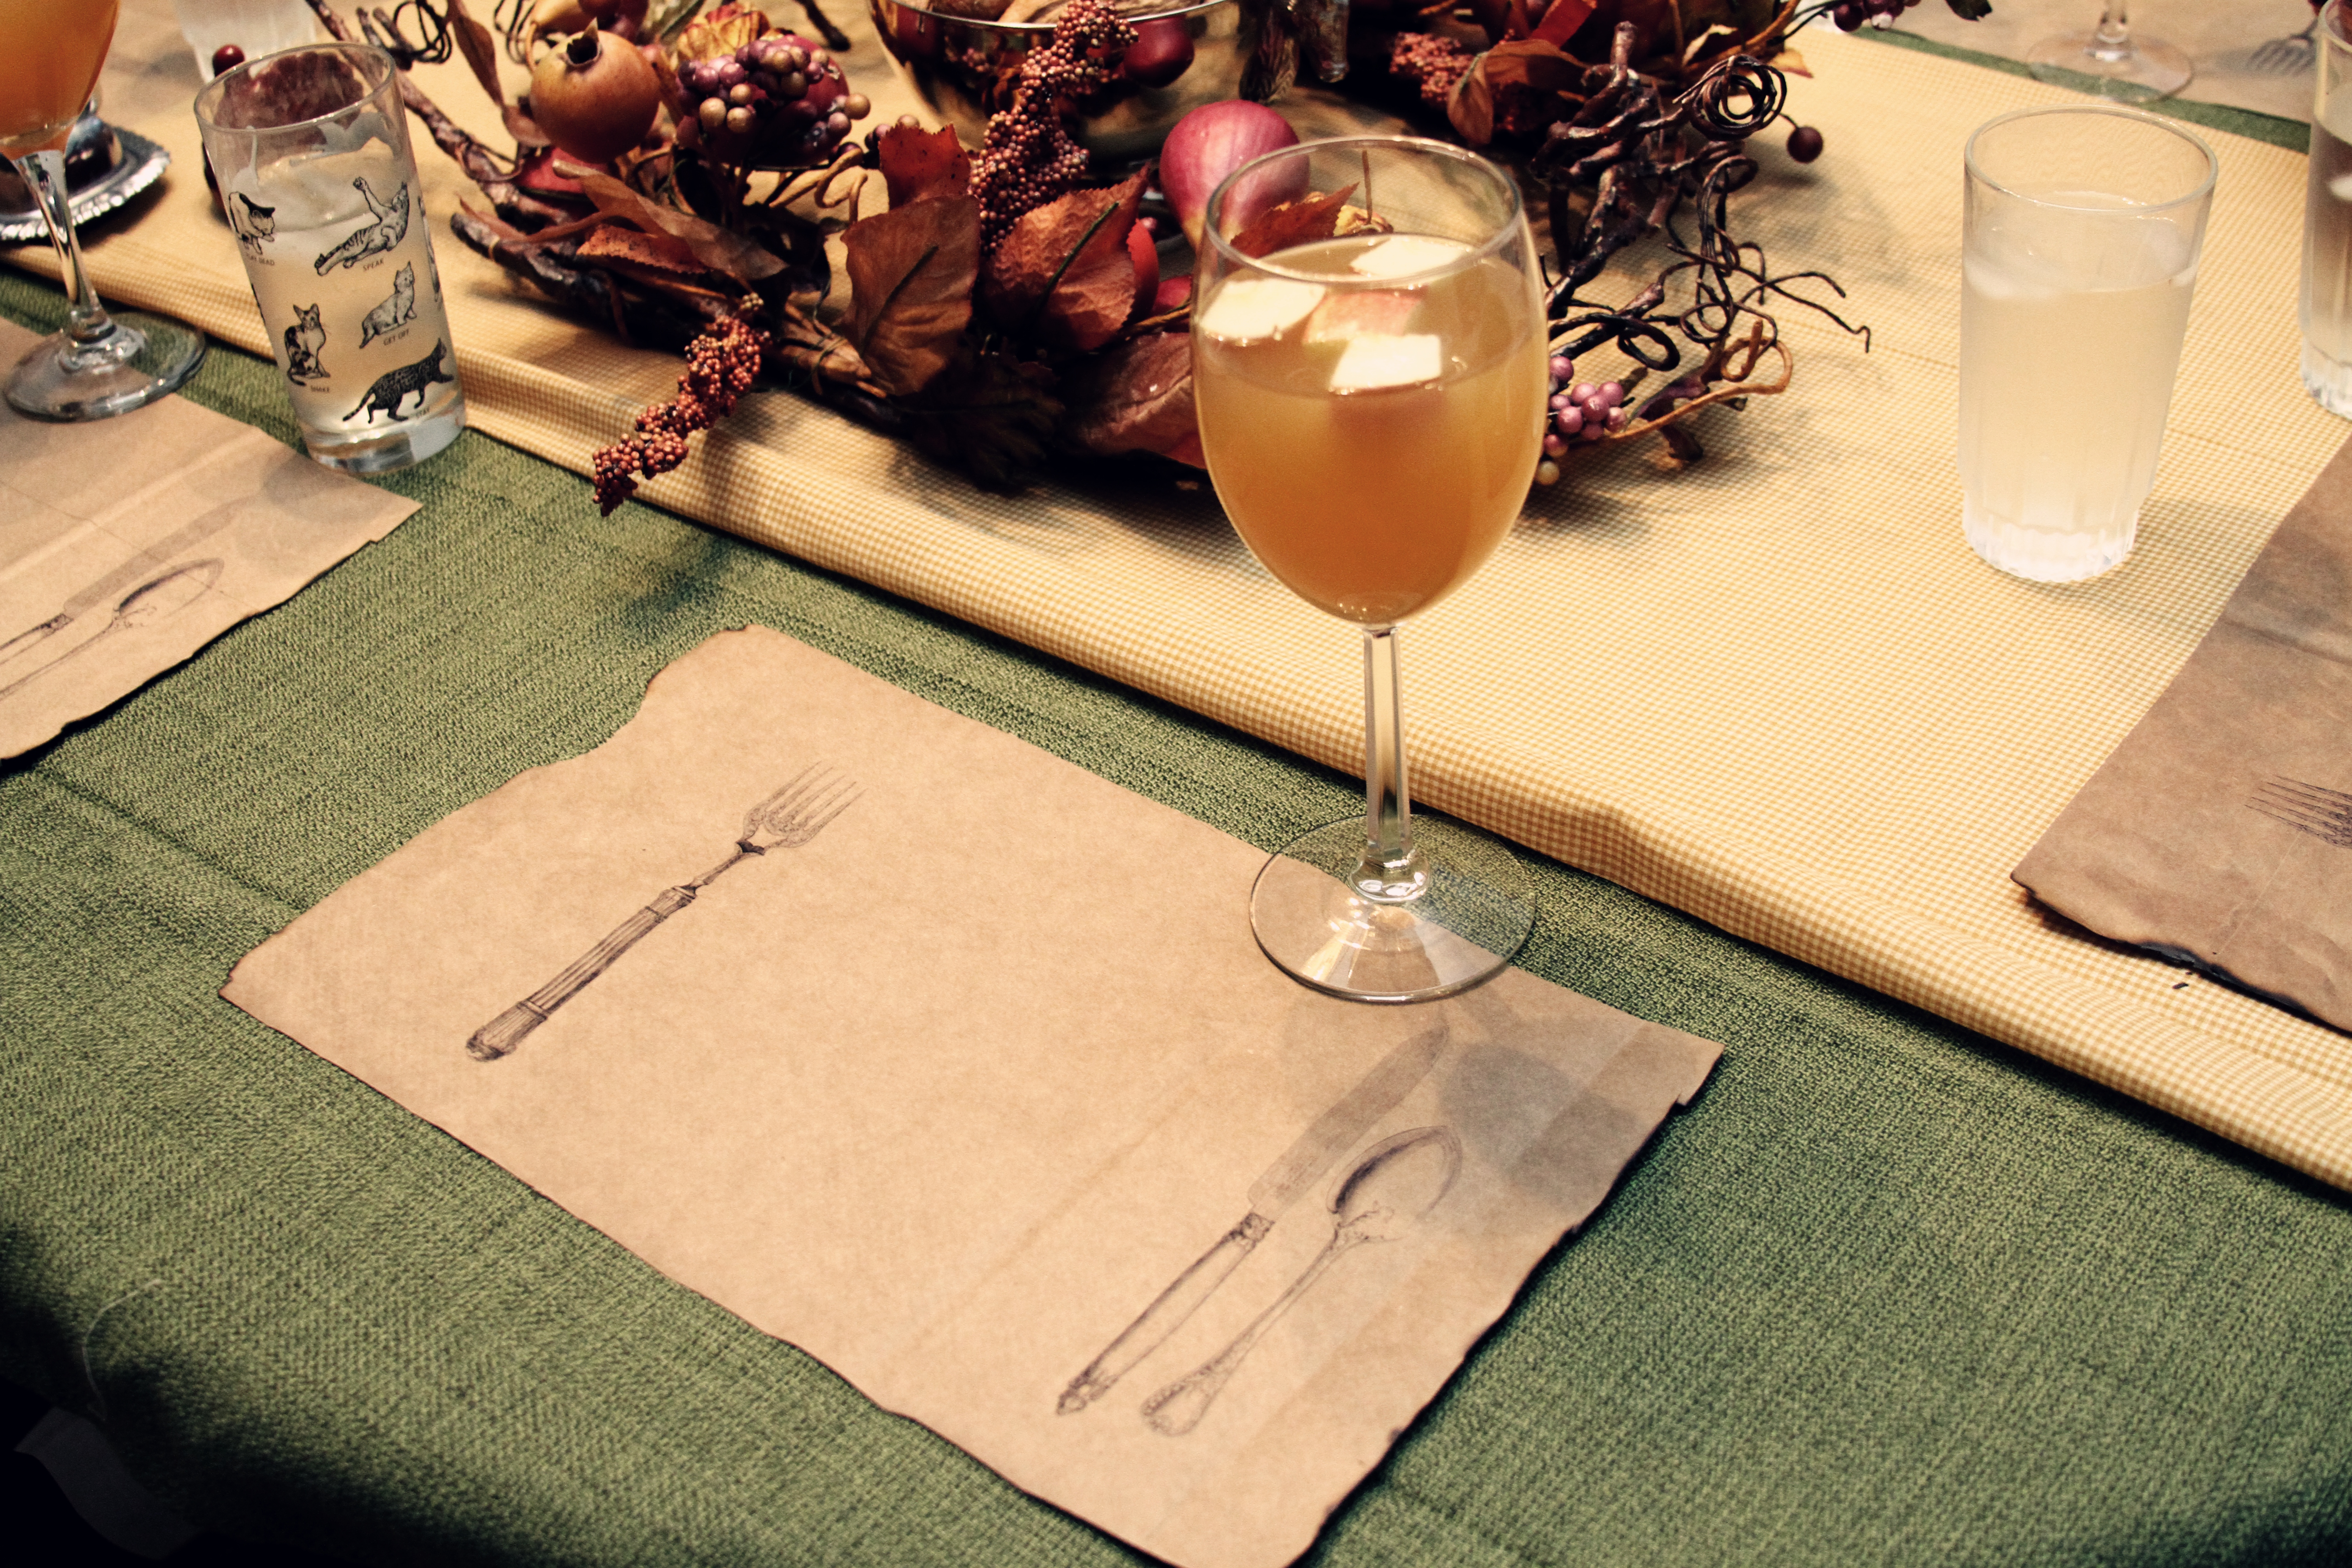
You like the place setting in the photo above? I thought you might. I bought a new {cheap} table cloth from Target’s Threshold line. I just love that stuff. Then I topped it off with a runner made from some unhemmed gingham fabric I had in the basement. My favorite part of the table was the place mats I whipped up. They are paper bags I ran through the printer {cut to 8.5″ x 16″ long} with this adorable free printable. Paper bags! {And you know how I like paper bags.}
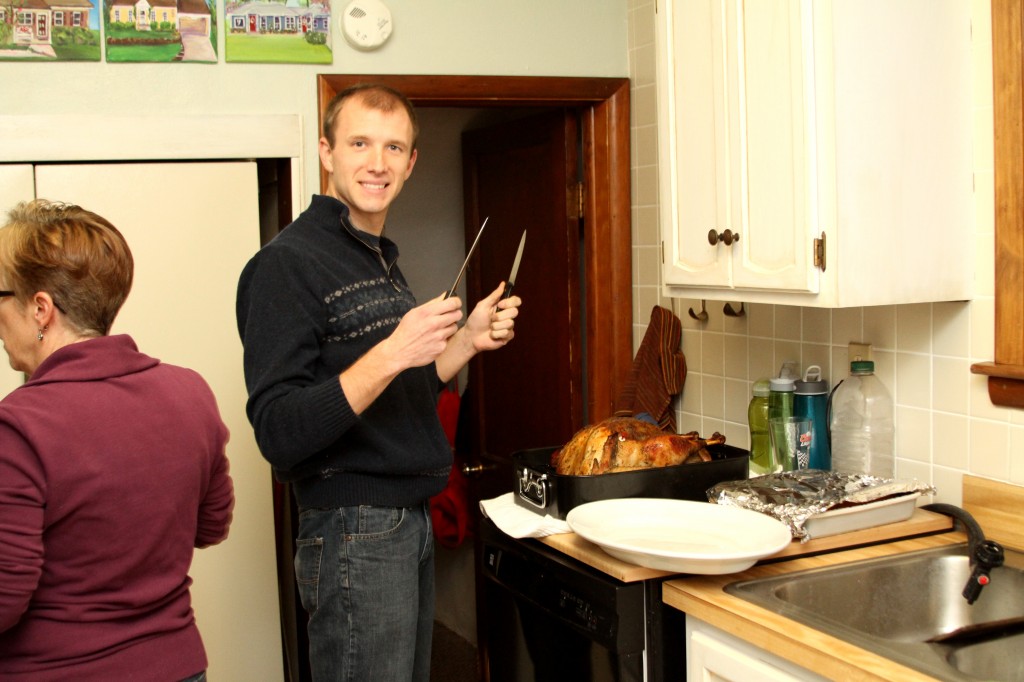
On the menu:
An herb rubbed turkey stuffed with sliced apples. It was just enough sweet. Mashed potatoes mashed with nonfat Greek yogurt, milk, chicken bullion, garlic and green onions. Homemade yeast rolls that Mom and I worked on throughout the afternoon. Jiffy corn casserole {it’s a classic, but I sub Greek yogurt for the sour cream called for in the recipe.} Sweet potatoes with cinnamon and pecans. Apple butter. And the prettiest part of our meal, apple cider sangria. Thanksgiving and Christmas are two of the few days of the year I have a glass of wine, and I can’t think of much prettier than this sangria with pieces of apple floating in the glass. And since Derek doesn’t drink at all {ever} he had his non alcoholic. Just cider with apples in a fancy glass. {Which means this can be a fancy drink for the whole family.}
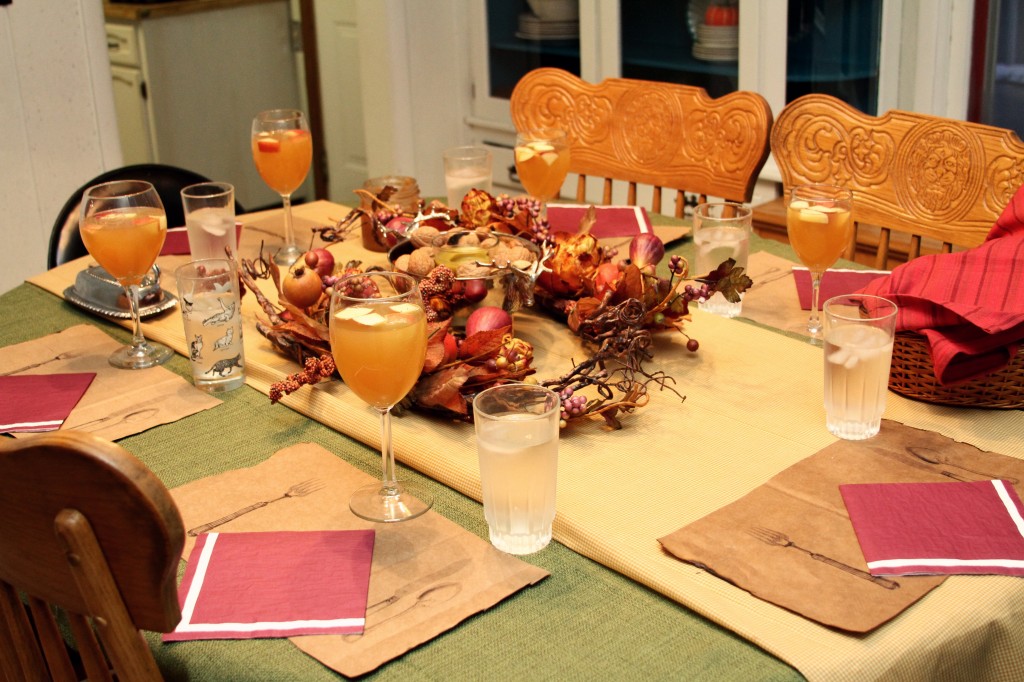
As much as I like cooking and setting the table, my favorite part of the day is sharing a meal with a table full of people I adore. After the meal comes something I like even more than eating…games. Then of course, hot beverages {tea, coffee, cocoa} and pie. Between activities there is lots of chatter, story telling and foolery. I love the rhythm of Thanksgiving at our house.
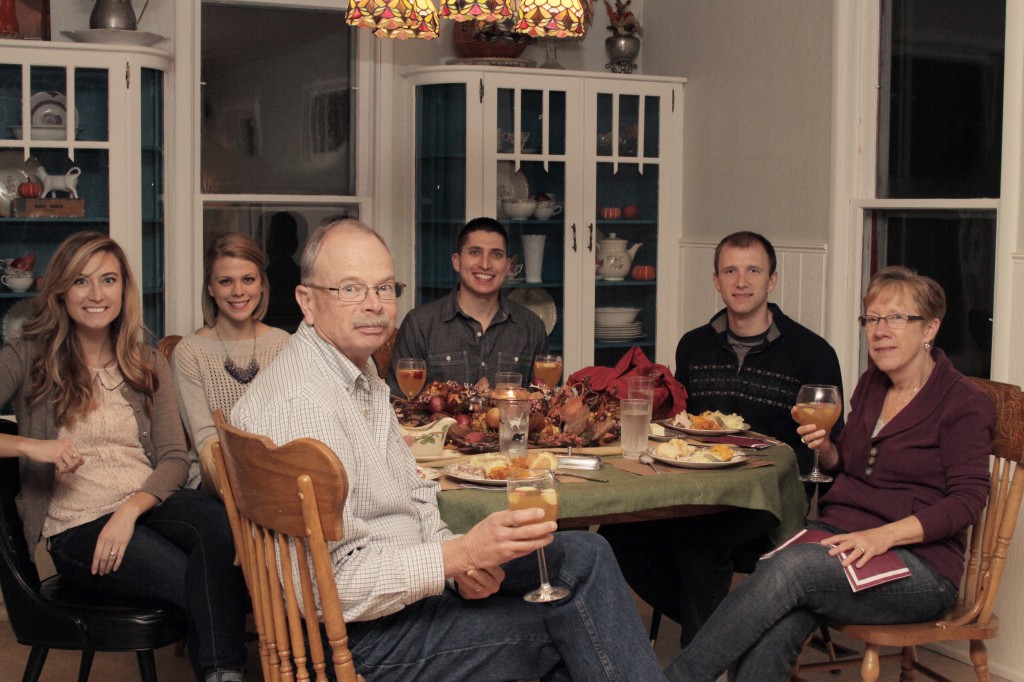


Where’s my mom? Probably on the couch with Derek and me…occupying my dad’s lap after dinner was his “lap” dog.
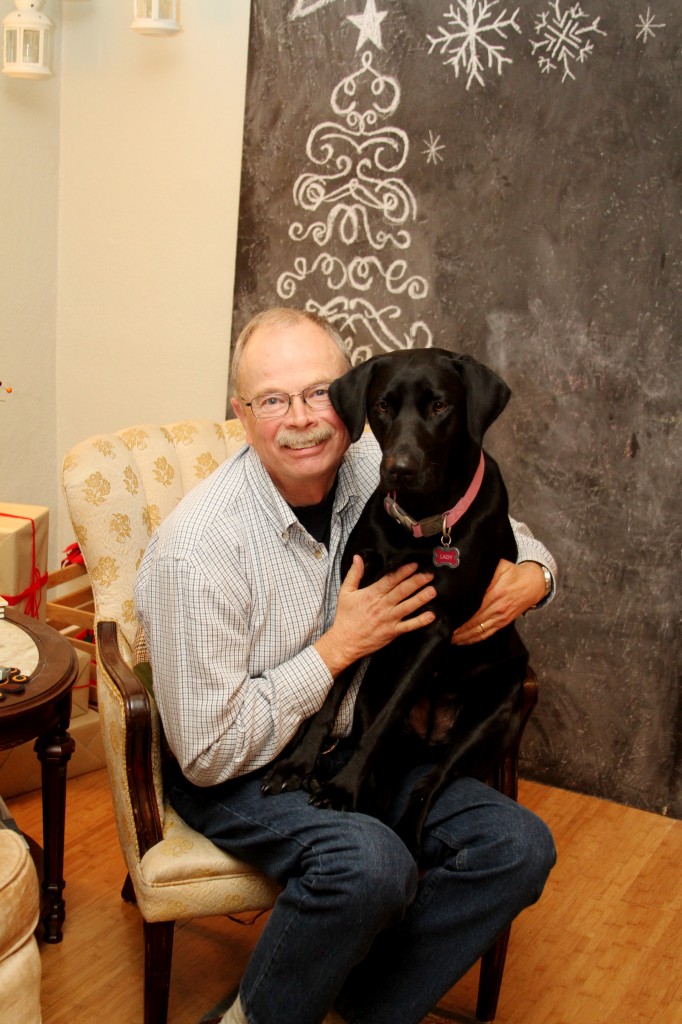
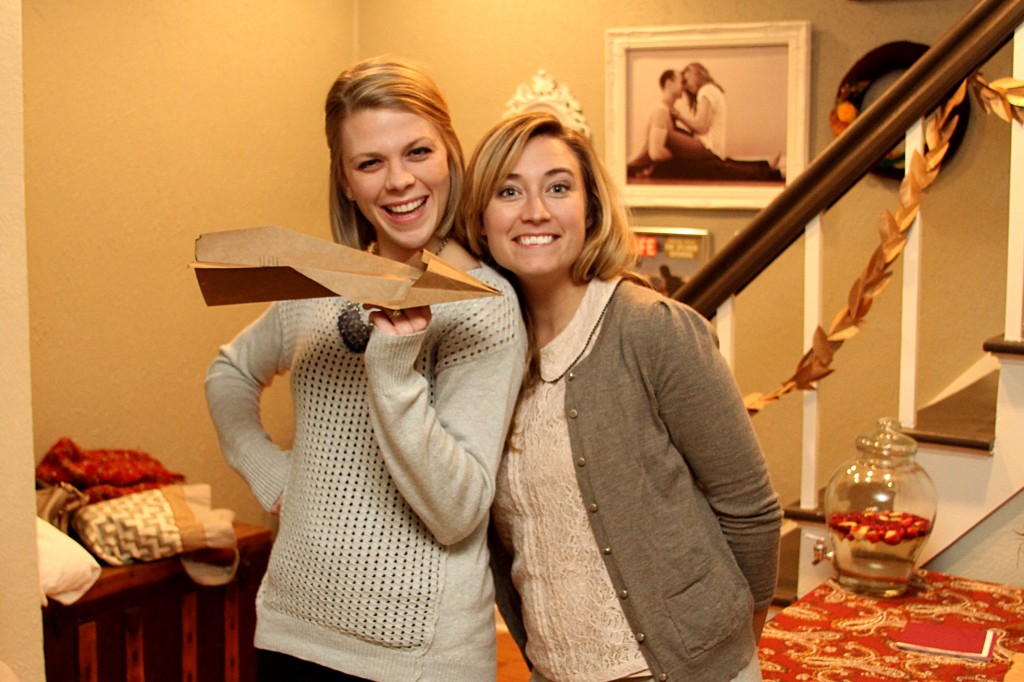
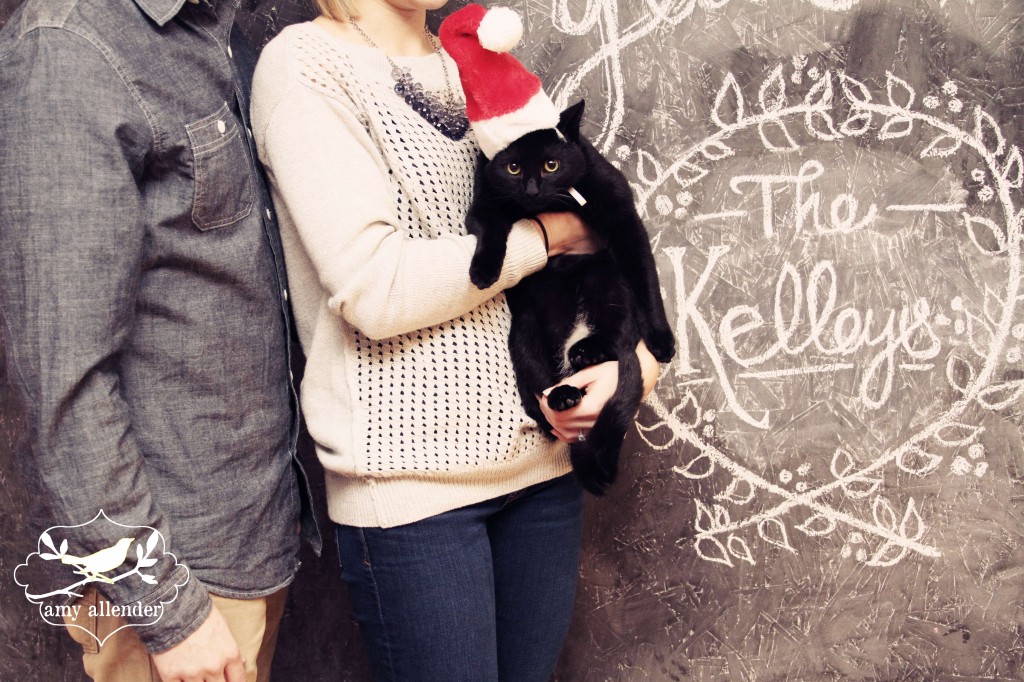
This year was very special because the living room was taken over by the chalkboard for mini sessions. But for us it only added to the merriment because it meant that I could take Katie and Sean’s Christmas photos. Here’s a peek. You’ll have to wait a few days for the rest…
xo Amy
by Amy | Oct 26, 2013 | Blog, The Art of the Kitchen
by Amy | Oct 22, 2013 | Blog, The Art of the Kitchen

Like most endeavors that I undertake, this one didn’t turn out as planned. Also like most of my endeavors, this one is comical. Which is good, because when something goes the route of the unexpected, it’s always best when it’s funny too.
This year Derek and I bought in on a cow. Yes a cow. This isn’t new territory for me. I grew up eating farm fresh animals. Either from our own family stock or from friends who raised bigger things {like cows and pigs.} So, yes, I’m familiar with buying part of a cow. I’ve just never been the one to do it. That was always a mom and dad kind of ordeal.
But up here in PraCan cattle ranches abound. So it seemed pretty silly not to buy in with four other friends on a North Dakota original, grass-fed, cold-weather-tested cow. So we put our money down, expecting to get some ground beef, T-bones, roasts…the like. My wonderful friend Jessi and her husband, Craig were kind enough to organize the whole thing. So when the butcher had done his job, I got a call that the meat was in.
Jessi said that we got a little more than expected…and asked if I had any extra coolers. I didn’t. But I headed over to pick up my share.
Now, I was under the impression this would be a quick in and out kind of thing. Which explains why I wore my jim-jams. You see it was about 7pm on a Saturday night and Derek was out of town. Obviously I was in the middle of a crafting and eating marathon at my Minot bestie’s apartment. {No need to be fancy.}
But again. Unexpected. When I got there I found out just how much extra we had received. See, there is no way to tell exactly how much meat your cow will provide…until it’s hanging. Yes, hanging. Like on a hook in some butchery somewhere. Ours turned out to be a real fatty…putting out 700 pounds of meat more than we anticipated. All in all we were looking at nearly 2000 pounds of beef. Which meant that Jessi and Craig’s garage was turned into a temporary meat packing plant.
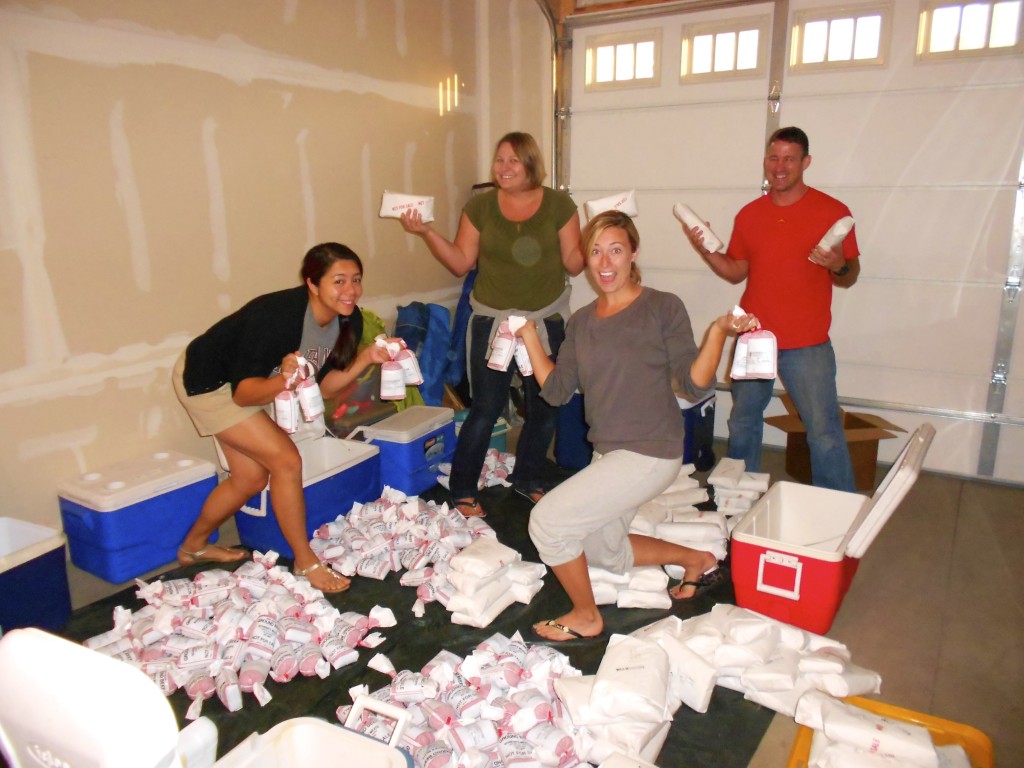
We put out tarps and divvied everything up. Each share included 57 lbs of ground beef. That’s the only number that sticks in my mind. Fifty-seven. That’s a lot of beef. Everyone also got a vast array of steaks, roasts, soup bones, stew meat, you name it. So much that one friend’s freezer looked like this once she got it all jammed inside.
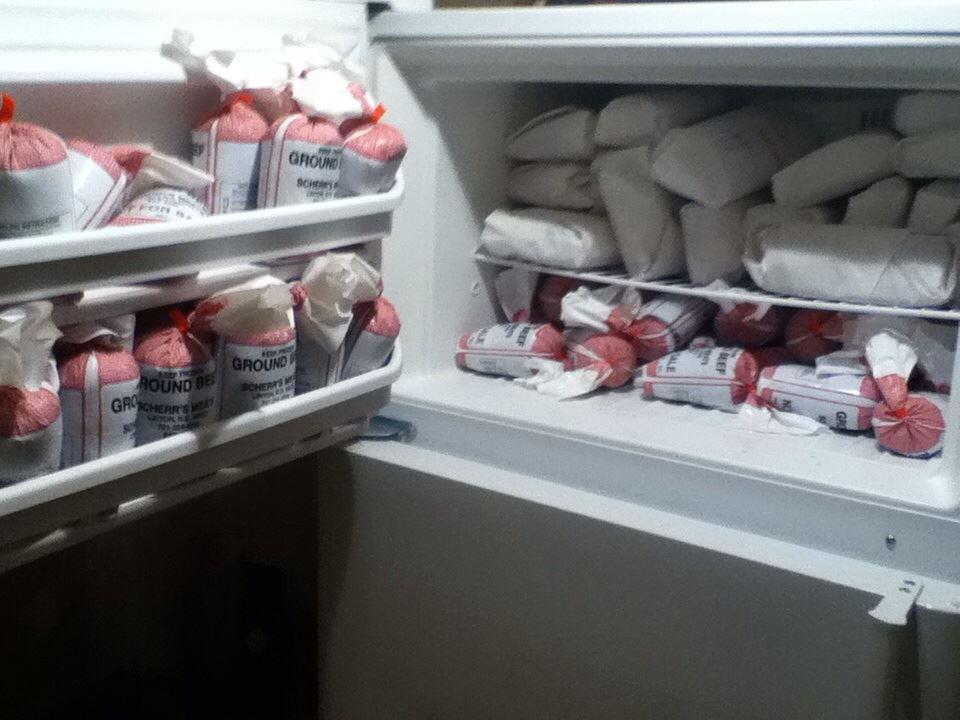
And my freezer looks like this.
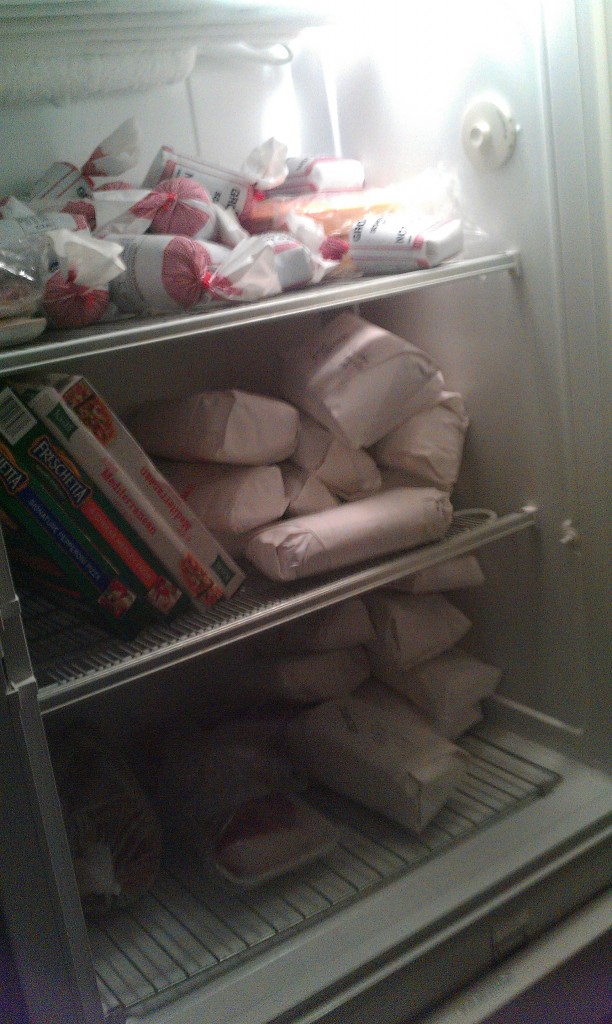
Which is fine. We just won’t be buying meat for a while. Probably not until we move.
On a different note, it is delicious. And you can totally tell that it was grass fed. It’s weird, because I didn’t think I’d notice. But it’s so good and has virtually no fat on it.
But I’ve learned a lesson from all of this. Next time you want to split a cow, split it 6 or 7 ways. I also learned that a dead, packaged cow can still take up a lot of space {like 10 coolers.} And that butchers make good money {I saw that butcher fee.} And that even thought it was a lot of meat, and I spent quite a bit of time in my jim-jams sorting it out, and it was pretty comical, and we may have to try really hard to eat it all in the next 12 months…I’m glad we did it. Even if only for the funny story we can tell later…
“Remember when we bought that cow and it was an obscene amount of meat?…”
Amy
by Amy | Oct 15, 2013 | Blog, The Art of the Kitchen
Historically speaking, I’m a terrible pumpkin carver. You can ask anyone in my family. They’ll relay stories of many pumpkin-induced rage quits. So this year when some friends asked Derek and me to participate in a friendly carving contest I was pretty nervous. The raging is now a thing of the past, but the terrible carving skills are still fully intact.
But I gave it my best shot. I obviously spent a little time on my phone Googling pumpkin carving images before beginning. Then I started. Now, maybe it was the pressure of the competition, or maybe I didn’t want to look a fool in front of new friends…whatever it was, this year I carved my best ever pumpkin.
Here are the Smith pumpkins in all their glory.

And here is the full line up from our get-together. Pretty impressive, right?

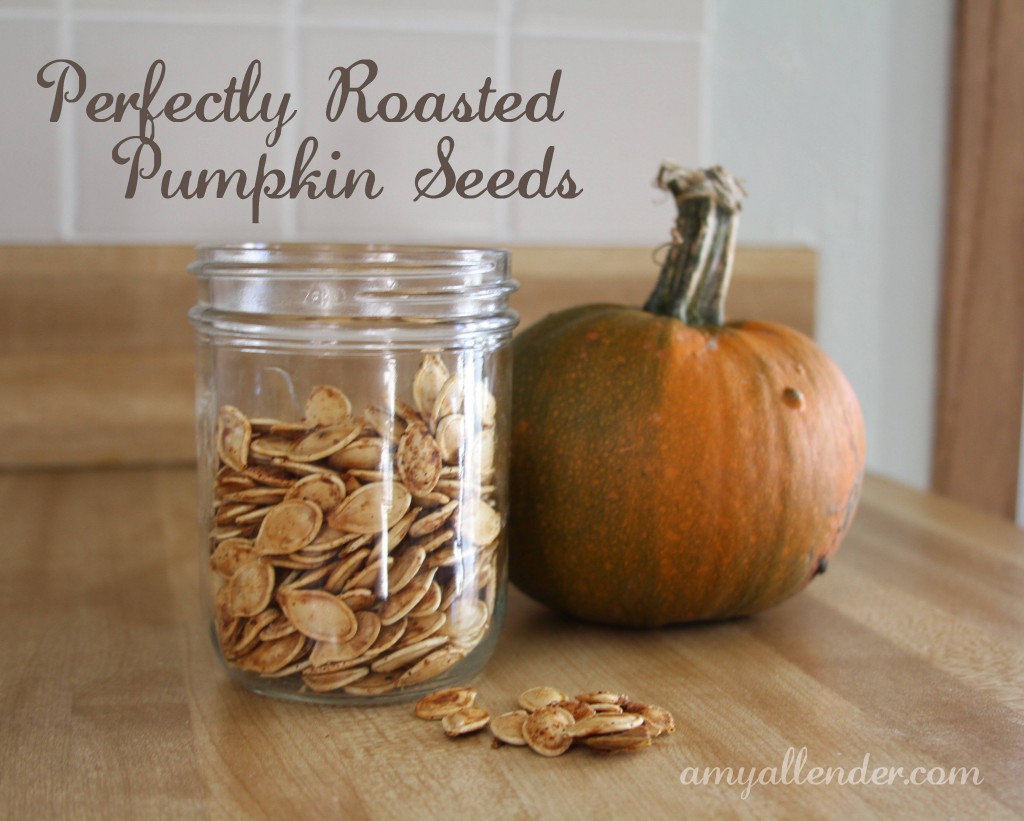
Here in PraCan, it’s almost too windy every night to actually light our pumpkins and have them stay lit. But that’s not why I really like to carve anyway. I’m mostly in it for the seeds. If they are done right, they kind of make wading through all that pumpkin goo worth the nasty.
If you’ve already carved and thrown your seeds away, don’t fret. You can use this recipe on squash seeds too. So when you hack open that butternut, put the seeds aside for later.
It’s really easy. The recipe below is good for about 2 cups of seeds. If you have more, you’ll just need to add a little more oil to get them all coated.
First, degoop all your seeds. Some stringy stuff is okay, but separate your seeds from the big chunks of pumpkin guts.
Next, I rinse mine off just a bit in a collander. Nothing too thourough. Then I shake them off and pour them into a bowl.
Add about 2 Tbsp of olive oil and stir it around. Then spread them out on a cookie sheet or pizza pan. I have a pizza pan with holes in the bottom that I like to use because it lets heat up underneath the seeds, but I’ve done it on a cookie sheet and they turn out fine too.

Once they are evenly spread, sprinkle them with some salt. Then sprinkle them again with a grill seasoning. Yep, that’s my big secret. I use a premixed seasoning. I really like this smokehouse maple from McCormick Grill Mates.
Finally put the pan in the oven and turn it on to 250 degrees. The key here is letting the seeds dry out completely. That’s the difference between a good seed and a soggy seed. So you’ll need to let them bake for 45-60 minutes. Take them out and give them a quick stir every 15 minutes or so. You’ll know they are done when they are dry and making a crackling sound.
Happy October
Amy
by Amy | Oct 9, 2013 | Blog, The Art of Gathering, The Art of the Kitchen
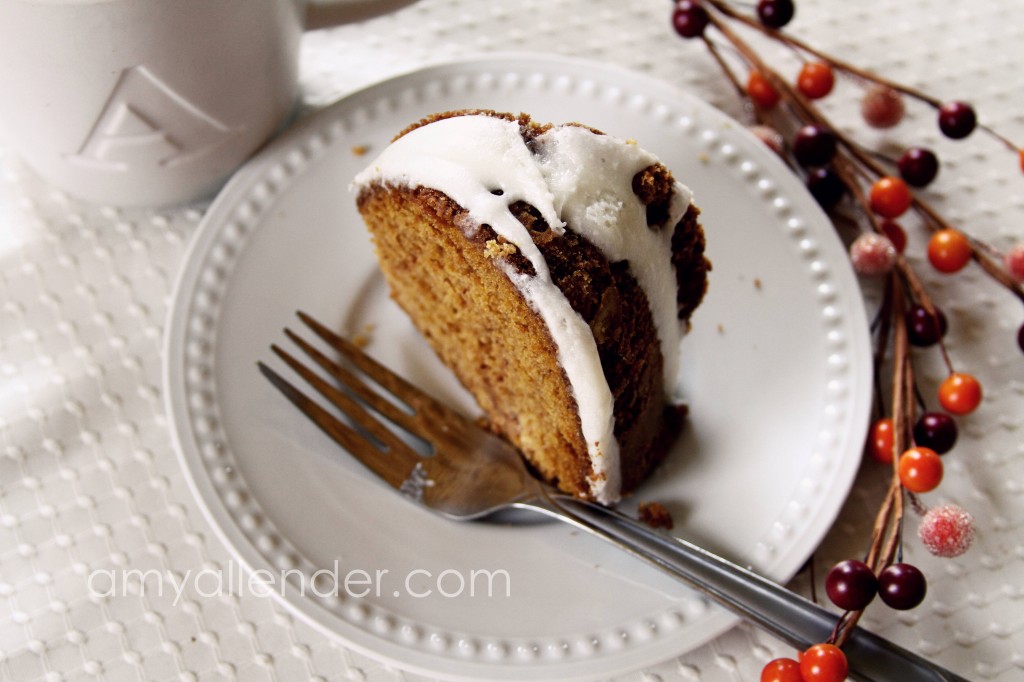
I love this recipe. It’s one that I wrote a few years ago for Thanksgiving. This year, I busted it out early. Because it’s really that easy and that good. And the batter tastes amazing, so the bowl is totally worth licking. Here’s the recipe.

You have a couple options for glaze. Super easy route:
Buy a can of cream cheese frosting from the store. Heat it up in the microwave for a few seconds at a time, until it’s liquidy and smooth. Drizzle it over the cake.
Make it yourself:
Put 1/2 block of cream cheese in a bowl. Microwave it until it’s soft. Mix in 1/2-3/4 cup powdered sugar {depending on how sweet you like it.} Add a Tbsp of milk to get a glaze consistency. Keep adding milk little by little until you have a drizzle-able consistency.
Then eat it. Or share it. Or both. But be sure to pair it with a good, hot drink. That’s the best.
Amy
by Amy | Jun 10, 2013 | Blog, The Art of the Kitchen
Today I’m revisiting a post that I ran over a year ago. Now, I wouldn’t rerun unless I really thought you should see it. This is the best salad you’ll eat all summer. It’s so amazing, so fresh, so summer.
The beauty of this salad is that it comes together quickly and can be made big enough to serve as a main dish. And you can use with lots of different fruits {peaches are photographed, but I love it with strawberries and Mandarin oranges too.} It makes a beautiful lunch paired with a soup or turkey sandwich…or a dinner with grilled chicken. Layer up all the following in a salad bowl. I just listed out the ingredients. You know how much of each you like! (And how many you are serving.)

- Spinach
- Onion (I used 1/4 of a white onion for the two of us)
- Peach–pitted and cut into small pieces (I cut up one for our salad)
- You can also sub in strawberries, mandarin oranges or mango!
- Pecans
- Feta Cheese (Not pictured because Derek doesn’t like it…I put it on my bowl and really, that’s how it should be served)
Next mix up your dressing. Making a homemade dressing is a sure fire way to impress your friends and look like some kind of award winning homemaker. So, if you are into the glory of being awesome you should definitely start making your own dressings. And once you see how easy it is–I bet you’ll start doing it.
Pour the following ingredients into a bowl OR a standard (not jelly) canning jar.
- 1/3 C Sugar
- 1/3 C Vinegar
- 1/3 C Olive Oil
- 1 t Ginger
- 1/2 t Garlic Powder
- 1/2 t Lemon Juice
- 1/2 t Chicken Bullion or Seasoned Salt
Give it a good stir until the sugar is somewhat dissolved. If you are using a jar, just cap it off and shake it up.
Pour over your salad when you are ready to serve, or over individual salads. One recipe for the dressing will cover a large pack of spinach and all the fixings.
I have made the rookie mistake of pouring is over the whole salad before, then driving to a party. Do not, I repeat, do not do this. Ever. It was all soggy and the sugar caused the fruit to juice out. It was a mess and I lost a lot of friends because of it…okay not really. But seriously, don’t dress it until you are ready to serve.
This’ll turn into one of your favorites. I just know it. I eat it multiple times a week and my friends constantly request it. Take it to a potluck this summer. I guarantee it’ll be a hit.
Enjoy!
Amy


