by Amy | Nov 28, 2012 | Blog, Crafts, The Art of Gathering, The Art of Projects
Is there anything better than a pretty cake stand?
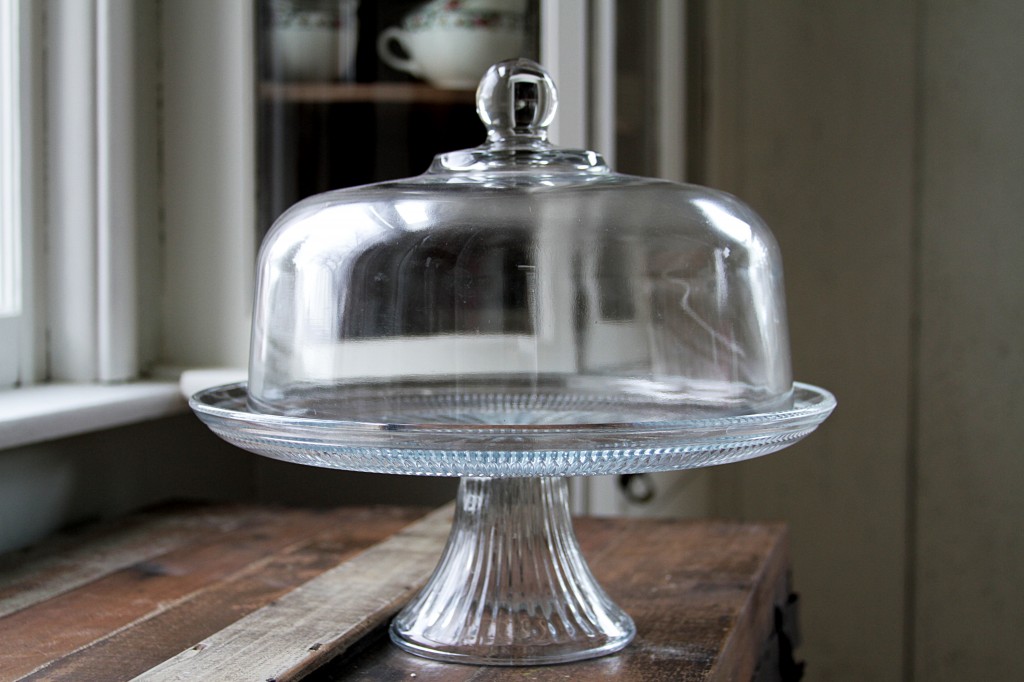
Not in my book.
Derek actually had to put a limit on my cake stand habit. I’ve got more stands than pans to make cakes in. But c’mon. They. Are. Awesome. Even the most aggravating icing job looks down right delectable when displayed proudly on a cake stand. Beyond their ability to display desserts {of all kinds…not just cakes, mind you} they are maybe the best decor around.
On Thanksgiving I threw together a quick centerpiece. It wasn’t anything special. It took all of 5 minutes to make…I didn’t think it was extraordinary. But my mom did. I thought I was using a trick that everyone knew…but she didn’t…and you might not either. So, I’ll tell you.
Most basic cake stands {the kind you get with a globe to match…like in the picture} are multi-tasking. Yes, that is right. Multiple uses for one beautiful piece of hostess-ware. Here’s the secret…make it do a handstand.
Yep. Take the globe off. Turn the stand upside down, so the cake plate is resting on the table. Most stands have a fluted base with a hollow center. Grab the glob, turn it upside down, and put the handle into the base.
Viola.
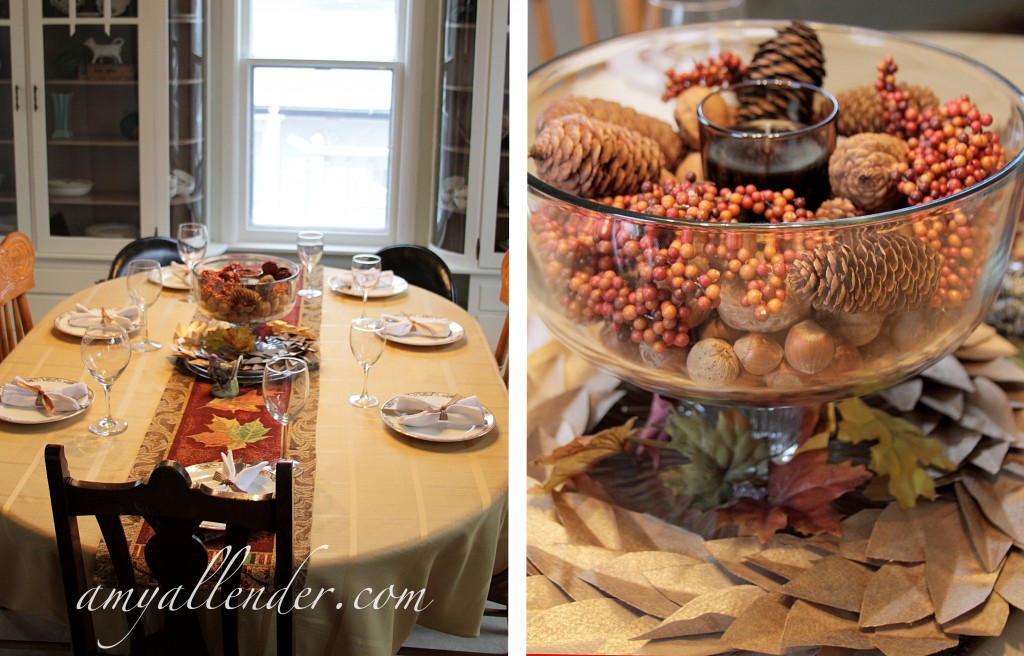
Now you have a truffle dish. Or in my case, the basis for a last minute centerpiece. {Recognize that paper wreath?}
For Thanksgiving I filled the dish with nuts {the kind you scoop into a bag at the grocery store} and pine cones. Now {since it was such a hit} it’s filled with Christmas bulbs {the cheap kind from Family Dollar}.
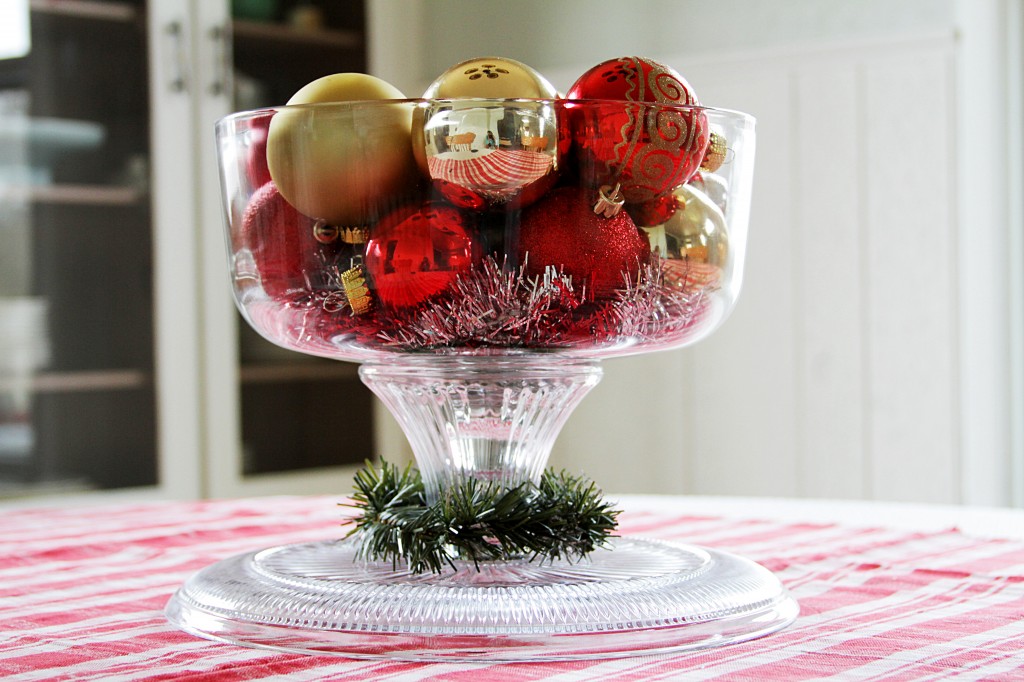
Derek uses this as an argument against me getting more hostess-ware. “Why do you need a truffle dish, when the cake stand does both?”
Um…duh…for those occasions when I’m making cake an truffle. Or when I want to use it as a centerpiece and bake a cake. I’m not budging on this. A girl can never have too many cake stands. Period. End of story.
If you don’t have one. Go buy one. You won’t regret it. It can take your blah-domestic skills to…whoa! Domestic skillz. {Yes, that’s right, the kind with a “z” at the end. That’s how cool you’ll be.} And make sure it can do double duty.
Amy
by Amy | Nov 27, 2012 | Blog, Crafts, The Art of Projects
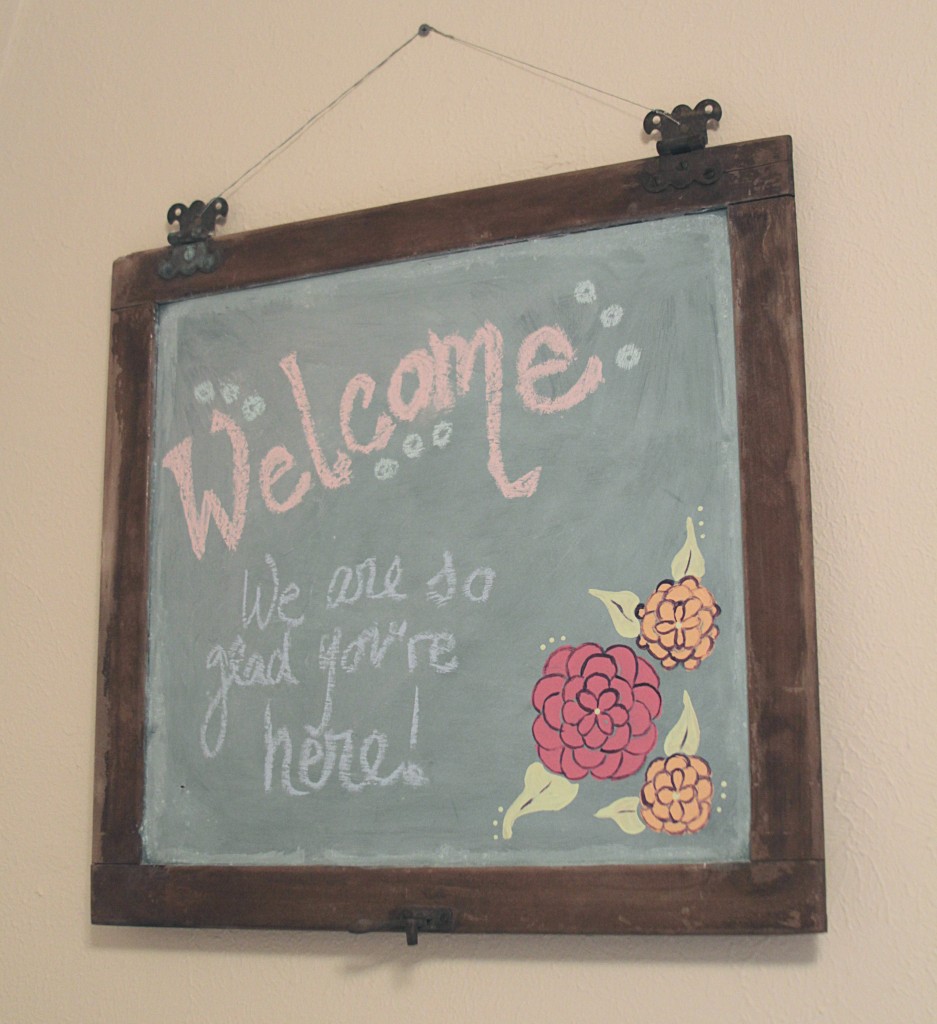
Here’s the thing. A few years ago {about three to be exact} I found an awesome old glass cabinet door in my family’s barn. You never know what you’ll find in there. There was something so…perfectly rustic about it. I needed it.
So I asked my dad if I could have it. He obliged.
And I convinced Derek to haul it back to Florida from Indiana.
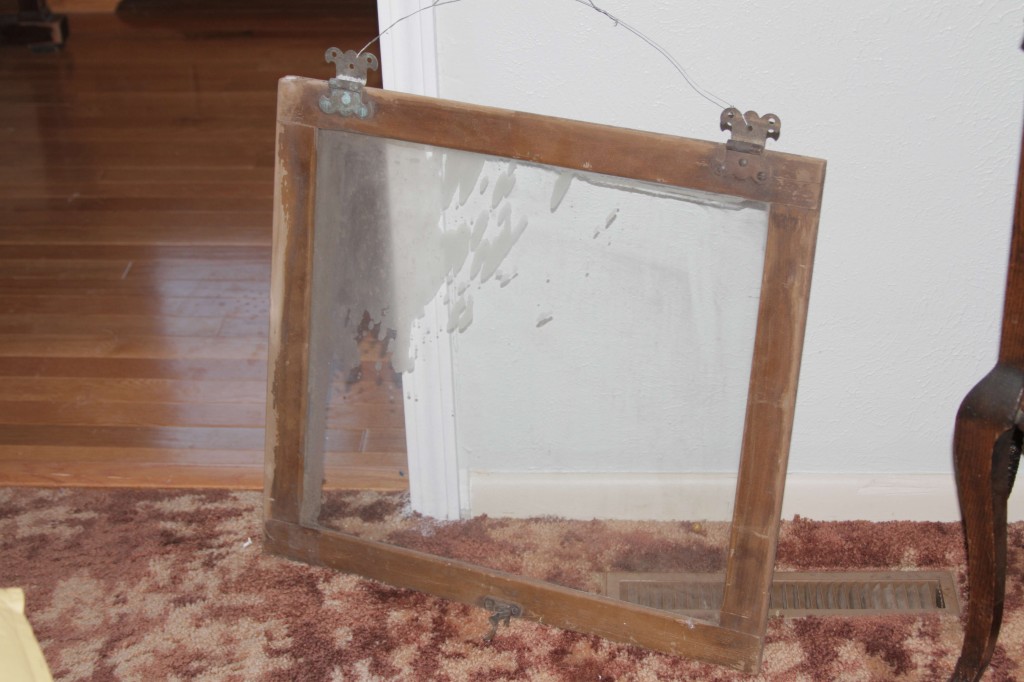
Once I had it home, suddenly I was stumped. And I stayed stumped. For years.
I moved the glass door from Florida to Oklahoma to Louisiana and finally up to North Dakota. By the time we got here Derek was less than pleased that I had dragged this piece of cast off garbage all over the country, only to let it sit in the closet. He even wanted to throw it out. Lucky for me {and the door} I tucked it behind the tool chest when he wasn’t looking.
Then a few weeks ago, I decided if I didn’t use it before Thanksgiving…it would be tossed out. It was beautifully rustic. I didn’t want to mess it up…but it was time to be bold or send it to the curb. So I made a plan and followed through.
I gave the old glass door a coat of custom chalkboard paint that I mixed up right here in my living room in a paper cup, and added a few painted flowers. I wrote a little message, and hung it up in the guest room. And I love it.
Doesn’t it feel good when you mark something off the to-do list that has made it’s home there for years??
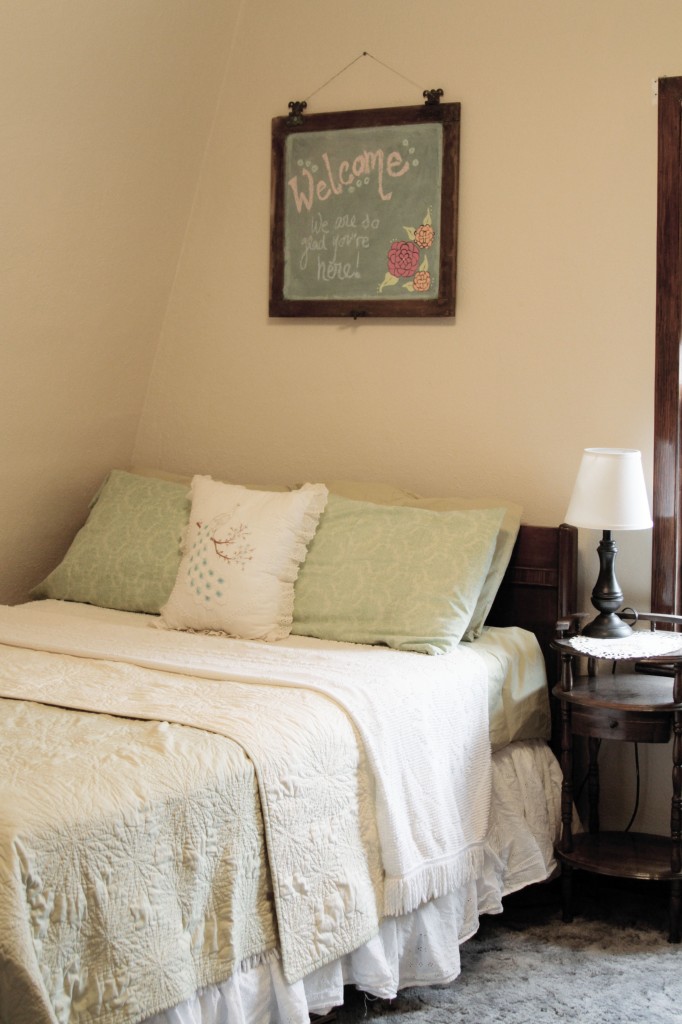
Okay, so I bet you want to know how to make that awesome chalk board paint. It’s easy…but you may need to make a trip to the hardware store.
First prime your surface with a coat of paint. Then mix up your chalkboard paint:
Put 1 TBSP of unsanded grout into a disposable container. Add a couple drops of water and stir until you have a smooth thick substance. Then add 1/2 cup of paint. Stir again until it’s mixed up real good like. Easy, right?
Your mixture will be thick. You can double, triple, quadruple…this recipe for bigger surfaces.
Apply it with a foam brush to get a good even coating without brush strokes. After it’s all dry lightly rub a piece of chalk on its side across the surface to condition it. Wipe the slate clean and use your new board!
Happy Crafting!
Amy
PS…For those of you following along, I was doing this project when I made that tragic oopsie poopsie on my carpet…
This post is partying at Between Naps on the Porch and these other great sites.
by Amy | Nov 16, 2012 | Blog, Crafts, The Art of Projects
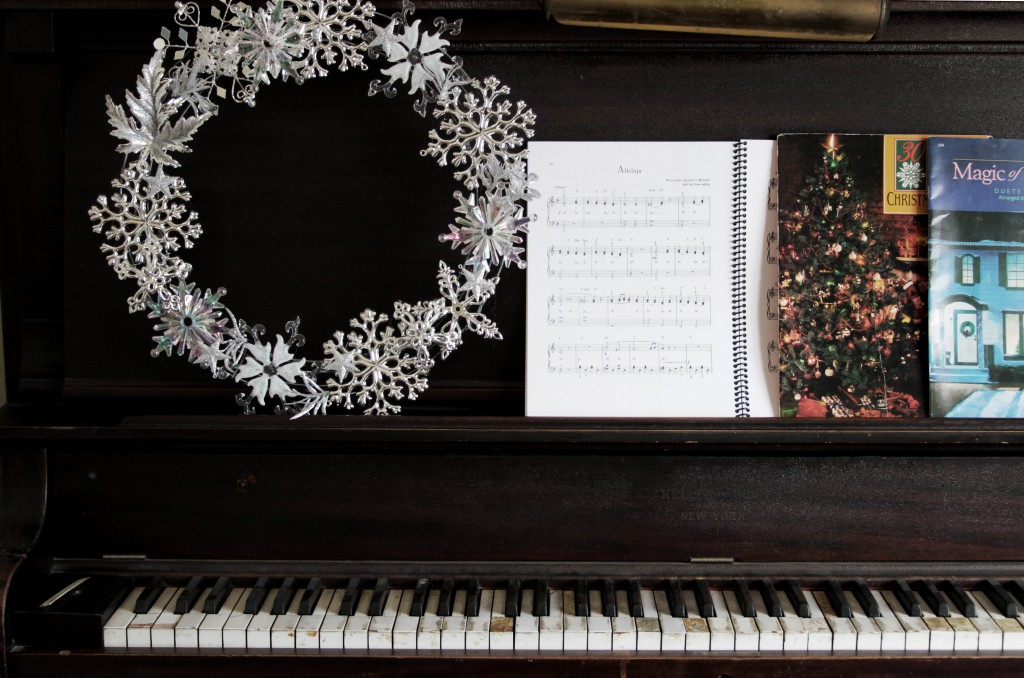
You know what’s pretty? Pottery Barn stuff. All of it. Every season. Every stinking item in the catalog.
You know what I can’t afford? Pottery Barn stuff. Any of it. Any stinking item in the catalog.
But I really want a pretty PB house. I’ve started a board on Pinterest of things I think I can recreate. I’ve started frequenting this amazing site called Copy Cat Crafts. It’s chock full of knock off tutorials.
That’s where I got the inspiration for this wreath. I think it just may be the prettiest wreath I’ve ever made. {And I’ve made a lot of wreaths. Two which were awarded Grand Champion at the Elkhart County 4-H Fair.} Doesn’t it look sharp on the piano? Don’t mind those roughed up keys…It adds to the primitive look.
This is the tutorial that inspired this project. I followed pretty closely, but here is the process I used.
I bought:
1 Wire floral wreath form | A tiny can of silver spray paint | A stack of silver snowflake ornaments {they came in a tube} | An assortment of pretty glittery/silver snowflake ornaments
I used about 15 ornaments total for my 14″ wreath. You may want a few more. I did all my shopping at Hobby Lobby. But Wal-Mart and the Dollar Tree are known to have good sparkly ornaments too! This is one project where a little gaudy can still look classy. The key is to stick with one color {like silver} and motif {the snowflakes.}
Here is what I did:
1. Spray paint a wire wreath form silver.
2. Snip off tags and hooks from ornaments.
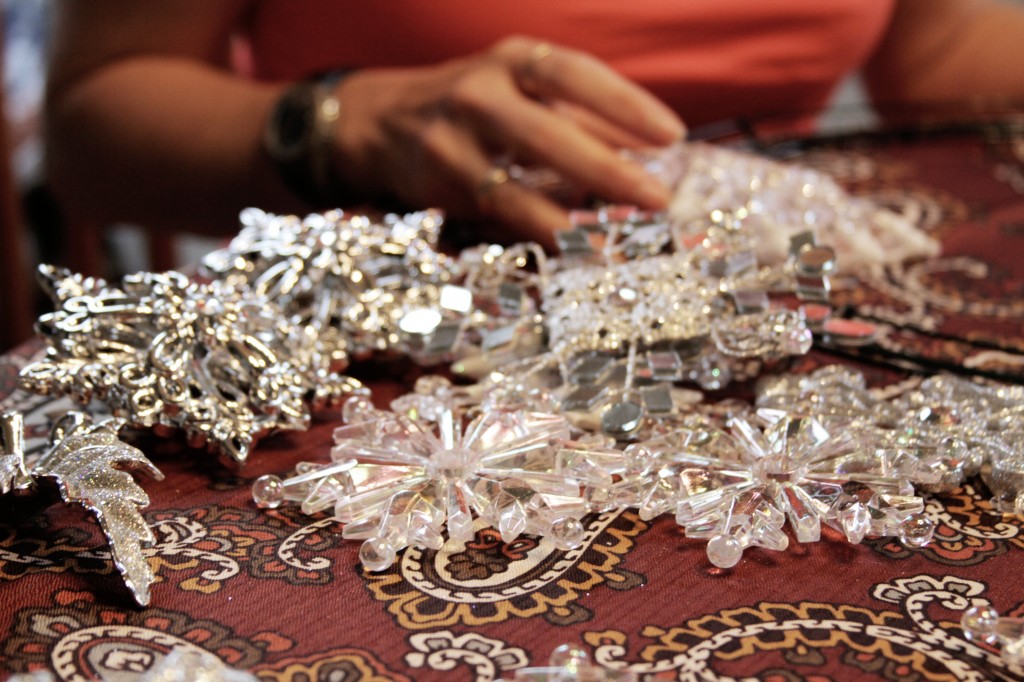
3. Arrange them on the form.
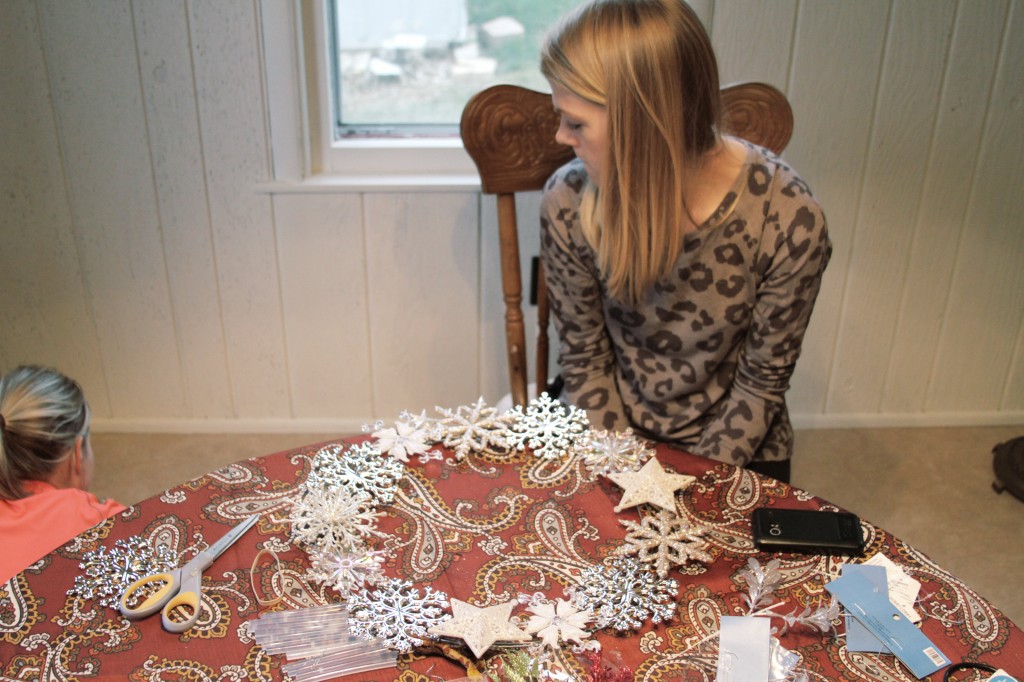
4. Hot glue them in place.
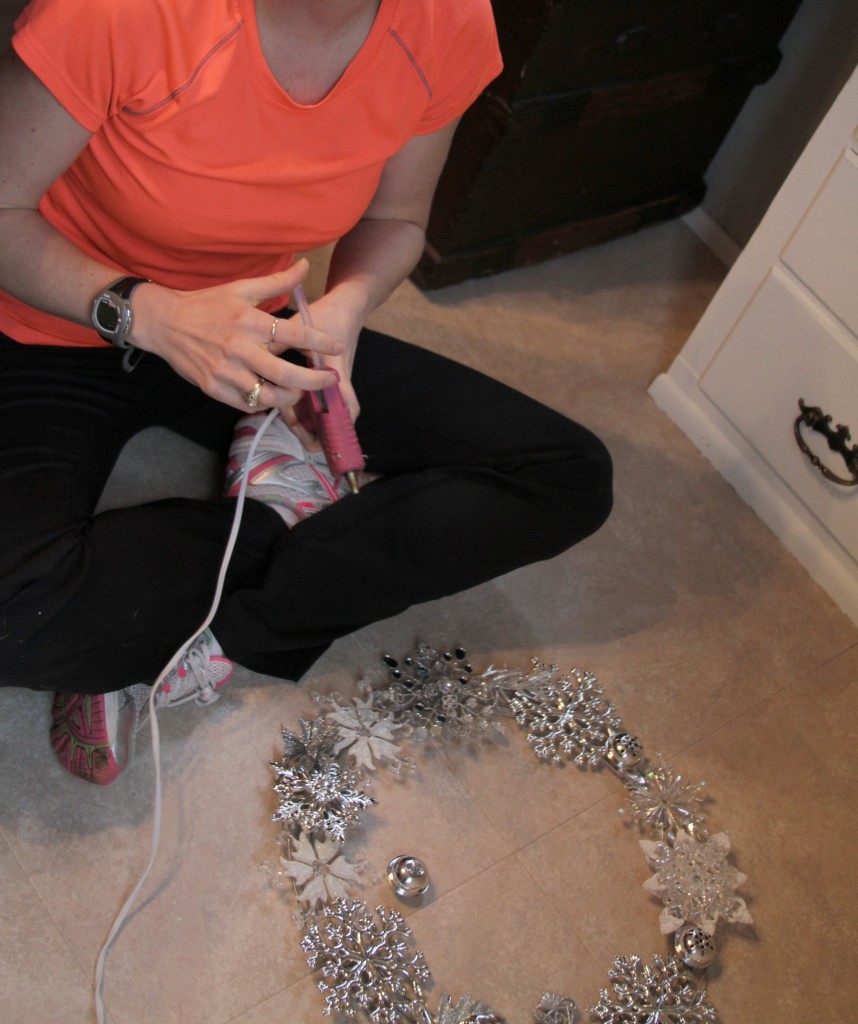
Done. It is so easy…I just couldn’t even believe it. I think it’s a classy wreath. Like snowflakes each one will turn out unique. And I plan to hang it the day after Thanksgiving until January 31.
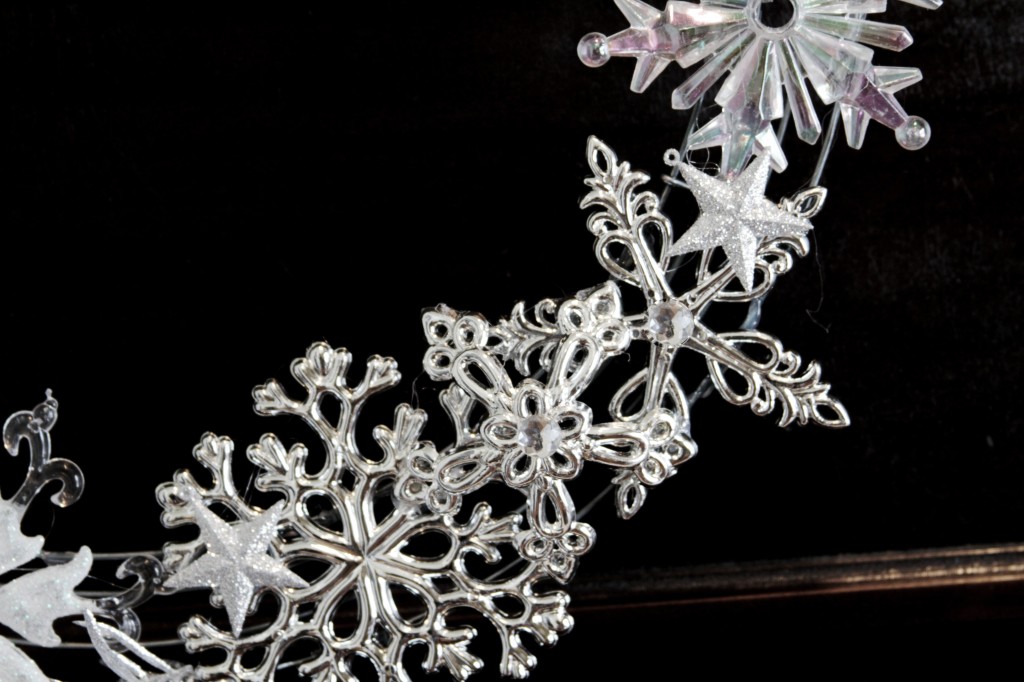
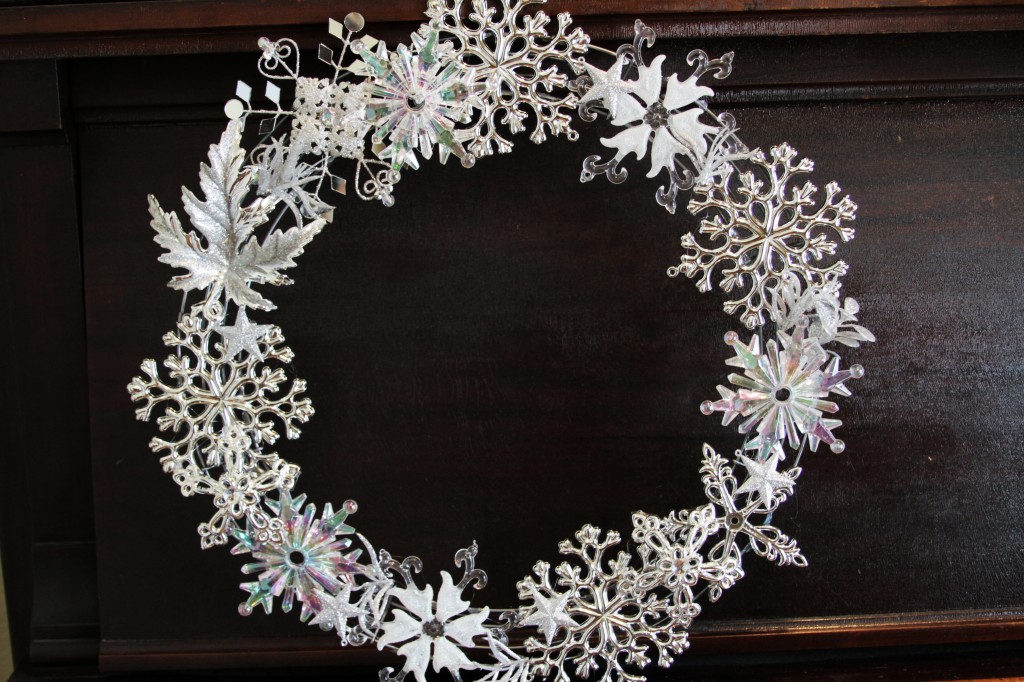
While it is super pretty, I don’t think I’d recommend hanging it outdoors. I think the elements may be a bit too harsh for this dainty project.
The best part? The PB wreath retailed at $70. Mine cost $15! Yeah baby. That’s what I like. Thank you Copy Cat Crafts for being so inspiring!
Happy crafting. And remember, friends don’t let friends craft alone.
Amy
by Amy | Nov 14, 2012 | Blog, The Art of Projects, the house
Are you familiar with the phrase “Oopsie poopsie.”
Probably not. I think it’s a phrase my sister made up.
Well. Let me show you what an oopsie poopsie looks like. It looks like this:
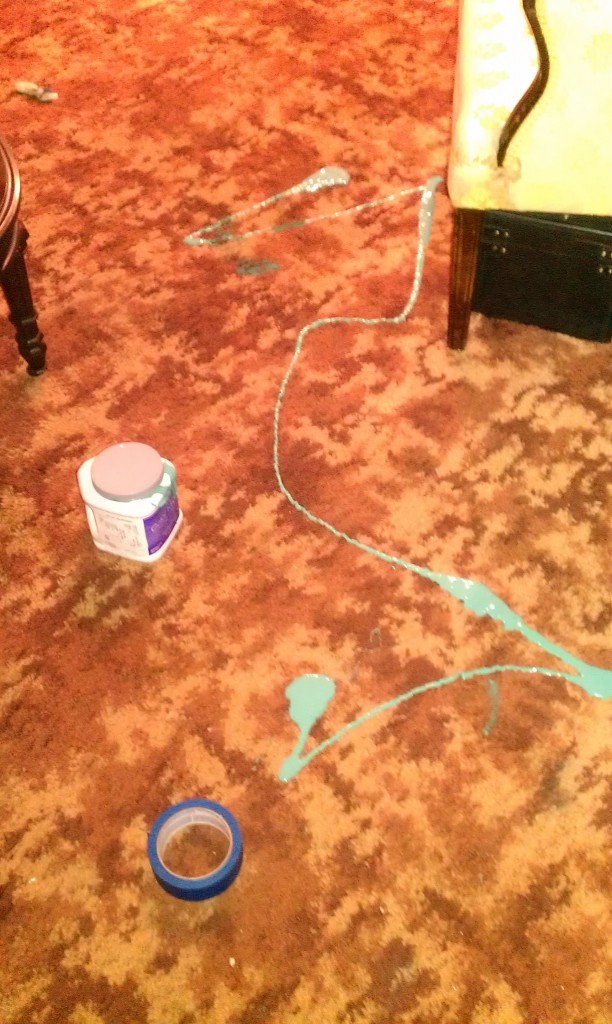
They come in all shapes and sizes. But tonight I made a major oopsie poopsie. After working on a small project I screwed the lid on my Sherwin Williams sample jar and picked it up to put things away before dinner. Well, the lid was screwed on…crooked. I realized something had gone horribly wrong when I stepped in something cold and wet.
But alas, it was too late. The damage had been done.
Friends tell me that the bright side of brown, splotchy carpet is that it will hide everything. Turns out, the one thing it doesn’t hide so well is aqua paint.
Most of it came out. I’ll call it, well seasoned. Looks like the living room floor project just moved up the to-do cue.
I hope you’ve had an oopsie poopsie free day.
Amy
PS–Free photo elements tomorrow!!
by Amy | Oct 31, 2012 | Blog, The Art of Projects, the house, Uncategorized
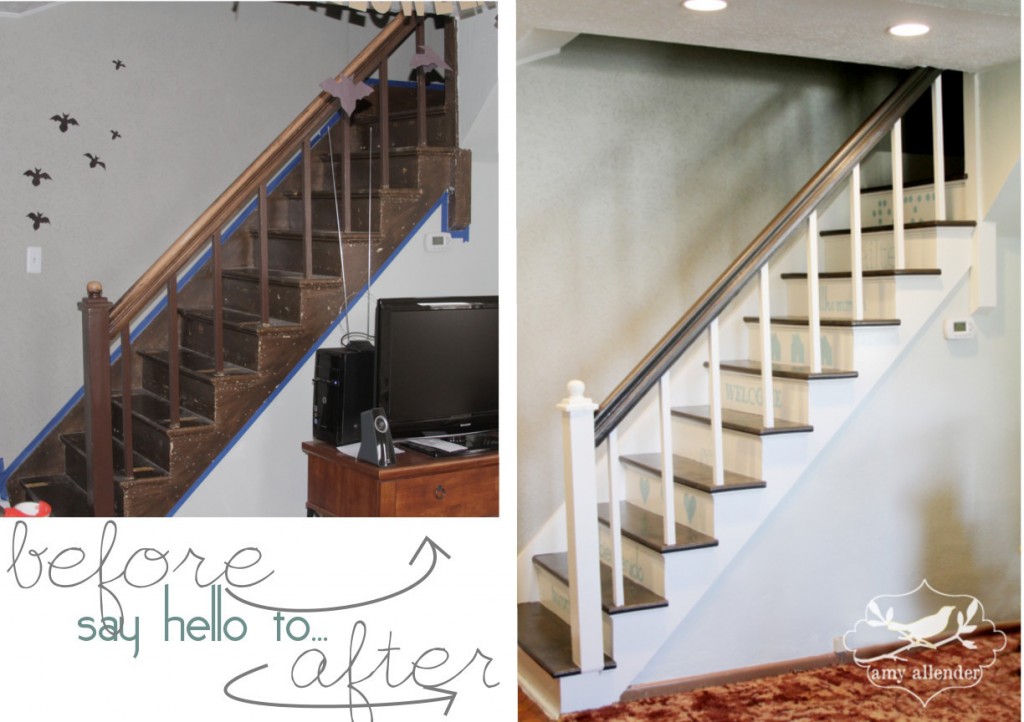
So, yesterday I showed you the finished product of my weekend of hard work on the stairs. I just couldn’t resist putting together one more B&A photo. Today I’ll give you the skinny on how I did it.
The first thing you need to know is that I’m not especially skilled. If I can do it, you can do it.
All it takes is some elementary school craft skills, painter’s tape and a little patience. (more…)
by Amy | Oct 30, 2012 | Blog, The Art of Projects, the house
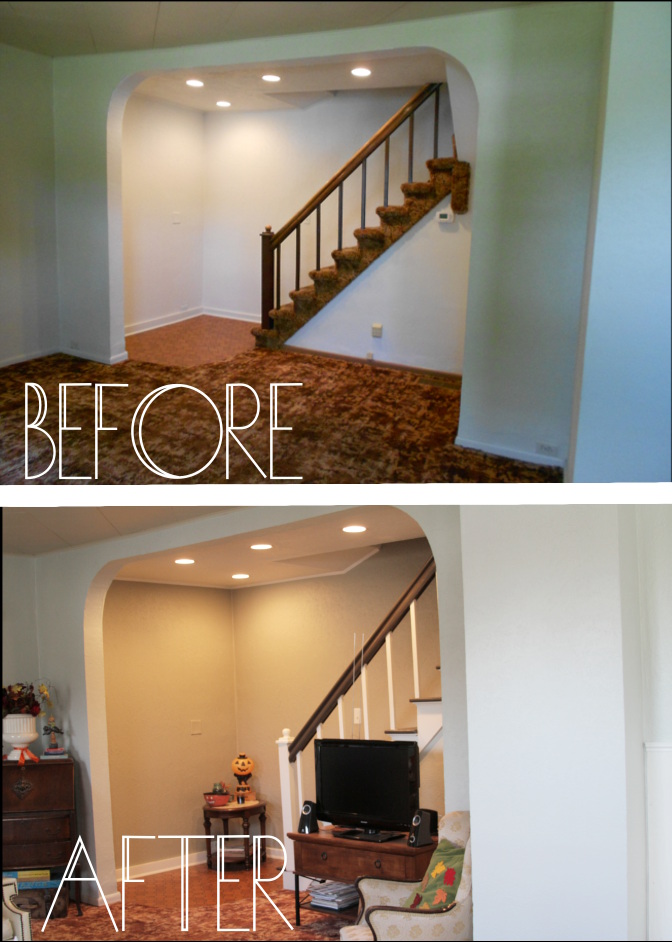
Are you ready?? Some of you may know that I was remaking my stair case while Derek was out of town over the weekend. This project started a month ago when I ripped up the nasty brown carpet covering the stairs. And it is now complete…ready to be crossed off the list.
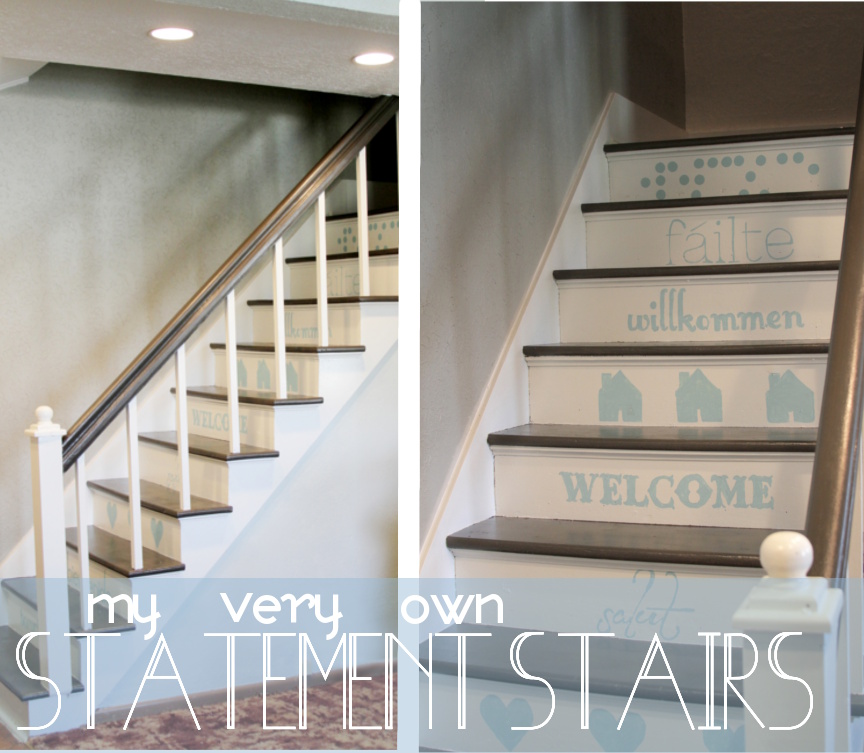
So, yes. Between being locked out of the house and locked into the garage…I made my staircase look like one fit for a dollhouse. I’m impressed with myself. I knew I wanted them white with dark treads. Then I took it a step further {after spending some time drooling over this statement staircase} by making a statement. Hospitality is deeply important to Derek and me, so I painted “welcome” on the risers in different languages. {The top riser is braille! Fun, right?}

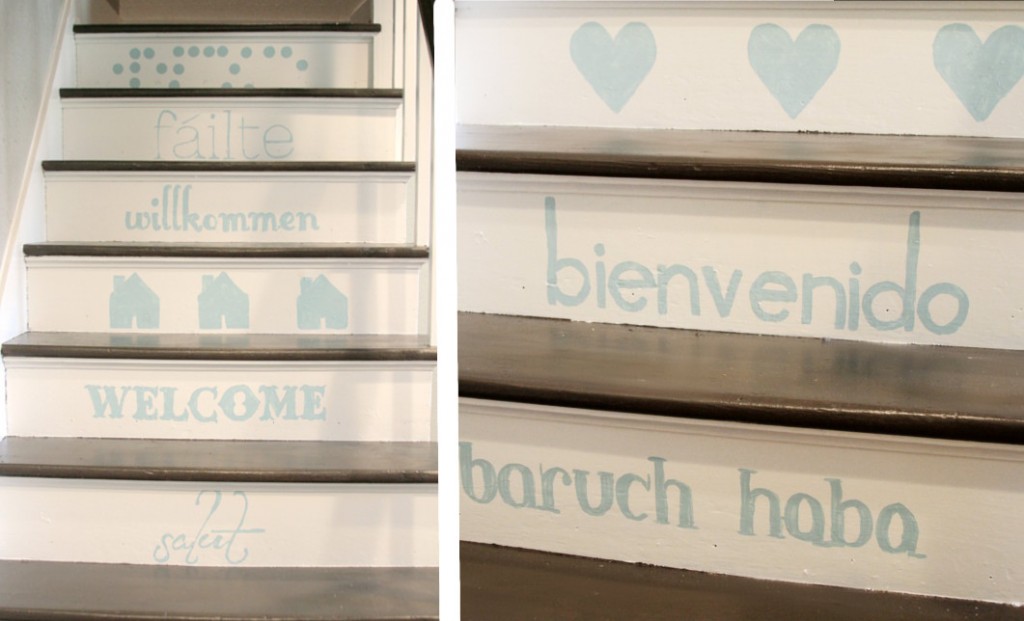
Want to know how I took the gross brown steps circa 1975 and turned them around? Look no farther…just click here!
And now I’ve got candy to make. {Another something you’ll be seeing in the coming days.}
Amy
Linked up at Home Stories, Savvy Southern Style and these other awesome parties!
by Amy | Oct 22, 2012 | Blog, Crafts, The Art of Projects
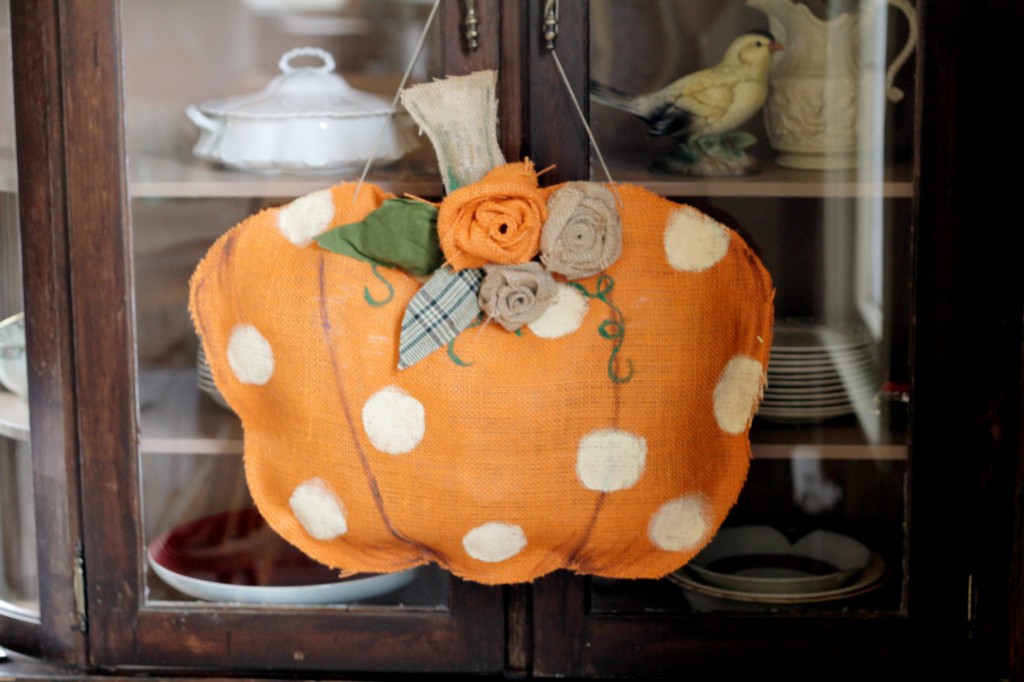
A while back {see the cabinets are still brown??} I did a little fall DIY crafting. I got together with a girlfriend and we made these super cute burlap pumpkins. Her neighbor had one. They are all over the Internets. {Yes, sometimes I call it the Internets. With an “s.”} They are retailing on Etsy for around $35.
Well…you know me. $35 for something made of burlap?? Maybe if the burlap also came with a gift card for some fro-yo and breadsticks at Olive Garden. Maybe…
So anyway. We made our own and I think they came out pretty darn cute. And now is the perfect time to whip one up as you swap your scary-spooky for harvest-happy. The best part? Ours cost $6. For both. What up? The second best part? It’s an awesome way to upcycle your plastic grocery bags! {Remember what we did with paper bags?}
Here’s what you’ll need: Burlap 1/2 yard per pumpkin {Hobby Lobby carries it in orange} | scraps of tan burlap | white & green paint | paint brush {bonus points if it’s one of those nifty circle sponges} | scraps of felt or other awesome fabric | hot glue | plastic grocery bags {unexpected…I know}
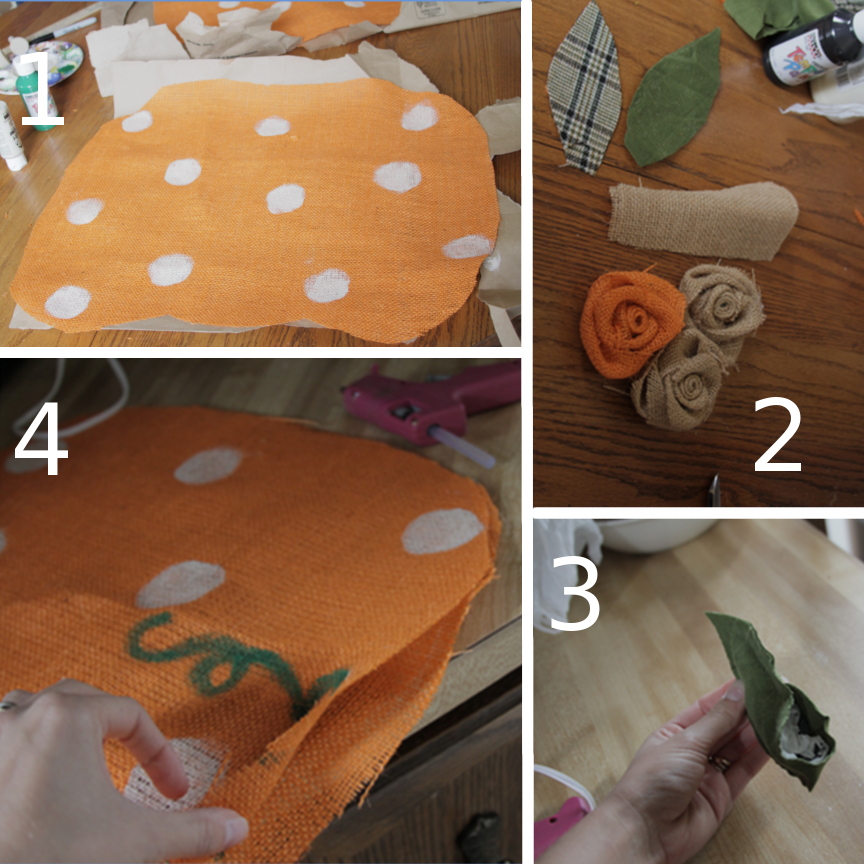
1. Cut out your pumpkin. Double your fabric up so you have two identical shapes. Mine is about 22″ wide and 16″ tall.
2. Cut a stem out of tan burlap. I cut leaves out of some scraps from the fabric bin. Wool, felt, and flannel from an old shirt are great choices. Use a few other scraps to make some burlap roses. Tutorial here at the old blog.
3. Start gluing your small pieces together. Lay them flat and run a bead of hot glue around the outside, leaving a little raw edge exposed. Be sure that both right sides are out!! When you’ve almost got the whole shape sealed up stuff it with some plastic baggies. For the small pieces you may need to tear the bag into smaller bits.
4. Almost done. Lay a paper bag between layers of orange burlap and paint. These look best when they are kept simple. I went with big polka dots…but you don’t even have to include the dots. Swirls, stripes, whatever…it’s your project. Add a few curly-q vines to the top. Follow your heart. Then repeat the gluing process. Leave the top open and stuff it with plastic bags. Glue your stem in place {sandwiched between orange layers} then glue the top shut.
Add your leaves and roses with a bit more hot glue.
I used a pen to open up a whole in the weave of the burlap, then I threaded a piece of craft twine through to create a hanger.
Why plastic bags? It’s simple. First of all…they are free, and we all have way too many on hand. Second, if you are planning to hang this gem out for all to see…plastic is an ideal choice. It won’t rot or get nasty. The rain won’t hurt it. I’ve seen other tutorials use brown craft paper…which is dandy…if you aren’t putting it outside.
As always, I love to see your creations. Feel free to send me a photo of your version of this craft {or any craft}. I love new ideas! AND…if there is a project you are drooling over, but can’t figure out how to make it happen…email me. I’d love to find a way.
Amy
This thrifty project is partying at Home Stories, My Uncommon Slice of Suburbia, Savvy Southern Style, and these other great parties.
by Amy | Oct 21, 2012 | Blog, The Art of Projects, the house
Hi all. I hope this weekend finds you well. Derek and I have been super productive around the house….which is always a good thing. Unfortunately, that means I haven’t been so productive in the kitchen and we will be ordering a pizza to eat while we watch our Sunday night line up {Once Upon a Time, Football, and Revenge!!}
Anyway, I’m simply stoked to show off our new light fixture. I saw it a few months back at Menard’s and fell in l-o-v-e. Seriously. Love. Like Valentine’s Day love. The price, however…I did not love. So, I snapped a photo of it on my phone to remember it by and went on my way.
As fate would have it, I just happened to look up my precious lighting fixture online…only to discover…it had gone on sale!! Now it is mine. All mine. {And a little bit Derek’s and Panda’s too.} Here’s a link to the product…in case you love it so much you have to have it too!
Gorgeous, right? I’m seeing the almost-finished-dining room in a whole new light. {I love a good pun.}
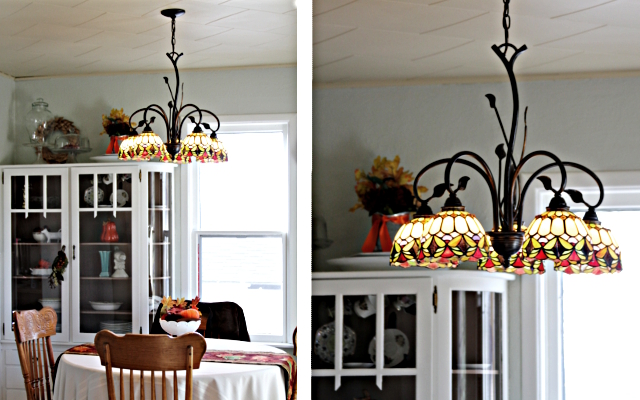
Besides hanging the new chandy I finished patching some dry way I severely damaged while removing an awkward piece of faux wood panelling. It looks good. Sanded…painted…no giant cracks or gouges in sight.
Meanwhile, upstairs…Derek is hard at work whipping up a built in cabinet for our towels and sheets. The current system is a hot mess. But that’s a tale for another day. So I’ll leave you with this. And a promise to show it off when it’s all done.
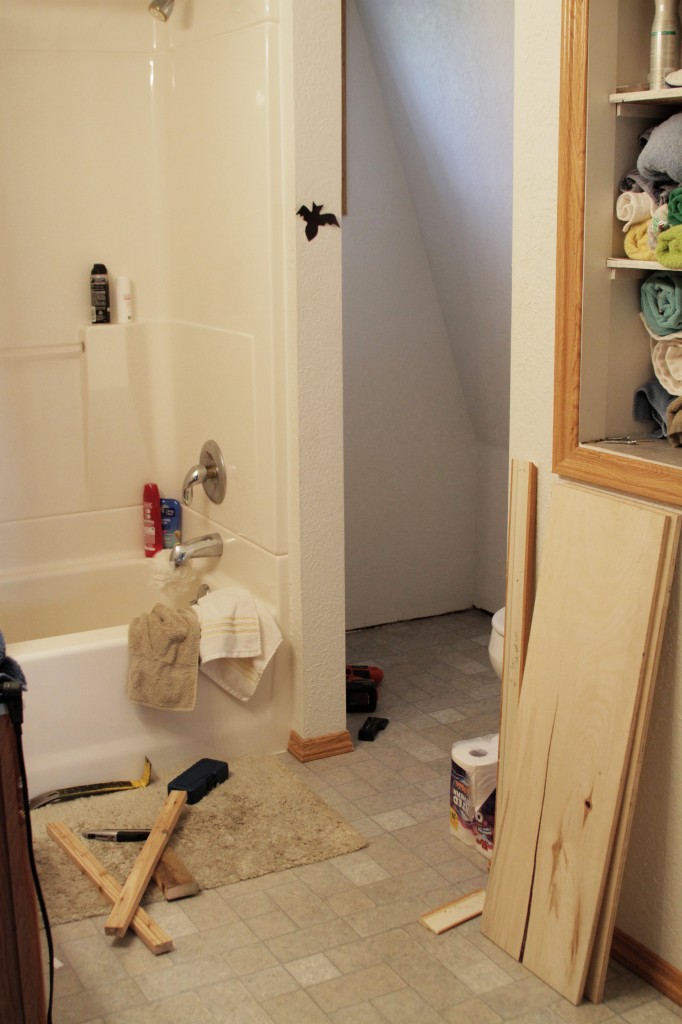
I strive to be a project finisher. And boy does it feel good when things come together.
Amy


