by Amy | Oct 10, 2013 | Blog, Crafts, The Art of Projects
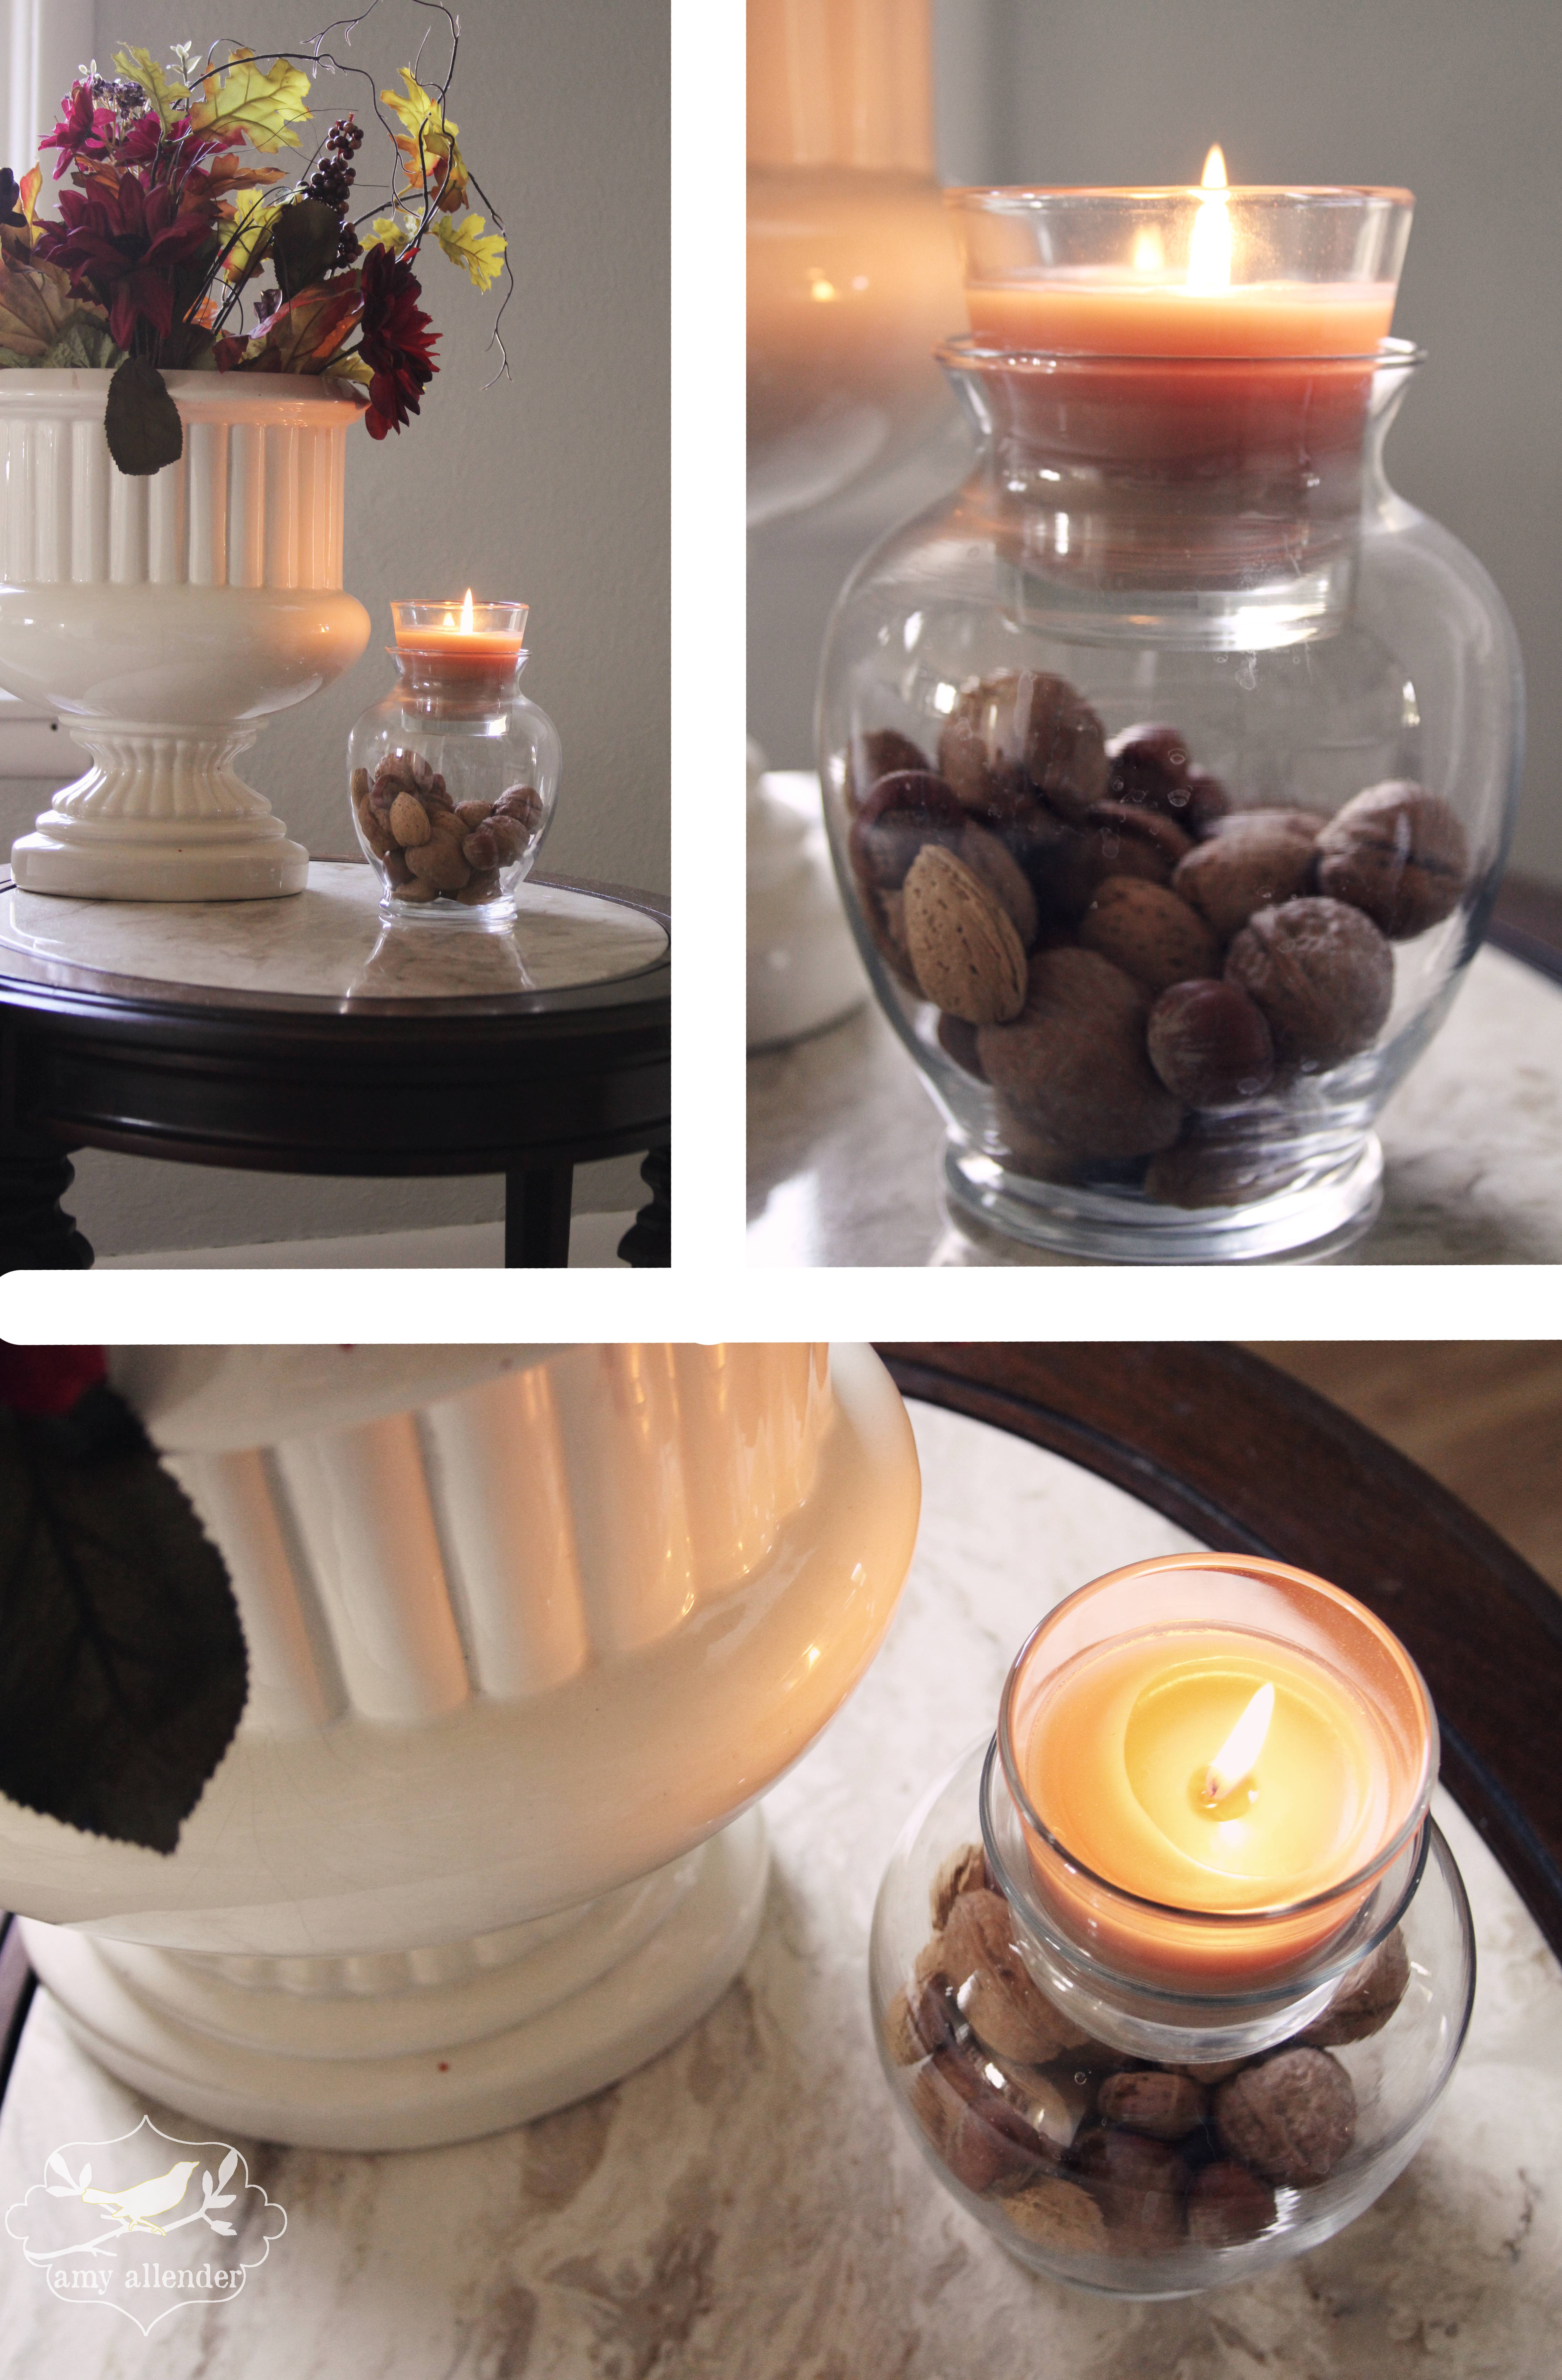
I’m in love with Glade candles. So I was super excited when I came up with this easy, cheap and quick way to dress them up for fall.
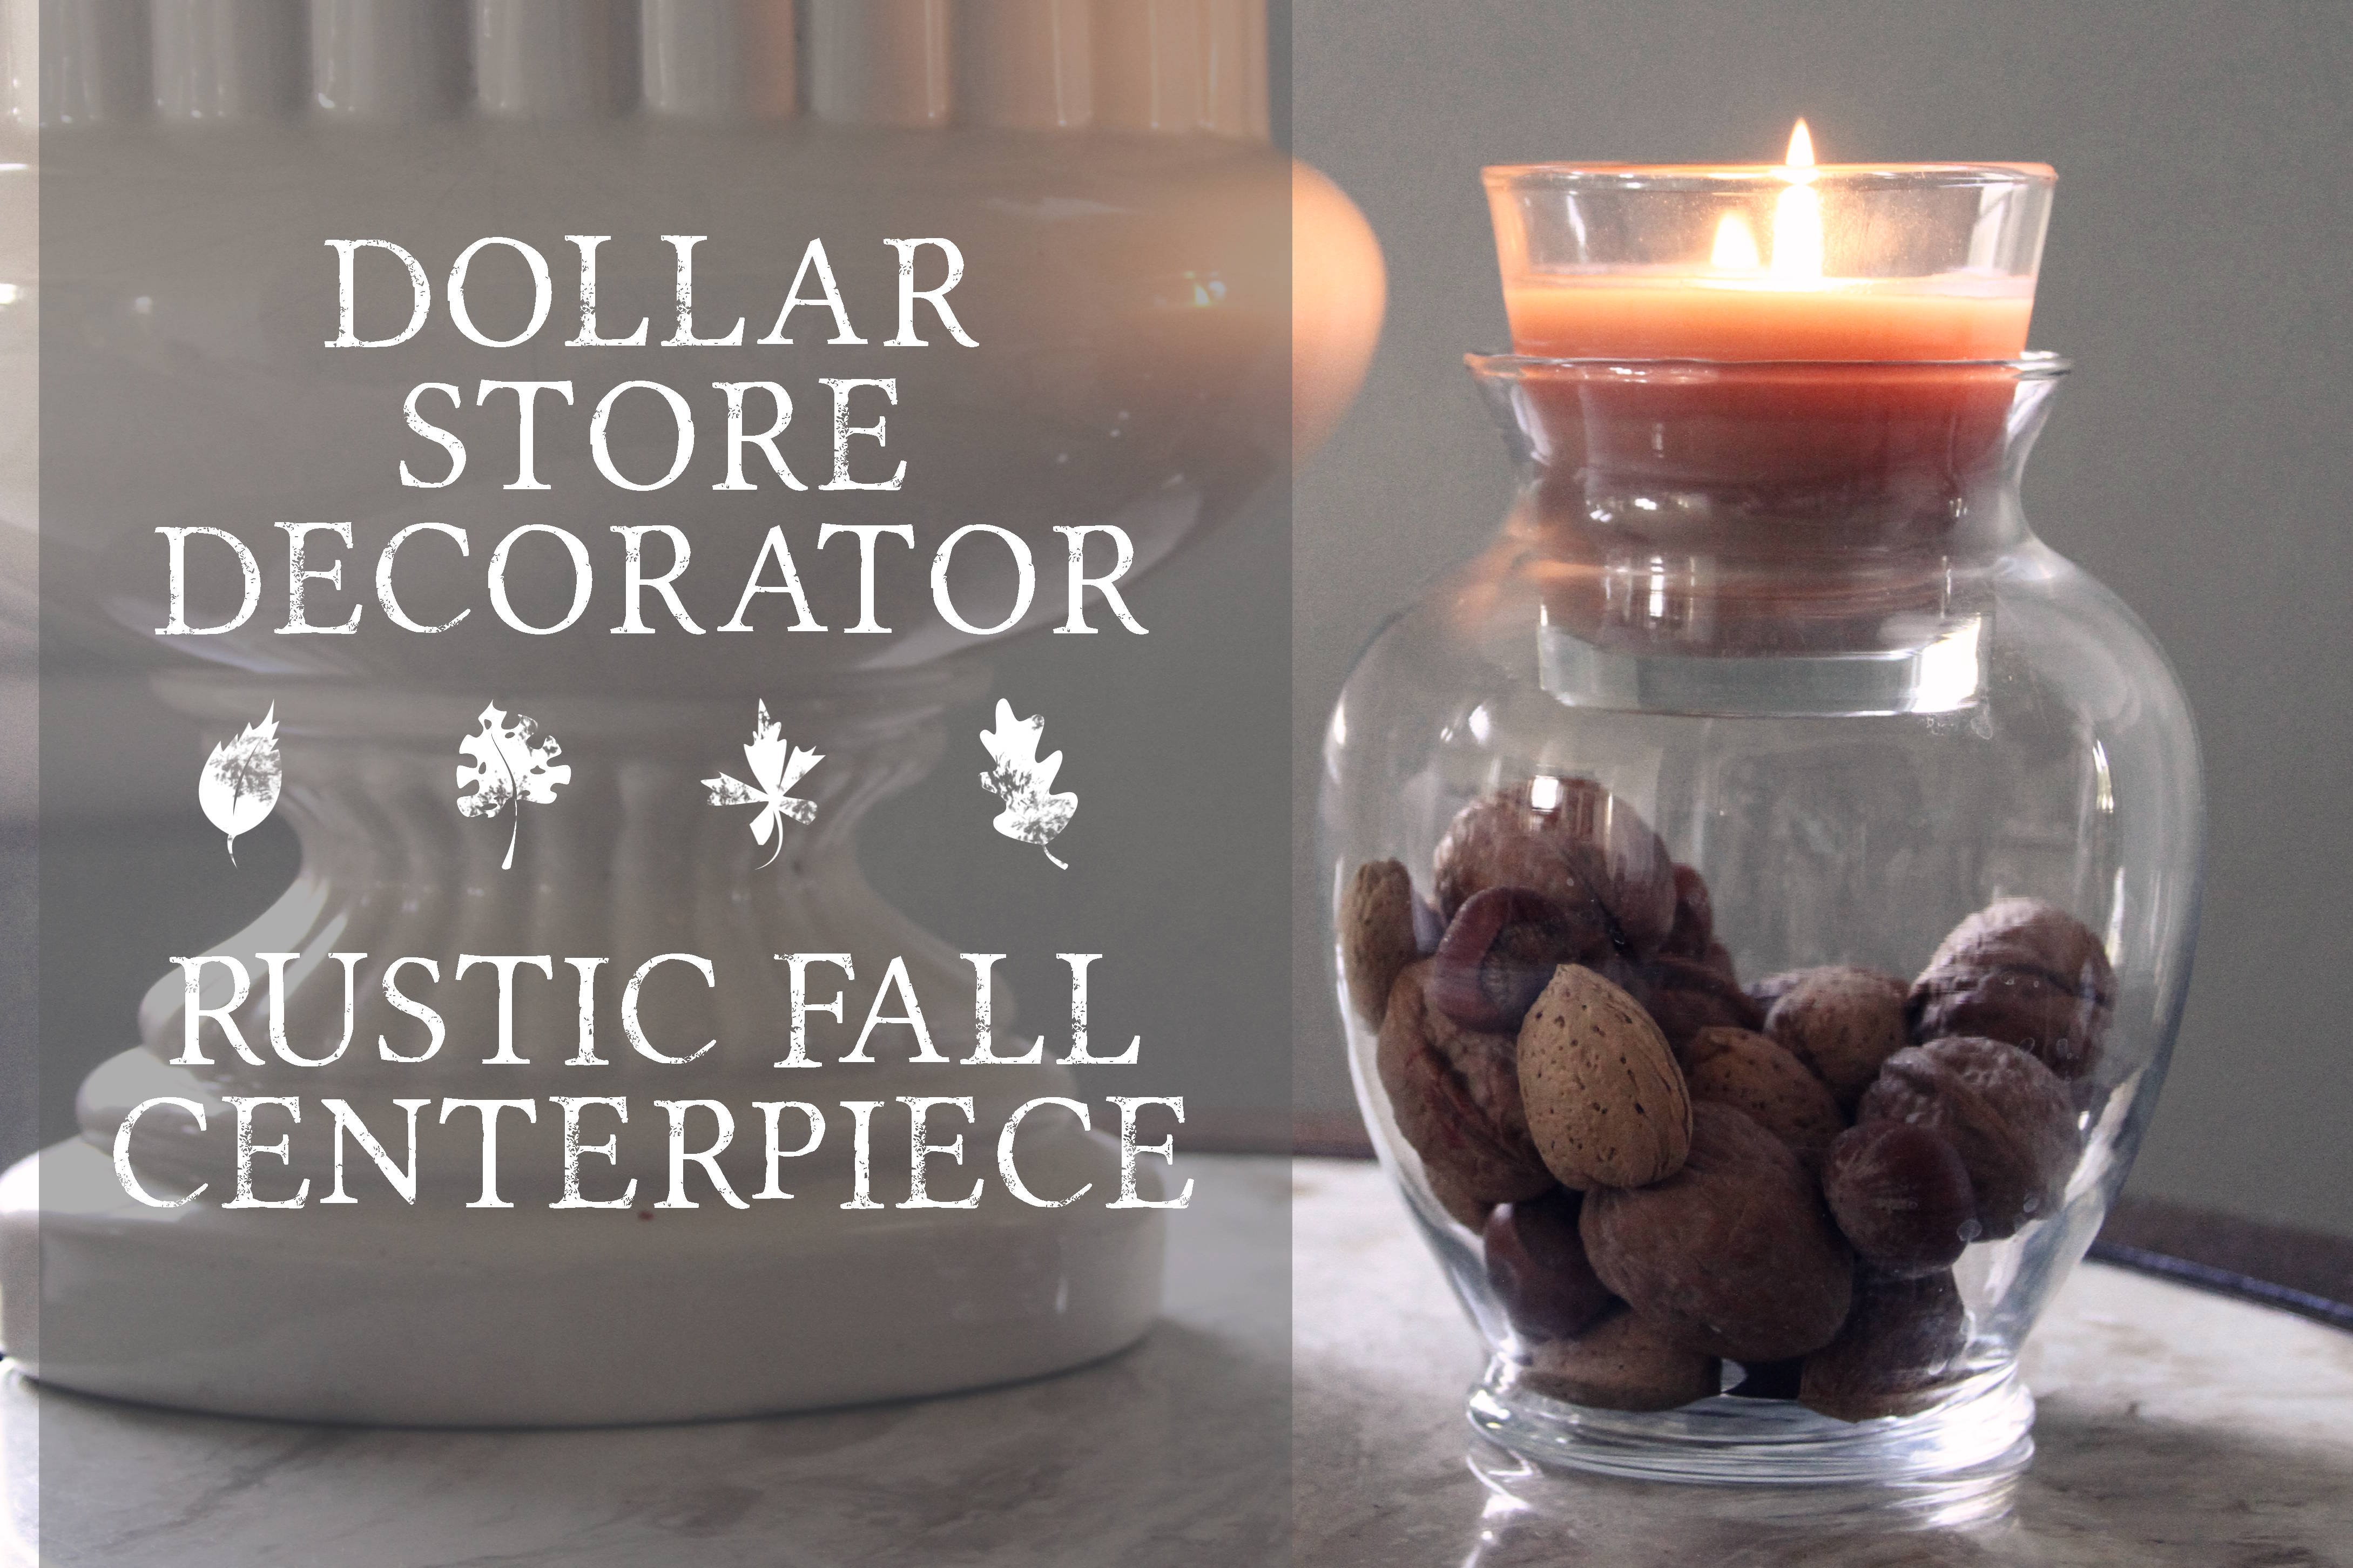
I just made one for an end table, but a group of three would be hefty enough to stand alone as a Thanksgiving centerpiece.
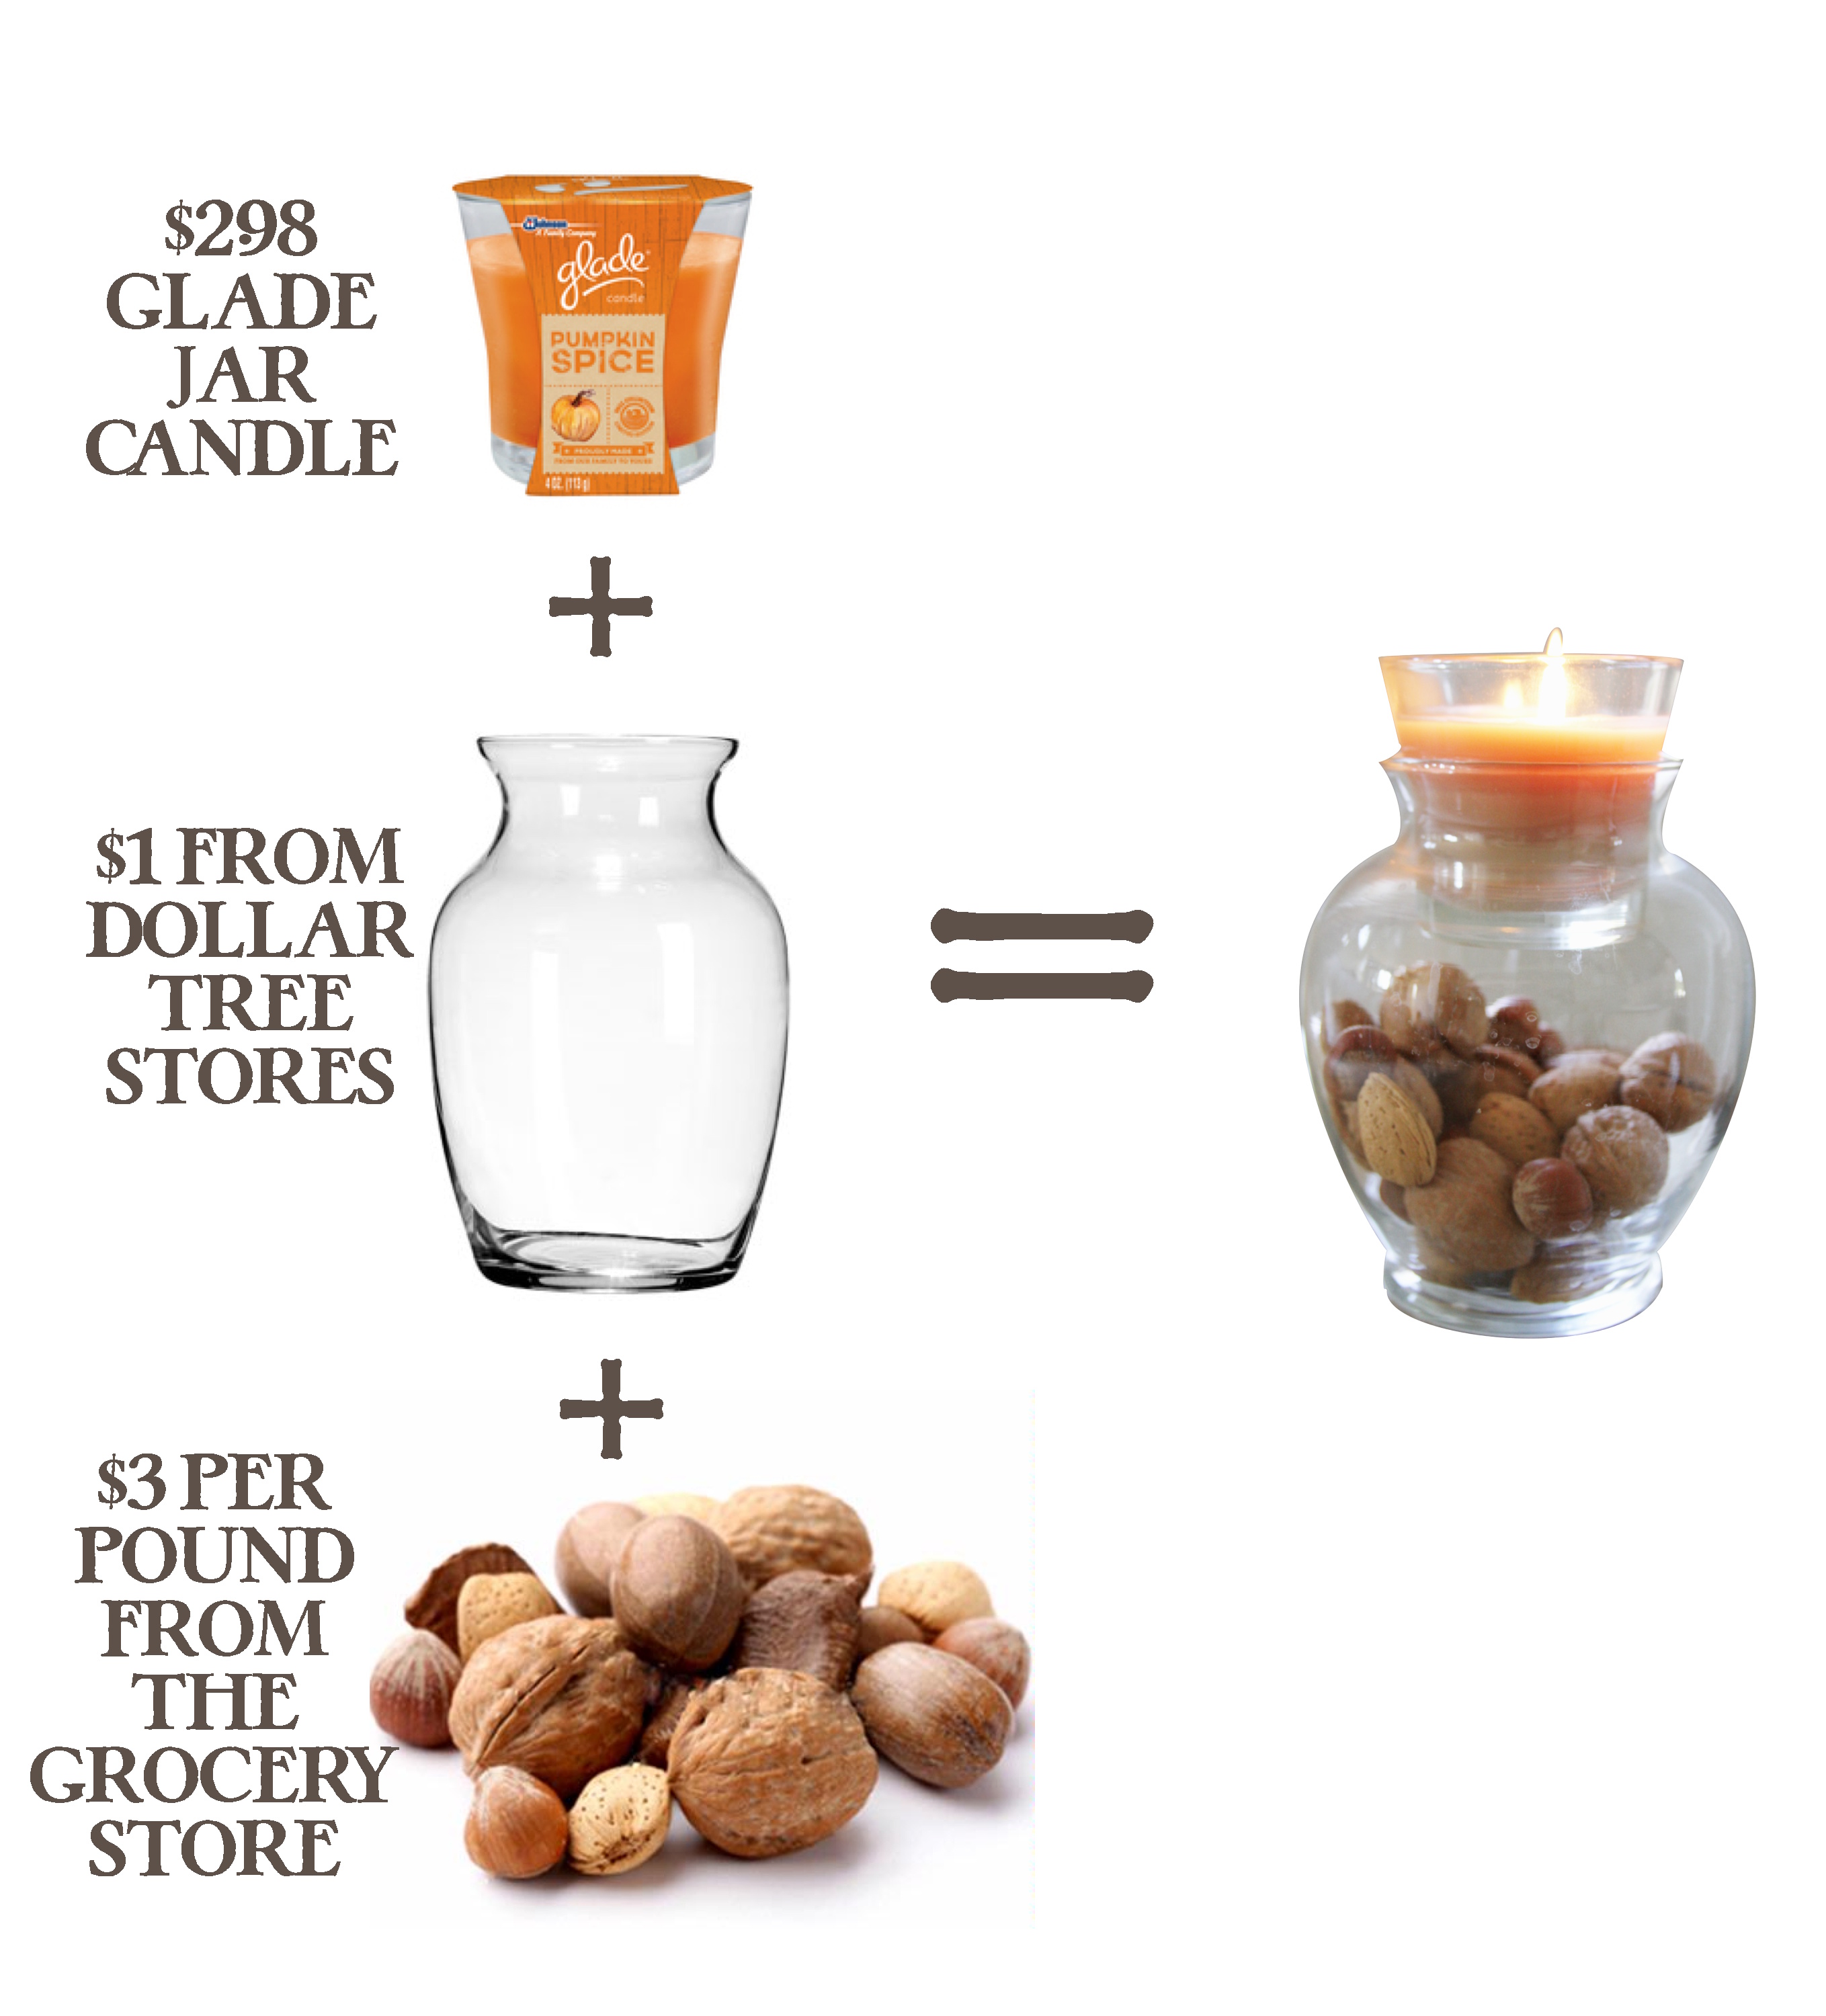
{Photos via Glade.com, DollarTree.com, and OhNuts.com}
I bought quite a few nuts, but for just this project you’ll only need a couple to keep things extra cheap. Looking for another cute way to use up those nuts? How about revisiting this centerpiece I created for last Thanksgiving. If I remember right…I think this one also featured a Glade candle. I’m telling you, they are the best.
Amy
by Amy | Oct 7, 2013 | Blog, Crafts, The Art of Projects
Many moons ago when I first started writing about all my projects and adventures, I wrote a post about an adorable fall garland I made with my mom.
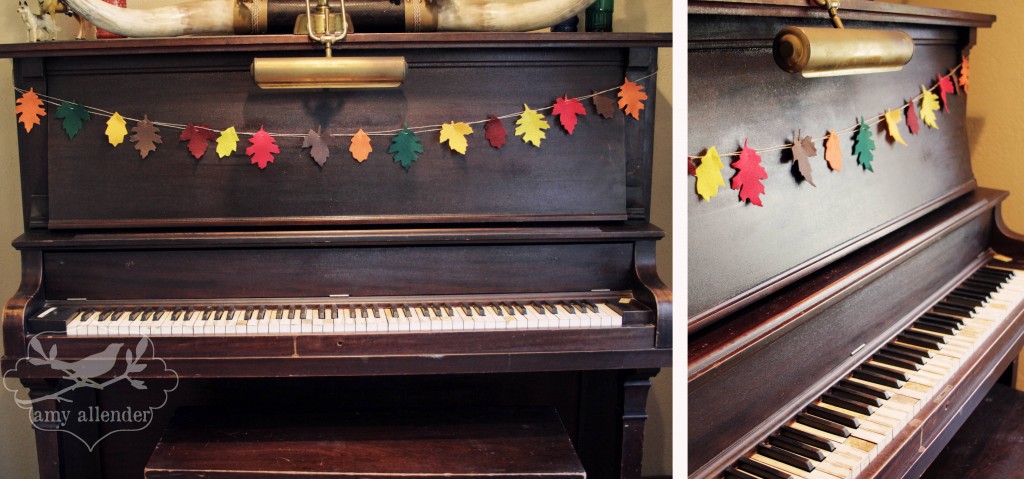
And since most of you weren’t reading back then, and it’s not fair that you miss out, just because you didn’t know this blog existed, I thought I’d do a rerun. The adorable fall garland you see below is a compliment catcher. I get comments on it every year when I hand it up. And it only cost $5 to make two of them. All you need is some felt, very sharp scissors, a Sharpie, and a buddy to chat with while you snip these bad boys out.
Here’s the finished product. Simple and lovely.
I originally made this to be hung on my mantle. But now I live in a house with no mantle. So it resides here. On my piano.
Here’s what you’ll need:
Craft twine–I got a big spool of it at Hobby Lobby for $2.
Felt–Your choice in colors
Computer
Paper
Sharpie
Sharp Scissors
Wide Eyed Needle
Step one: Google Image some leaves. I used five different shapes. Then, use your computer as a light-box and trace the shapes onto some regular or stiff paper. You could easily do this using only one type of leaf. The templates I made were about 3-4″ long. But, you pick the size. Next, cut your templates out and trace them onto the felt. I used a Sharpie for this.
Remember, this is a craft. It’s not going to be judged by a tree specialist. Do your best on tracing and cutting but it doesn’t have to be perfect.
Step Two: Cut out your leaves. My garland used 16 leaves for my 4′ mantle. It may be helpful to decide where you want to hang it before you start, so you have the right amount of leaves.
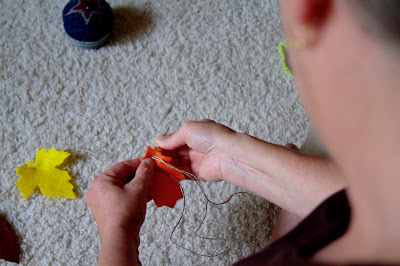
Step Three: Cut your twine the length you need. Leave a few inches on either end to hang by. Thread a wide eyed needle with the twine. Begin to stitch the leave on the line. Use a simple running stitch so you can adjust the spaces between leaves once they are all attached.
Step Four: Once they are all on the line, space them out how you like. I left a few inches between mine. My mom finished hers by tying scraps of fall colored fabric between each leaf. I left mine bare. Do what you like. To hang it, tie the extra twine into a loop on either end. Use a small nail or clear thumb tack (that’s what I use) to secure it to the wall, window or mantel on either side.
Amy
by Amy | Oct 2, 2013 | Blog, Crafts, The Art of Projects
If you follow the Facebook page, you saw that yesterday I was working on a couple new chalkboards. A while back a friend gave me a couple old window panes that she didn’t need. It’s been months and finally I’ve converted them into something useful. I plan to use them in photo sessions, but when they aren’t in use there, one will be hanging on the gallery wall.

Nearly a year ago I showed you guys how to make your own custom chalkboard paint. Today I thought we’d revisit that technique. Since last time I forgot to take photos and the tutorial was really lacking.
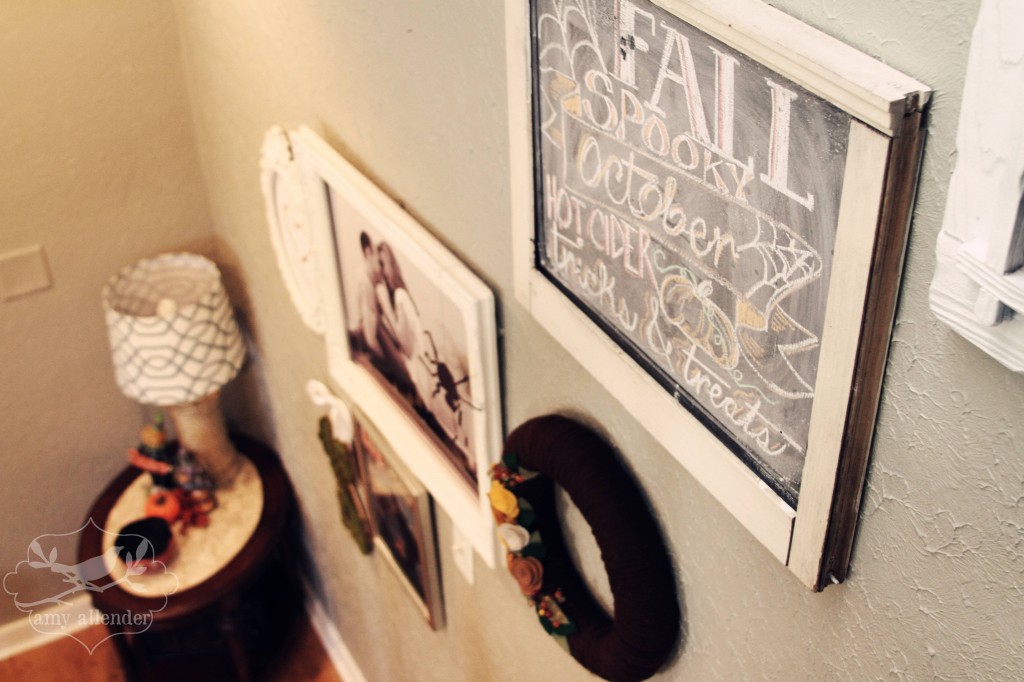
Here’s what you need:
Paint in the color you’d like your chalk board
Unsanded grout
Water
Something to mix in
Something to mix with
Something to chalk board
A paint brush
Here’s what you need to do.
Start by priming your surface. In my case, I primed window glass. But you can use basically anything that can hold paint. I prime with basic acrylic or latex paint.
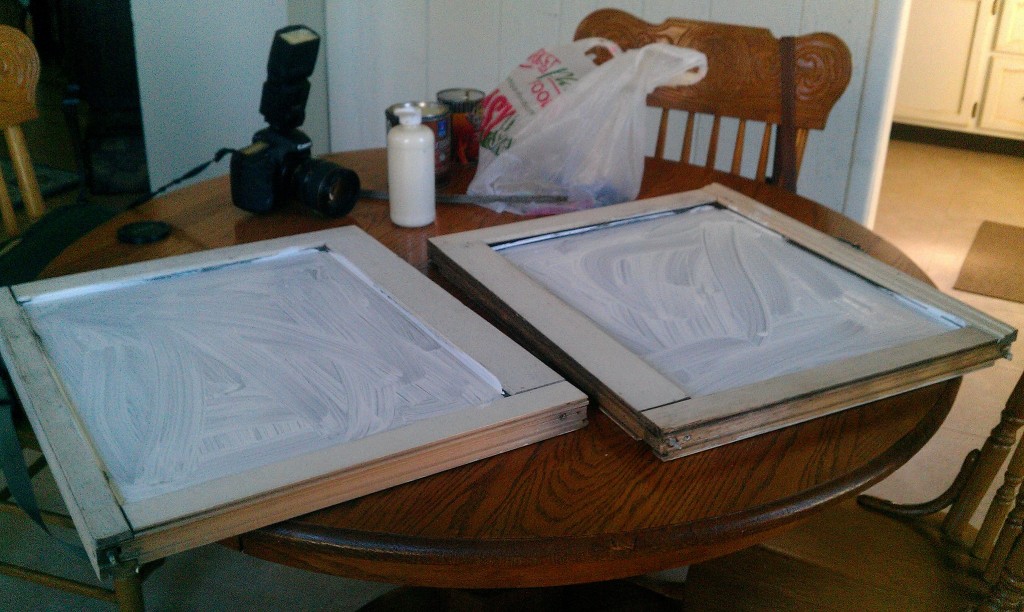
After you’ve let that dry completely, mix up your chalkboard paint. I mixed mine in an empty baked beans can. It was handy, free, and disposable.
Mix together, 2 TBS unsanded grout and a few drops of water. Just enough water to make a really thick, but smooth paste. If yours is looking thin because of too much water, add a little more grout. Then mix in 1/2 cup of your paint. Paint an even coat all over your surface and let it dry.
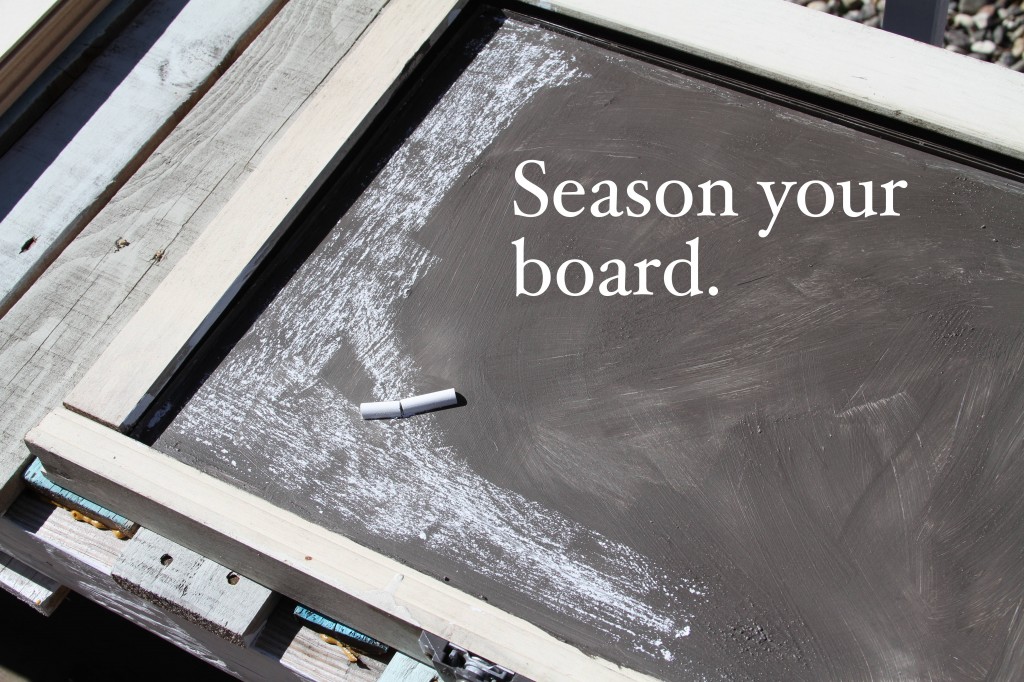
Once that’s dry, season your new chalkboard by rubbing the side of a piece of chalk over the whole surface and gently wiping it off. Because of this, your color will not be as vibrant as it was in the jar. Keep that in mind when you choose a color.
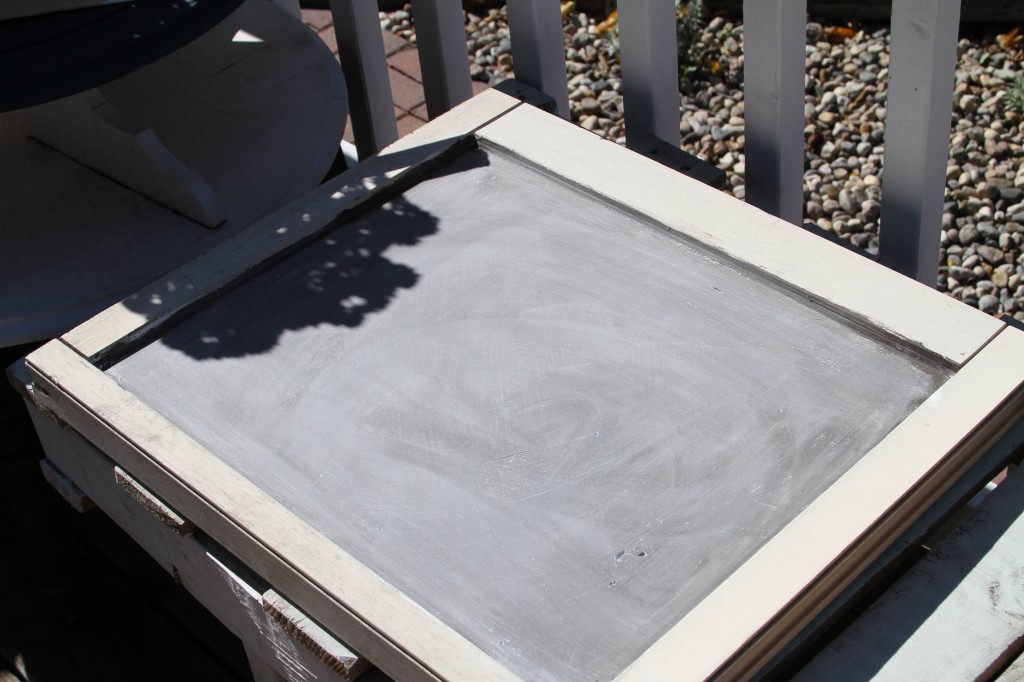
Now you are ready to write on your new board.
I used this graphic I made for a little inspiration. But, let’s face it, everything looks cool written on a chalkboard.

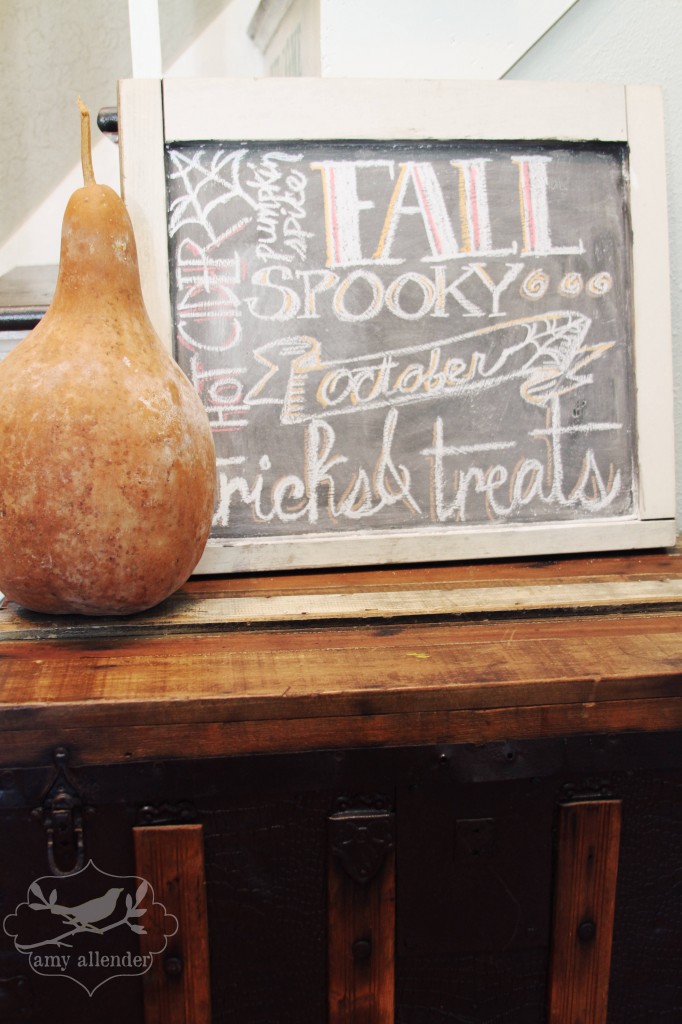
Hope this one helps you more than the last tutorial. See you tomorrow,
Amy
by Amy | Sep 27, 2013 | Blog, The Art of Projects, the house
Here’s the thing. Derek is going to be leaving for a few days for a little work exercise. And you all know what I like to do when Derek’s gone…right? If not, look at this. Or this. Or this.
Another thing you may know about me is that I have a deep felt hatred for old carpet. Especially carpet in bad carpet in ugly colors. Especially old carpet that is hiding hardwood treasures.
This whole hating carpet thing really didn’t set in until we moved into our house here in PraCan. In nearly every room we found bad, ugly, dusty, smelly carpet. So I started ripping it out. The stairs, the living room, the office, the bedroom. Gone, gone, gone, gone. Then, there was only one lonely room left with bad carpet: the Guest Room. Which is a bummer, because I love to entertain…and I feel like a big jerk when I shove a weekend visitor in the only ugly room in the house. I feel terrible letting them shut the door before bed, only to sequester themselves in a room that has a weird smell coming from the floor.
Take a look. This is the last time that you will see blue carpet in this house.
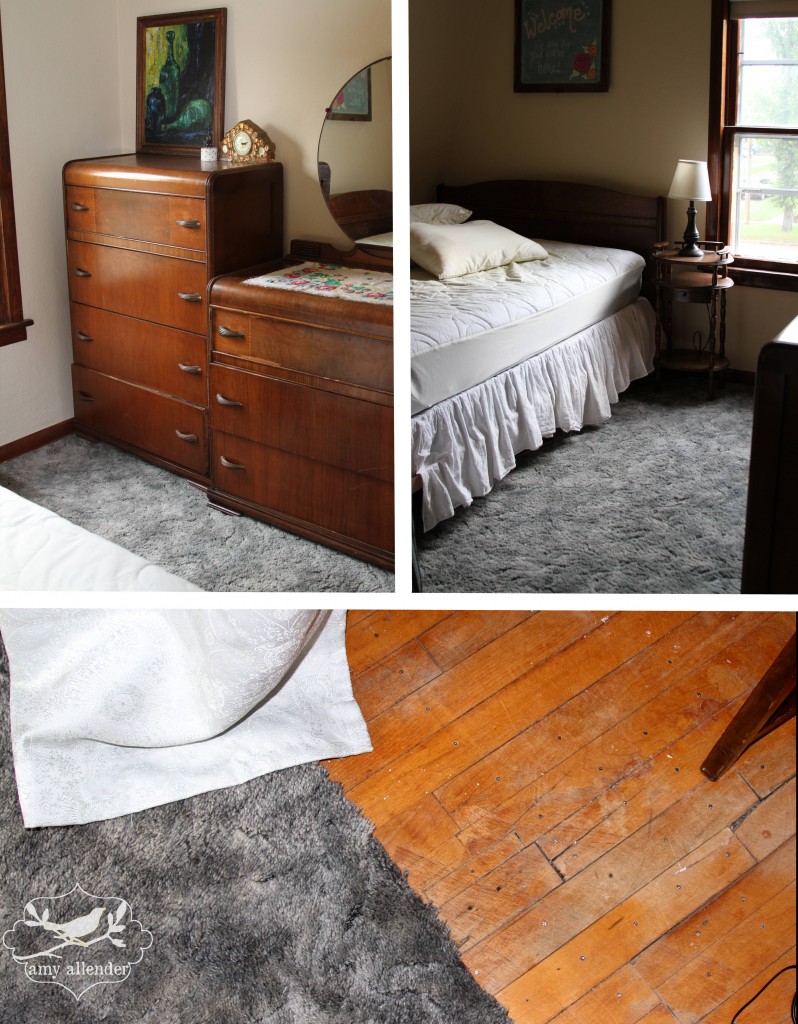
Derek actually hasn’t left yet. I had him help me move the furniture out. I meant to wait until he was gone to start ripping…but I couldn’t. It’s like opening a present when you see that natural, aged wood pop through. He’s on the couch next to me now, taking in the premier of Parks and Rec…meanwhile, upstairs, the floor looks like this.
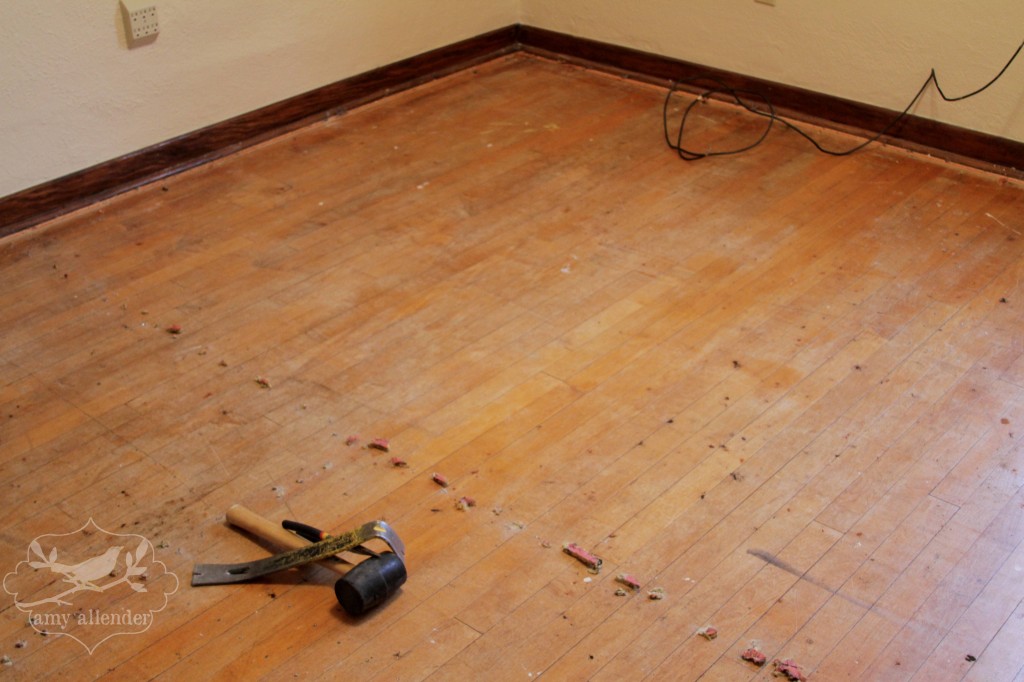
It only took a few minutes. And I couldn’t resist. Now, all that stands between me and a dazzling floor are a few staples, some tack strip and a couple coats of polyurethane.
Look for a B&A coming soon. As in next week soon. I’ve got a bestie coming!!! And she’ll need an amazing room to relax in.
Amy
by Amy | Aug 28, 2013 | Blog, The Art of Projects, the house
Remember when I started the kitchen project? I wrote that post about how Derek never reads my blog, because he is around the real thing, which is pretty intense…so for him there is no need to check in and read the blog happenings. Here is a quick excerpt, but to read the whole post, click here.
Derek doesn’t read my blog. Well, I shouldn’t tell you that he never reads it. He does sometimes. Just not often. He doesn’t really need to. We talk, he sees me, he lives with me {well, most of the time} for goodness sake. Basically he knows all there is to know about my goings on. There is no need for him to spend time reading a recap of what he witnessed first hand. He lives the adventure…and gets bonus features. Like all my lame jokes, seeing the awkward unfold before his eyes, and putting Band Aids on all my mishaps.
Between you and me, I think he gets enough of my madness as is.
All that to say…I’m pretty sure I can safely write to you about my next project without Derek finding out.
When I wrote that I was totally sure that Derek actually didn’t read the blog. That he never checked Facebook. That I really was being a bit sneaky.
Well, as I’m sure you can surmise by all this build up, he found out a bit prematurely.
Here’s how it all went down.
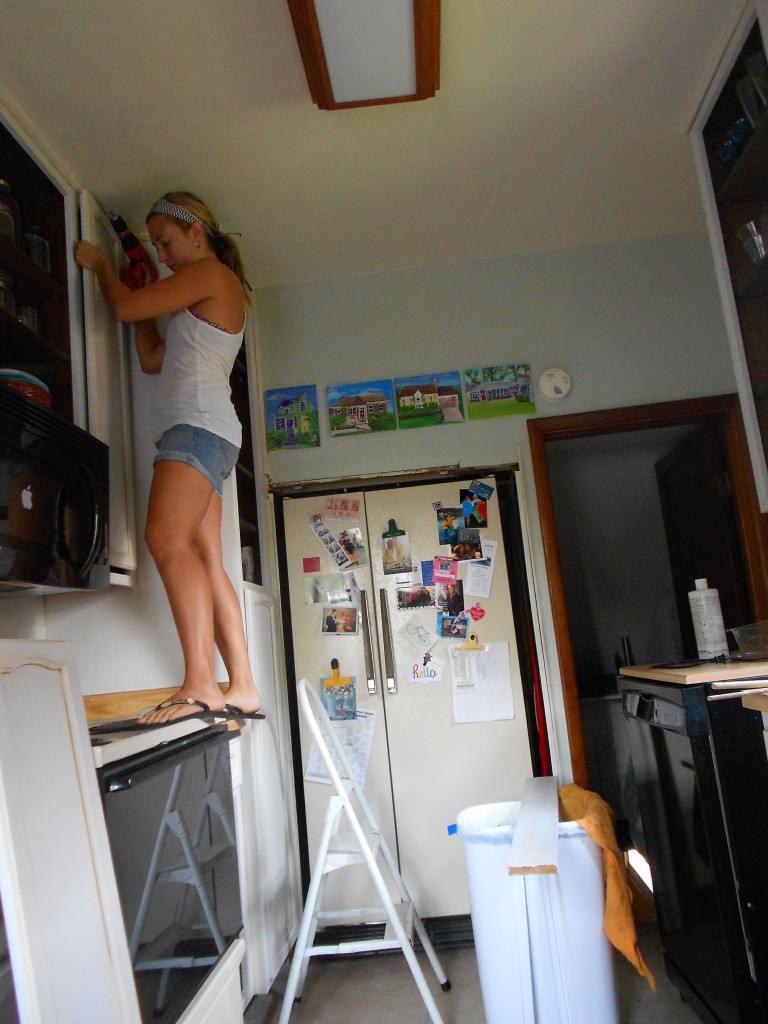
Scene: My kitchen. Things are just about finished. The cabinets are painted and glazed, but not hung. The ugly light above the sink is gone and a lone DIY go-getter {me} is standing on the counter attempting to hook up the new, pretty fixture with little luck. She’s frustrated and about to give up and have a Girl Scout Cookie or two, when suddenly from the living room, Skype starts ringing.
So I answer and try to chat nonchalantly as if there is no gigantic mess in the dining room and my kitchen isn’t torn apart. I’ve kept the secret for a few days, I’m golden. He doesn’t know a thing.
We chat for a few minutes, but I just can’t get my mind off of that stupid, new light fixture. I figure that I’m past the point of no return anyway. There is no way he can talk me out of refinishing the cabinets now, no way I can undo what I’ve already done. I start with an innocent question, something vague about hanging lights. That’s when I know. I know he knows what I did last summer.
“Where are you putting a new light?”
There’s something in his voice that tips me off. So I ask,
“You know?”
“About the kitchen? Yeah, you’ve been writing about it for days.”
I tell him how I didn’t think he read all that crap I post online, he never gets on Facebook, that whole thing. Then he sums it up,
“I don’t read your blog when we live together. We only talk once a day now. So of course I’ve been reading it. I just figured you’d tell me about the kitchen when you were good and ready.”
Jokes on me. I’m not so sneaky after all. But he did tell me that it’s good I went ahead and took this project by the horns. He said if he was here he would have tried to talk me out of it, and he definitely would have insisted that I not paint them white. Bahaha. To late!
I think he liked the finish product. And I’m sure he’ll like it even more when he lays eyes on it in person.
Amy
by Amy | Aug 22, 2013 | Blog, The Art of Projects, the house
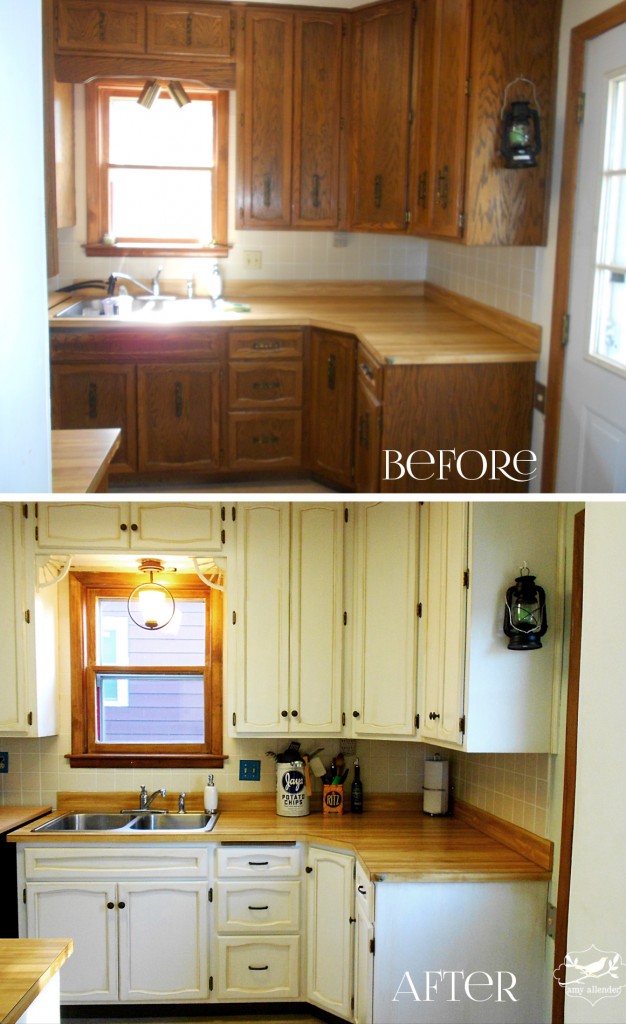
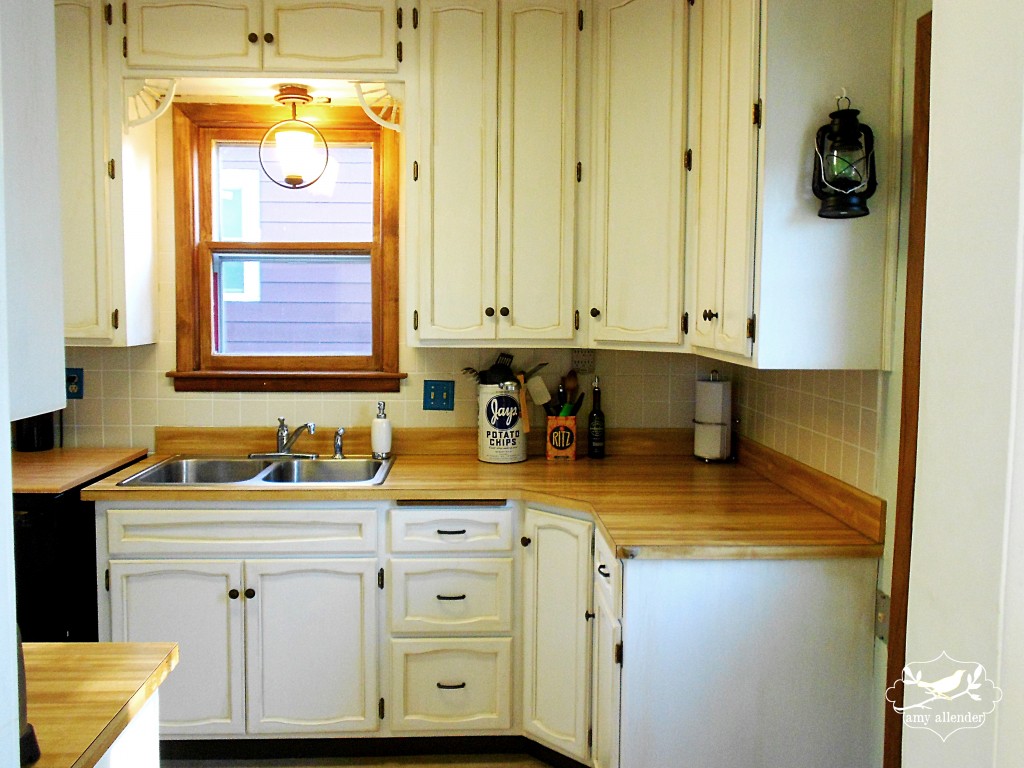
Look. At. This. Look at it. Just look.
Sometimes when I’m really excited I repeat a phrase over and over. This is one of those moments.
Kitchen project complete. (more…)
by Amy | Aug 20, 2013 | Blog, The Art of Projects, the house
I can count the number of manicures I’ve ever received on one hand. Heck, I could count them on a Fraggle’s hand. The number is two. Once during a bridal luncheon before a wedding. Once before my own wedding. You know I’m cheap. I don’t fancy spending money on something that I wreck in a day or two. My hands get a lot of use {could you tell…?} and I’m not very delicate with them. All in all, it’s not worth it.
But professional manicures, and a certain friend {Angel McCurdy…awesome name, right?} have taught me all the proper steps to take for a lasting mani.
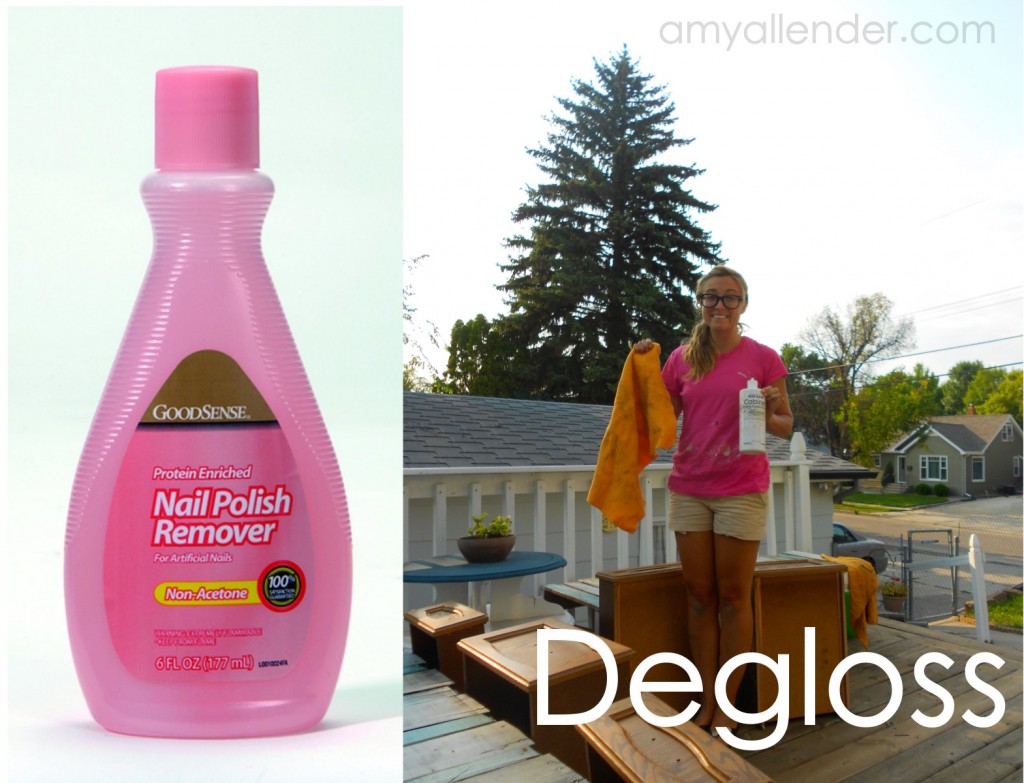
And I’ve come to the conclusion that refinishing cabinets, or probably any furniture for that matter, is a lot like a manicure.
First, you get out the nail polish remover and buffer. Get all the old paint off and prep the surface for your new paint. That would be the deglossing process I showed you last week.
Next put on your base coat. That’s the bond coat I told you about.

Follow that with any embellishments you want to add. Glaze.
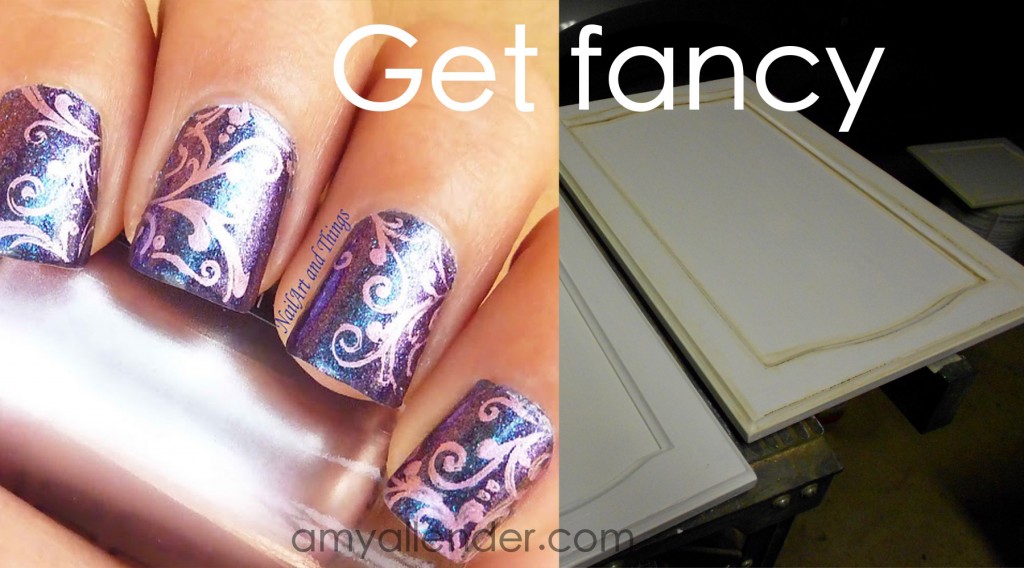
Top it all off with a top coat to keep it all in place for a good, long time.
That was the final step in my cabinet project before rehanging them. And since it is a clear, slightly glossy finish…there really isn’t anything to show. It took a day to put the top coat on all the frames, rails and doors. Only one coat {awesome}, but the doors needed to dry 3 hours before I could flip them. Then the whole shebang had to set up for 6 hours {overnight} before hanging them.

So that was Friday.
Saturday afternoon I started the hanging process, which is relatively difficult solo, but I got it done. More than anything it’s awkward to do alone. I started by reattaching the hinges. Then I held the door up to its former home, lined up the screw holes and braced it in place with my body. The lower cabinets were easy. The uppers were a different story. For this stage in the game I’d recommend bribing a friend/parent/family member/spouse with a treat of some kind to help you out.
I should also tell you that my mom and dad were due to come in Sunday afternoon. However, I’m impatient. And when I saw how lovely things looked I just couldn’t wait. I needed those cabinets up. Needed.

So I hung them. And. It. Looks. Awesome.
Oh, and the best part? If you follow the Facebook page, you saw this when I was at Menard’s shopping. {And if you don’t follow, you should. Then your should tell all your friends to follow too. Because it makes me feel good when I see a new ‘Like’ notification.}
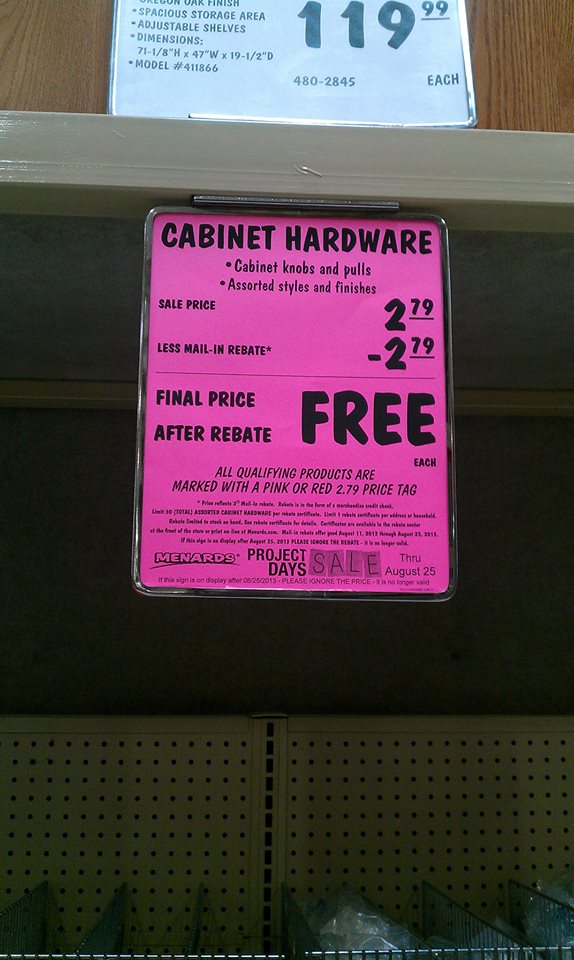
If not, I’ll tell you about it right now. I got all my knobs with a mail in rebate…a rebate for 100% of the price!! After I get my rebate, I will have only paid tax on them. Pretty great, right?
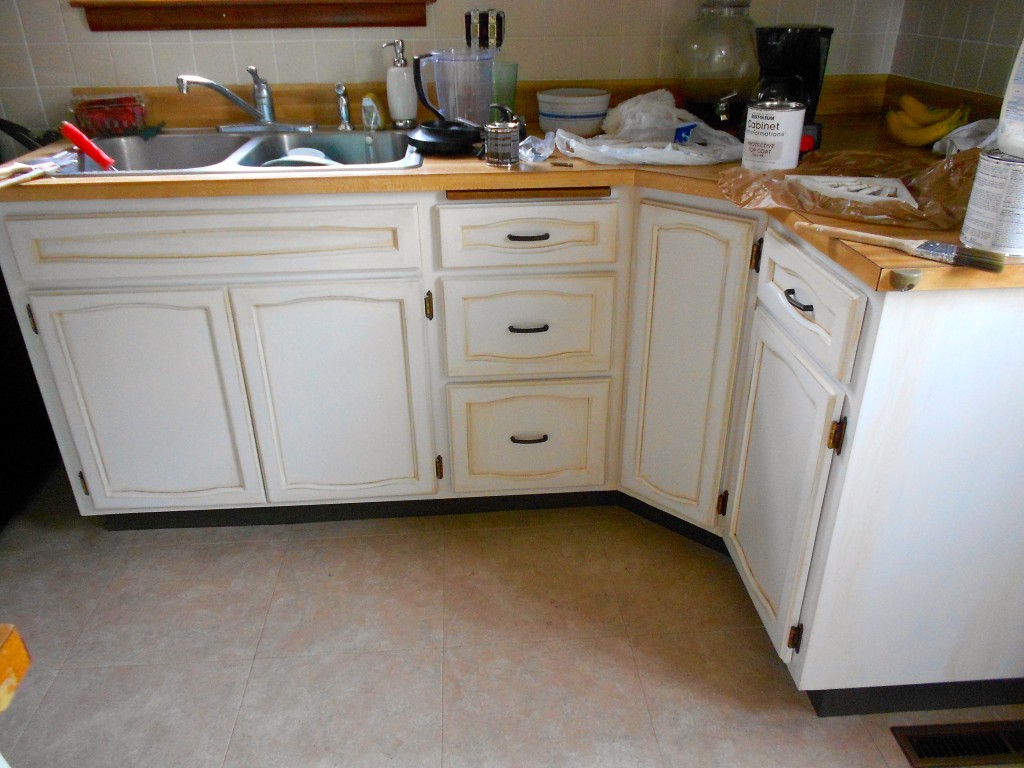
So, yeah…take a look. Tomorrow I’ll have a full B&A along with my final review of the Rustoleum Cabinet Transformation kit. {Hint: It’s going to be a rave review.}
Amy
by Amy | Aug 17, 2013 | Blog, The Art of Projects, the house
Yesterday was about getting things d-o-n-e. Yeah, it was so hard core and awesome I felt the need to spell it out. Because that really proves how much I got done.
Okay, enough explaining why I write the things I do. If I did that I’d never leave the laptop…
Anyway at the end of the day on Wednesday I had the cabinet frames painted {with three coats} and the back of the cabinet doors painted {with three coats.} I ran out of tape…so things were only partially taped off when I headed to bed.
I was a little slow to start, a few late nights of DIY-ing can leave a girl sleepy in the a.m. But yesterday I had a ton to get done in order to stay on my timeline. So, I started by flipping all those cabinet doors over in the garage. Something I forgot to mention is that I filled the hardware holes in with wood filler after deglossing. They were all big, bulky and attached to the center of the doors. I thought it made them look outdated. So i filled the holes in. After flipping them all, I gave the wood putty a quick sand and wiped each door off with a rag to get rid of the dust.
Then I started painting. Paint your cabinet doors fronts like this.
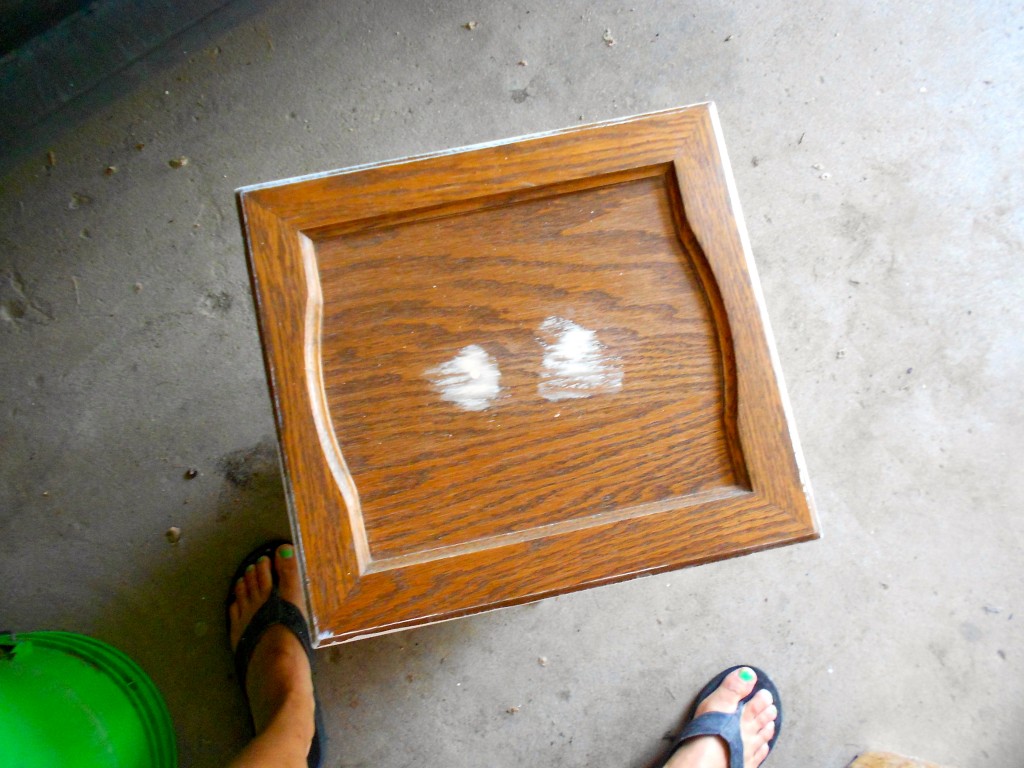
After doing lots of doors, I found this technique to be the most efficient. Start with the outside. Remember to paint with the grain of the wood. Get your brush down into all the beveled edges. All the painting for this project was done with a 2″ synthetic brush.
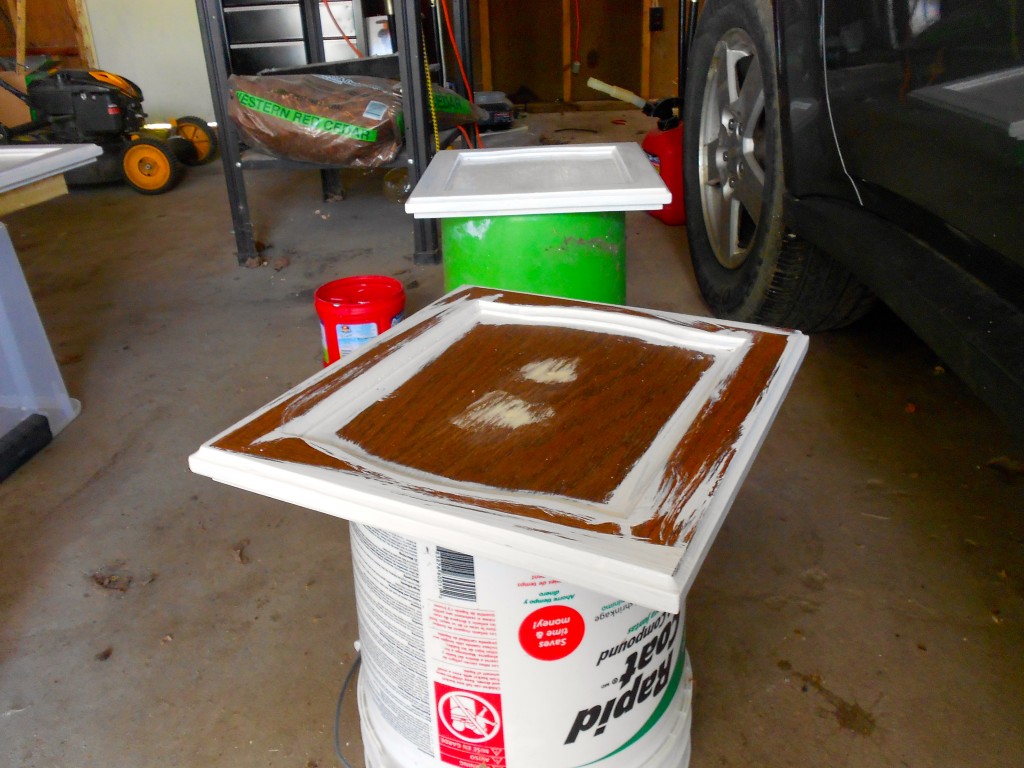
After you’ve gone around the edges paint the vertical and horizontal flat edges. Then fill in the middle.
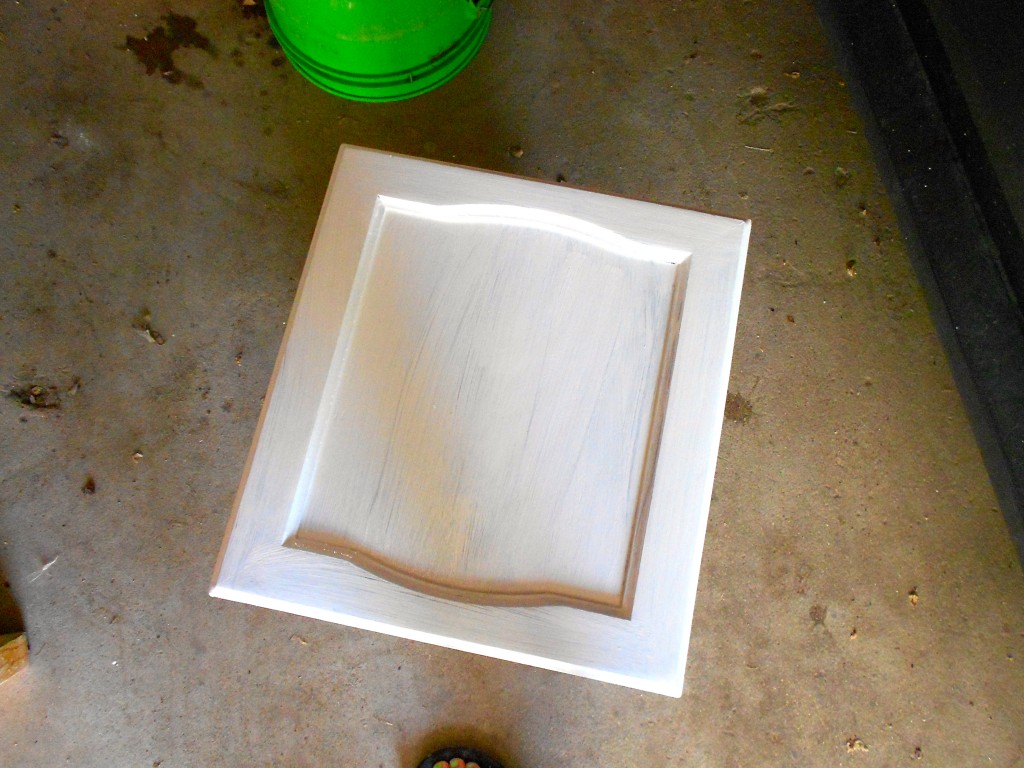
I did a coat on the all the door fronts then went inside to tape off the ceiling trim. I ate lunch, then it was time for coat number two on the doors.
After that I painted the ceiling trim and started in on glazing the cabinet frames. Let me just say that I love this kit more and more every day. It comes with everything you need to make your project look totally high end. I almost opted out of using the glaze that came with the kit. In the DVD and on the box they show a very heavy technique for using the glaze provided. They paint it all {ALL} over the cabinet then wipe it off. That leaves the nice, crisp, white cabinets looking…tan.
Lemme ask you this: Why would I paint my cabinets white just to smear them with a brown stain and leave them looking tan? Why not just paint them tan?
There’s no answer to this.
So instead I made my own technique. I wanted a nice light glaze that really just highlighted the texture of the doors and the lines of the frames. I only applied it to the edges of the frames. Like this:
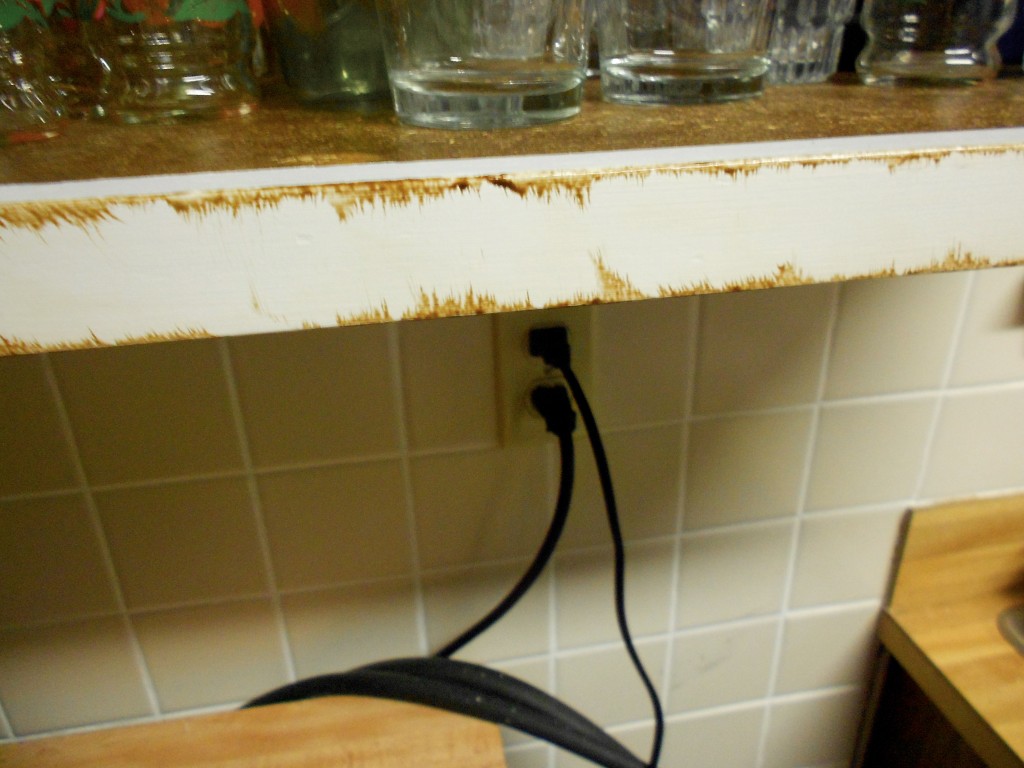
Use your same {but clean and dry} brush to paint a line on the edges of the frame. Then feather it inward. Next, use one of the rags that comes with the kit to gently wipe some of it away. You get lots of these rags. And you’ll use a lot. From here of out we’ll be calling them boogie rags. {That’s a nod to my dad, it sounds like something he’d say. If you know him, I know you’ll agree.}
This is what a boogie rag looks like. Throw it away when it starts to get too stained. You’ll just be wiping more stain on your beautiful cabinets…instead of wiping it off.
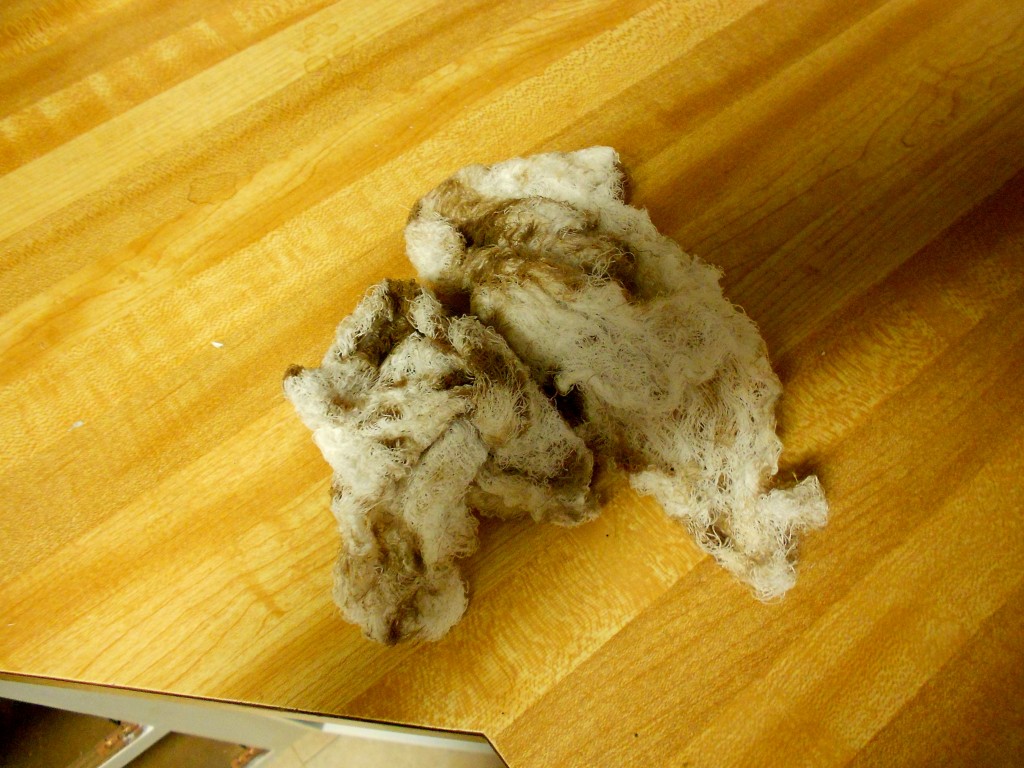
After getting about halfway through the cabinet frames it was time for coat #3 on the doors. So I did that. Then it was time for Insanity at the gym. I love those workouts. It worked perfectly because I had just enough time to finish glazing the frames before the dry time was up on the doors. When the 2.5 hours had passed since I finished painting that third coat, I went out to the garage to glaze the doors.
This took a little doing, but eventually I got the look I wanted. here is my most efficient method of getting it done.
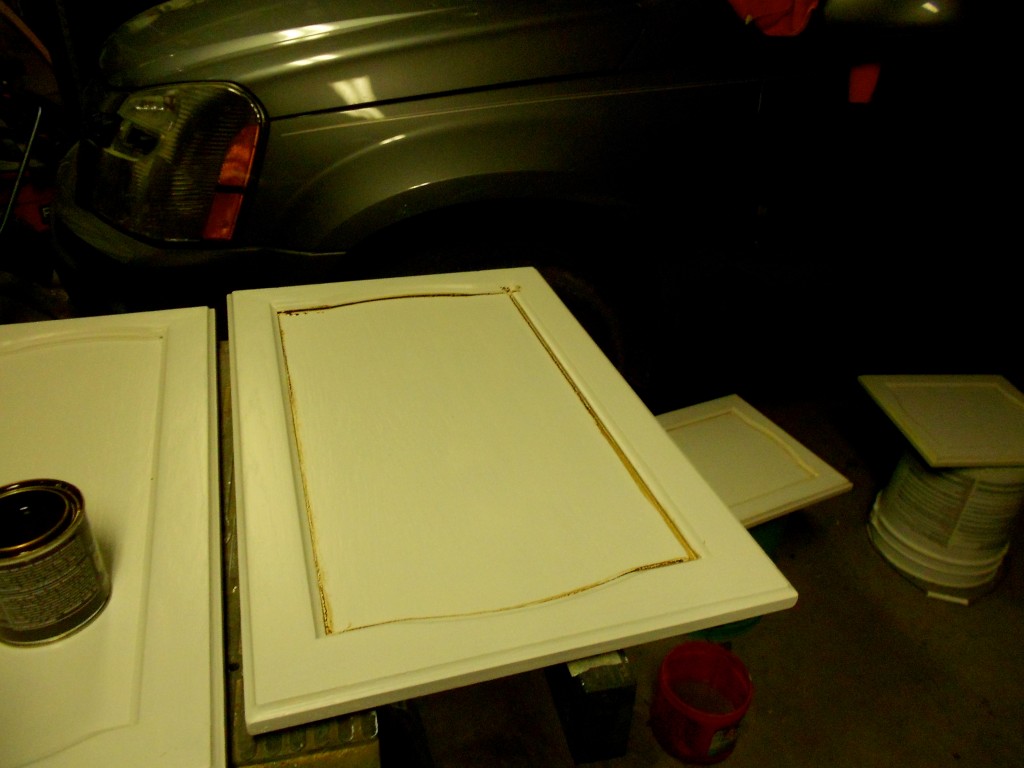
Step one: Put your brush into the crack around the inside bevel of the door. Then wipe away the glaze. Wedge your finger into the edge to really press the glaze into the crack to highlight that line.
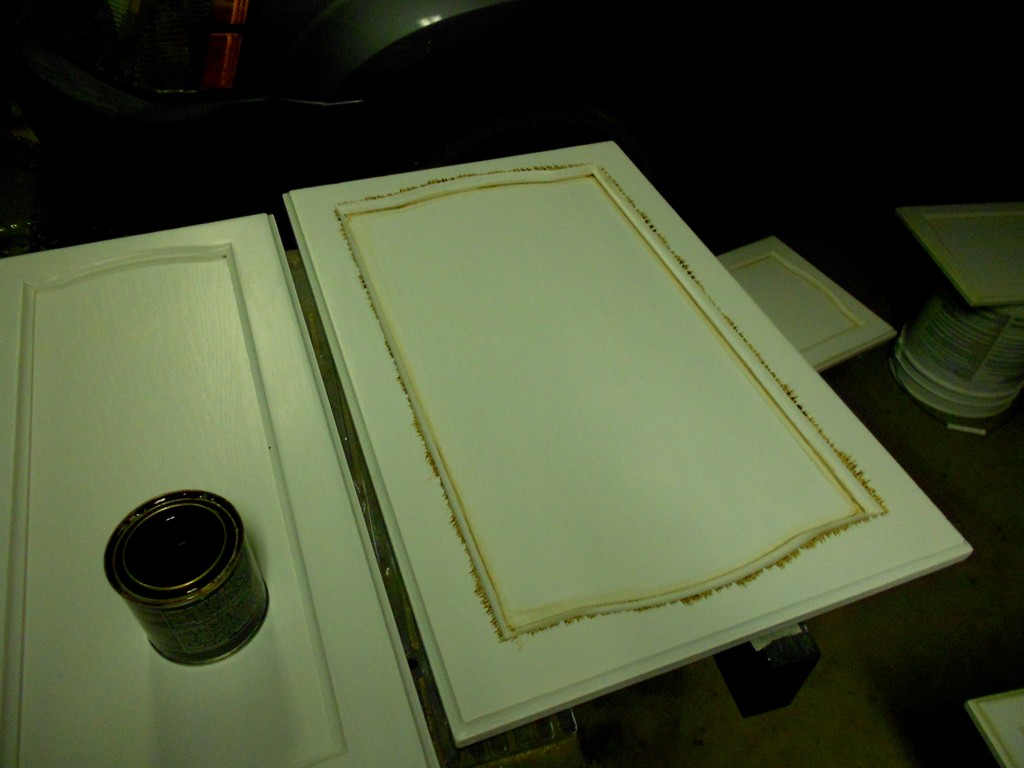
Step two: Just like on the frames, feather your glaze. Drag it out toward the outer edge of the door. Again wipe it away. This time, pinch the corner, leaving a bit of glaze on the edge.
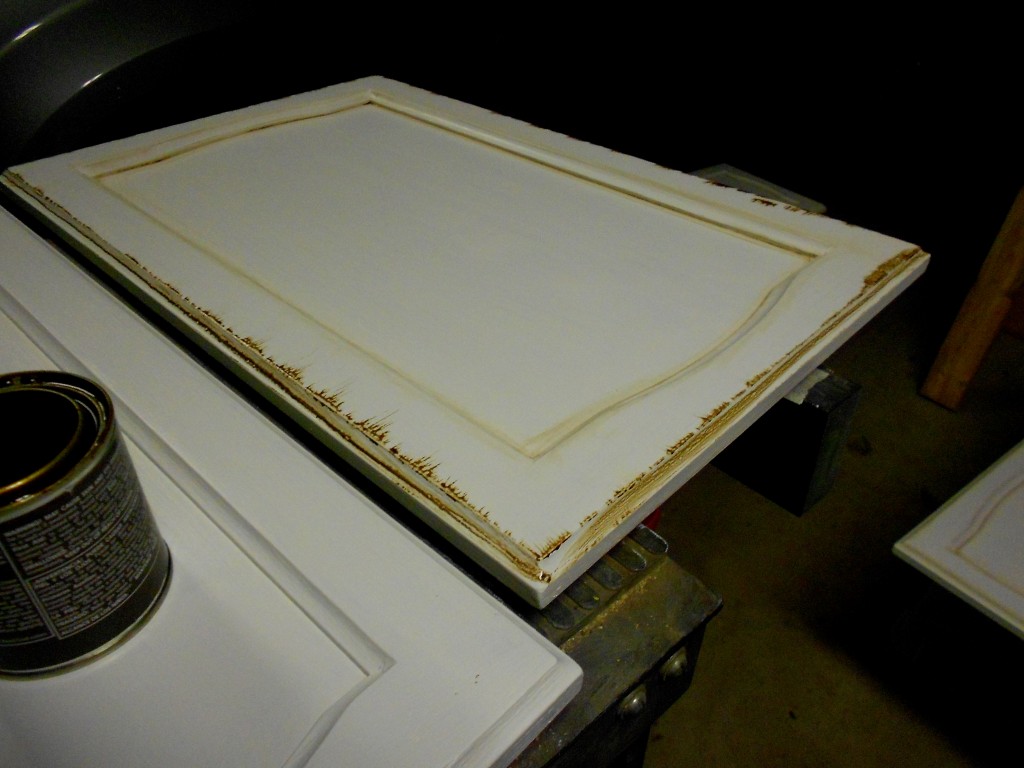
Step 3: Brush a line into the outer edge of the door and feather that inward. You guessed it…next, you wipe it away.
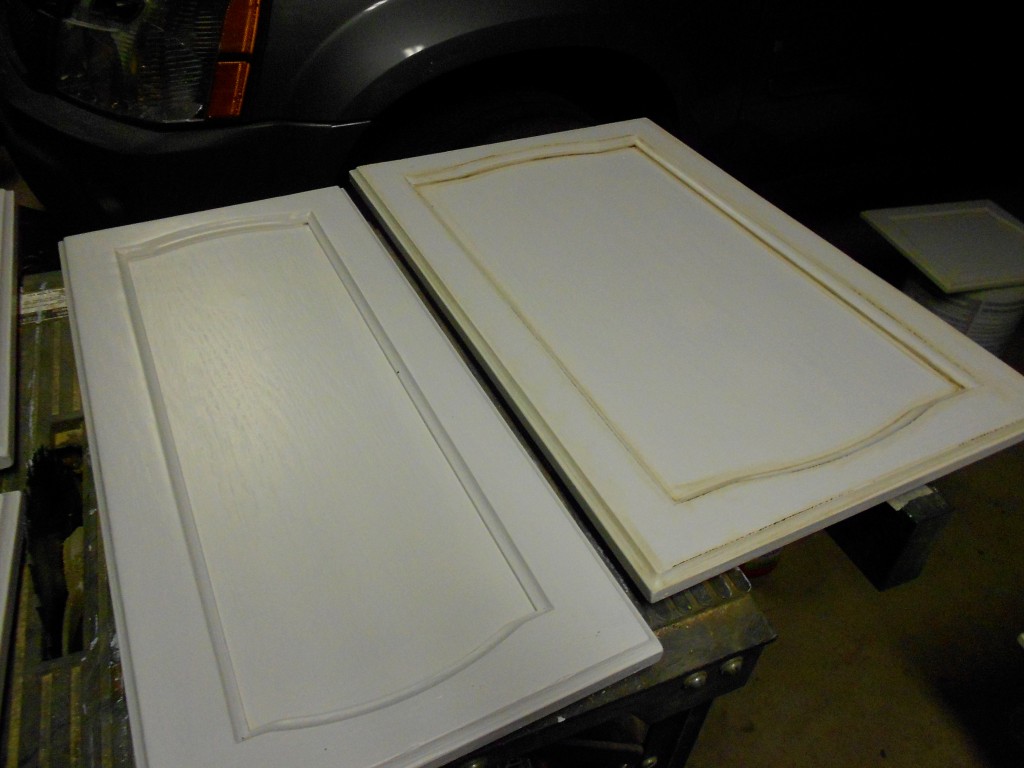
Lastly to add just a tiny bit more emphasis on the edges of the decorative trim I lightly touched the side of my brush {not the tip, this side of the bristles} to the hard edges and dragged it a few inches. Above here you can see the difference between a glazed and unglazed door. Doesn’t it look high end?
The answer to that question is: Yes. But it does come at a price:
Gross hands.
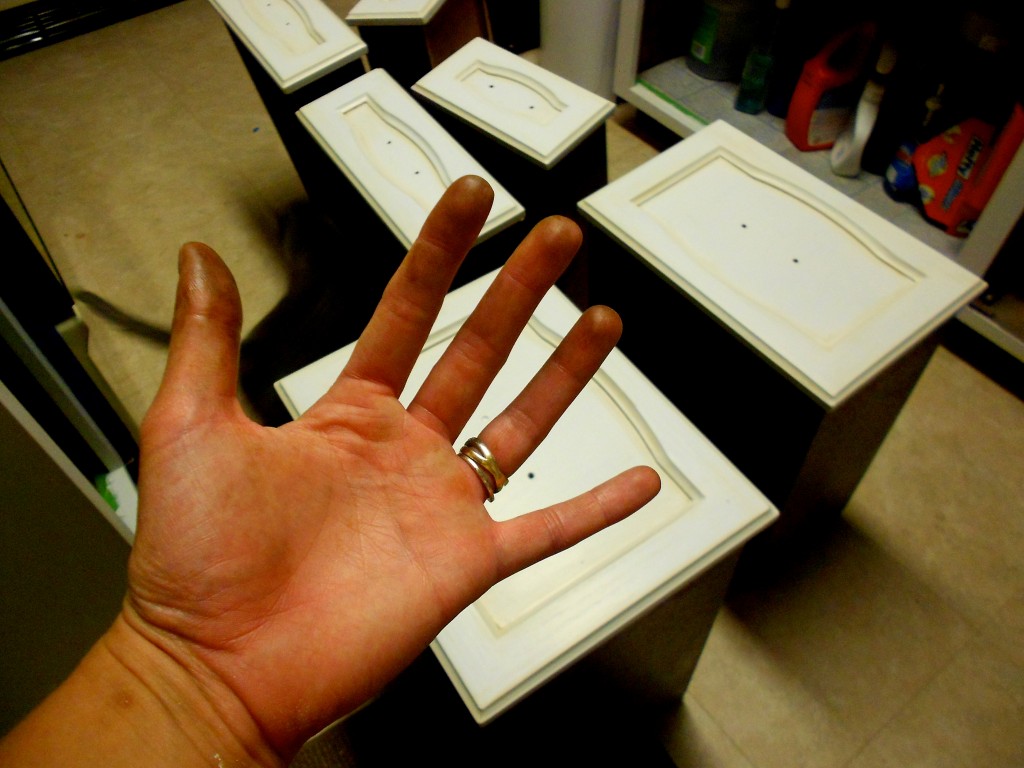
Today I’m happy to report that all the painting is done. But I’ll tell you about that tomorrow. Right now I need a {literal} midnight snack.
Thanks for popping in!
Amy


