by Amy | May 13, 2014 | Blog, The Art of Projects, the house
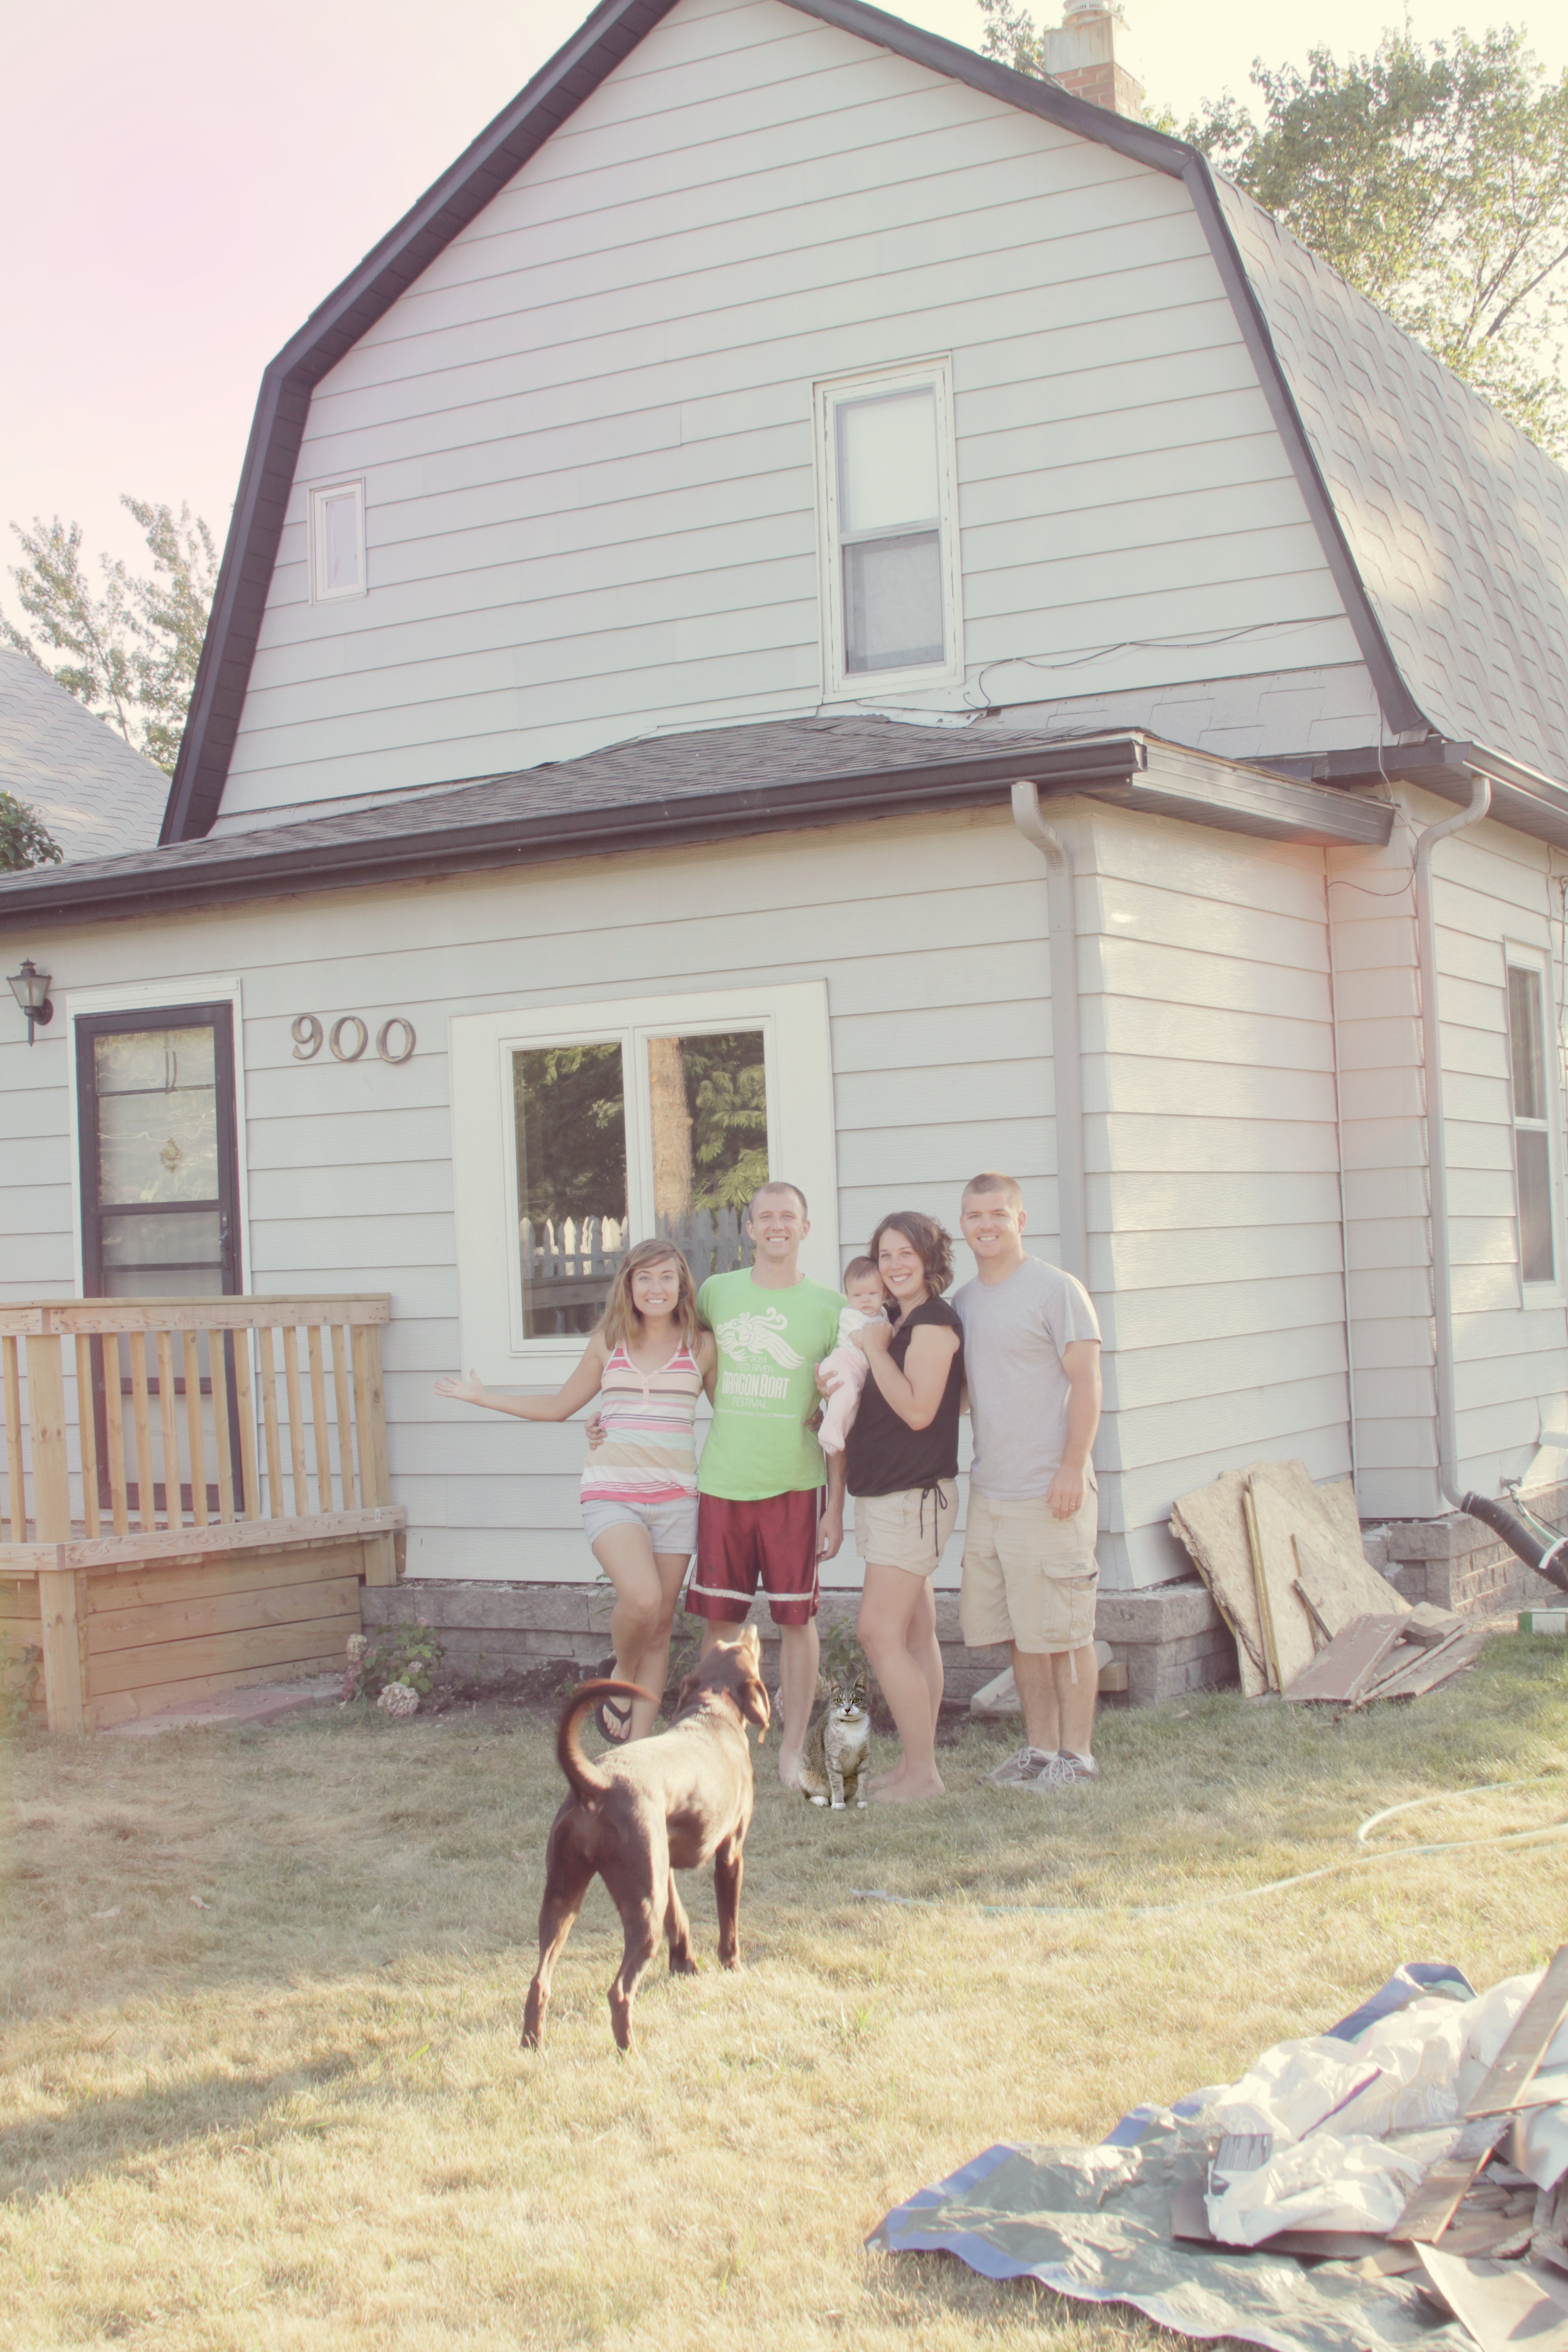
When we moved up to Practically Canada we had a few home options in mind. Derek moved up before me, so he visited properties and acted as our eyes and ears and gut instinct. I did the searched online and sent him addresses to check, names to call, places to scout. We knew we wanted another fixer-upper, and we found this place. So we bought it and moved in.
It had a lot of good features, no wall paper to remove, it was out of the flood plane and was settled in a nice, safe neighborhood. Sure, it only had one bathroom, offered only 1150 square feet of finished living space and needed a lot of updating…but all that aside, it had an ace in the pocket that we couldn’t ignore: a full, unfinished basement. {Click here for all of our house’s before photos.}

So we started small with painting. Then we moved on to other things that made the main floor look presentable. Last summer, I renovated the second floor and did a lot of work in the yard. Which means we are finally ready {and have money saved} to start on the basement. The big goal here is to add a couple hundred more feet of living space, which will include a second bathroom…yay!
While the beginning stages of this giant undertaking are not my idea of fun, I know it has to be done to get down to the parts that I actually enjoy. First thing that needed to happen: clear out everything.
Gross. I mean, there’s a reason I left all that stuff stored in the basement. It’s like, I like that stuff, and I don’t want to get rid of it, but I don’t want in the part of my house that people see all the time, and I like, need some it of, but I don’t want to take the time to go through all of it, and I just hate looking though boxes, and couldn’t we be watching an episode of Dateline right now? You know what I mean?
But it had to happen. So slowly we’ve gone through everything in the basement. And like any good “start of a project” post, I’ve got oodles of before photos to record this occasion. Before you start judging the hot mess that you see before your very eyes, let me explain. I took these when we had started sorting through and clearing things out. All good organizers know that the mess will usually look worse before it looks better. So, yeah.
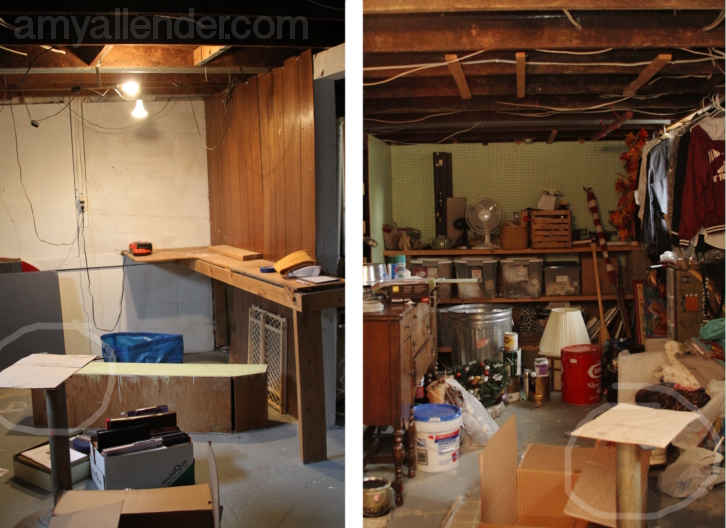
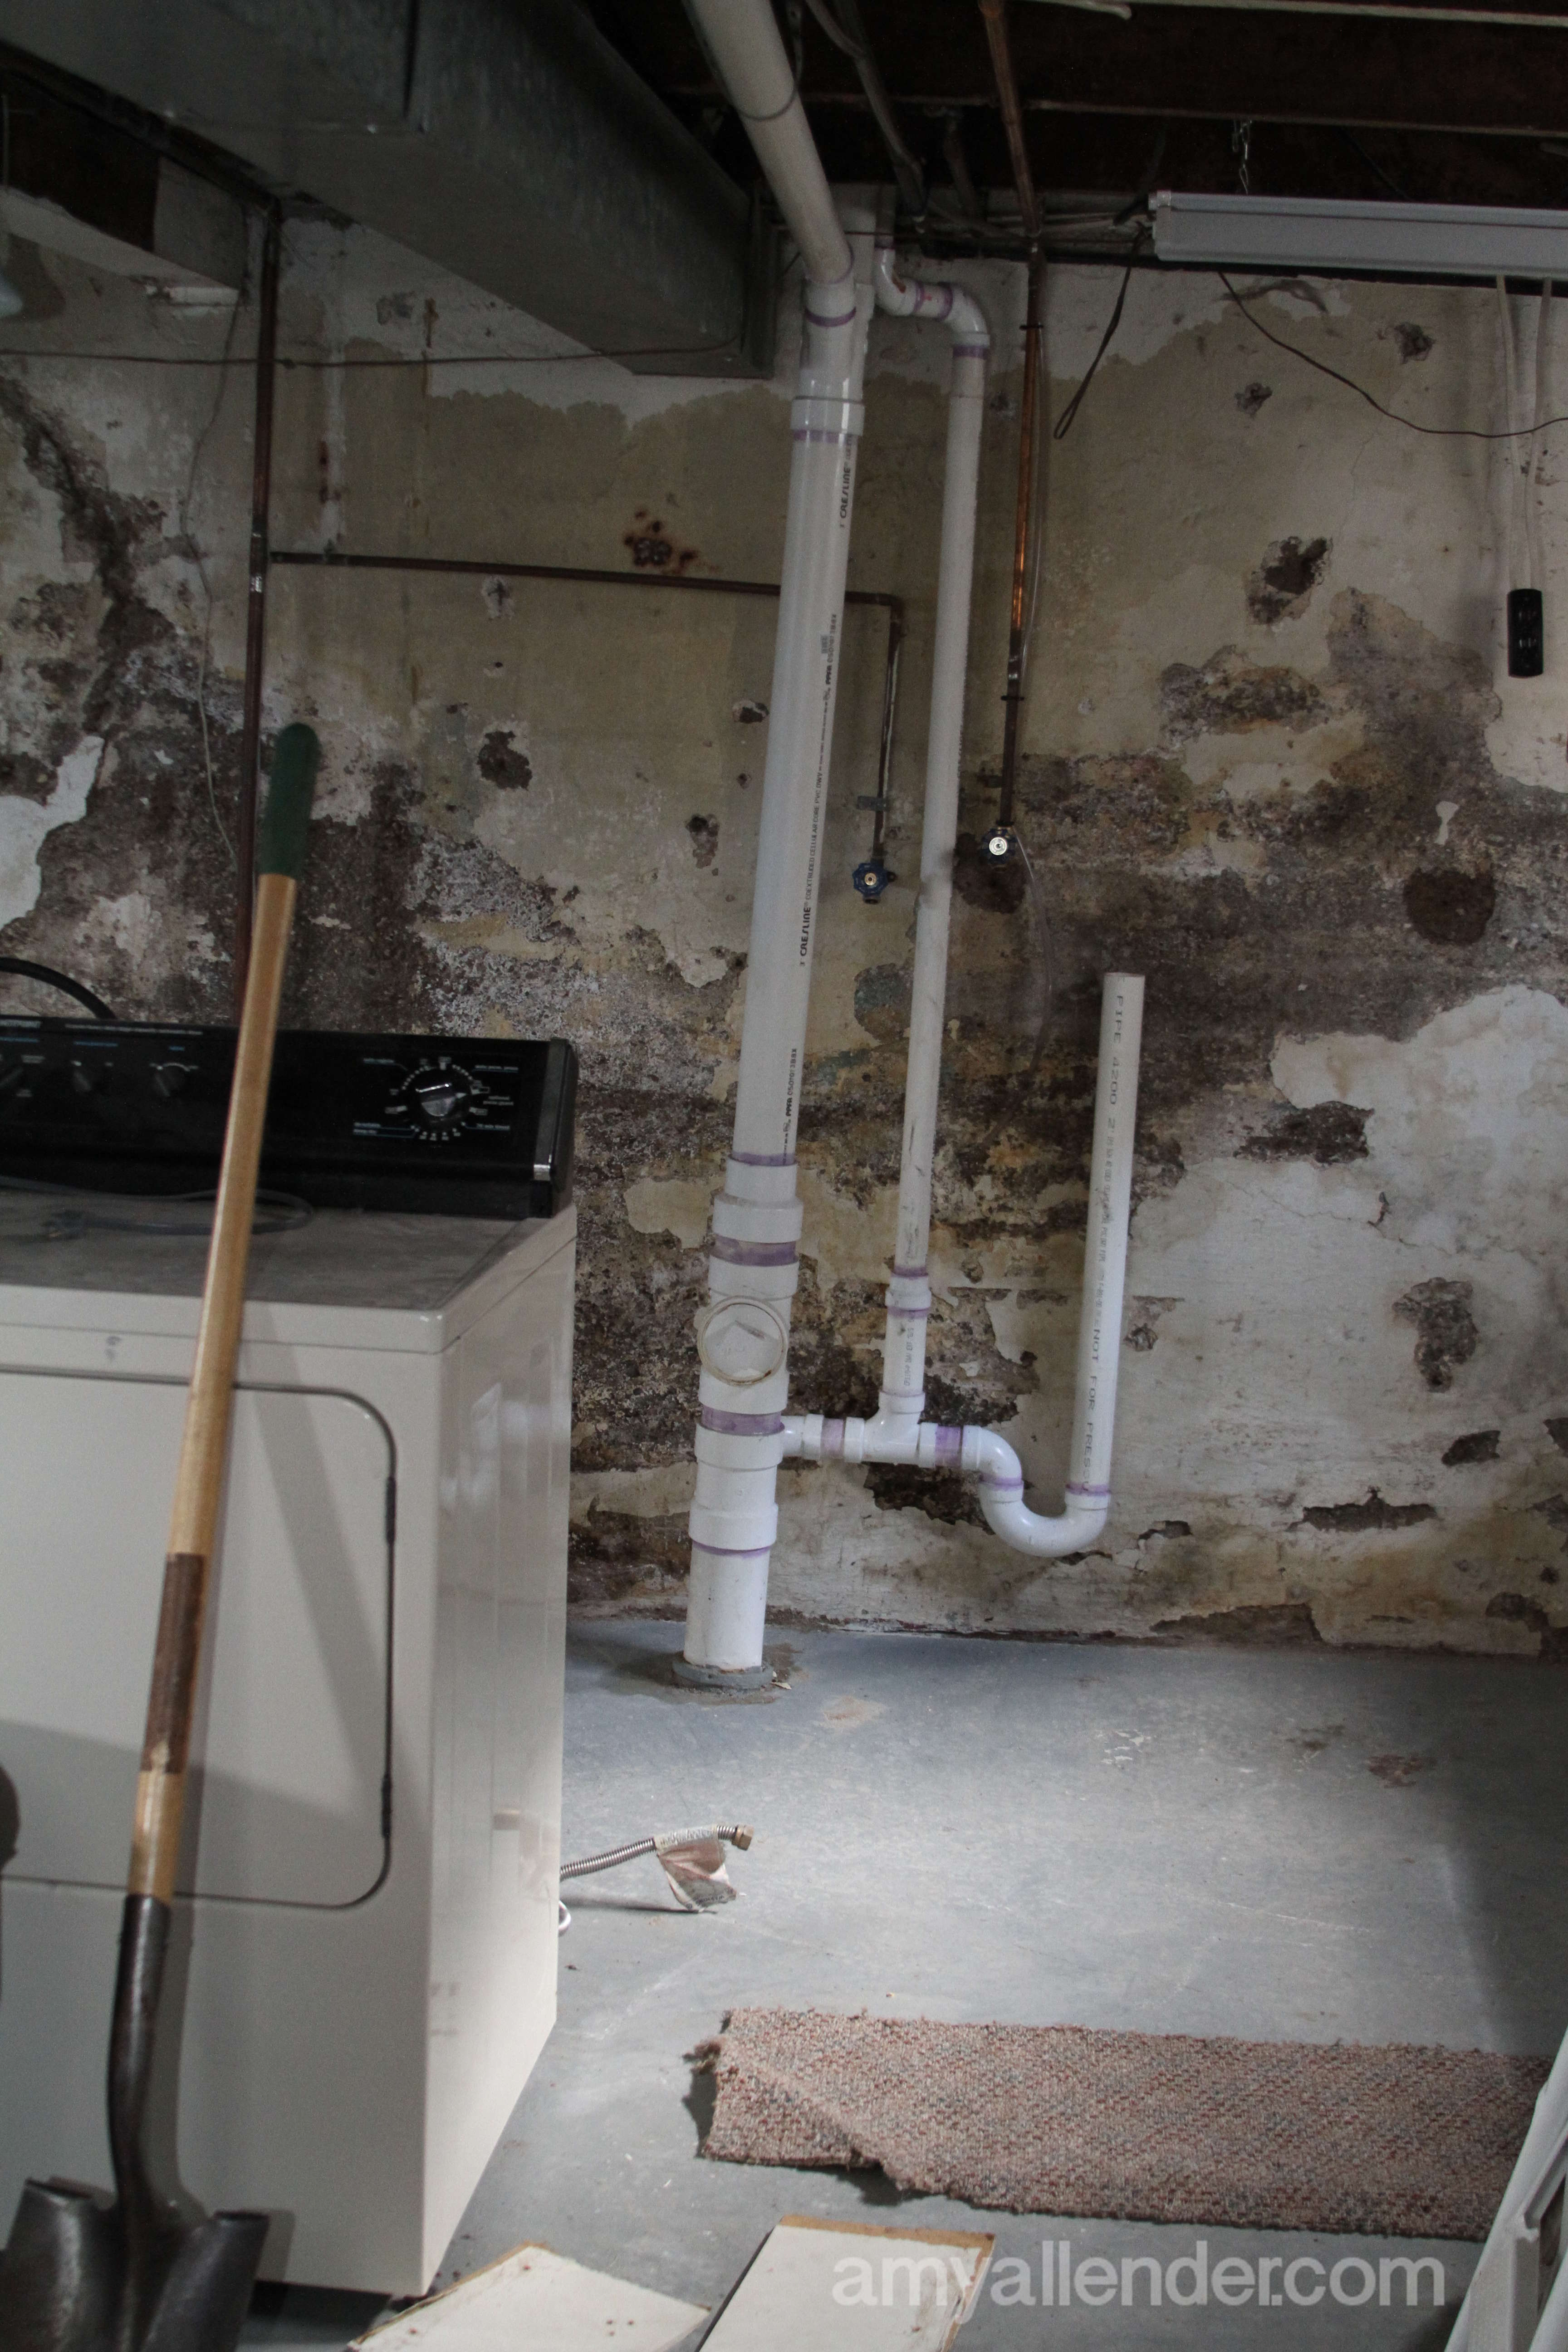
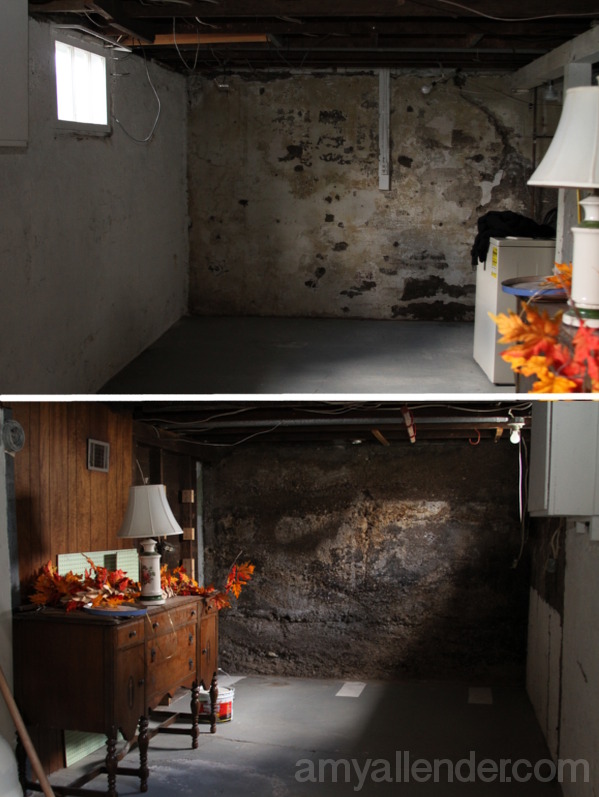
To give you an idea of size…I circled an object that appears in both photos above. It’s the same half of the basement, just from two different sides.
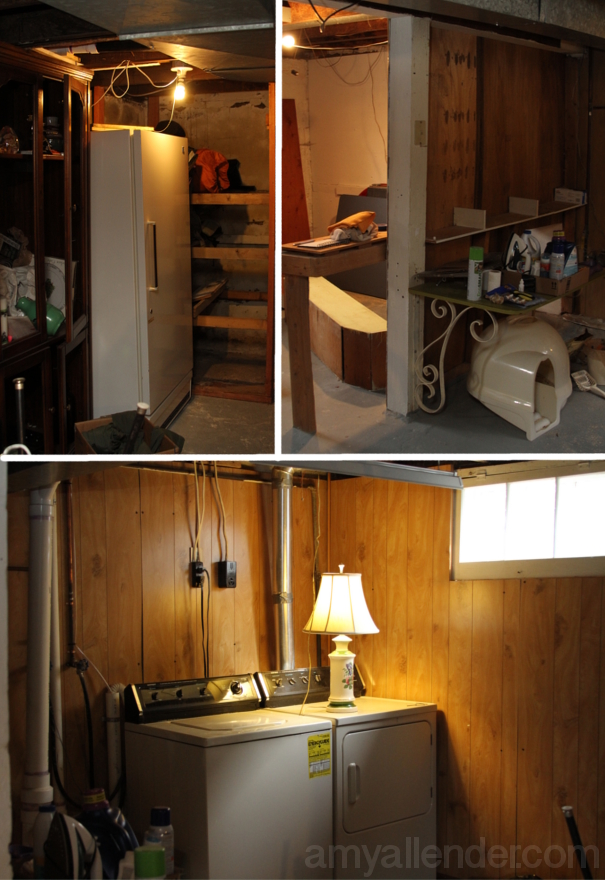
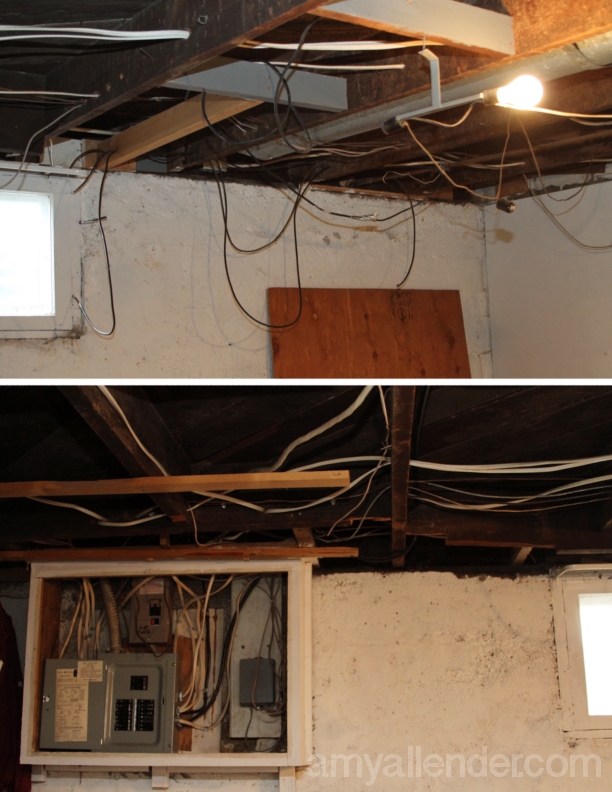
The basement is pretty small. But there are a lot of weird things down there. Let’s see…we’ve got faux wood paneling on the walls, some other wood nailed right into the cement on other walls, a make shift closet that Panda chose to use as a litter box for a while last summer {that was a nasty surprise to find}, a couple weird work benches that have been attached with a combination of nails/screws/bolts {yes, bolts}, not to mention the most precarious electrical work I’ve ever seen. All that stuff had to come out too.
We started sorting through our things about a month ago. At that point I hadn’t gotten any results back about my back from an MRI or anything like that. I held to the philosophy that if I hadn’t been shown proof that there was something really wrong, I could work through the pain, no big deal. Well…turns out the MRI did show some nasty news and I’ve since been ordered to refrain from all lifting, twisting, and lots of stair climbing. So while Derek has been doing the fun part of the job, ie: tearing out walls, ripping down paneling, and being awesome–I’ve been upstairs finding new NPR apps to download and working on some computery projects. {Being useless is so lame.}
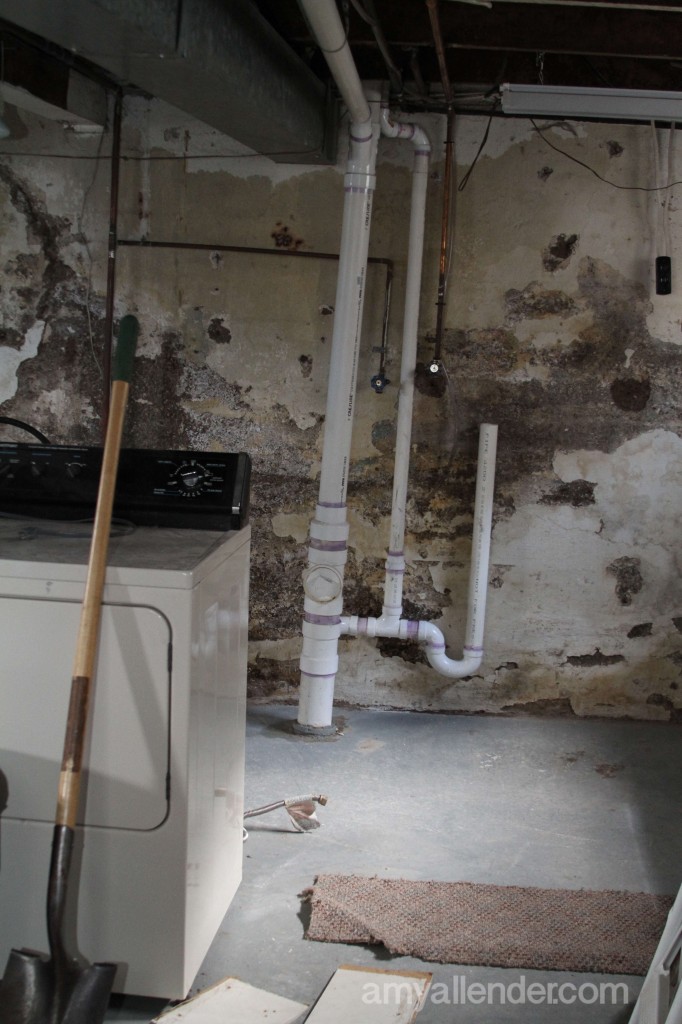
We’ve contracted a company to do waterproof the space. That’s something we don’t know how to do ourselves, and it seems like a better investment to let someone else do it, who will guarantee their work. In order for them to come get the job done everything has to be off of the walls. As you can see, what we found behind the weird paneling was not the prettiest thing in the world. Damp, cruddy, yuck walls.
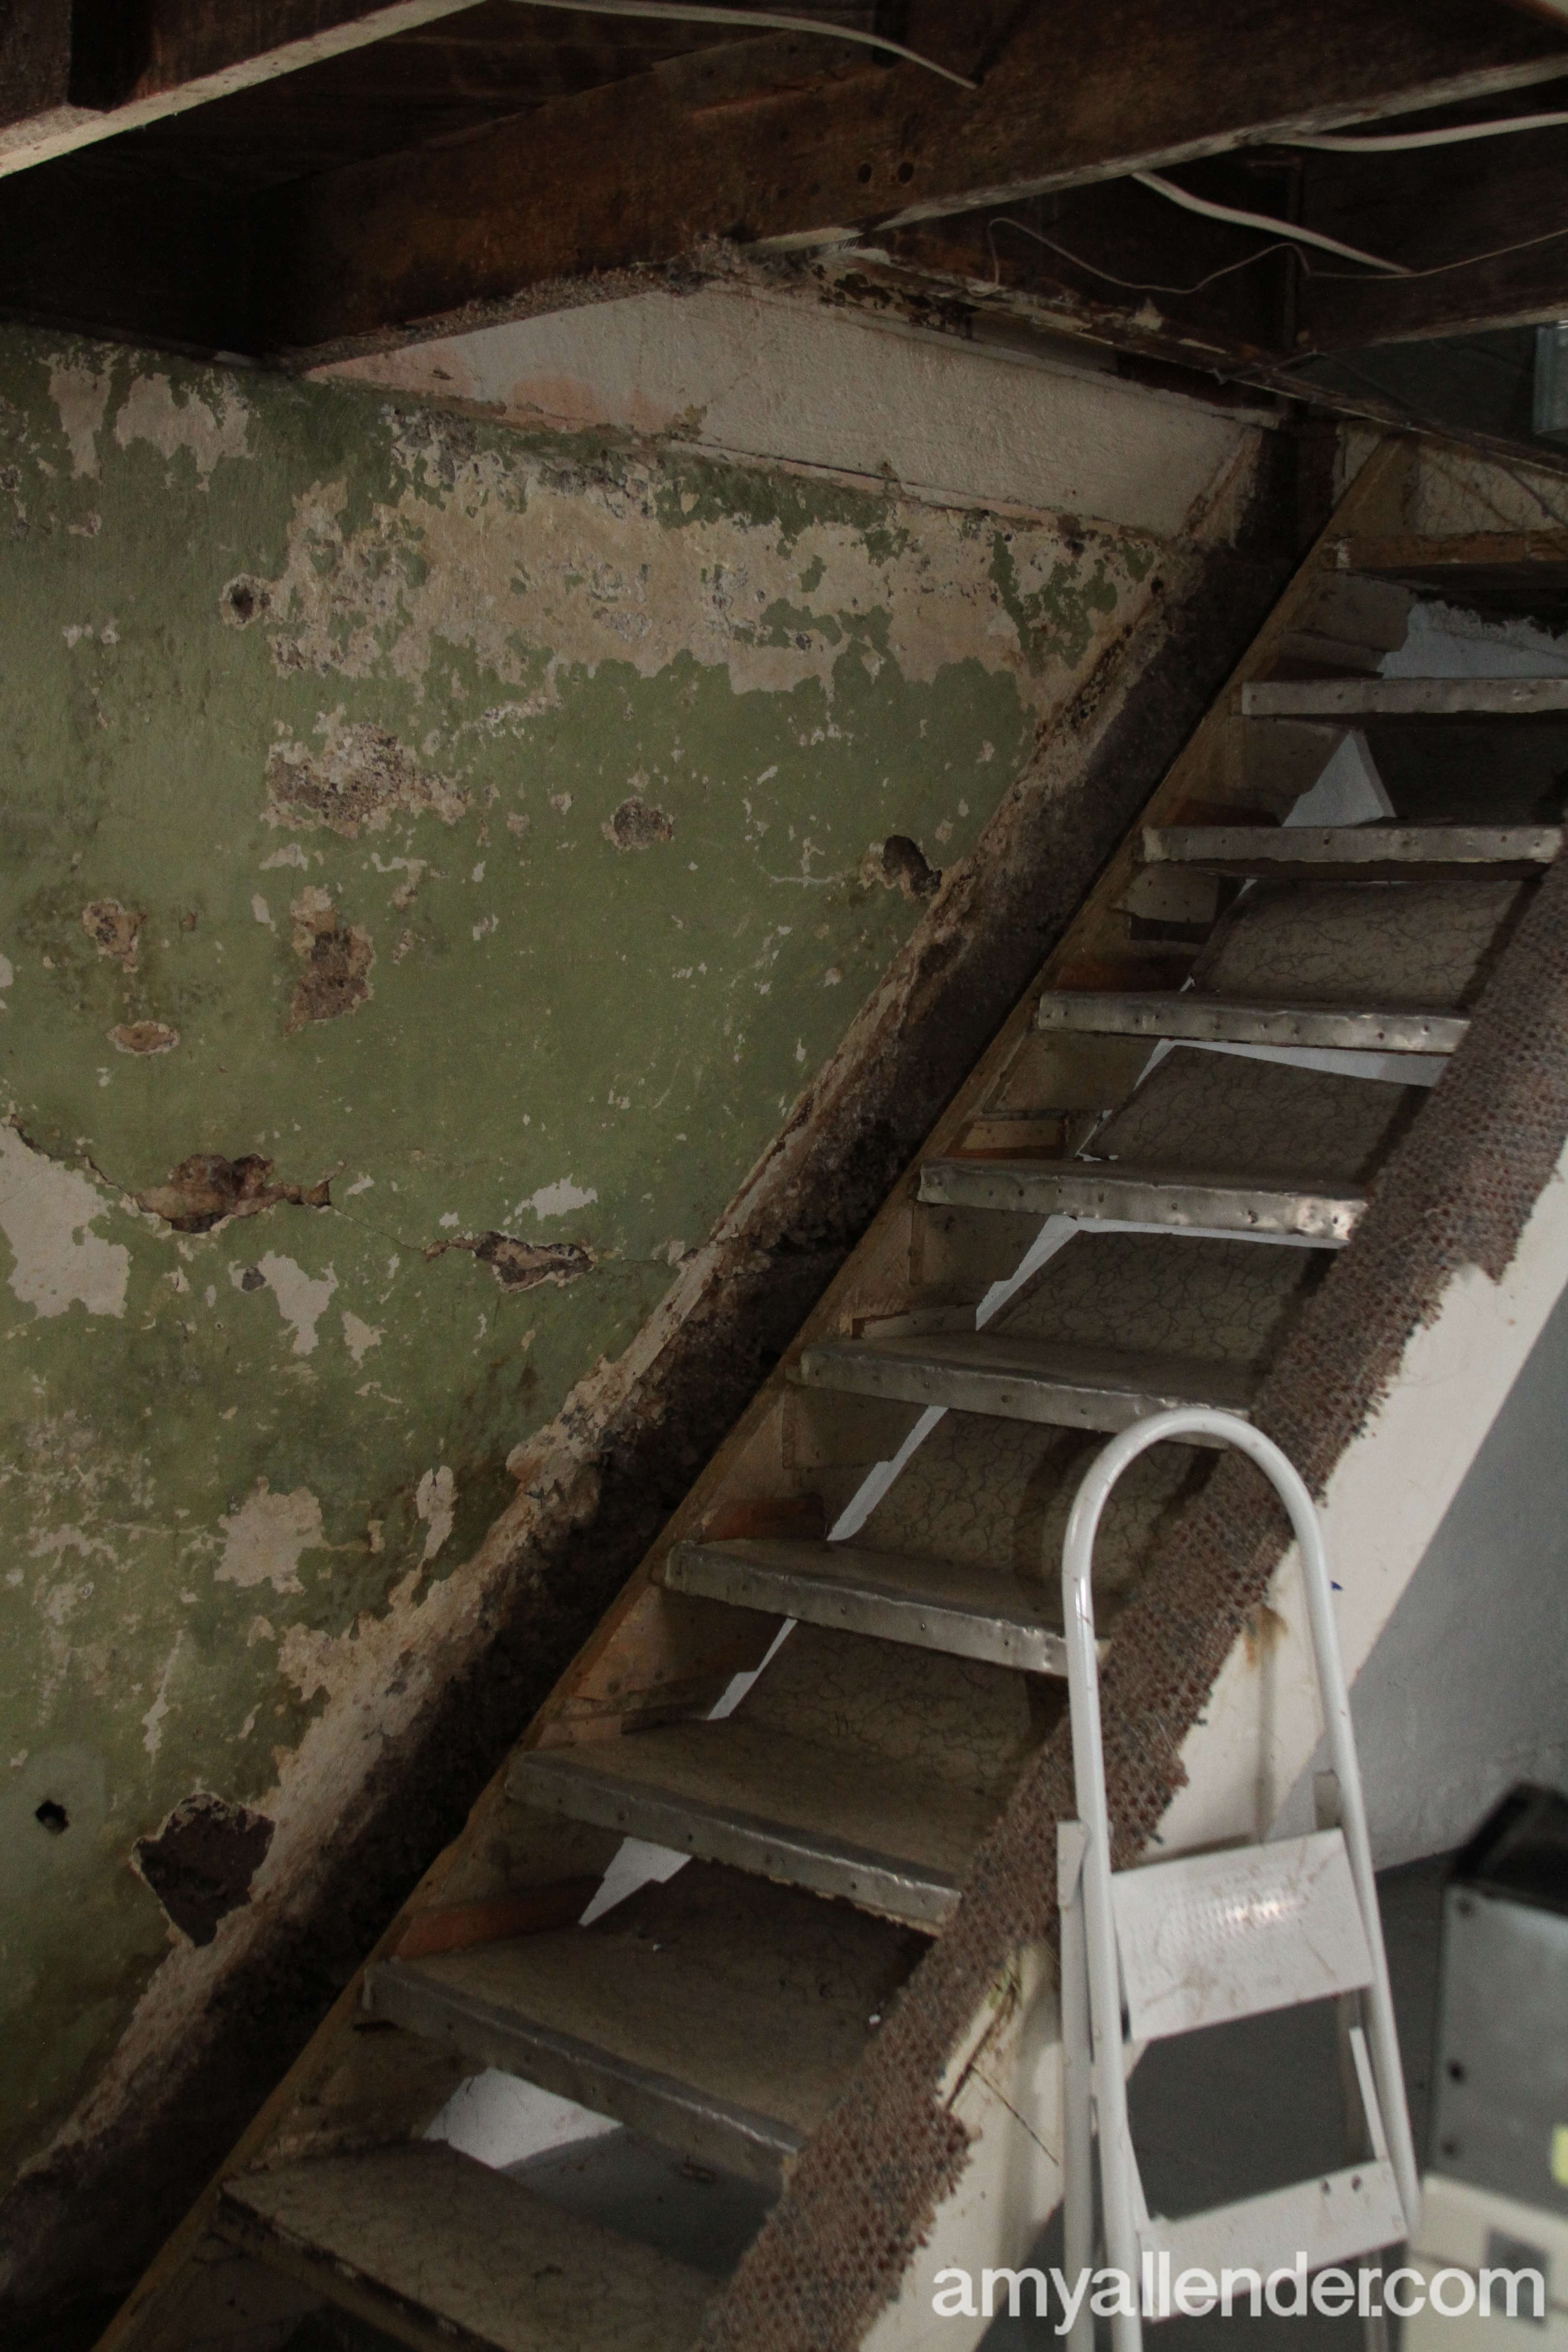
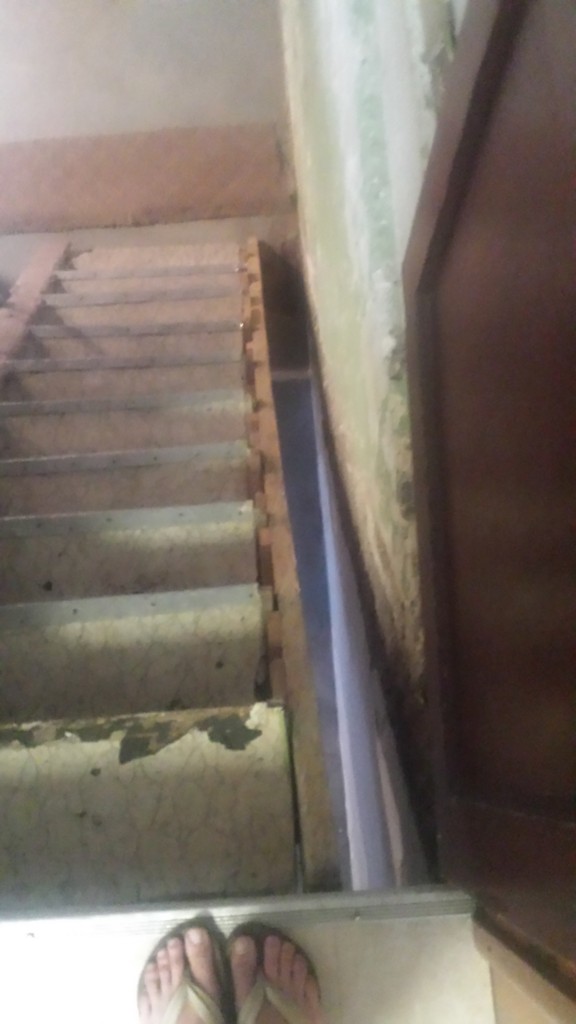
Even the stairs had to be taken away from the wall. That proved to be the hardest part of the prep stage. Our stairs run right down the side of the foundation, but the pros told us they’d have to be moved. So Derek set to it. Naturally, he found a few ancient layers of linoleum under the carpet. But he also found the most jimmie-rigged staircase I’ve ever known to exist. Tiny pieces of wood all nailed together, stacked on top of each other, all to fill in a small gap. Tiny nails barely holding anything in place. Long screws holding a scrap of carpet in place.
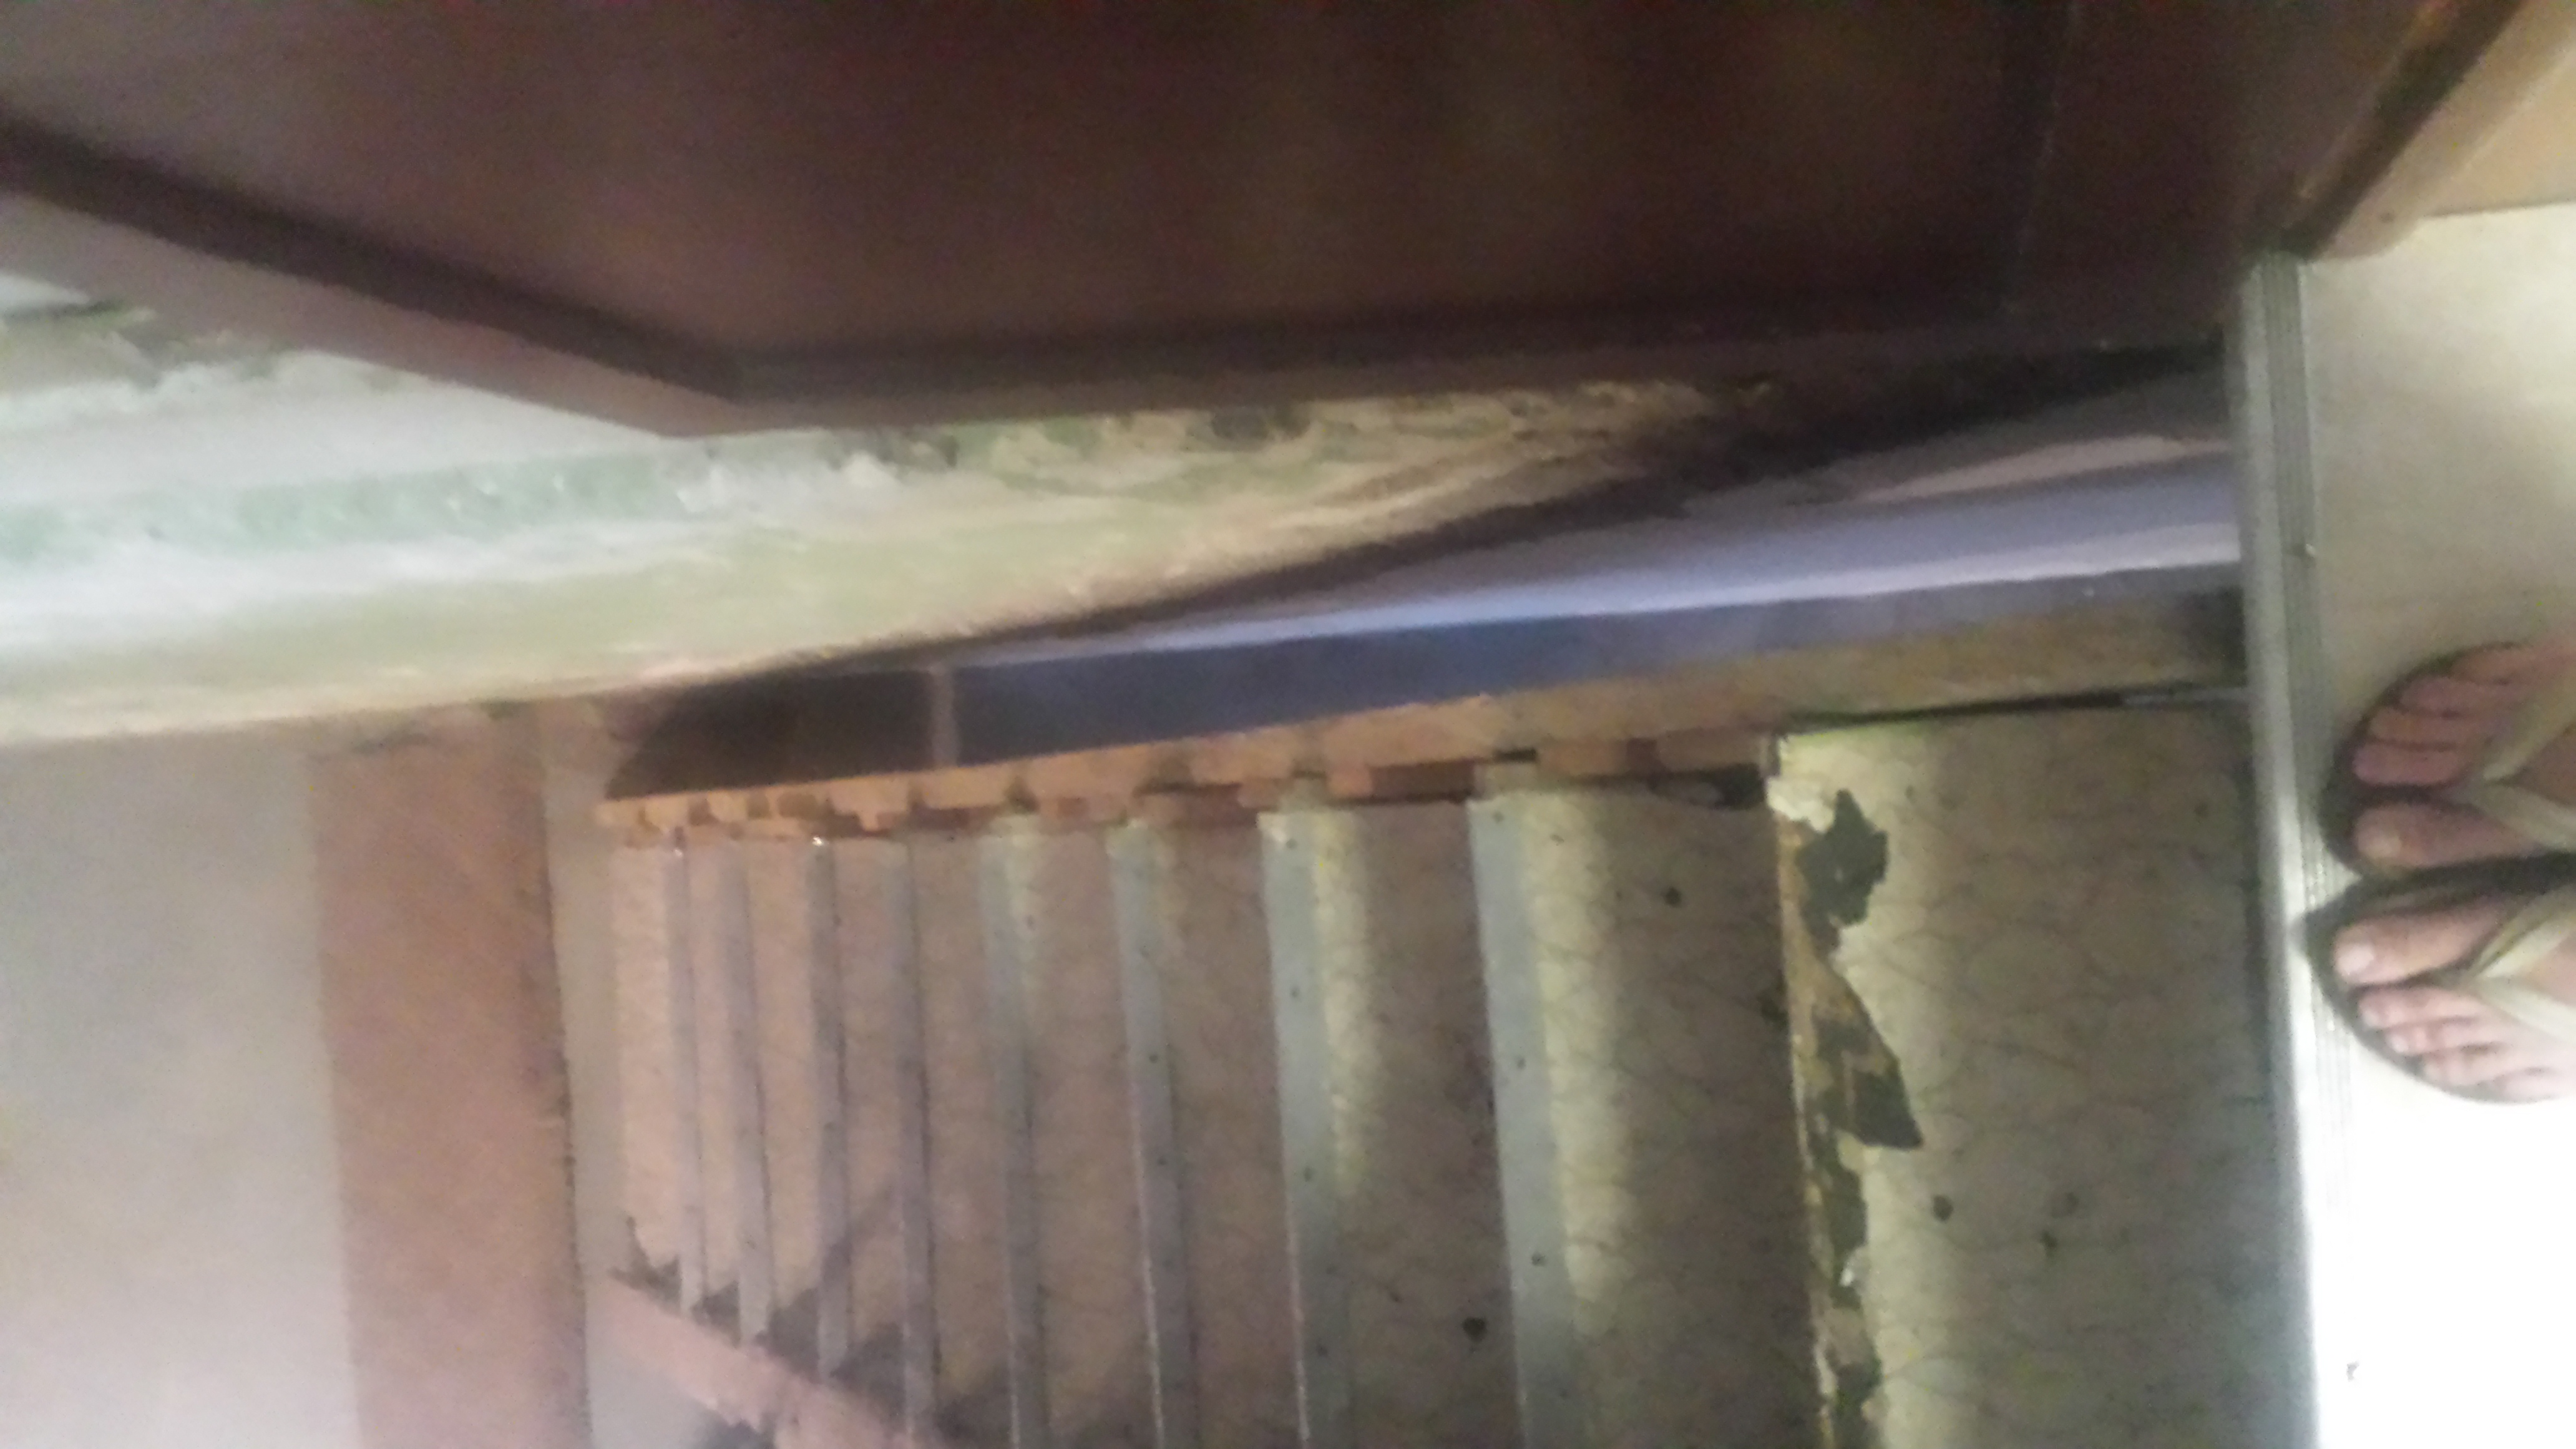
All these pieces of wood were stacked on top of each other in this little gap.
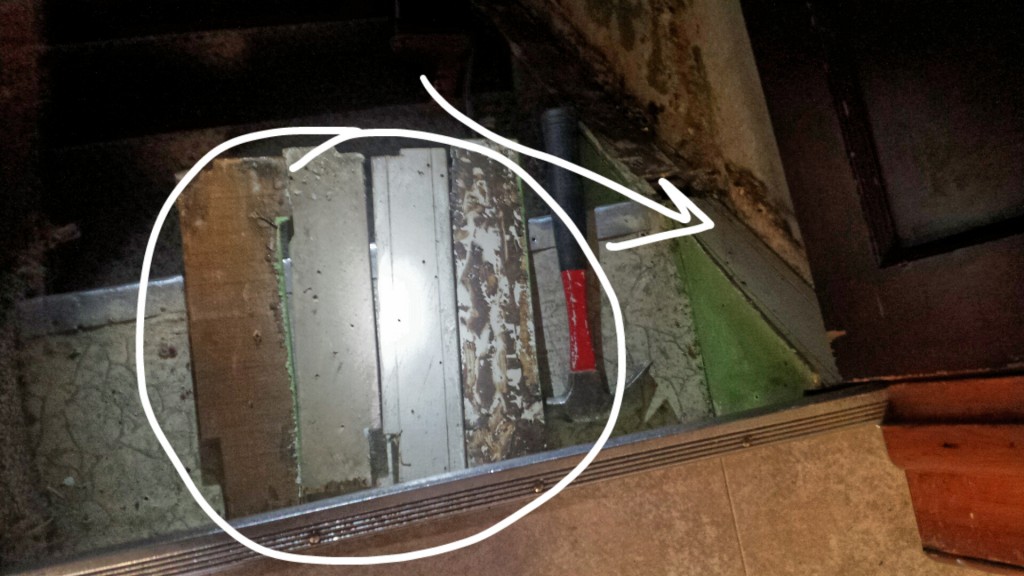
Really, it boiled down to two 3″ nails toe-nailed into the rafter at the top of the stair case.

Like I have told you before, Derek is awesome. So of course he got the stairs moved.
But it came at a price.

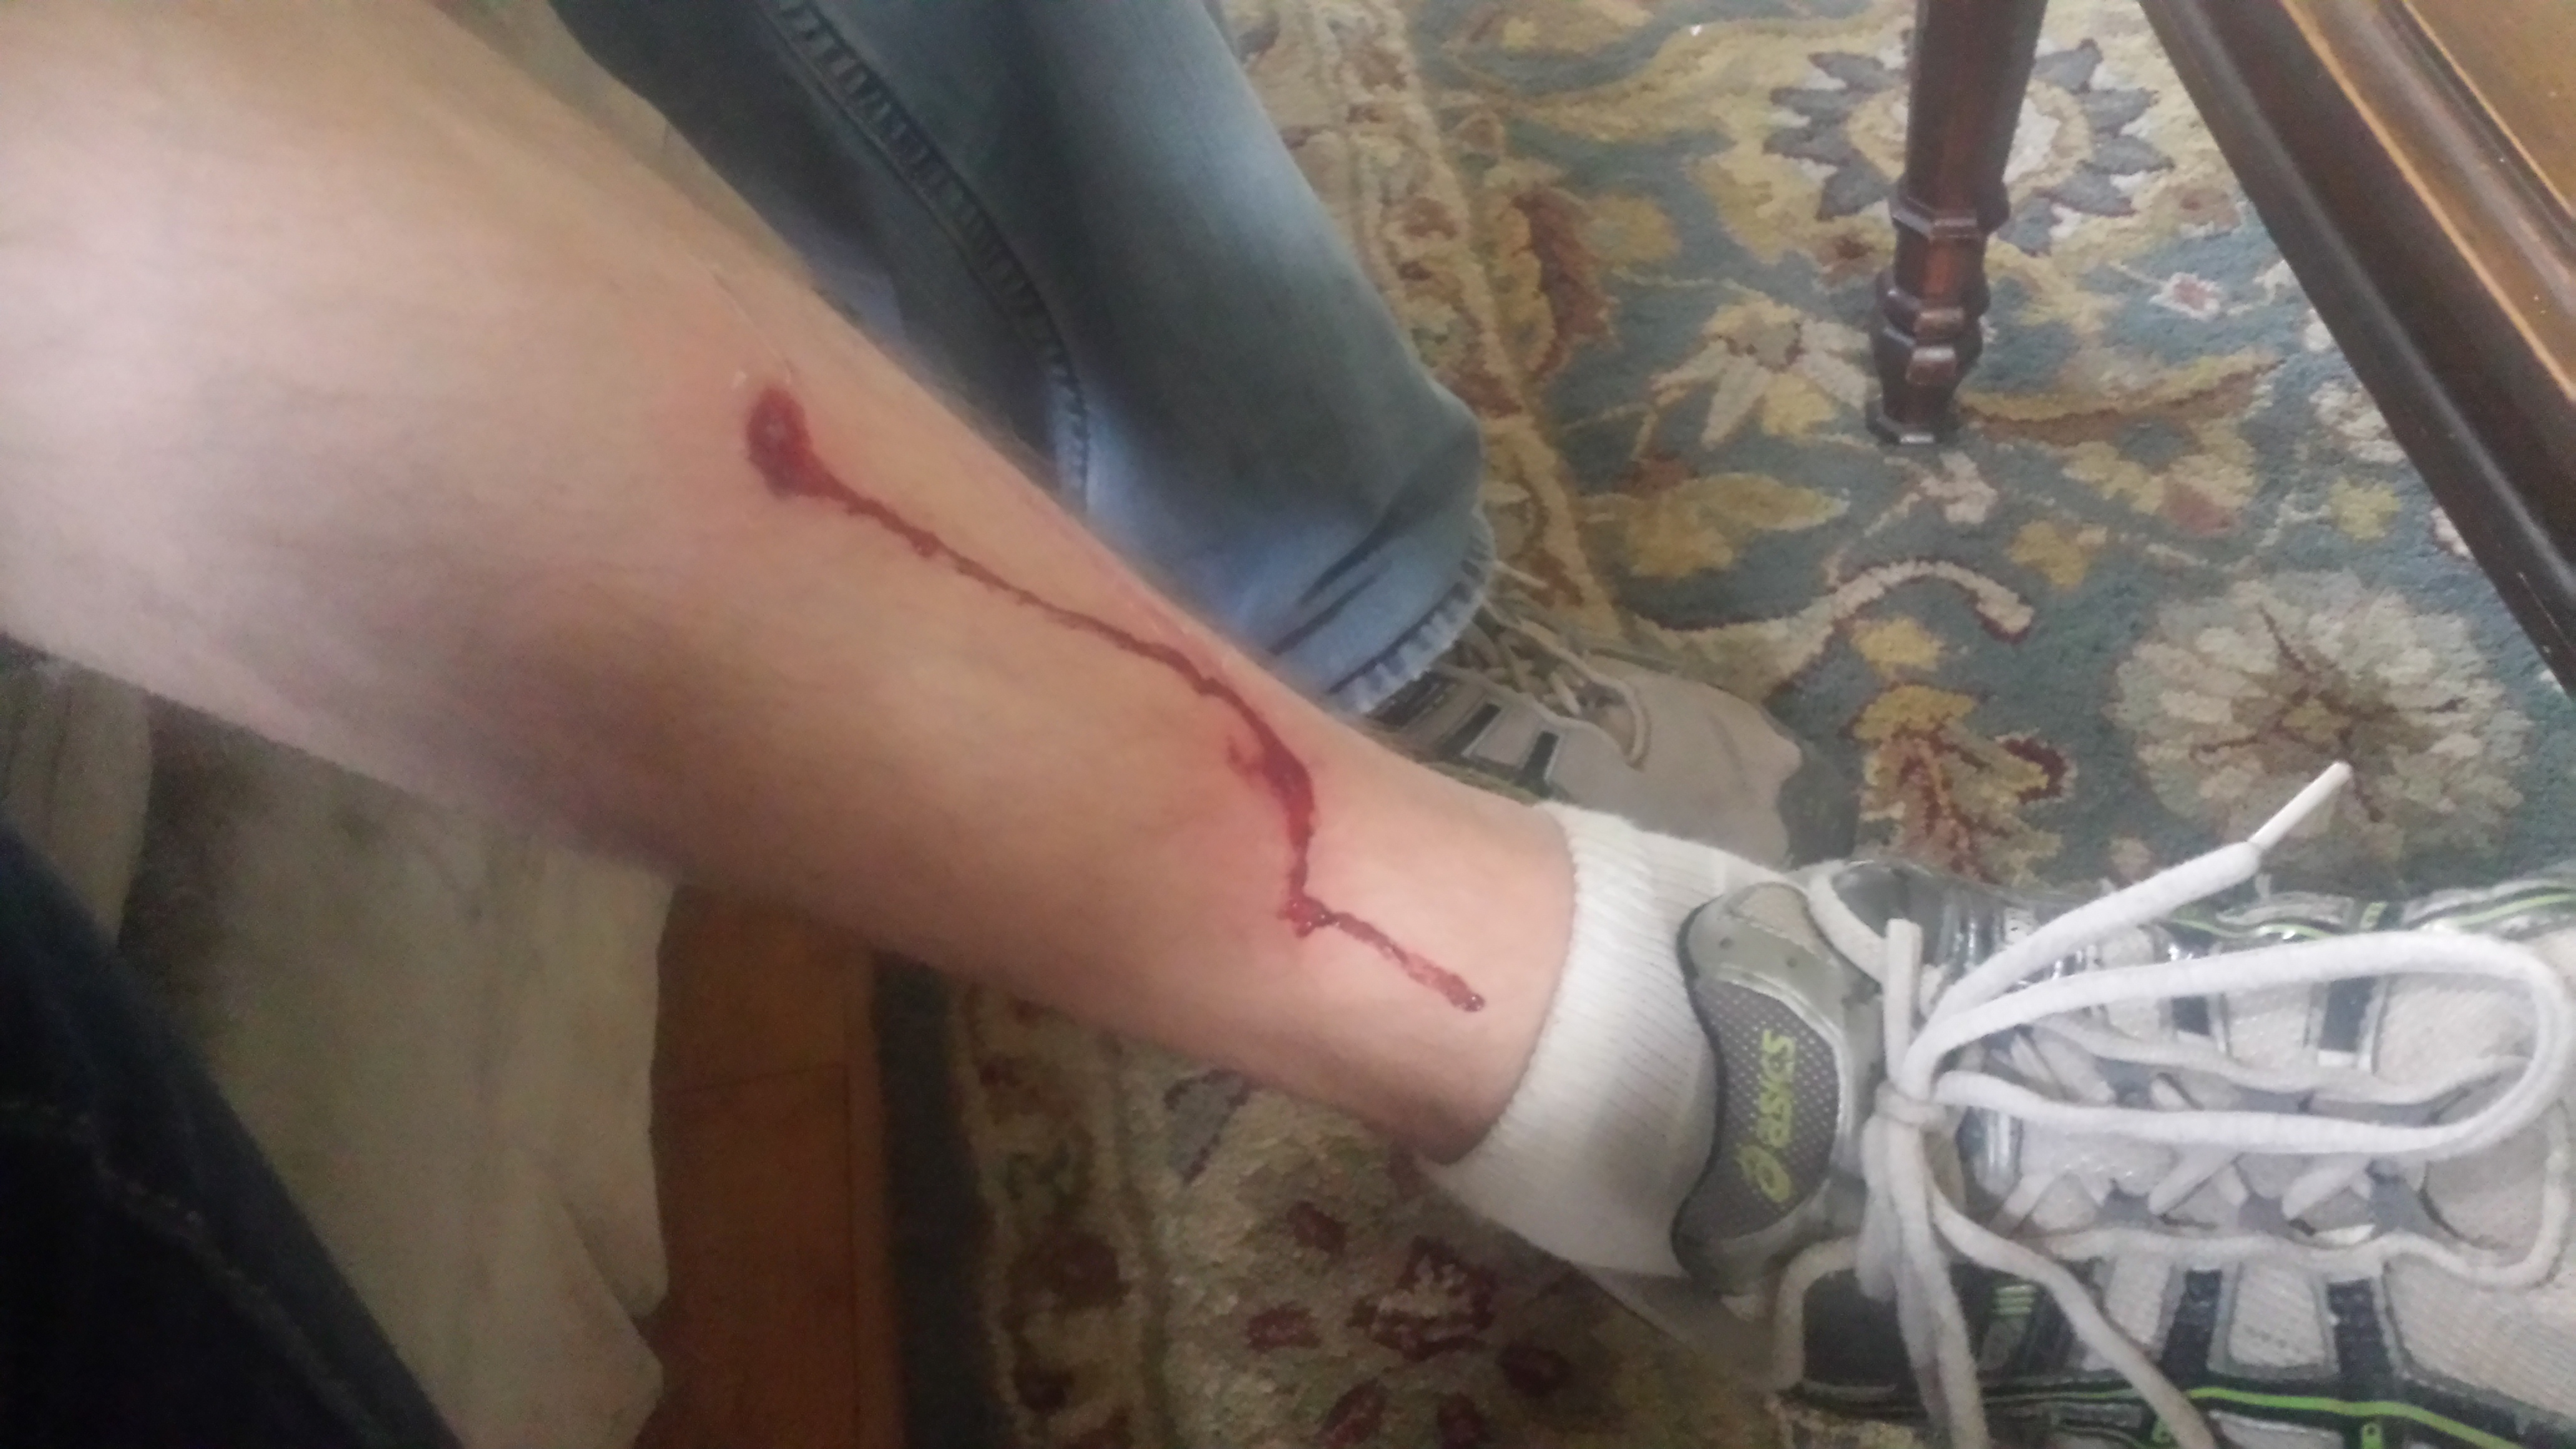
The first casualty. Every good project comes with one. Like this.
I heard a crash and came running to the basement doorway, only to skid to a halt, just shy of stepping off of the kitchen floor and down onto the basement foundation. The stairs weren’t there. They had fallen down…apparently with Derek on top. Yikes. He walked it off. No stitches, really he’s okay. The stairs have since been secured more safely–out just a few inches from the wall. I’m sure this is just the first of many odd stories to come from this very large endeavor…

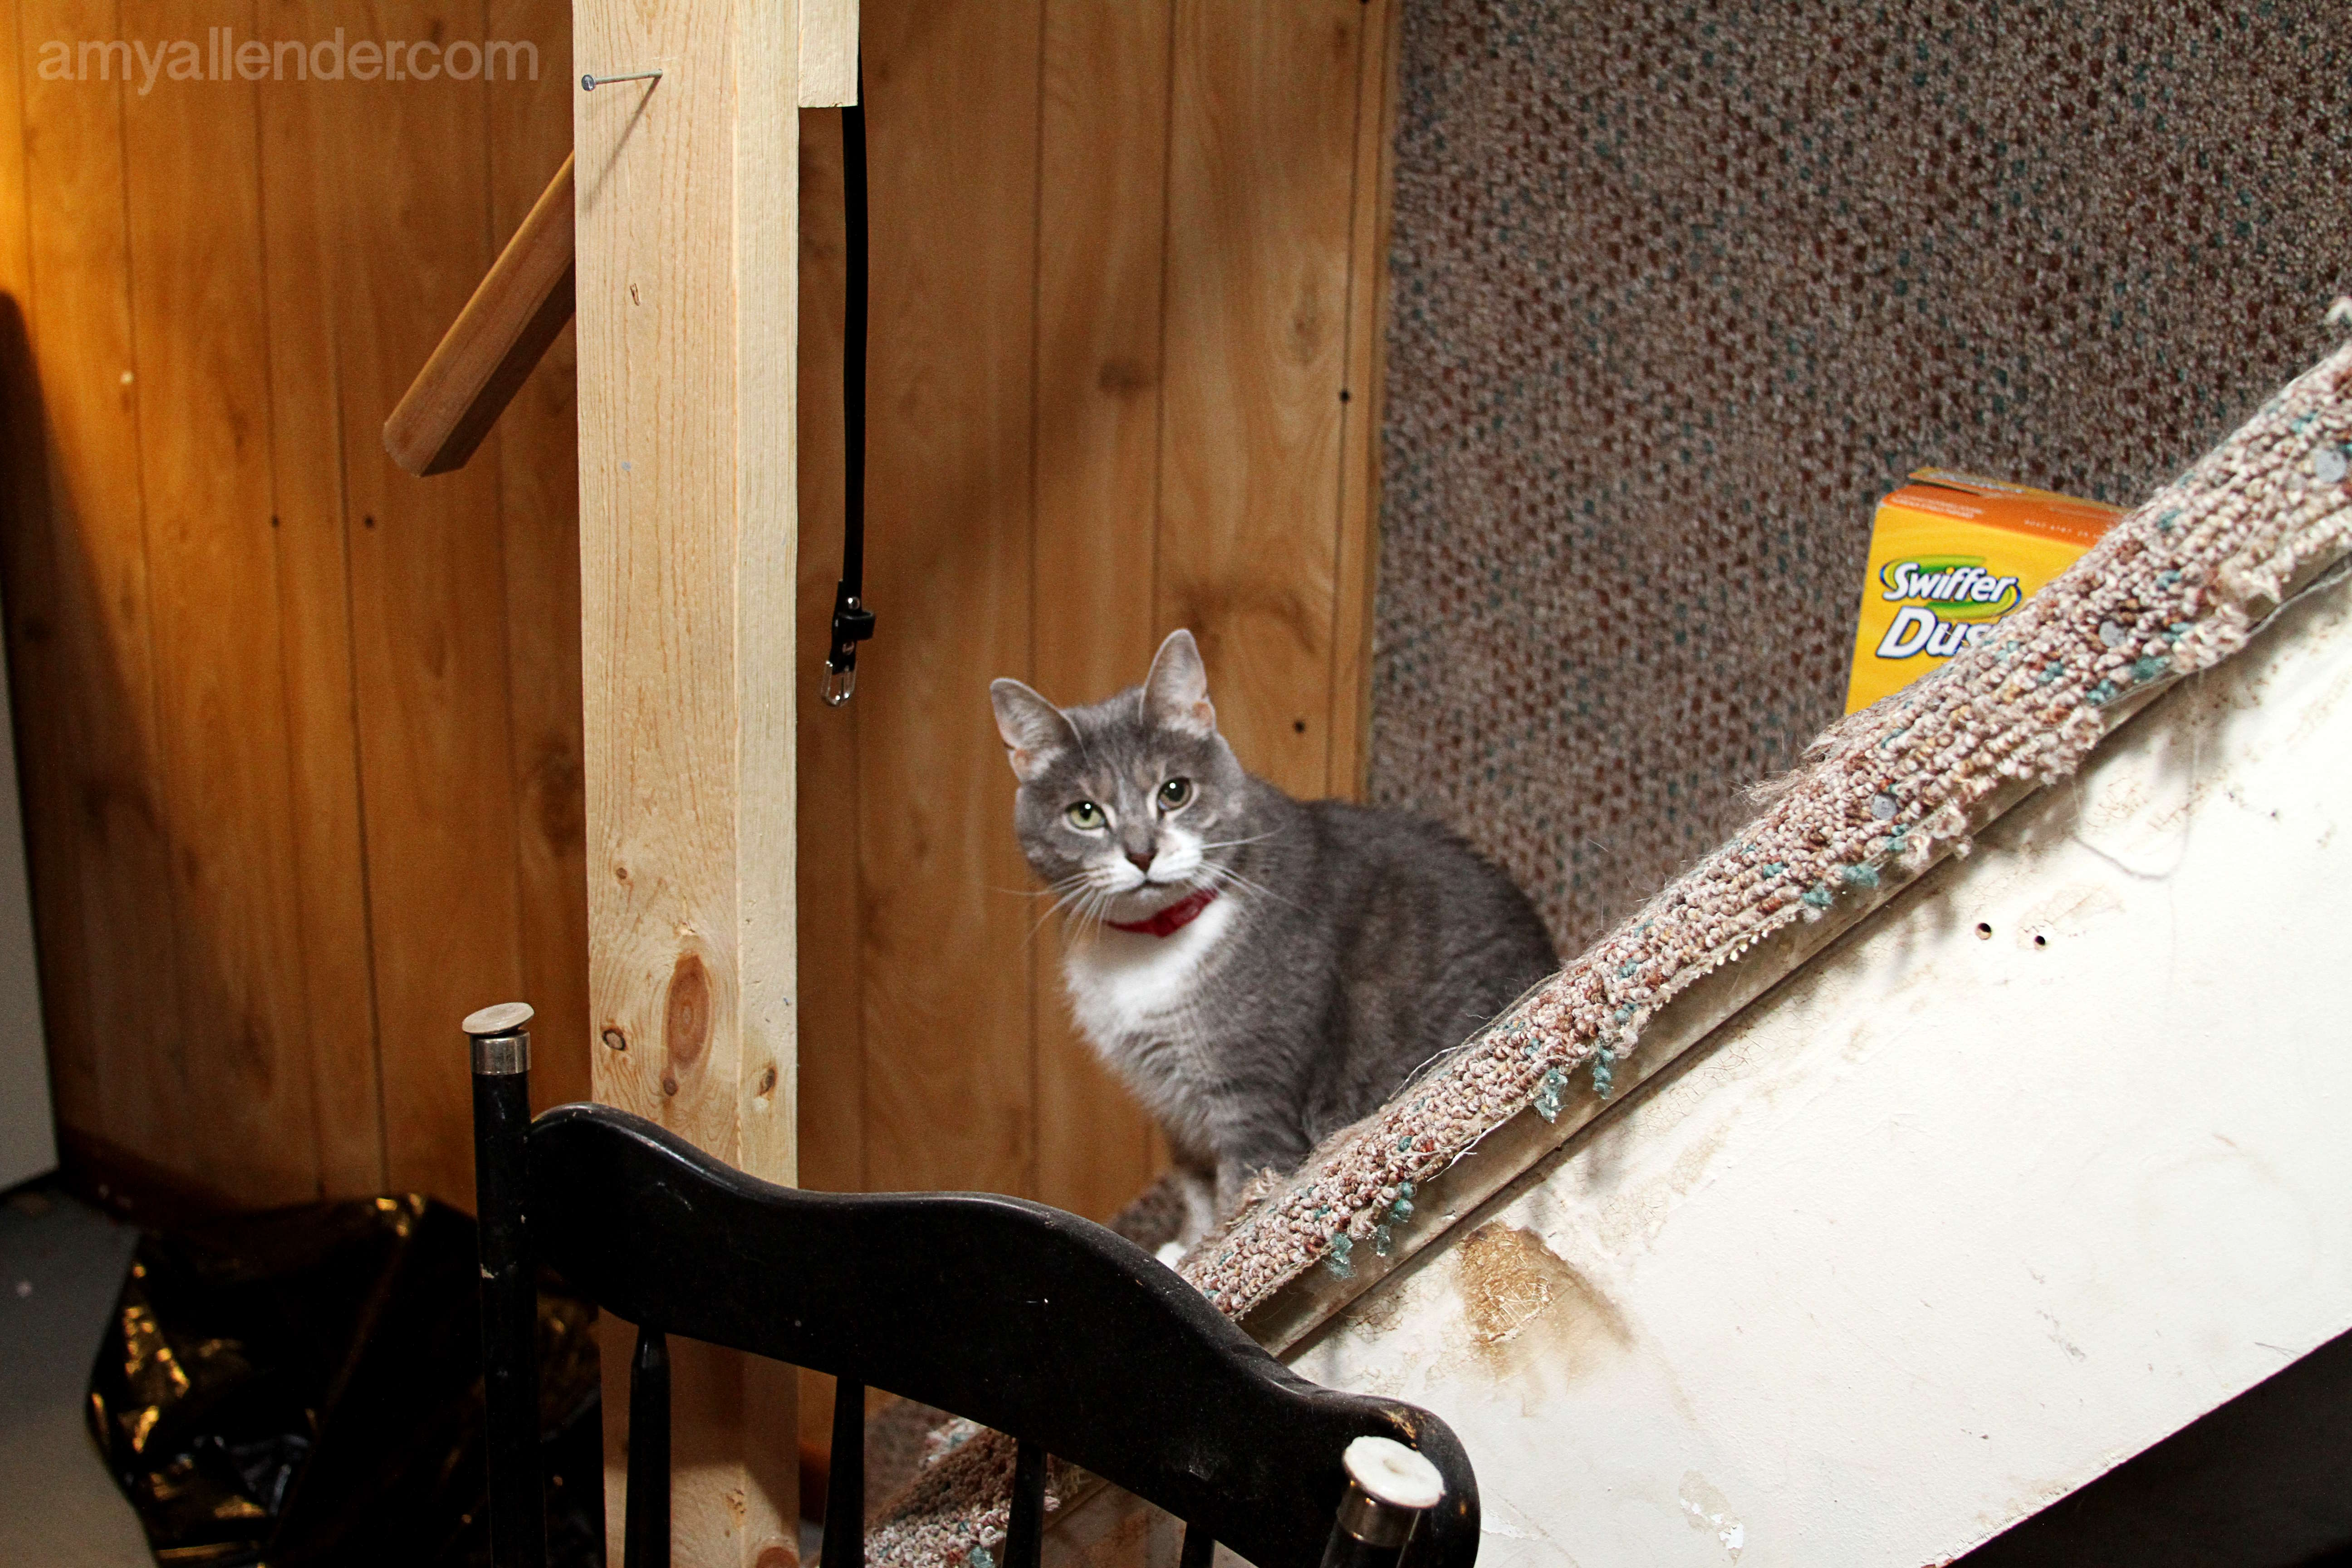
Wish us luck. Especially Panda. All this construction noise is very scarey for her.
xo
Amy
by Amy | Feb 1, 2014 | Blog, The Art of Projects, the house

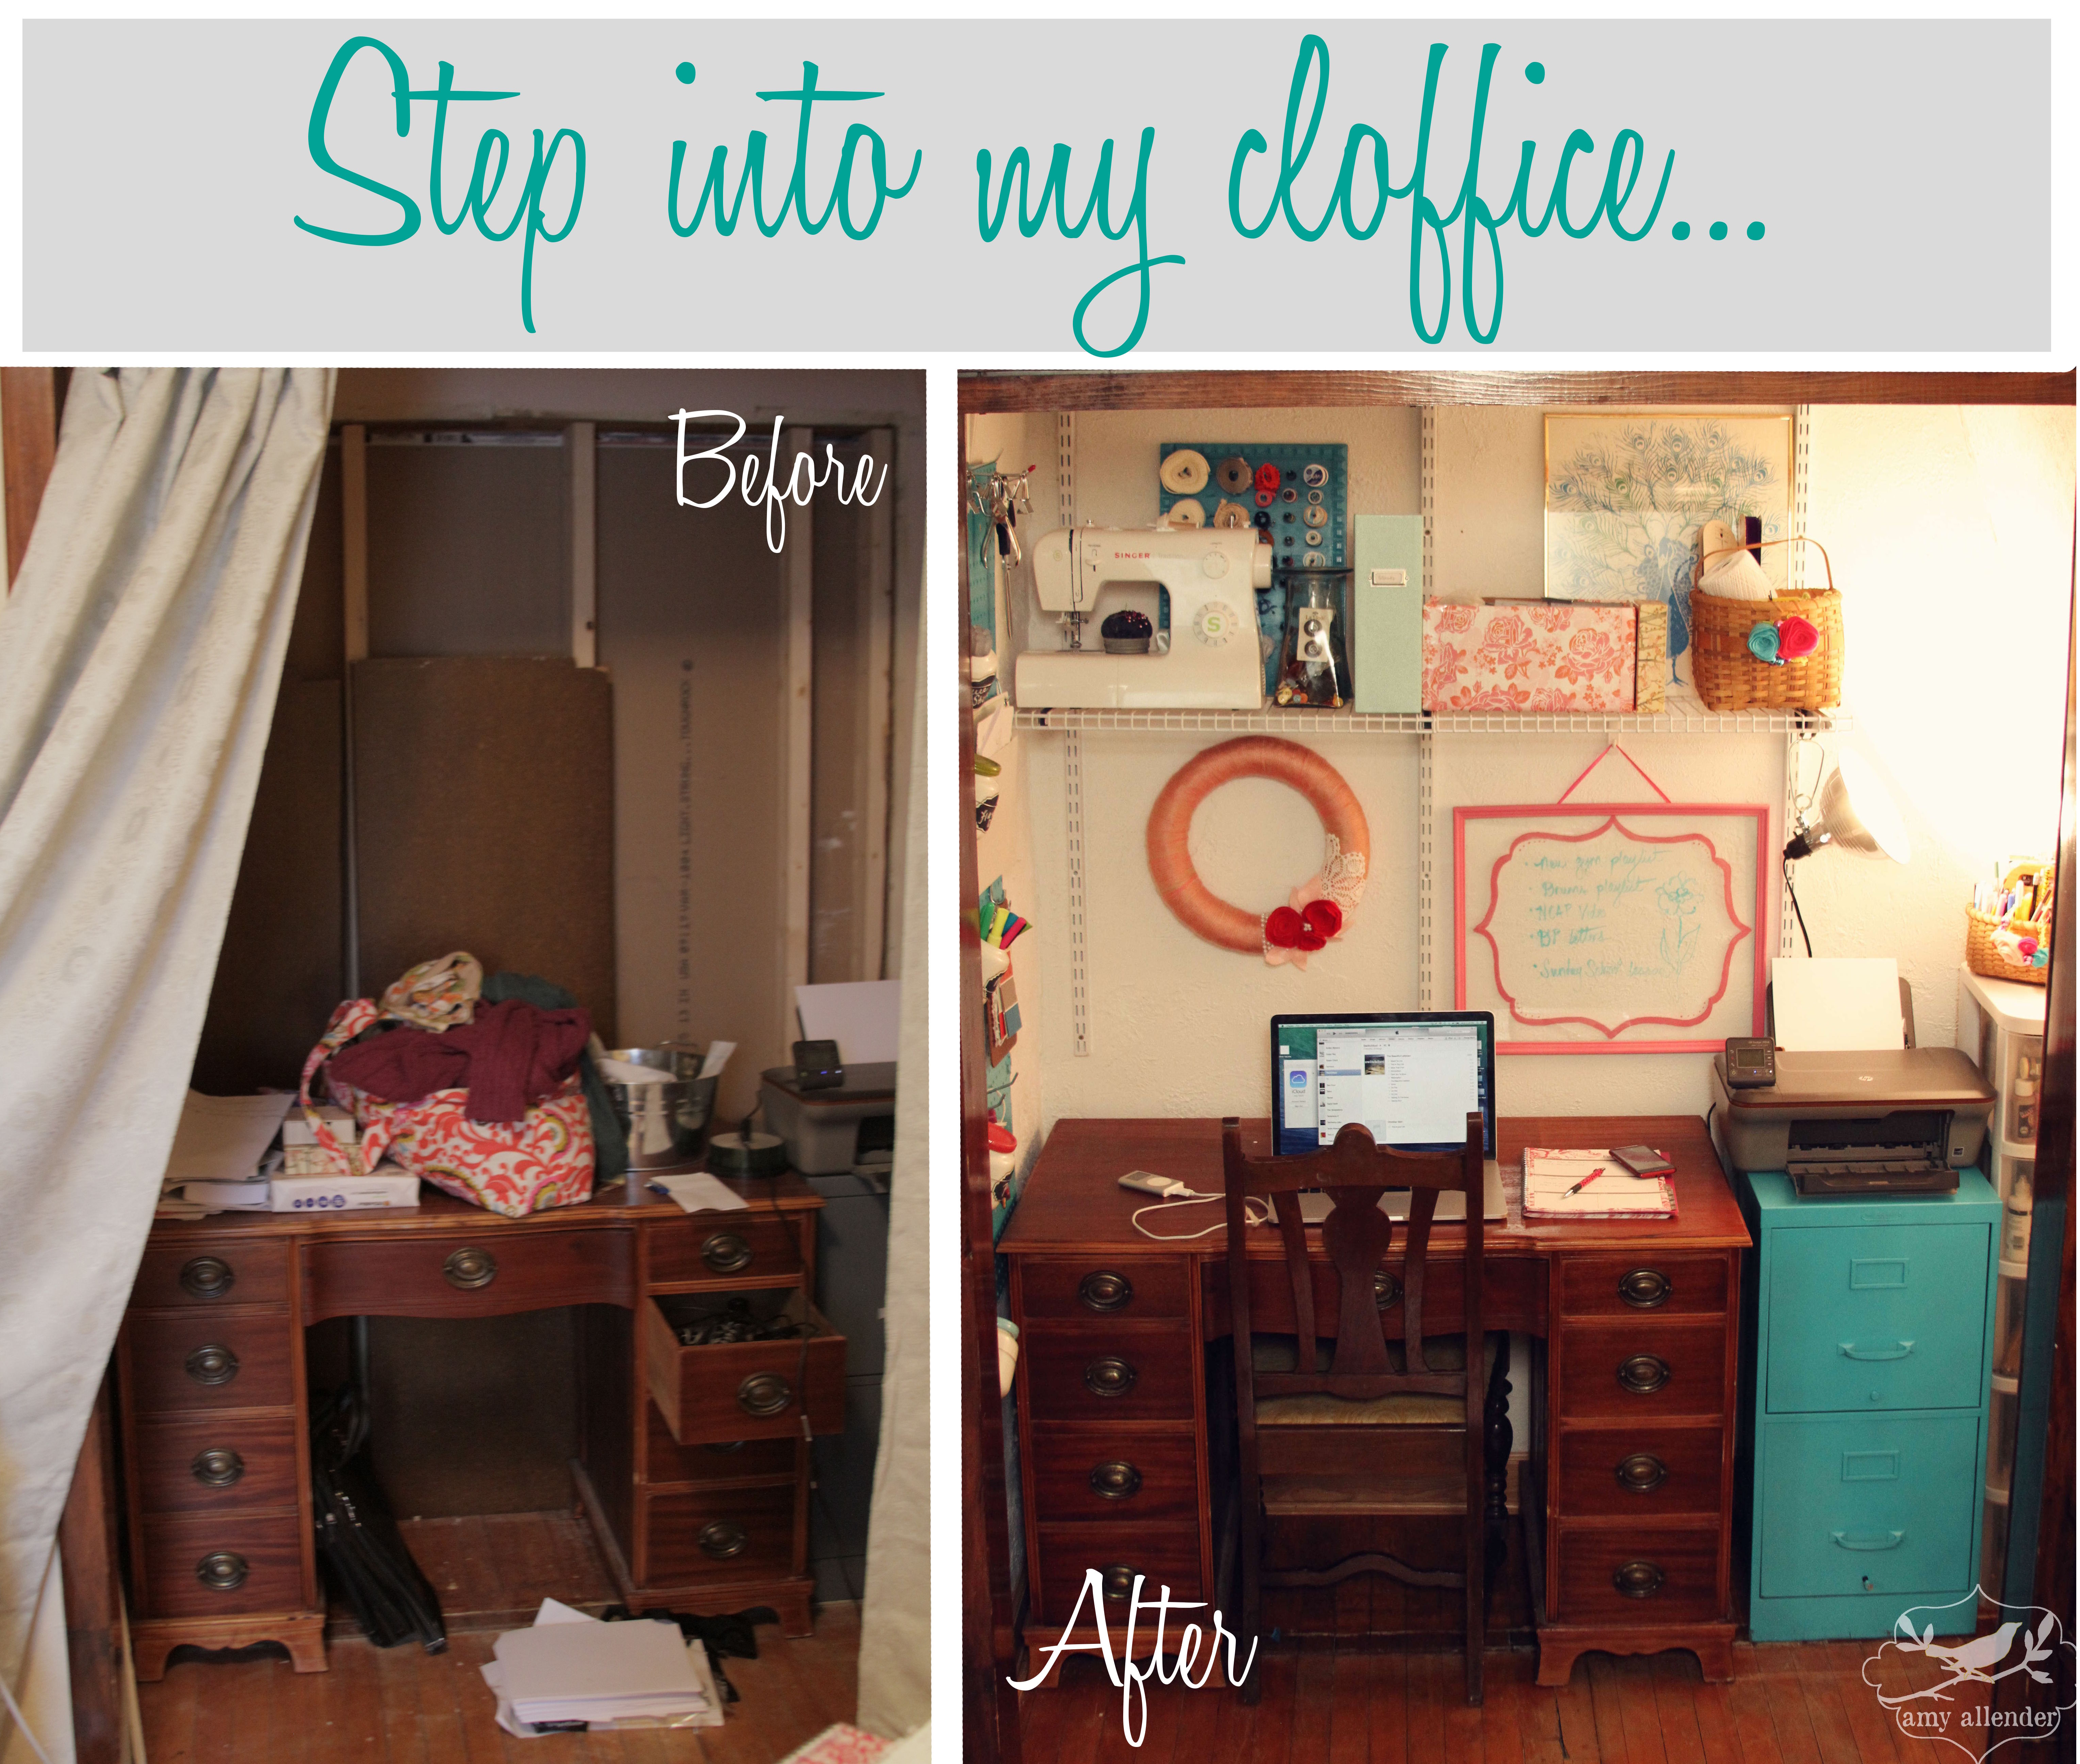
Remember 2014’s first project? Yes, that hideous closet that I left untouched after completing the bedroom remodel…that’s exactly what I’m talking about. Well, it’s done. And I even had a day or two to spare. It might not be as lavish as other cloffices floating around the Pinterest world, but it’s functional, I think it’s pretty, and it’s a heck of a lot more productive than working from the couch.

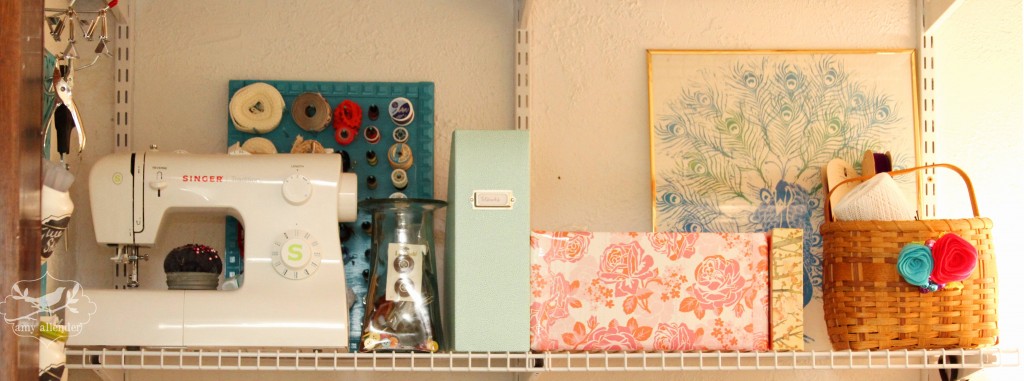
The next big house project we are planning to tackle is the basement. Task number one of that job is getting all our stored stuff out of there. Which means, my craft supplies. Honestly, I was all too happy to go through my things and move them upstairs to a well-lit, cute space. It’s nice to have {almost} all of my go-to supplies in a location that isn’t shared with Panda’s litter box.
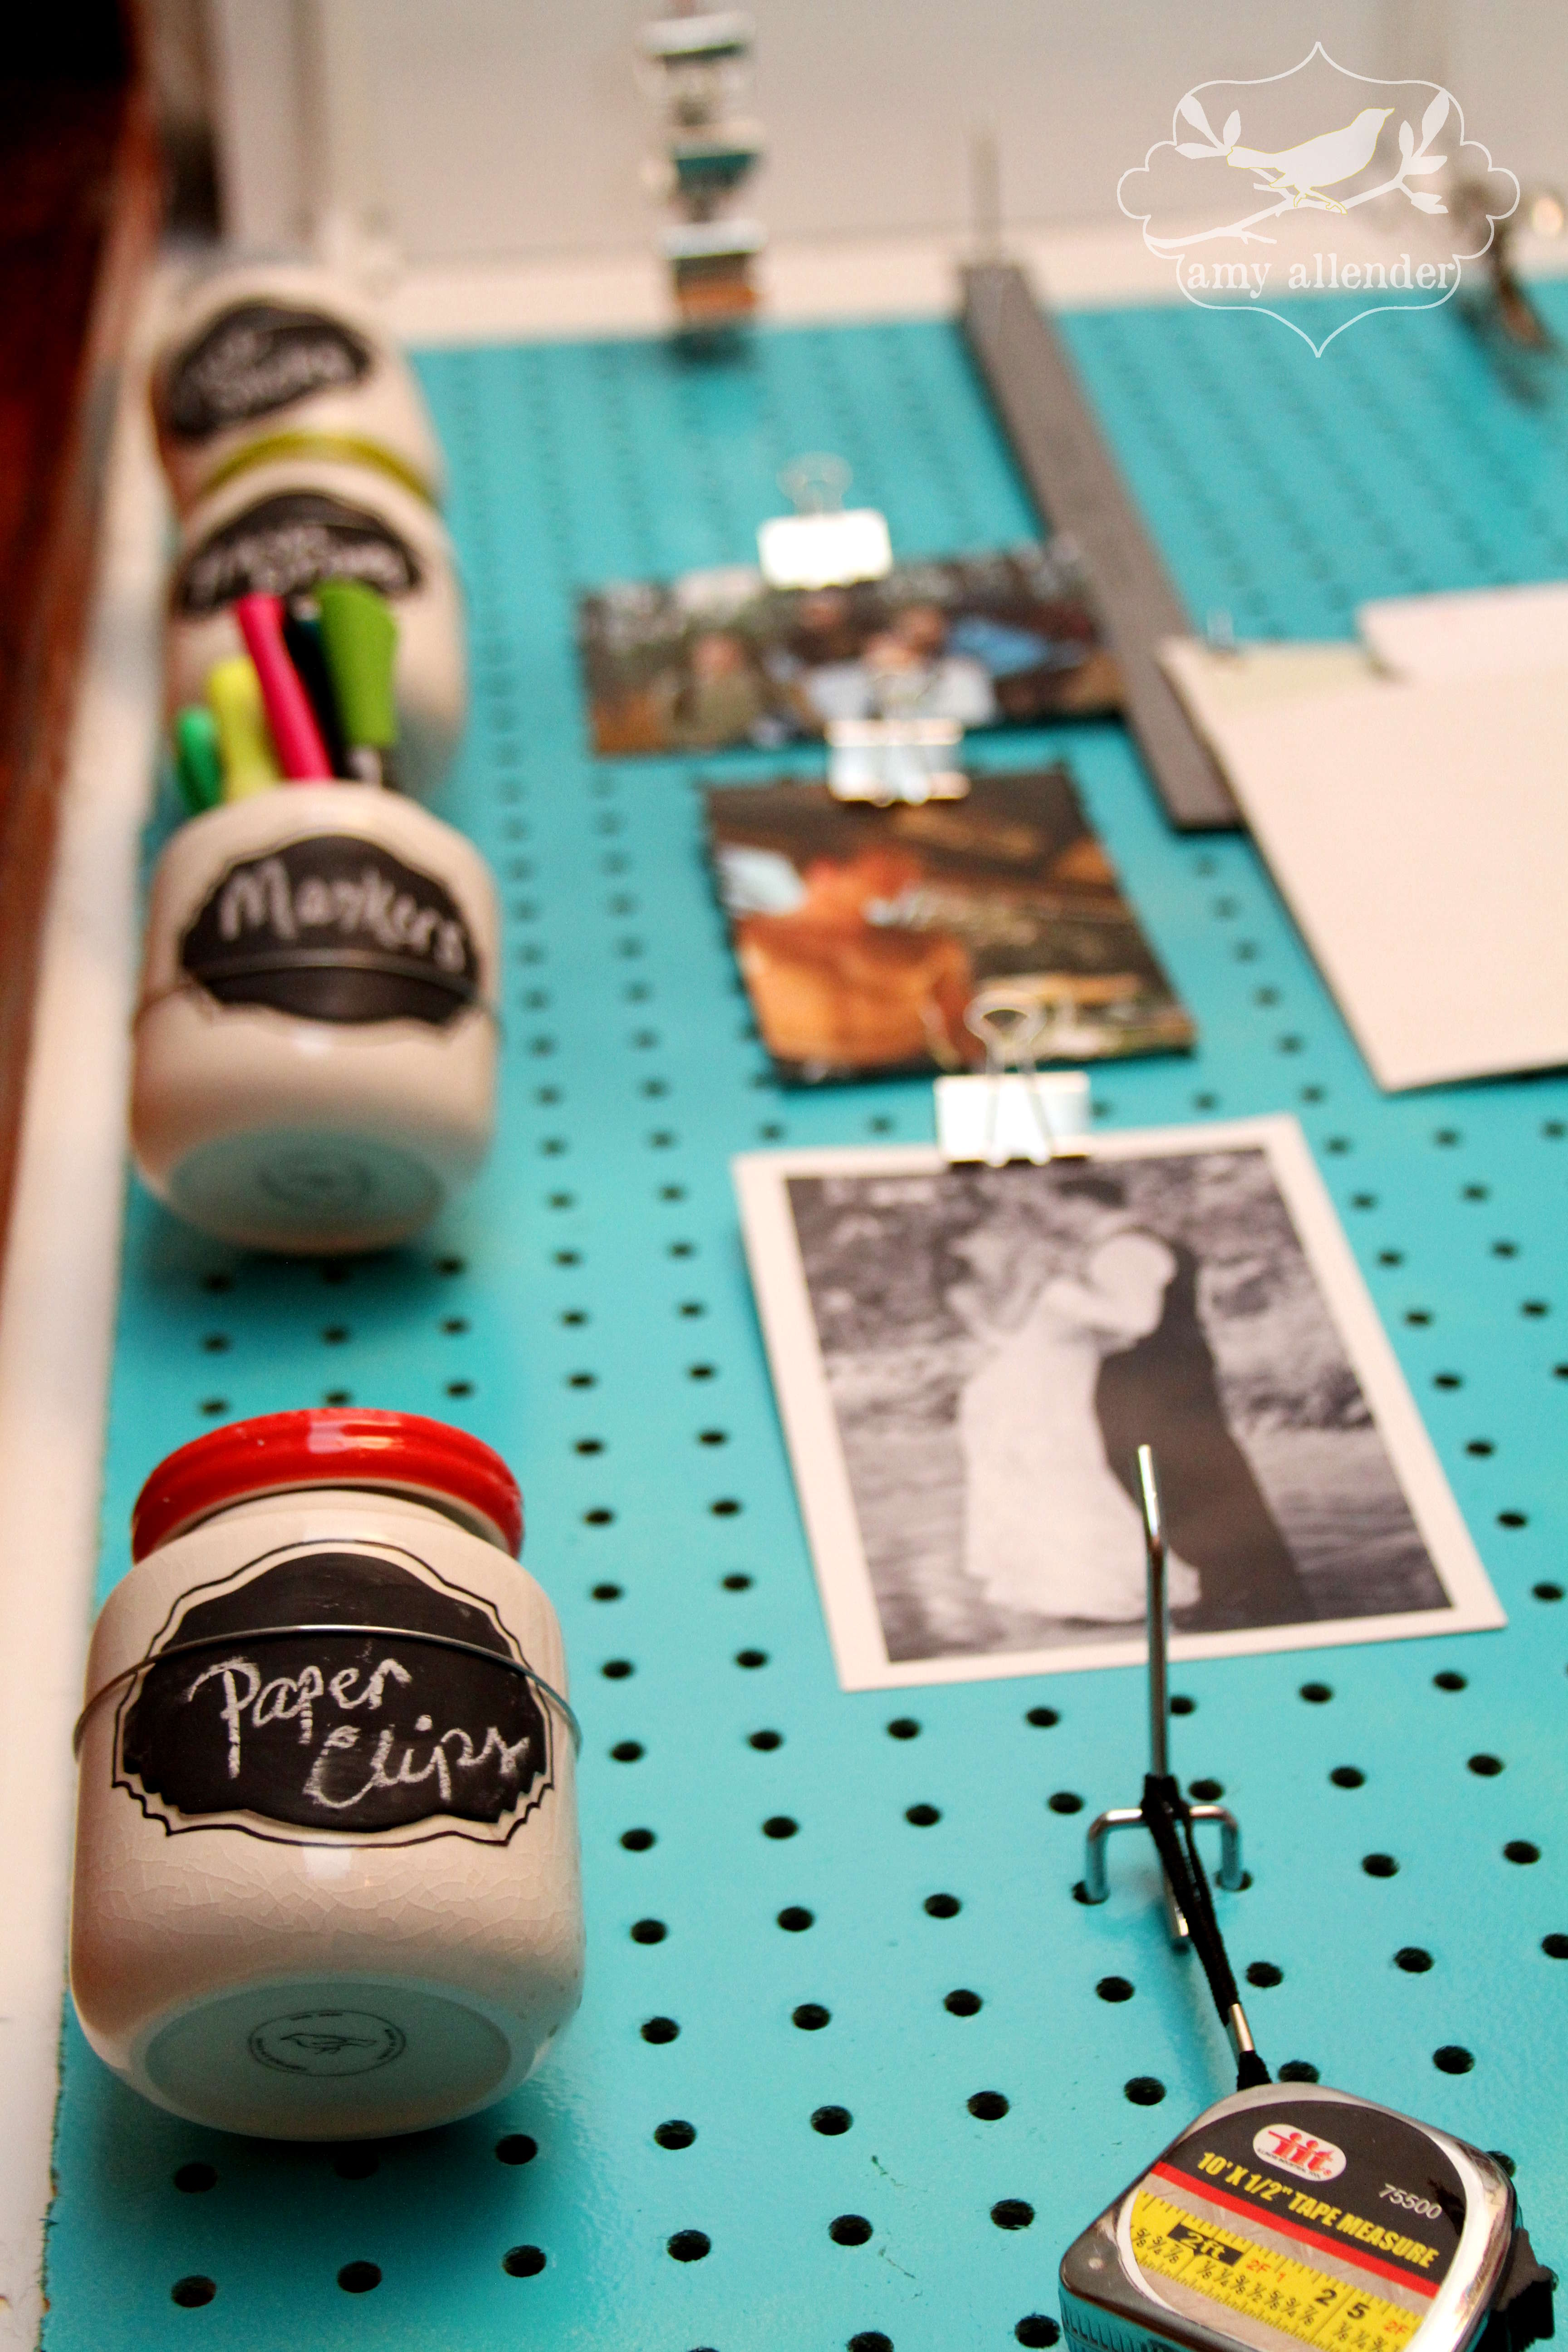
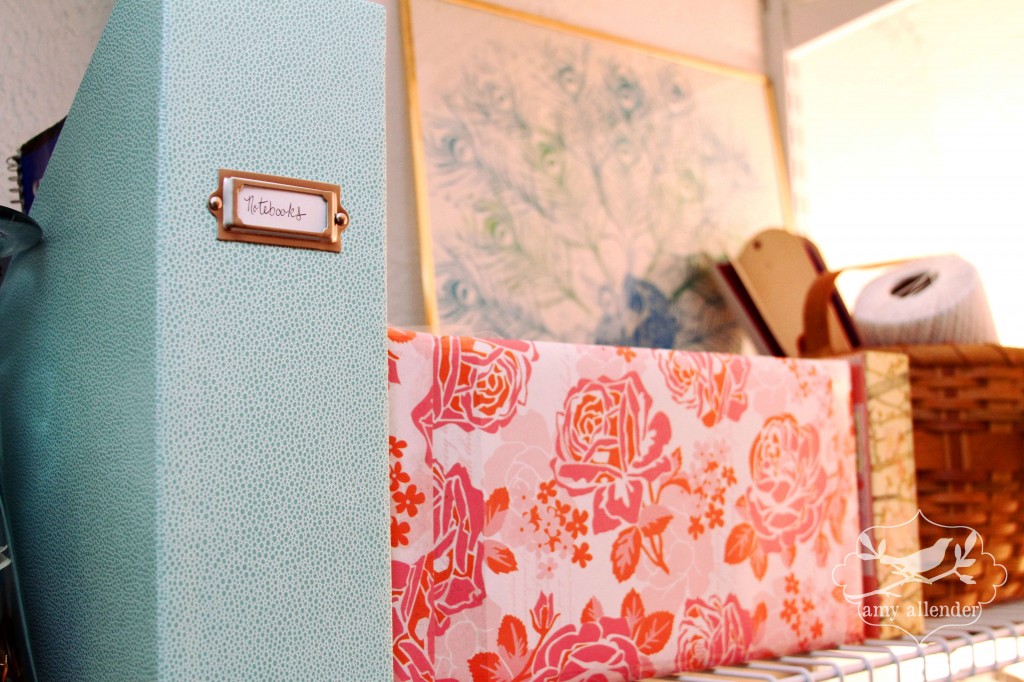
I sorted out all my string and ribbon and stored it in a basket. And I used a box left over from Christmas, covered in scrapbook paper, to organize all my writing/drawing/doodling supplies {chalk, charcoal, markers, crayons…} Buttons, which I rarely use but seem to have an abundance of, are stored in a vase that came with some flowers from the florist. And my stack of unused notebooks for list making are finally all together in a bin from Martha.
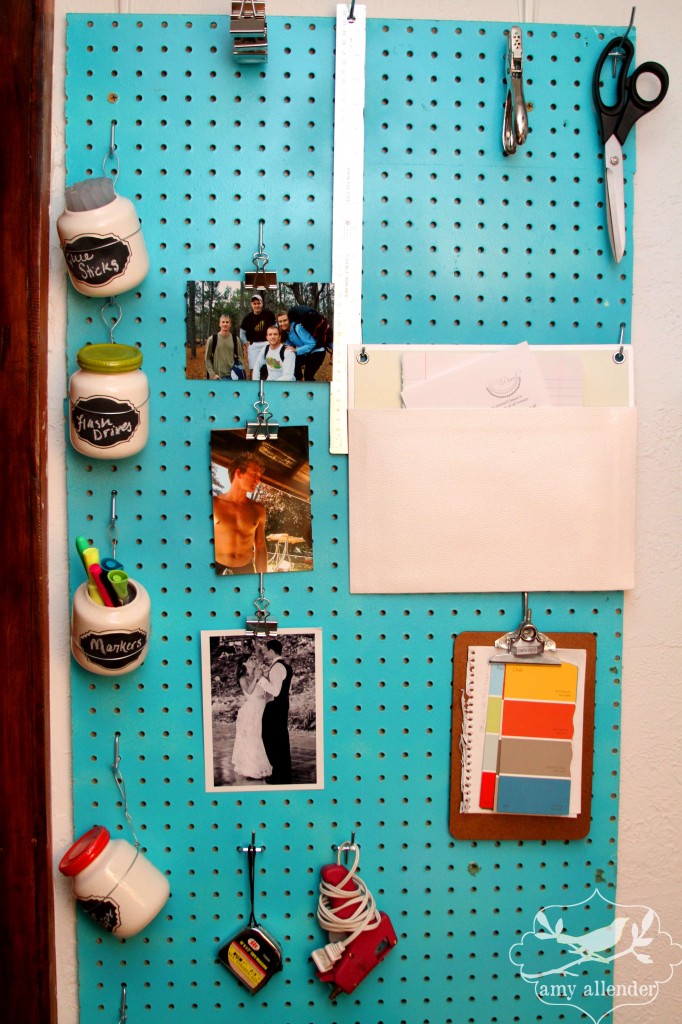
The basement is currently unfinished except for a few “walls” made of peg board. It’s all going to get torn out soon, so I salvaged a chunk, gave it a coat of spray paint, and made it into a vertical desk. I had a hard time finding pegboard hooks, so I’ll tell you where I finally bought them: Menard’s. Really any big-box hardware store should have them. Insist that they find them for you. At Menard’s I asked three employees before one knew what I was talking about. In the end they were by the closet stuff.
In days to come I’m sure I’ll have more things to pin up, but in the mean time I clipped up a few old photos that I came across while sorting through the desk. They make me happy.
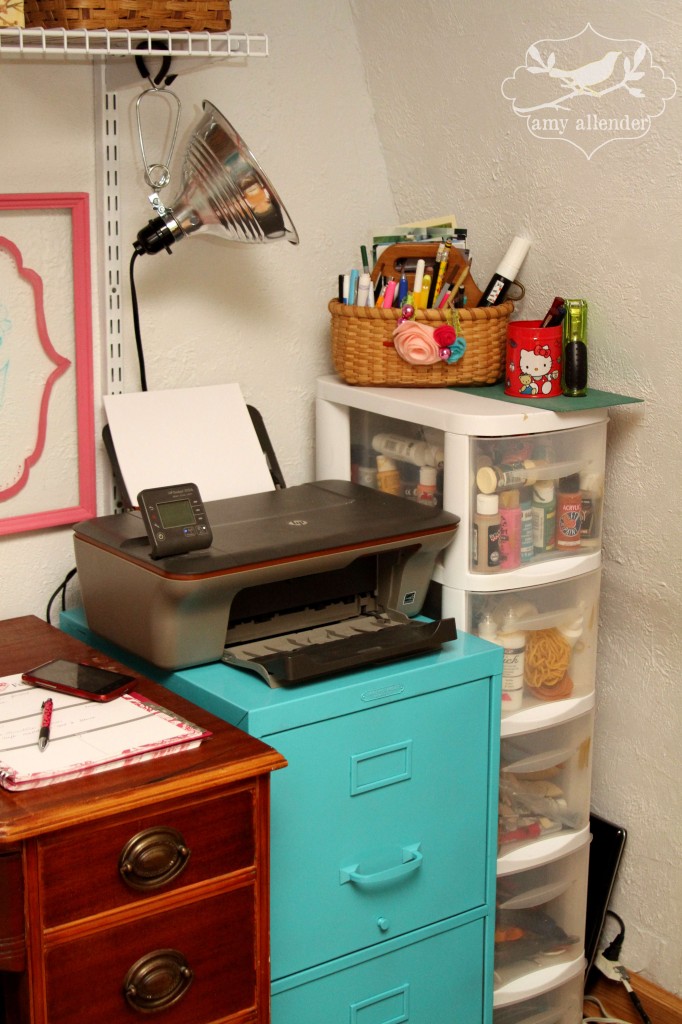
I took the same can of paint that I used on the pegboard and sprayed the old, ugly-gray file cabinet as well. Much improved!
We had that silver utility light in the basement. I bought it once upon a time to use in dim photography settings. I haven’t used it in a long time and it’s perfect for the desk space. I love that it clamps onto the shelf so it doesn’t take up {precious} desk or floor space.
Eventually this closet will return to an actual clothing closet. With that in mind we installed all the shelving on a closet kit from Rubbermaid. The shelves are adjustable and you can buy additional accessories to add hanger rods or additional shelving. It was easy to install. Derek helped with this one, but I used a similar kit in the bedroom and put it in myself.
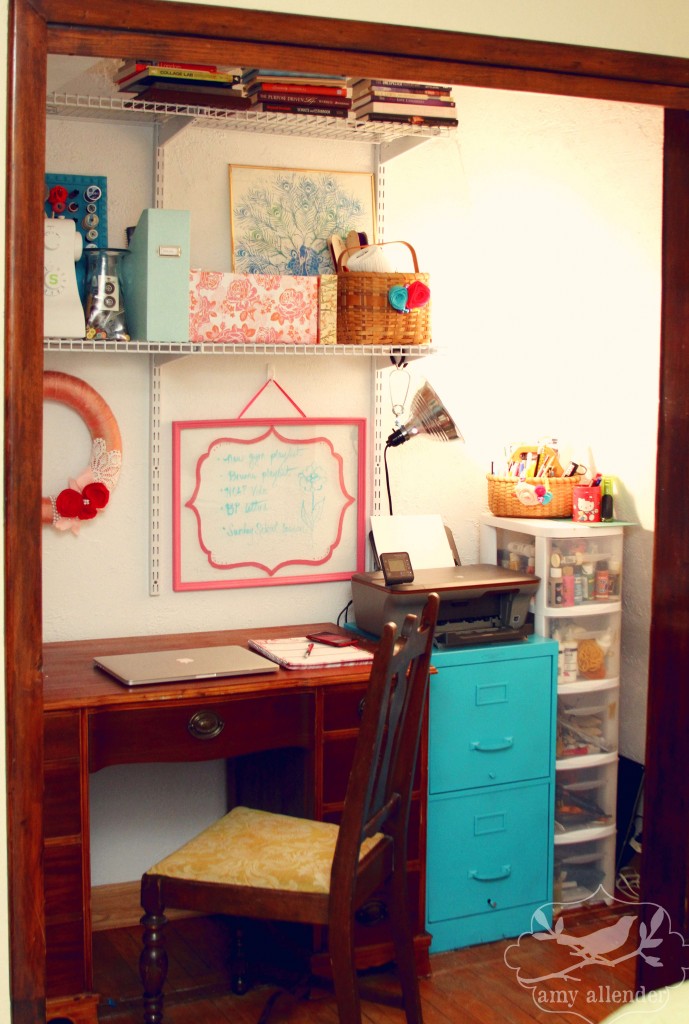
I’ve already been more productive the last few days since this has been finished. It’s really amazing how having a dedicated space that you actually enjoy coming to can change your attitude about work. This project also serves to show that with organization and creativity, even a small, overlooked space can be transformed into something useful.
Amy
PS…In case you missed it, here’s how I made that cute dry erase board. And going even further back…here’s how I made that wreath.
by Amy | Jan 3, 2014 | Blog, The Art of Projects, the house
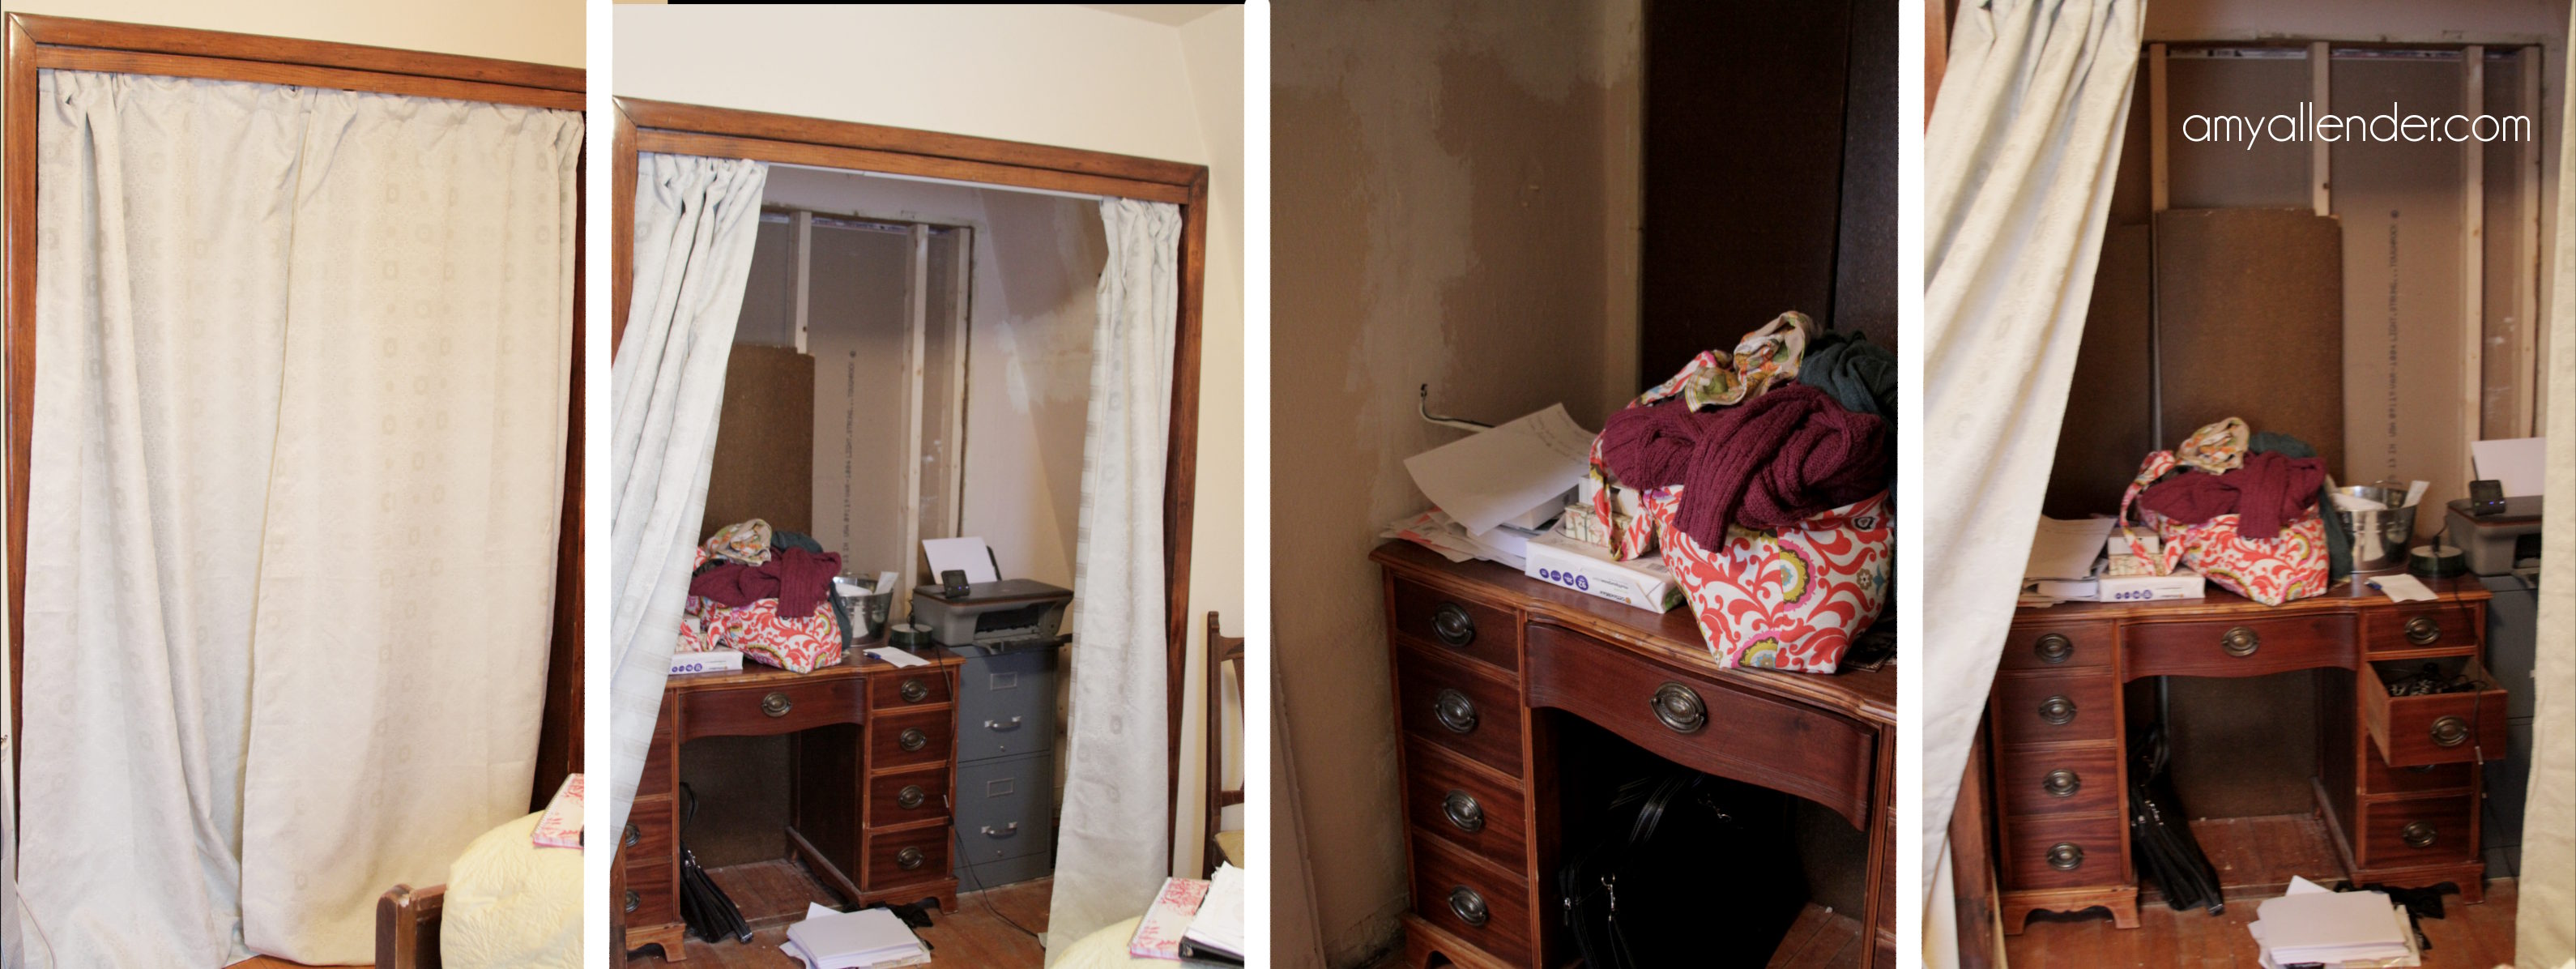
Excuse the mess.
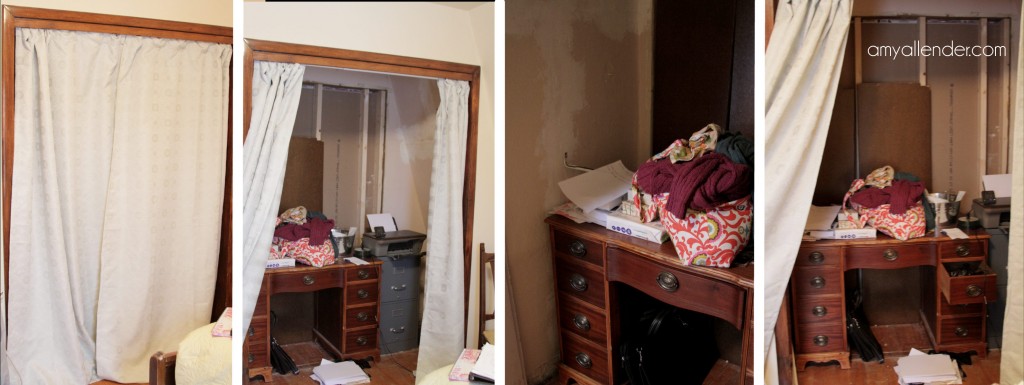
This is embarrassing, but it’s real. This is real life. In my house. What you see before you is a 2013 project left unfinished. In its uncompleted state it festered into a catchall eye sore, a place for me to stash things without a home. My favorite gym bag packed with some items that need to be donated, lists of workouts of fitness classes gone by, printer paper, a curtain rod…When it got too ugly, I hung a curtain. To hide it until I found time to finish it.
This space is a closet. A really nice closet, even. It is the byproduct of my bedroom makeover I took on over the summer. In the original second floor layout the master bedroom and guest room had identical closets that backed up to one another. They were only separated by a flimsy sheet rock wall that was easy to knock out in an afternoon. {You can see that destruction here.}
When I finished the bedroom {see that here} I put a wall in front of the original closet opening and built in a brand new closet into the newly expanded space. It was a win-win. The master bedroom gained its own, larger closet–and the guest room closet doubled in size by taking on the original master closet.
I prioritized my projects, and to be honest, prettying up the closet in a room no one really uses wasn’t at the top. But, as you can see, things are getting out of hand. I’ve been asked a lot recently what the first project of 2014 will be. Well folks, you’re looking at it.
The grand plan is that 2014 will also bring us a finished basement {that’s a whole other story} as well. In the basement we will add a third bedroom and a second bathroom. That will turn into guest quarters and the current guest room will become my office. When I renovated in the summer, expanding the master bedroom meant that we lost our office space. So until all our construction is done, this over sized closet will serve as an office nook for me. Granted, it’s not as cozy as sitting under an electric blanket on the couch with Panda Kitty…but I think it’ll be much more efficient. Maybe something more like this…

The goal is to finish the cloffice {closet-office, get it?} by the end of the month.
by Amy | Jan 2, 2014 | Blog, The Art of Adventure, The Art of Faith, The Art of Gathering, The Art of Living, The Art of Projects, The Art of the Kitchen, The Art of the Moment, the house
Happy New Year! It’s hard to believe we have entered another year. If your life is anything like mine…it’s felt like a whirlwind ever since Thanksgiving. Yikes. But now the festivities are behind us and it’s time to learn from the past year and step into a fresh, new season.
The year goes by so fast that I often feel like it passed in a blur. {Any one second that?} I have to remind myself that a year is a long time. A lot can happen. One life can do a lot in one year. I really believe that and I hope you do too. For me 2013 could have been a very hard, negative year…but I think we chose how we spend our time and resources and energy. We can let negative circumstances weigh us down…or allow them to give us a chance to brush up on our hurdling skills. I may have banged my shins on hurdles a few times in the past 365, but I can confidently say that I cleared them all.
And if you don’t believe a lot can get done in a year…let’s look back at the biggest moments of a year with Amy Allender. (more…)
by Amy | Oct 11, 2013 | Blog, The Art of Projects, the house
Good news everyone. The guest room floor was done in time for our latest house guest. And it’s ready for the next batch, and then the holiday batch after that. I’m so happy with the results {especially the lack of old-carpet-smell.}

And I apologize for these hideous B&A photos. I know. It’s so cheap to show the before with the room looking like a wreck. The truth is, I was just so eager to rip that carpet up and drag it to the curb that I nearly forgot to take any before photos at all. I had the bed stripped and the mattress prepped to be moved out when I remembered. So, sorry. It is, what it is.

This room was so easy to work on. {Especially compared to the office.} It rolled right up. No glue. Only a few staples on the carpet pad and a tack strip to rip up. {See how it came up here.}
I scraped up some old paint splatter of yester-projects and sanded out some rough spots. Then I cleaned the whole thing with Krud Kutter {that stuff rocks} and let it dry.

Then it was two coats of Fast-Drying Polyurethane from Minwax applied with lambswool. Same stuff I used in the bedroom. In there I used a natural bristle brush. I think I like that technique better. Especially since I neglected to wear gloves and I had polyurethane all over my hands…and no mineral spirits in the garage to get it off.
Yuck.

Pretty isn’t it?
I talked to some folks earlier who called this type of flooring “porch floor.” They claim it’s an old school type of sub-flooring, meant to be covered. I claim that it’s rustically perfect and full of character. I like the nails. I like that they aren’t in perfect rows. I even like the little bits of paint that are left behind. And I like the price. This redo didn’t cost me a penny.
To protect cold toes from icy hard floors we put down this braided rug that was rolled up in the basement. That’s a win-win, because it serves a purpose and frees up shelf space in the basement. It’s from the Shabby Chic collection at Target, but I {of course} bought it second hand. Whatever. Pretty is pretty, right? And I love a good bargain.
Amy
by Amy | Sep 27, 2013 | Blog, The Art of Projects, the house
Here’s the thing. Derek is going to be leaving for a few days for a little work exercise. And you all know what I like to do when Derek’s gone…right? If not, look at this. Or this. Or this.
Another thing you may know about me is that I have a deep felt hatred for old carpet. Especially carpet in bad carpet in ugly colors. Especially old carpet that is hiding hardwood treasures.
This whole hating carpet thing really didn’t set in until we moved into our house here in PraCan. In nearly every room we found bad, ugly, dusty, smelly carpet. So I started ripping it out. The stairs, the living room, the office, the bedroom. Gone, gone, gone, gone. Then, there was only one lonely room left with bad carpet: the Guest Room. Which is a bummer, because I love to entertain…and I feel like a big jerk when I shove a weekend visitor in the only ugly room in the house. I feel terrible letting them shut the door before bed, only to sequester themselves in a room that has a weird smell coming from the floor.
Take a look. This is the last time that you will see blue carpet in this house.

Derek actually hasn’t left yet. I had him help me move the furniture out. I meant to wait until he was gone to start ripping…but I couldn’t. It’s like opening a present when you see that natural, aged wood pop through. He’s on the couch next to me now, taking in the premier of Parks and Rec…meanwhile, upstairs, the floor looks like this.

It only took a few minutes. And I couldn’t resist. Now, all that stands between me and a dazzling floor are a few staples, some tack strip and a couple coats of polyurethane.
Look for a B&A coming soon. As in next week soon. I’ve got a bestie coming!!! And she’ll need an amazing room to relax in.
Amy
by Amy | Aug 28, 2013 | Blog, The Art of Projects, the house
Remember when I started the kitchen project? I wrote that post about how Derek never reads my blog, because he is around the real thing, which is pretty intense…so for him there is no need to check in and read the blog happenings. Here is a quick excerpt, but to read the whole post, click here.

Derek doesn’t read my blog. Well, I shouldn’t tell you that he never reads it. He does sometimes. Just not often. He doesn’t really need to. We talk, he sees me, he lives with me {well, most of the time} for goodness sake. Basically he knows all there is to know about my goings on. There is no need for him to spend time reading a recap of what he witnessed first hand. He lives the adventure…and gets bonus features. Like all my lame jokes, seeing the awkward unfold before his eyes, and putting Band Aids on all my mishaps.
Between you and me, I think he gets enough of my madness as is.
All that to say…I’m pretty sure I can safely write to you about my next project without Derek finding out.
When I wrote that I was totally sure that Derek actually didn’t read the blog. That he never checked Facebook. That I really was being a bit sneaky.
Well, as I’m sure you can surmise by all this build up, he found out a bit prematurely.
Here’s how it all went down.

Scene: My kitchen. Things are just about finished. The cabinets are painted and glazed, but not hung. The ugly light above the sink is gone and a lone DIY go-getter {me} is standing on the counter attempting to hook up the new, pretty fixture with little luck. She’s frustrated and about to give up and have a Girl Scout Cookie or two, when suddenly from the living room, Skype starts ringing.
So I answer and try to chat nonchalantly as if there is no gigantic mess in the dining room and my kitchen isn’t torn apart. I’ve kept the secret for a few days, I’m golden. He doesn’t know a thing.
We chat for a few minutes, but I just can’t get my mind off of that stupid, new light fixture. I figure that I’m past the point of no return anyway. There is no way he can talk me out of refinishing the cabinets now, no way I can undo what I’ve already done. I start with an innocent question, something vague about hanging lights. That’s when I know. I know he knows what I did last summer.
“Where are you putting a new light?”
There’s something in his voice that tips me off. So I ask,
“You know?”
“About the kitchen? Yeah, you’ve been writing about it for days.”
I tell him how I didn’t think he read all that crap I post online, he never gets on Facebook, that whole thing. Then he sums it up,
“I don’t read your blog when we live together. We only talk once a day now. So of course I’ve been reading it. I just figured you’d tell me about the kitchen when you were good and ready.”
Jokes on me. I’m not so sneaky after all. But he did tell me that it’s good I went ahead and took this project by the horns. He said if he was here he would have tried to talk me out of it, and he definitely would have insisted that I not paint them white. Bahaha. To late!
I think he liked the finish product. And I’m sure he’ll like it even more when he lays eyes on it in person.
Amy
by Amy | Aug 22, 2013 | Blog, The Art of Projects, the house

Look. At. This. Look at it. Just look.
Sometimes when I’m really excited I repeat a phrase over and over. This is one of those moments.
Kitchen project complete. (more…)