So often we can be fooled by DIY project photos. And I’m guilty of misleading you too.
We see the hideous “before.” The beautiful “after.” Photos of the steps that fall in between. But you know what you don’t see very often? The project aftermath.
The aftermath is all the things that are amiss you your home and life after a project is complete. As you well remember, just over a week ago I impulsively ripped out our nasty, smelly brown carpet. Eight days later we had a new floor and were able to call this project complete.
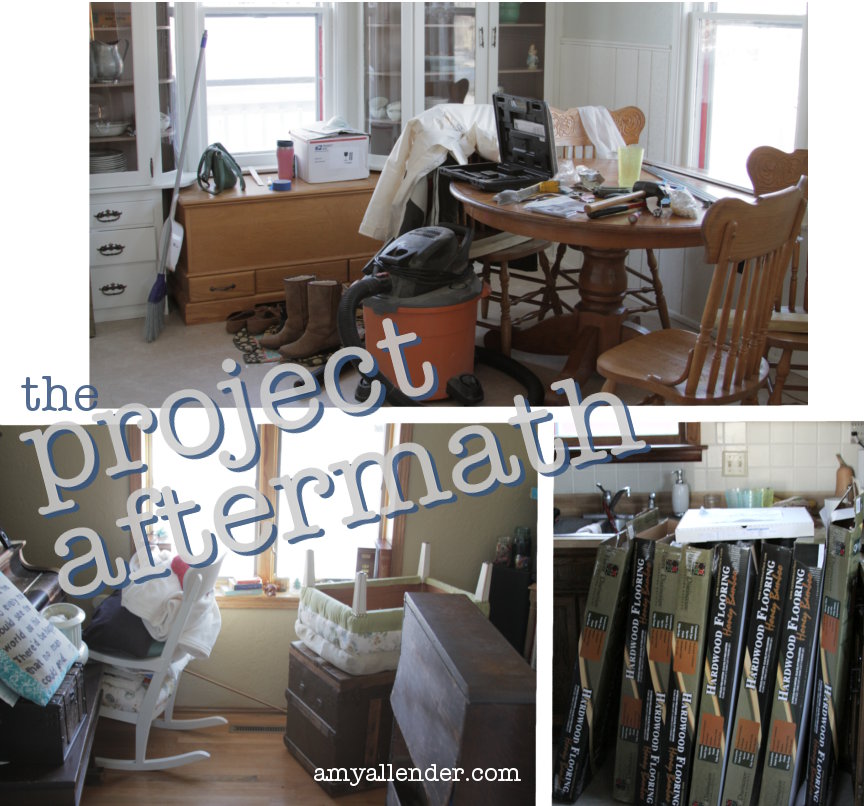
Seven days after I ripped up that carpet we had a new floor. Project done? Not hardly. Once you brush the saw dust off your hands, look proudly on your accomplishment, then promptly turn around to view the aftermath. Let’s see…there are tools strewn about. A Shop-Vac taking up half the dining room, the furniture is stacked Egyptian-tomb-style in the front room, empty boxes block the kitchen sink and cupboards, a basement full of saw dust and flooring scraps. And let’s not forget the non-project things that get neglected when doing some DIY…laundry, fast food containers {who has time to cook?}, the litter box…
Here are my ways of coping with the aftermath.
- 1. Don’t freak out. Yes, the house will be a mess. Don’t even try to stay on top of things while you are knee deep in project. Just let it happen.
- Schedule in an extra day at the beginning of your project. Do laundry, make a big meal that makes good left overs, take out the trash, clean the litter box…do all those little things ahead of time. Make your unaffected rooms clean.
- Schedule an extra day at the end of the project. When you put in that last nail, revel in your accomplishment. Go out for ice cream. Use the following day to put tools away, vacuum, do more laundry, etc.
- Save the prettiest part for last. I use my favorite part of the project as a reward for getting the aftermath cleared. Rearrange my furniture in the living room until this afternoon…when everything had been put away and all the boxes were taken to the recycling center. I wanted the room to look finished, but knew that I had to do the lame stuff first.
- Make piles. Don’t wear yourself out by making a million trips to the garage or basement. Instead, sort things out…then use plastic bins, bags or laundry hampers to haul big loads at once.
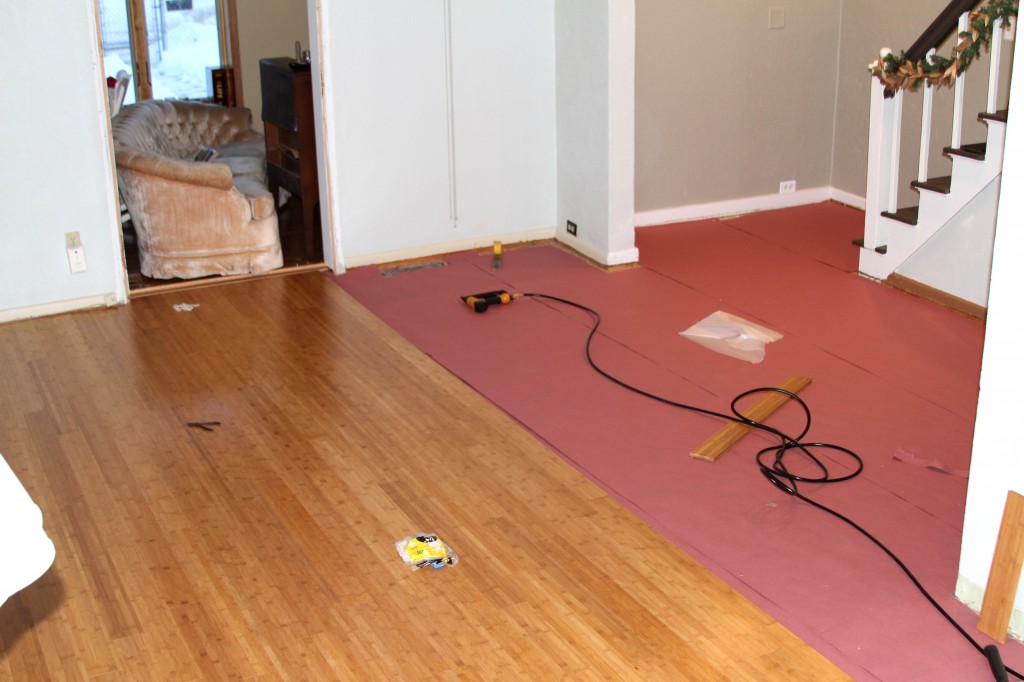
The moral of the story is that home improvement is more than just a before and after shot. {But seriously, who doesn’t love a good B&A?} I’ll show you the pretty before and after tomorrow. But for now, to be fair and totally transparent, I needed you to see the aftermath. Because I know we are all anxious…I’ll give you a preview.
That’s all you get. Now, don’t get your panties in a twist. The big reveal is happening tomorrow evening. So be sure to check back! And like the Facebook page, while you’re at it!
Amy


