Well…next week I dive into major house project number 2. I’ve been crazy busy this week and it seems like all of it will come to a screeching halt after this weekend. So, I decided that this is the perfect opportunity to do a little painting.
My living room. My dining room. My built in hutches. My front room. The ceilings. Some wood paneling.
The goal is to get all most of it done by the end of the week. Mind you…I’ll still some other obligations as well. Like feeding my husband and Panda Kitty, editing a super cute photo session, teaching fitness classes, maybe contacting a few nonprofits about doing some work…you know…the usual. Nothing super busy.
But here is the dilemma. I’m a color-commitment-a-phobe. I know it’s just paint, but paint is expensive. And I am very cheap. And I make very little money. And I have this complex about making little money and spending buckets of the dollars Derek earns by having a real job. So, while I know if I hate it I can always redo it…I’d rather get it right the first time.
So, I’ve started a Pinterest board of pretty paint colors. You should totally go over there and check it out. Seriously, they are pretty.
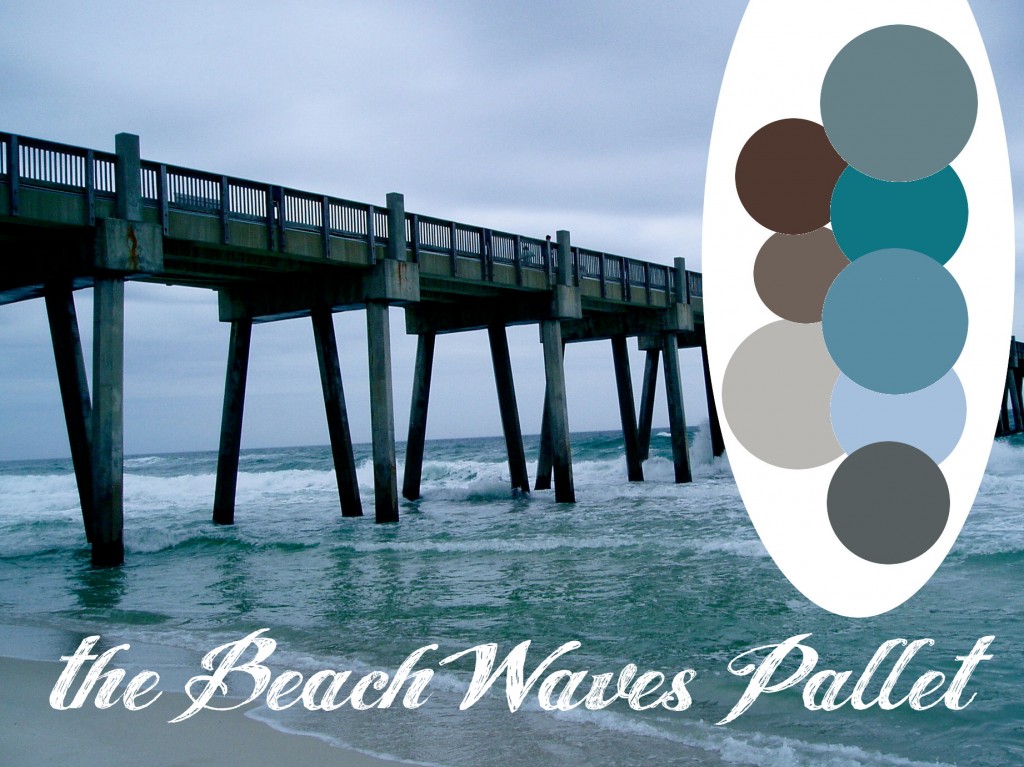
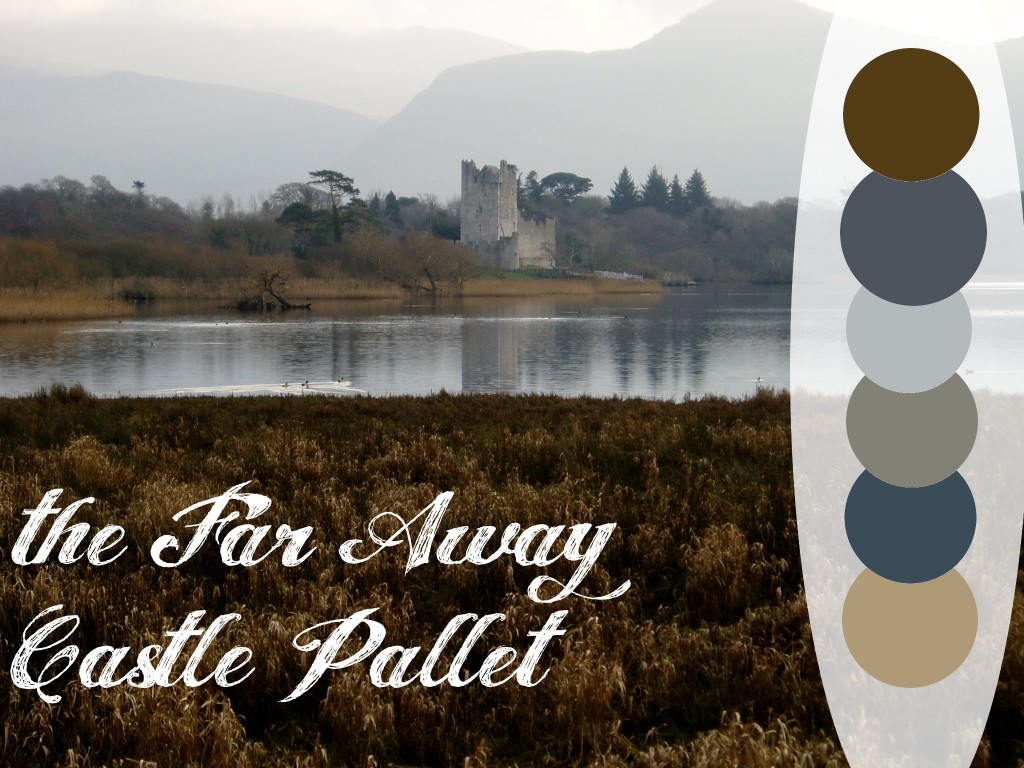
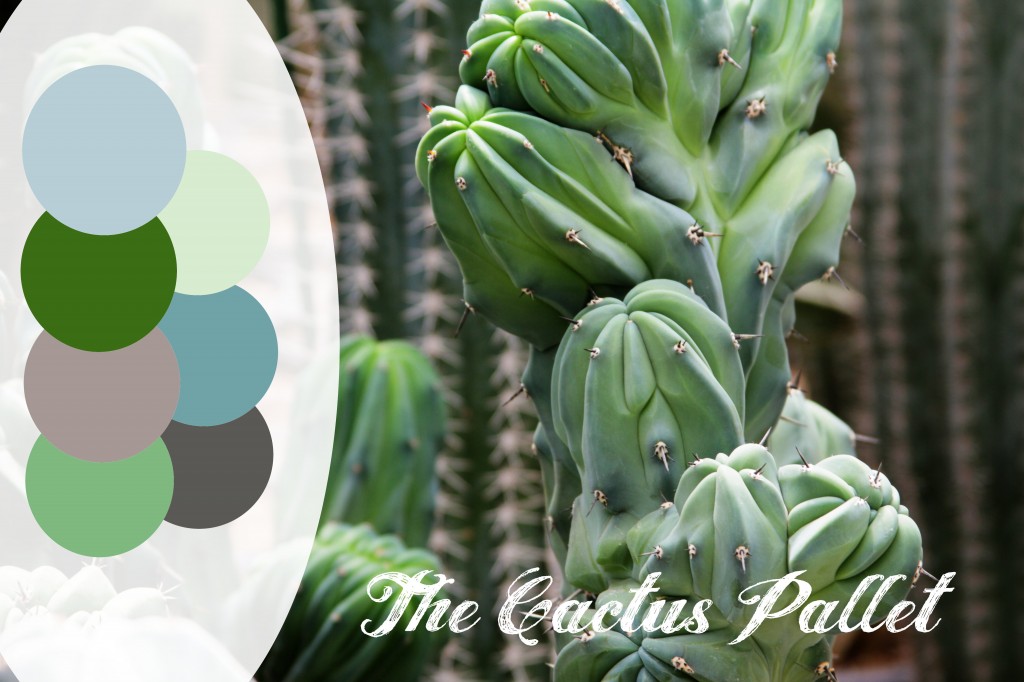
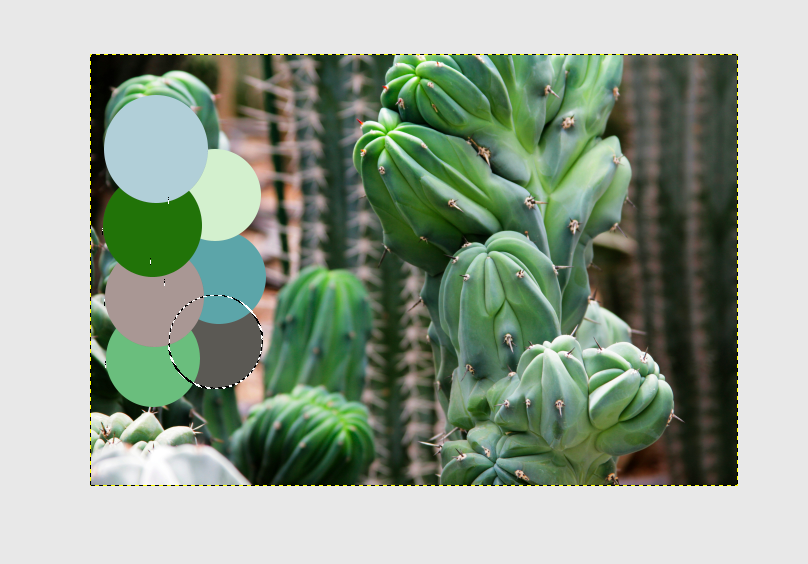
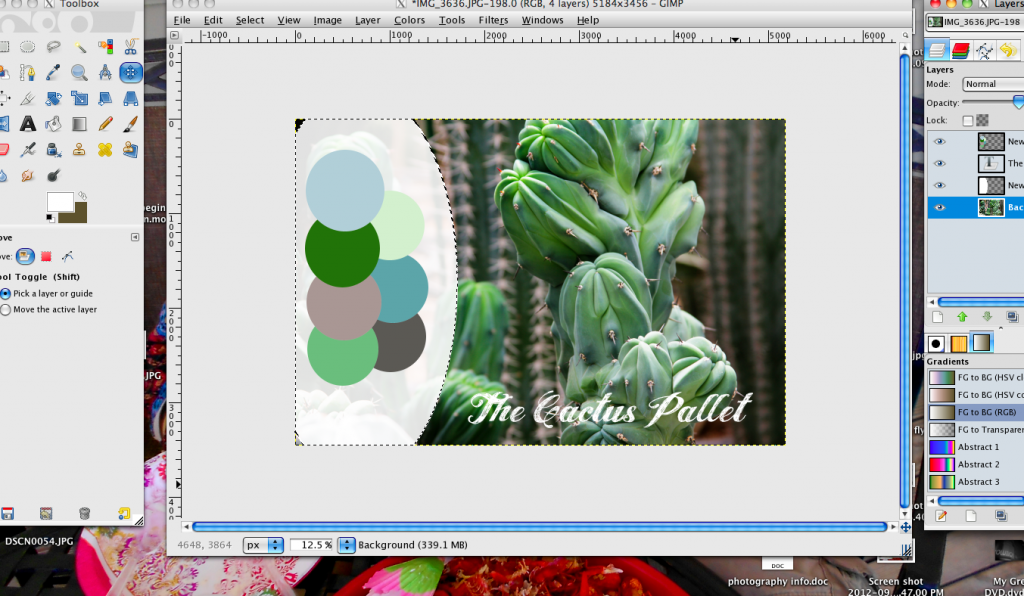
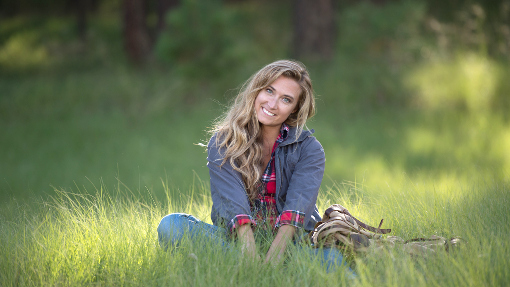
Then I started thinking about creating my own pallets from things that naturally appeal to me. Like my favorite photographs. Here’s what I came up with.
There are two bonus pallets over on the Facebook page. You should check those out too. And while you’re there…go ahead and like the page. *Insert corny smiley face here____*
After I had made my own pallets…I thought maybe you would like to make some of your own. So here’s the skinny on how I made it happen.
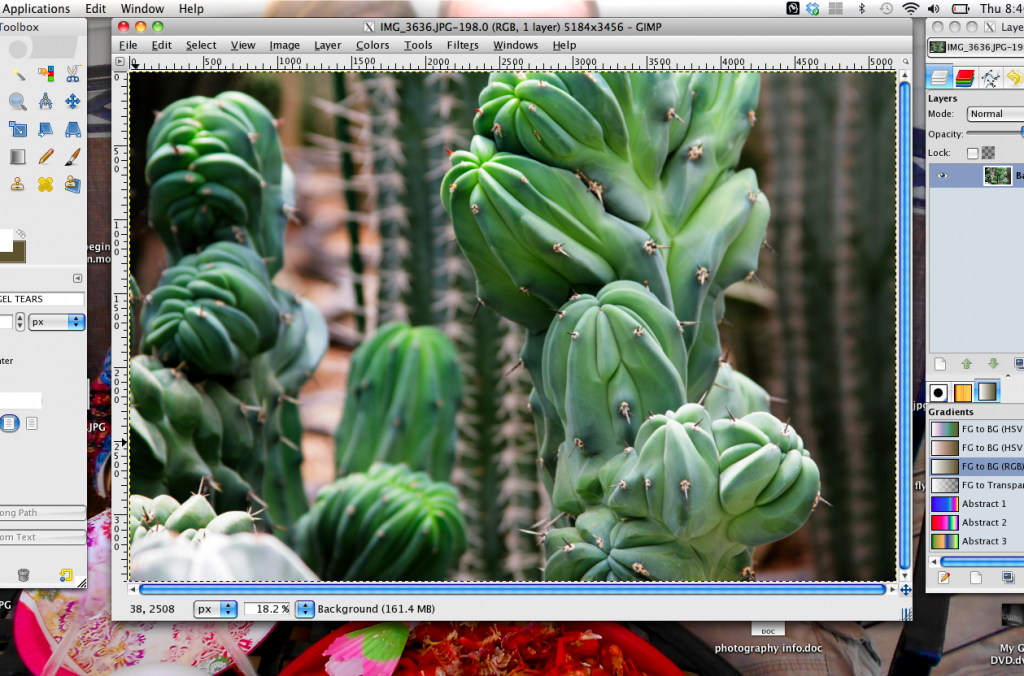
I use a program called GIMP to do my editing. It’s a free download. It’s safe, I promise. You’ll need to use a photo editing program to do this. Or you can open your photo in Paint. I think that might work. Here’s the general gist of the process.
1. Open the image.
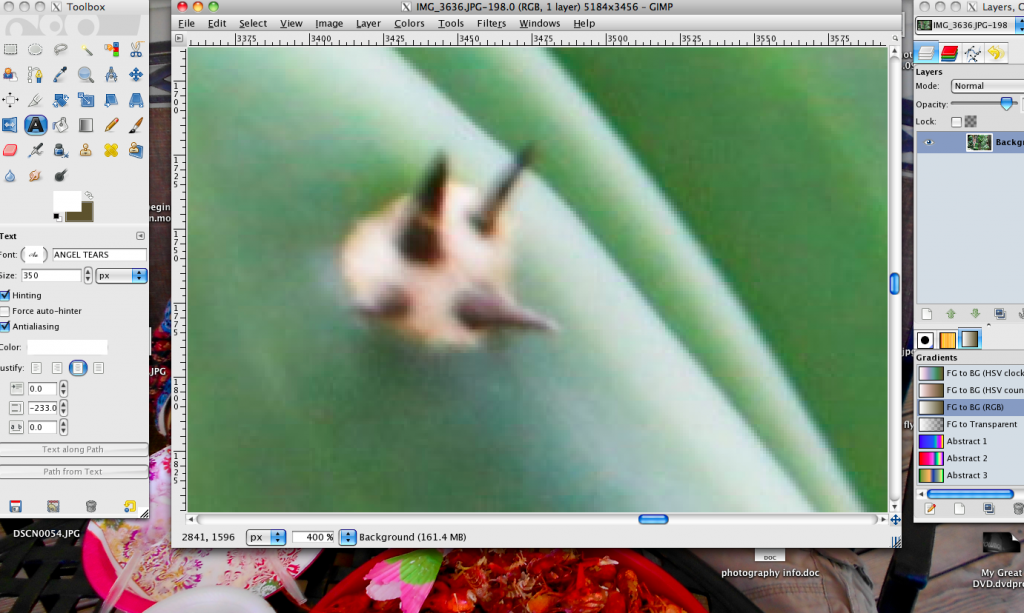
2. Zoom way in.
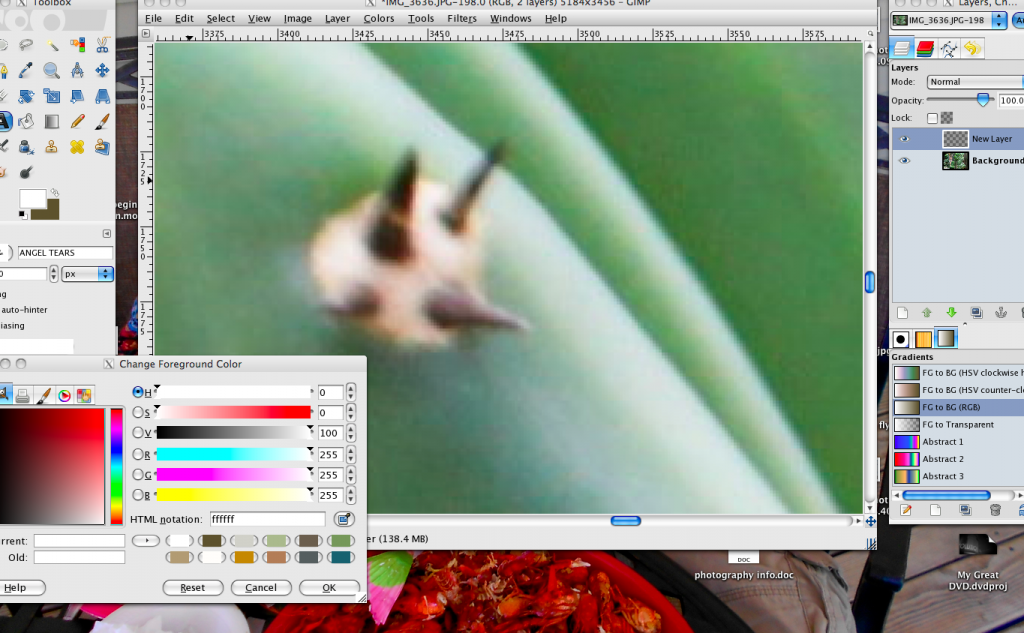
3. Open your color selector. Really, it’s wherever you change the color for your bucket tool. In GIMP there is an eye dropper on the right side, next to the color call number. Click your eye dropper, then scroll around your image for a color that you dig. Click it to select that color. This might take a little trial and error.
4. Now, this is where it gets a little techy. Create a “new layer” make it transparent. That way you aren’t drawing right on your original picture. Draw a circle {with your circle drawing tool}, then use your bucket to fill in the shape. Repeat the process until you have 5-7 colors.
5. Finally, draw a big oval around the whole thing {on a new transparent layer} and fill it in so it can serve as a backdrop to your pallet. Give it a fun name, save and pin it to your inspiration board.
I’m a big fan of creating inspiration…not just “pinning” others’ cool finds. So go for it. Be the inspiration!
See you tomorrow for our first Fitness Friday!
Amy


