Well friends, Derek worked late last night…which means I was up late working on finishing the cloffice. Today is January 29 and my goal was to have it finished by the end of the month. Looks like I met the goal with 2 days to spare. It’s really nice when that happens.
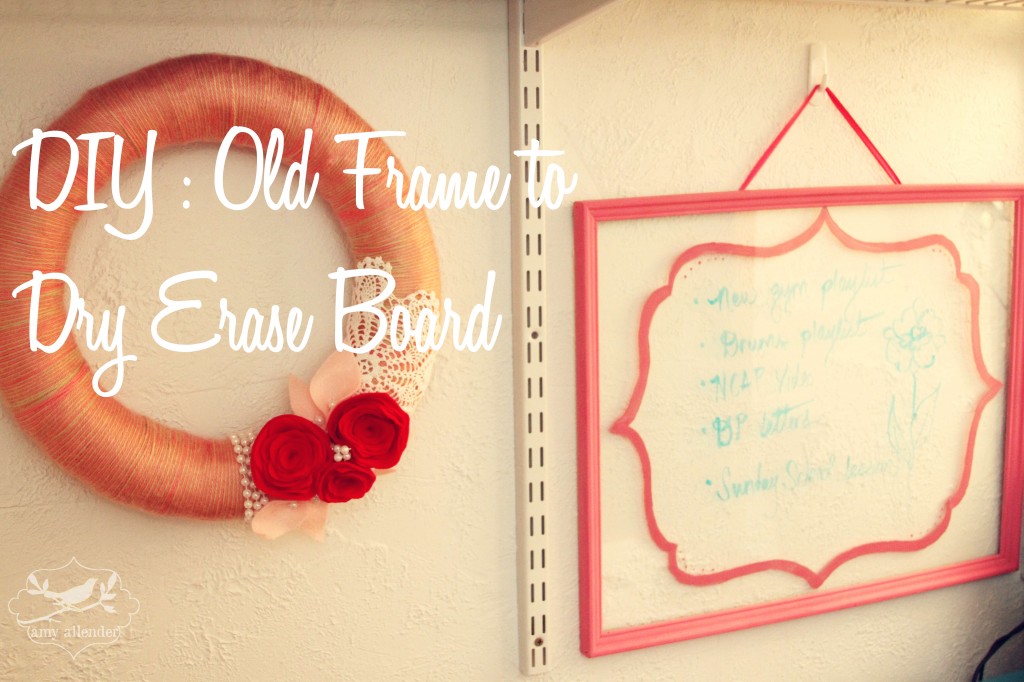
One of the final pieces of the cloffice I really wanted was a dry erase board. I’m a major list maker and I’m trying to cut back on the amount of small pieces of paper with mini lists on them floating around. Hopefully a board near the desk will allow me to make an ongoing to-do list without paper trail.
The only problem is, I think white boards are kind of ugly. Especially against a white wall. Then a friend mentioned that he was going to replace his office’s white board with a painted glass storm door. That got me thinking, “Could any glass be written on and erased from with dry-erase markers?”
Google told me yes.
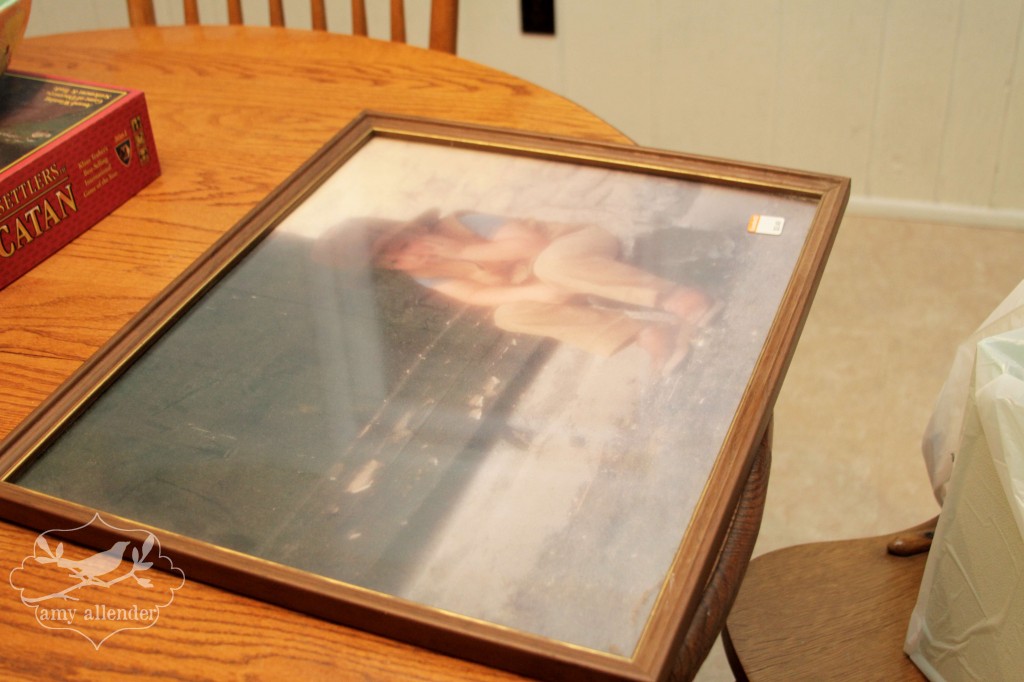
So I went to Goodwill last night and picked up an old frame. It even came with a complimentary picture of a sad little boy in period clothing. Case in point it was $3. Just be sure you get one with real glass in the frame. I’m not sure the markers would erase as well off of plastic.
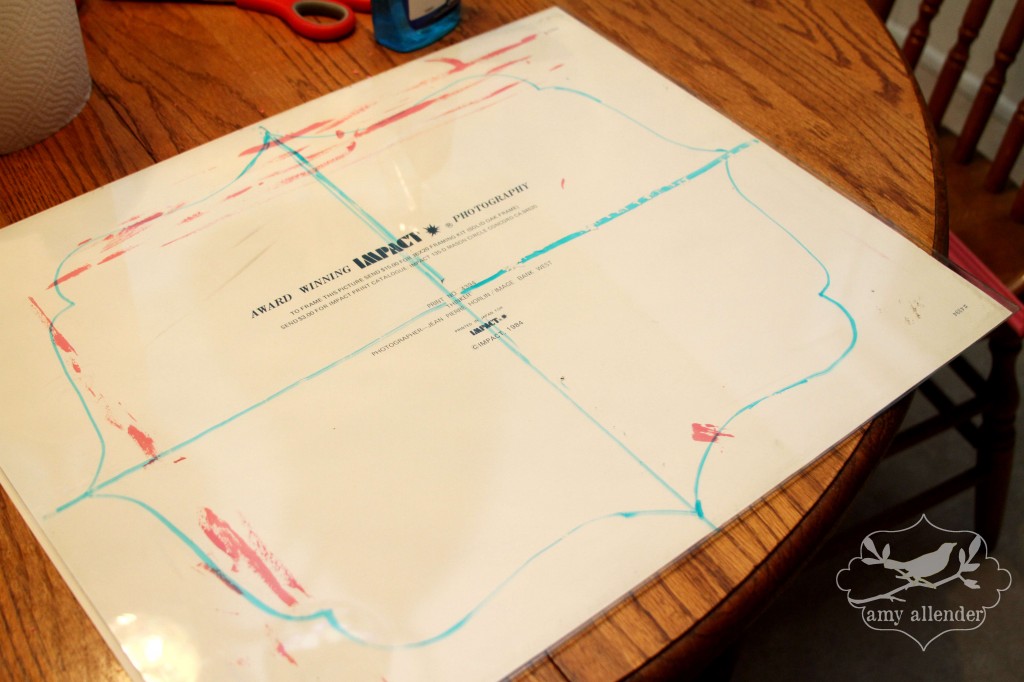
Once I brought it home I painted the frame. While that was drying I cleaned the glass and started making a stencil. I free-handed a curve similar to the shape Martha uses on her labels. Also, to keep things tidy, I used the frame’s poster to prevent paint and markers from getting on my table. I only drew one quadrant of it to keep things symmetrical. I used the poster that came with the frame to find the center of the glass and a dry erase marker to split it into four equal sections.
Once the quarters were drawn on I traced my curve four times…once in each section. Then I flipped the whole thing over.
Next I used the curvy line as a guide and acrylic paint to trace over it. Let that dry.
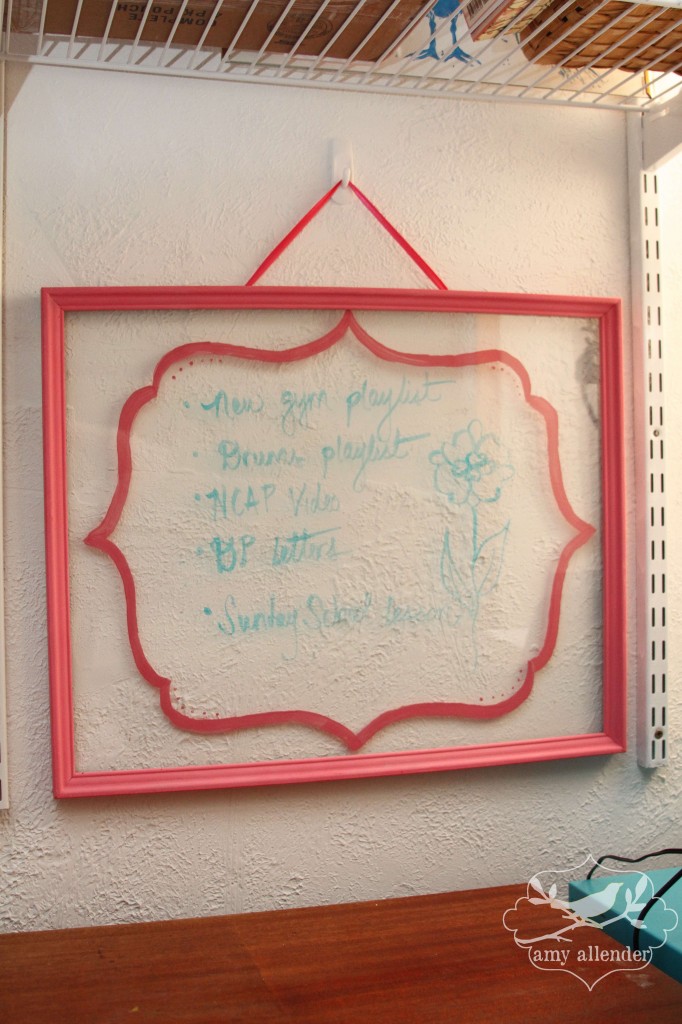
Then put your frame back together {minus the dated poster}. I used a staple gun to attach a ribbon to hang it by, but if your frame comes with a hanger on the back you could use that too.
It’s cute and it writes on and wipes off easily.
If you aren’t known for your artistic handiwork here are some alternatives to making your own curvy frame.
1. Trace a platter to make a circular frame on your board.
2. Print out a giant brace…that’s what these are called {{ }}…and use that as your template.
3. Paint all of one side of your glass a solid color.
4. Use painter’s tape to create a guide for a square frame.
Get ready because tomorrow I’ll show off the finished cloffice!


