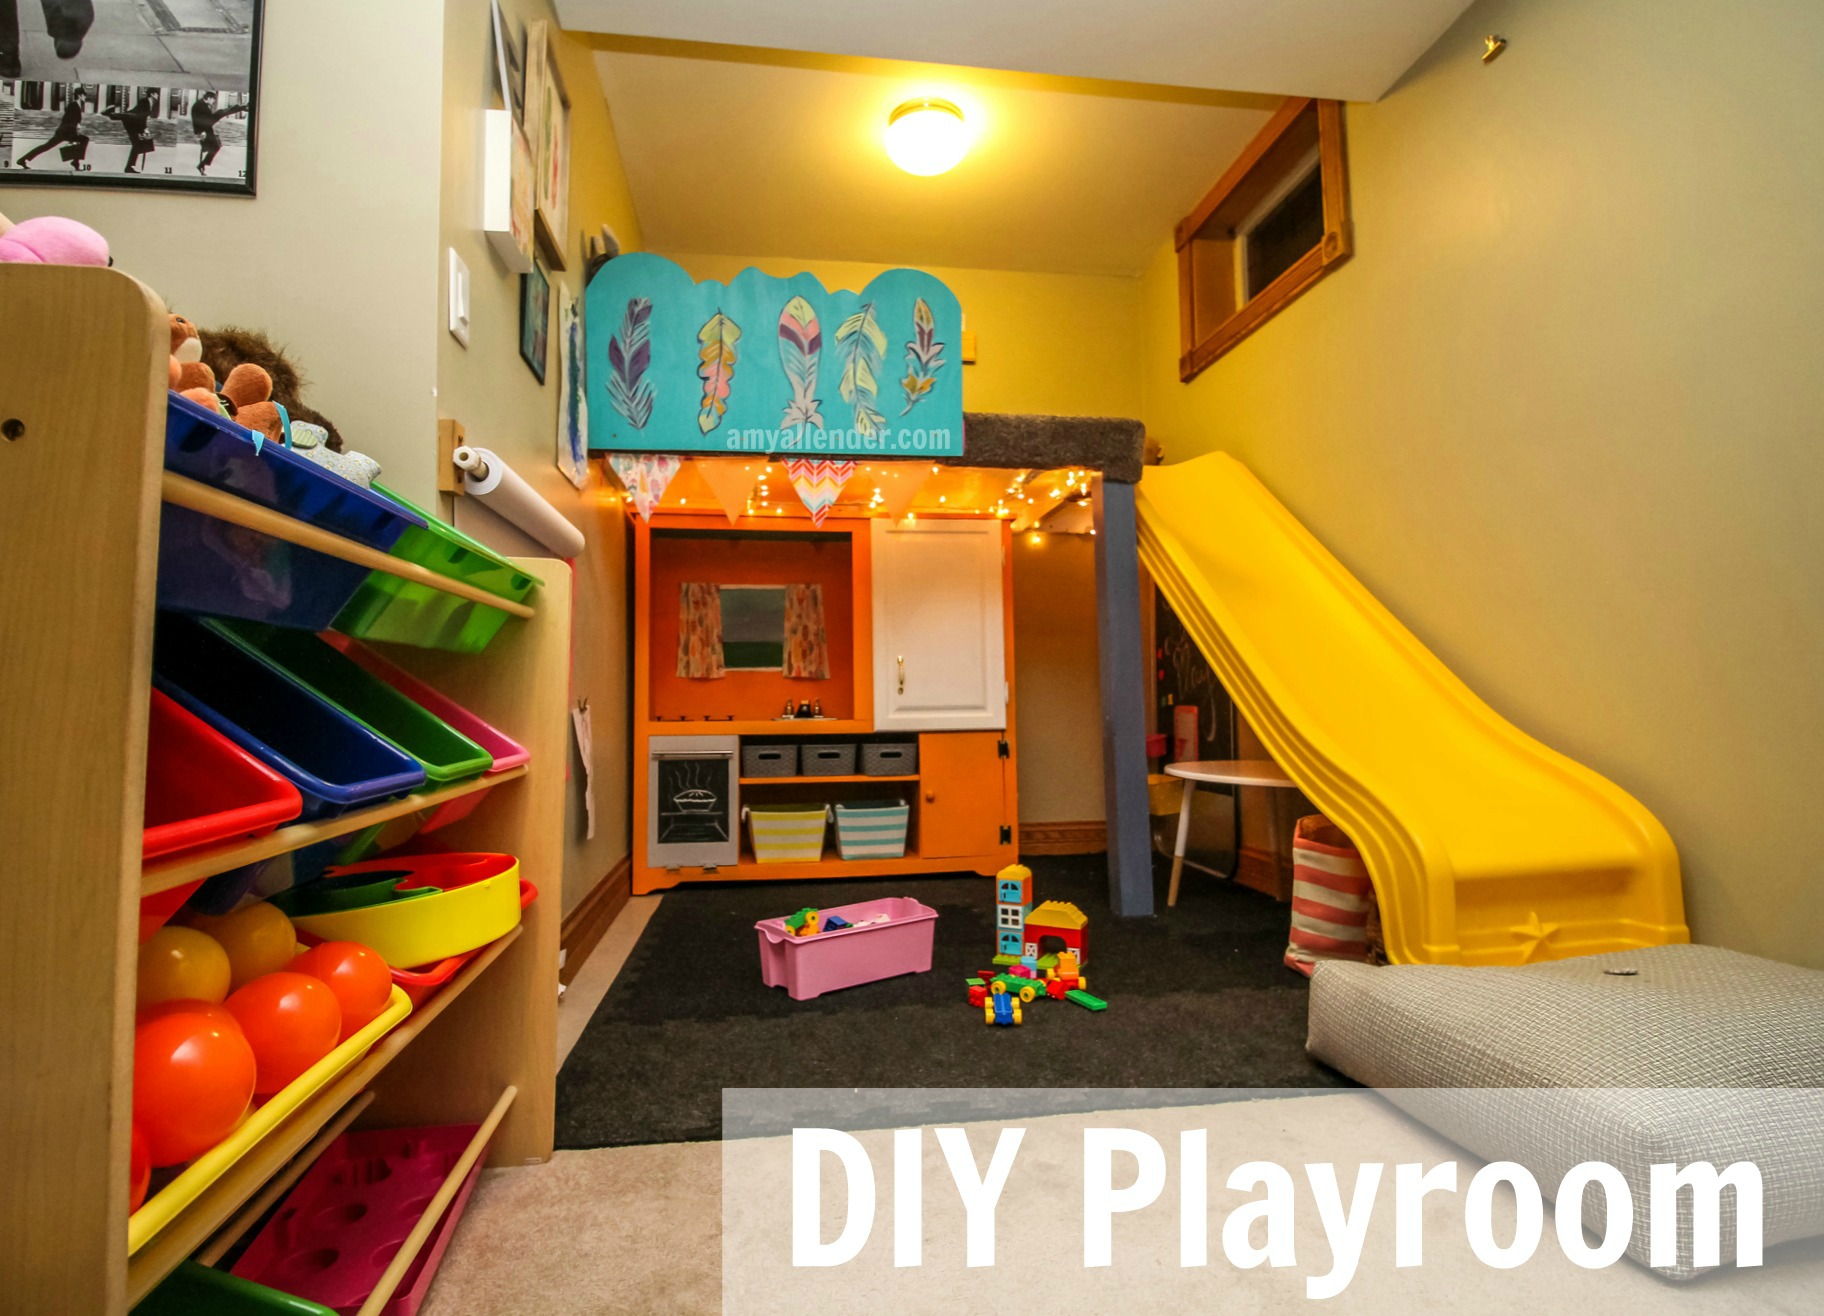
DIY Playroom
“Ellie and I were just playing downstairs. I heard something run down the steps and I figured it was one of the dogs. Then a small person flung themselves on to my back. ‘Up. UP. UP,’ she said. Haven. She was talking about the loft. There isn’t a ladder, and she wanted up in that loft so bad. She was barefoot and her hair was wet.
” ‘Do your parents know you’re here?’ I asked her.
” ‘Yep.’ I put her in the loft. A minute later Caleb, her dad, came down. She had sneaked out of their house after bath time. They had no idea…but the first place they looked was the play room. When he called her she just hid up there in the loft.”
My sister Erin called to tell me that story shortly after I’d the playroom for her daughter Ellie. Haven is their neighbor. She’s four. I’d like to tell you that was the only time she snuck {yes–snuck–I know it’s not a word…but it should be} over, but it wasn’t. After laying eyes on this sweet space she had playroom fever. Over the next week or so I was getting reports of a sneaky kiddo sliding silently through the back door–unseen, pounding on the locked door begging to come in, and being taken home very upset when she’d get caught. Eventually the newness wore off, but Erin still assures me that whenever Haven comes over to play she wants to be downstairs–in the loft.
I take that as a win. It means they space will keep Ellie occupied for years to come. And that’s a good thing. The photo above shows just how cute it ended up…but let’s take a look at the side-by-side.
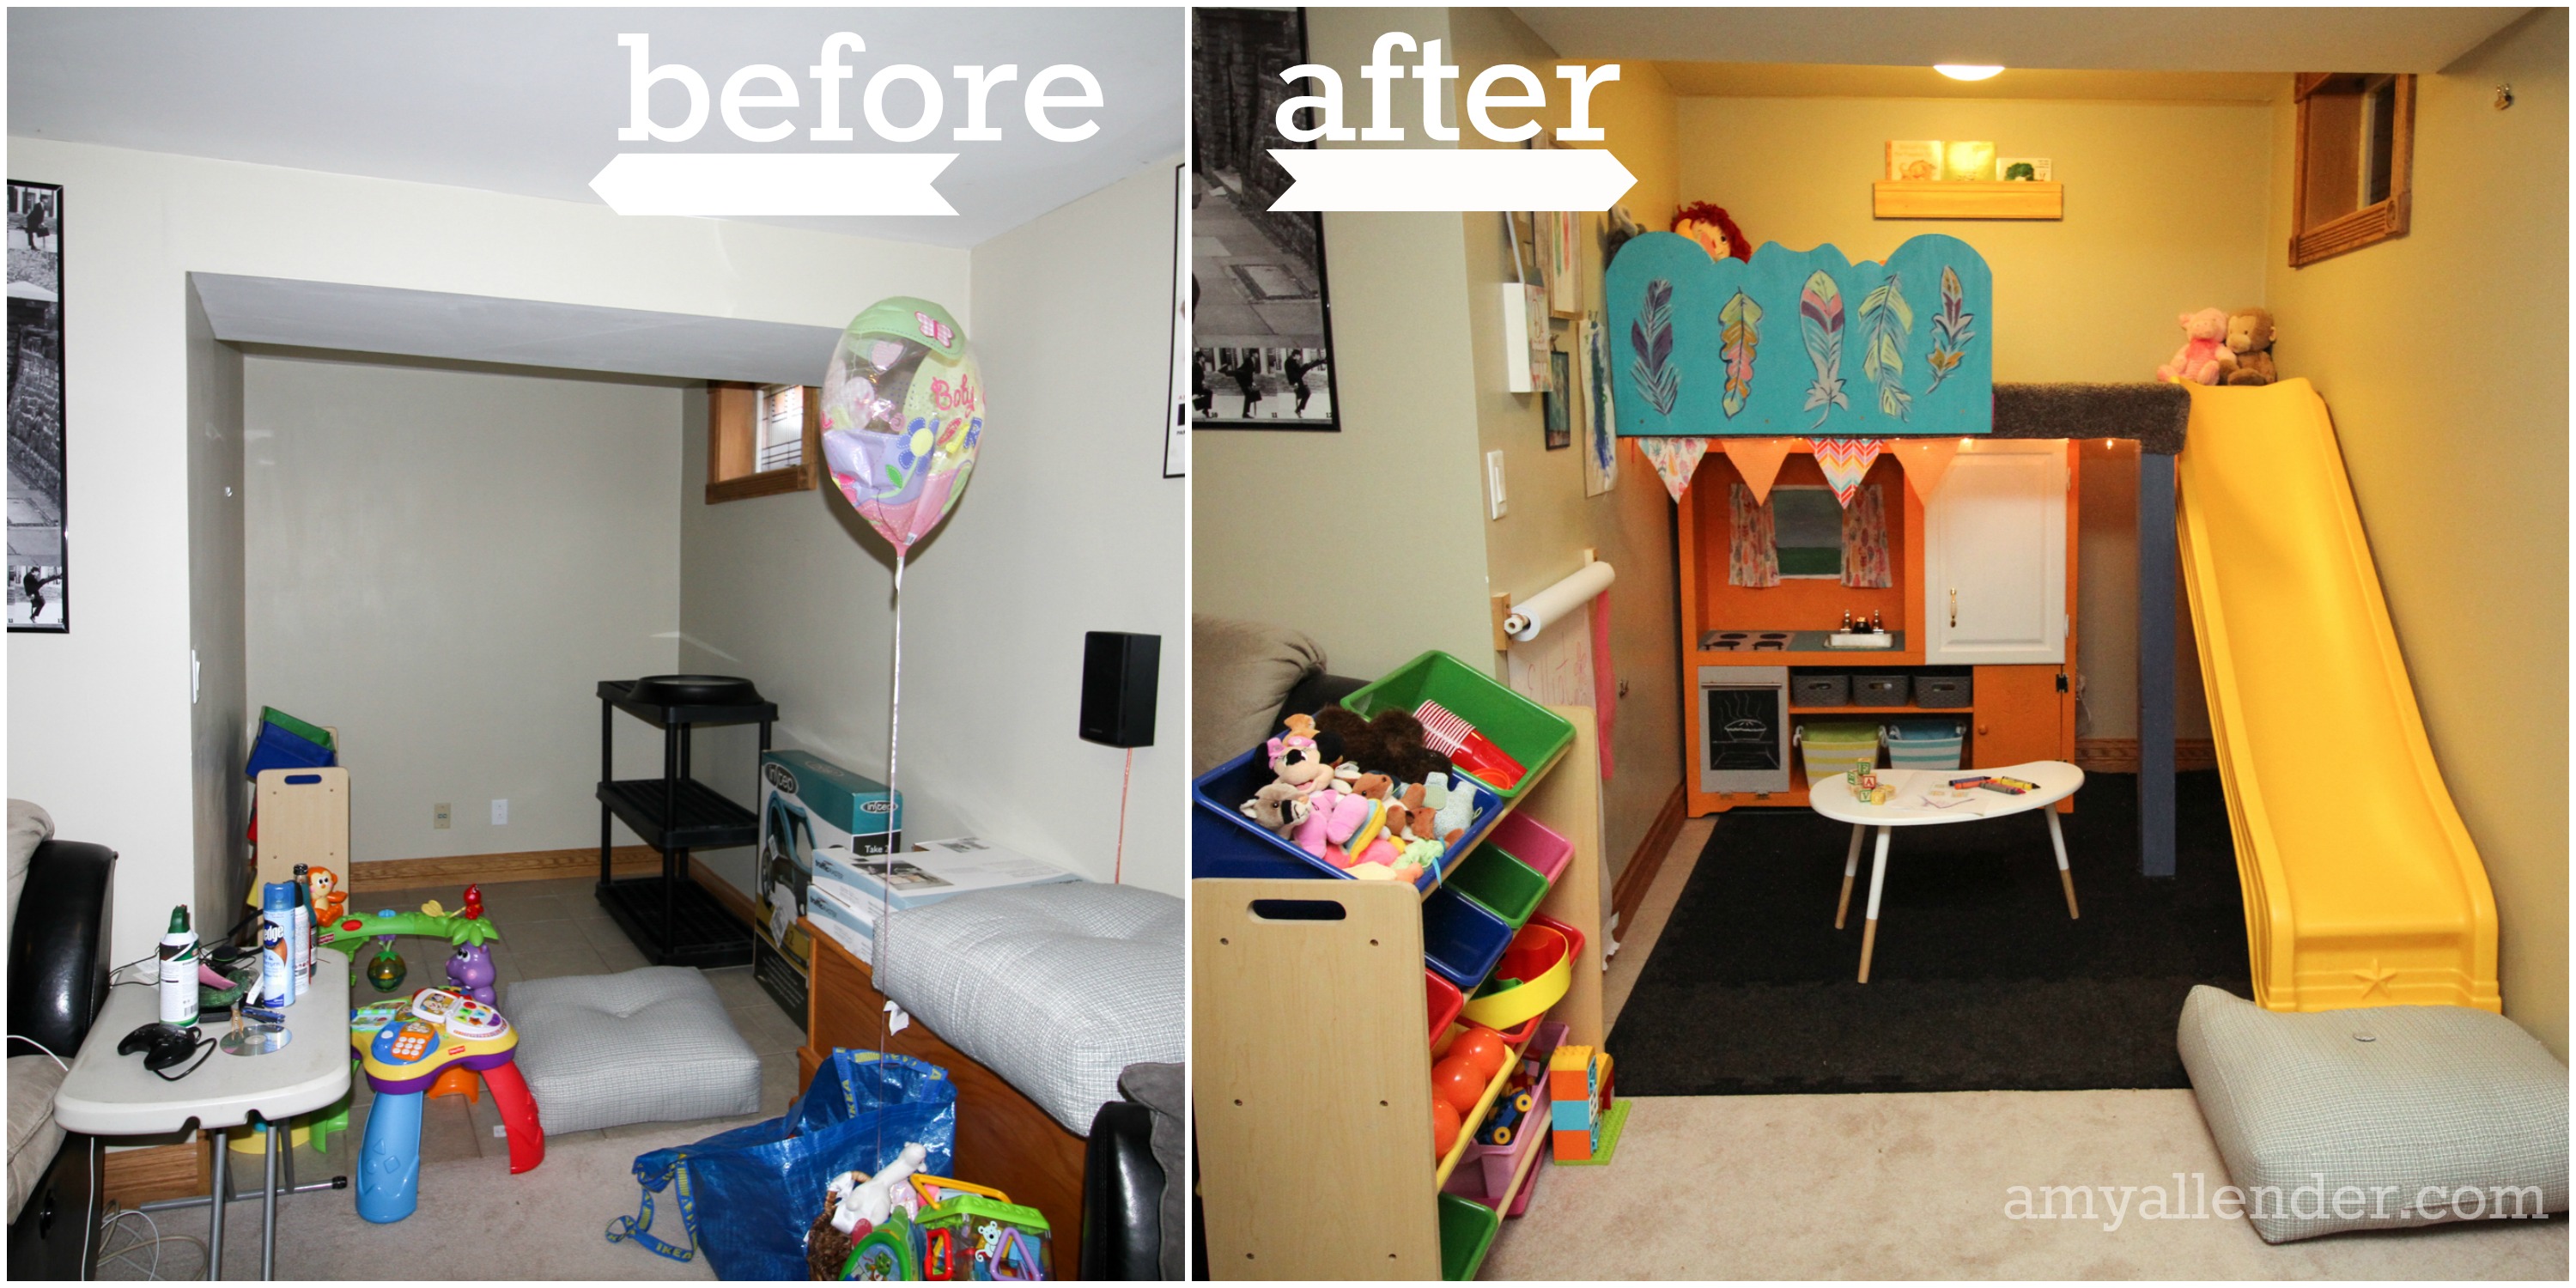
This super fun playroom packs a reading nook, soft space, playground, play kitchen, sensory board, two art spaces, floor play area and toy storage into a 6’x7′ space. The extra toy shelf and landing cushion take the playroom out just a bit past the tiled nook for a grand total of 9’x7′. That’s still pretty darn good. This project illustrates that good planning and creative solutions can turn an awkward, unusable area into something really useful. Even if your house didn’t come with an awkward nook, lots of these ideas can be implemented into a corner or even an awkward closet.
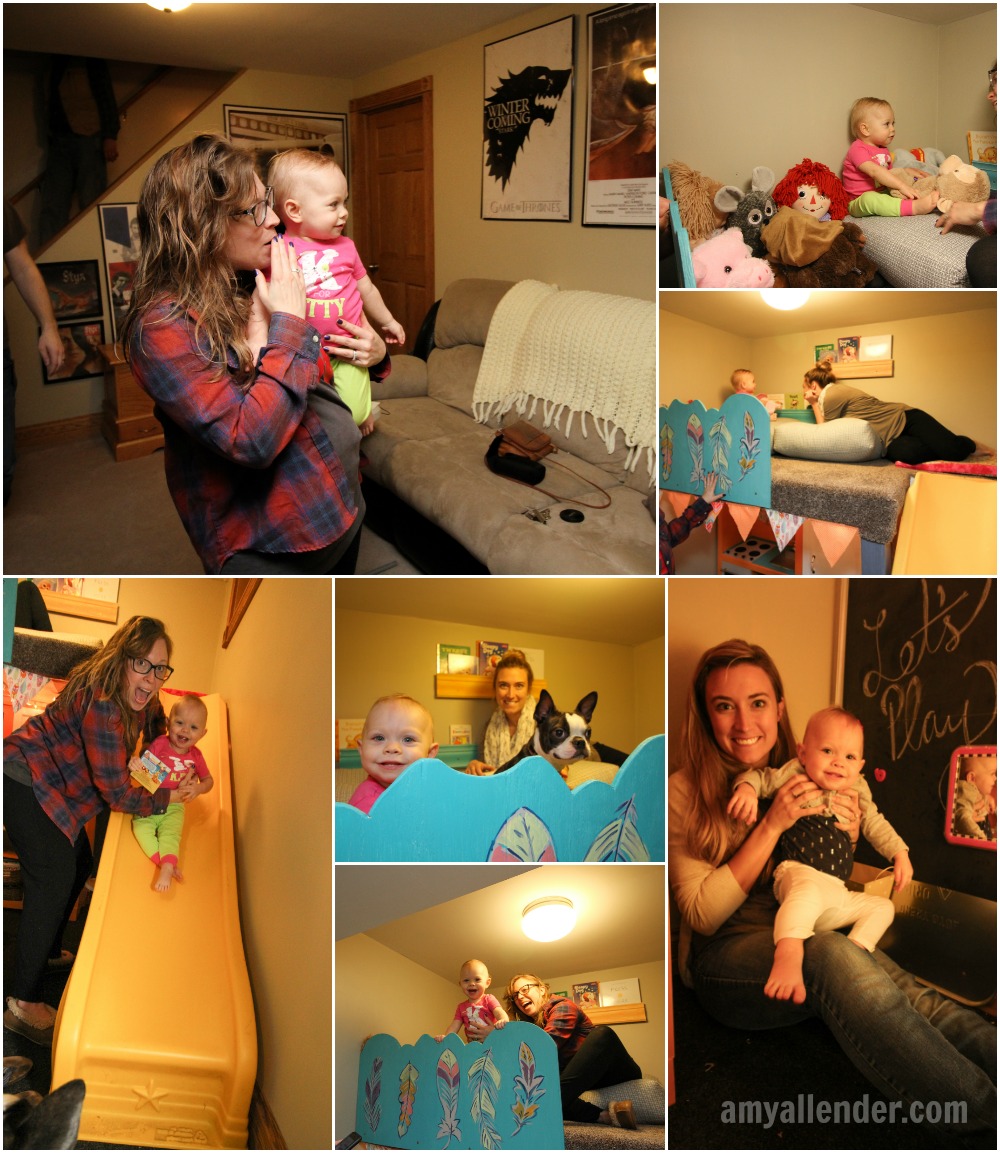
To refresh you all–I designed and implemented this make over as a birthday gift for Erin and Ellie. Because I’m a firm believer that big reveals are about 90% of the fun when doing a project in someone else’s home–Dad and I worked on the playroom while Erin and her husband, Adam were working. They were quarantined to the upper levels of the home until reveal night. {Except for when Adam had to help Dad unstick the play kitchen from the stairway…}
The big reveal happened close to bed time, after I’d installed the last bit of bunting and put in the play table. Ellie liked it–but let’s be honest…at 1 she really lacks the life experience to understand that most houses don’t have slides in the basement. Erin, on the other hand loved it. At least it seemed like she did. I honestly think it was all more than she expected. Even silly Penny, the Boston Terrier liked it. Except for when Adam sent her down the slide.
Since finishing this space I’ve been thrilled to hear how much use it’s getting. Erin says Elliot and Haven read books up in the loft and have a blast sending all of Ellie’s “babies” and balls down the slide. I’ve talked to Erin late at night when Ellie has been unable to sleep because of a fever, or cutting a new tooth and they’ll be in the playroom “cooking” or coloring. A pretty space isn’t worth much if it’s not serving a purpose.
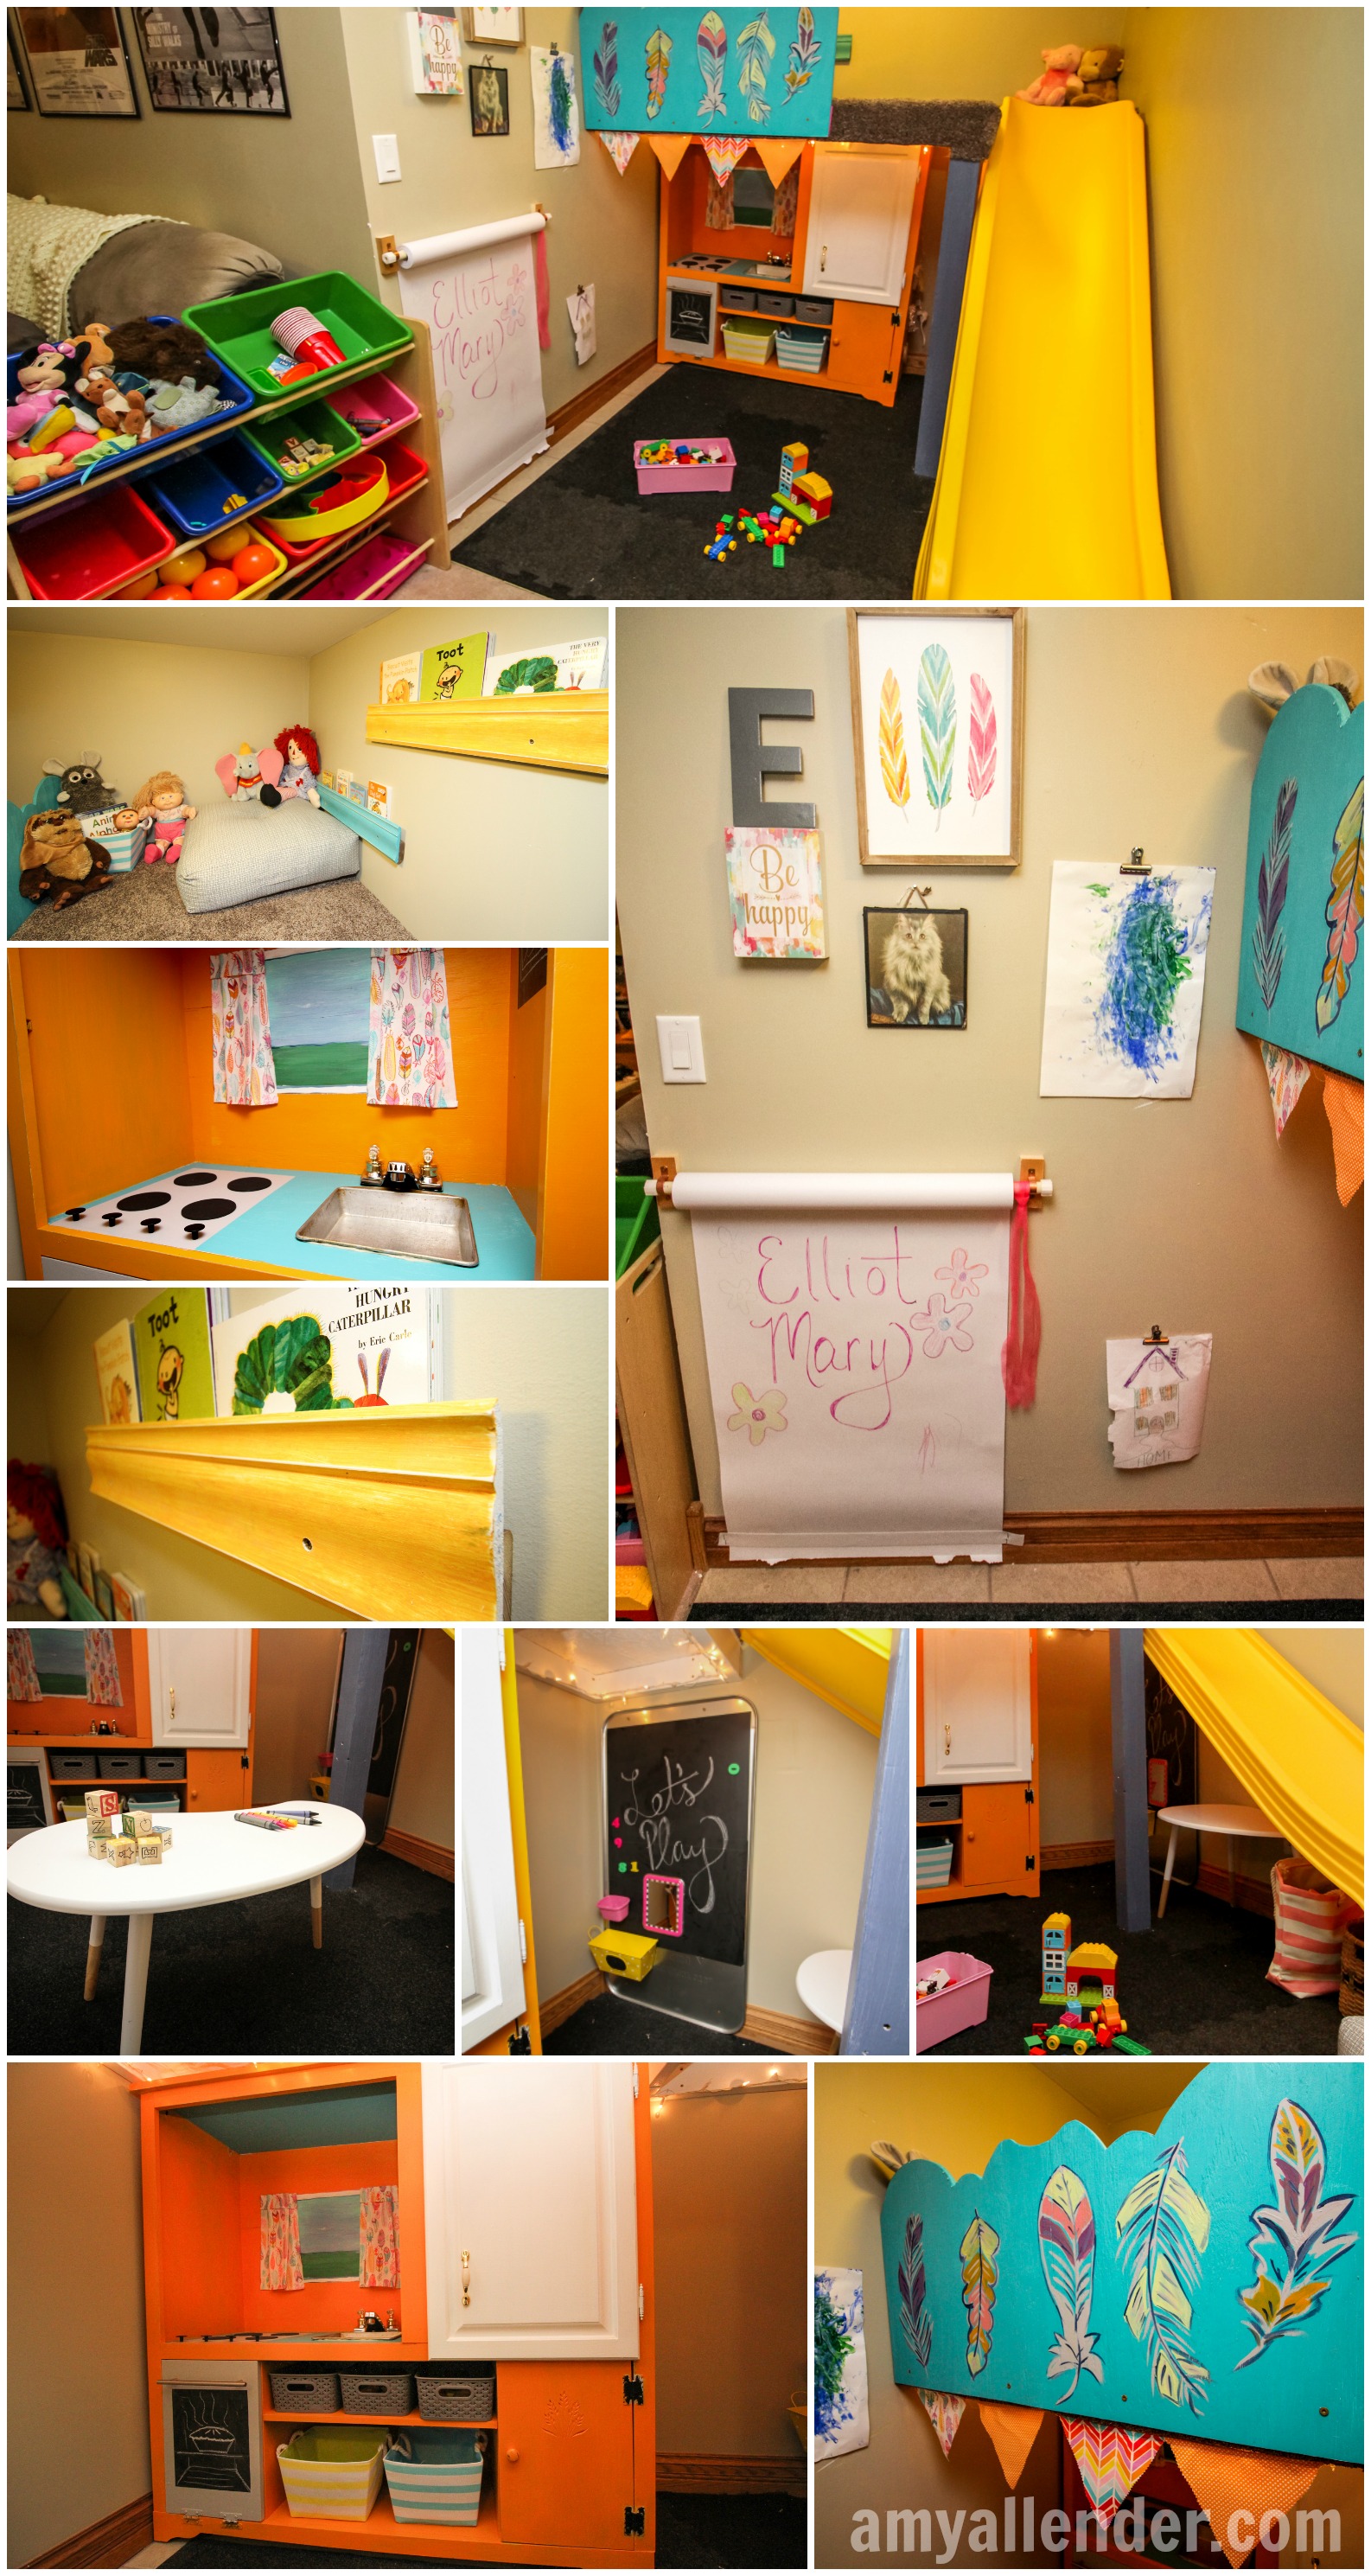
Here’s a look at key spaces, ideas and tips involved in making your own DIY playroom.
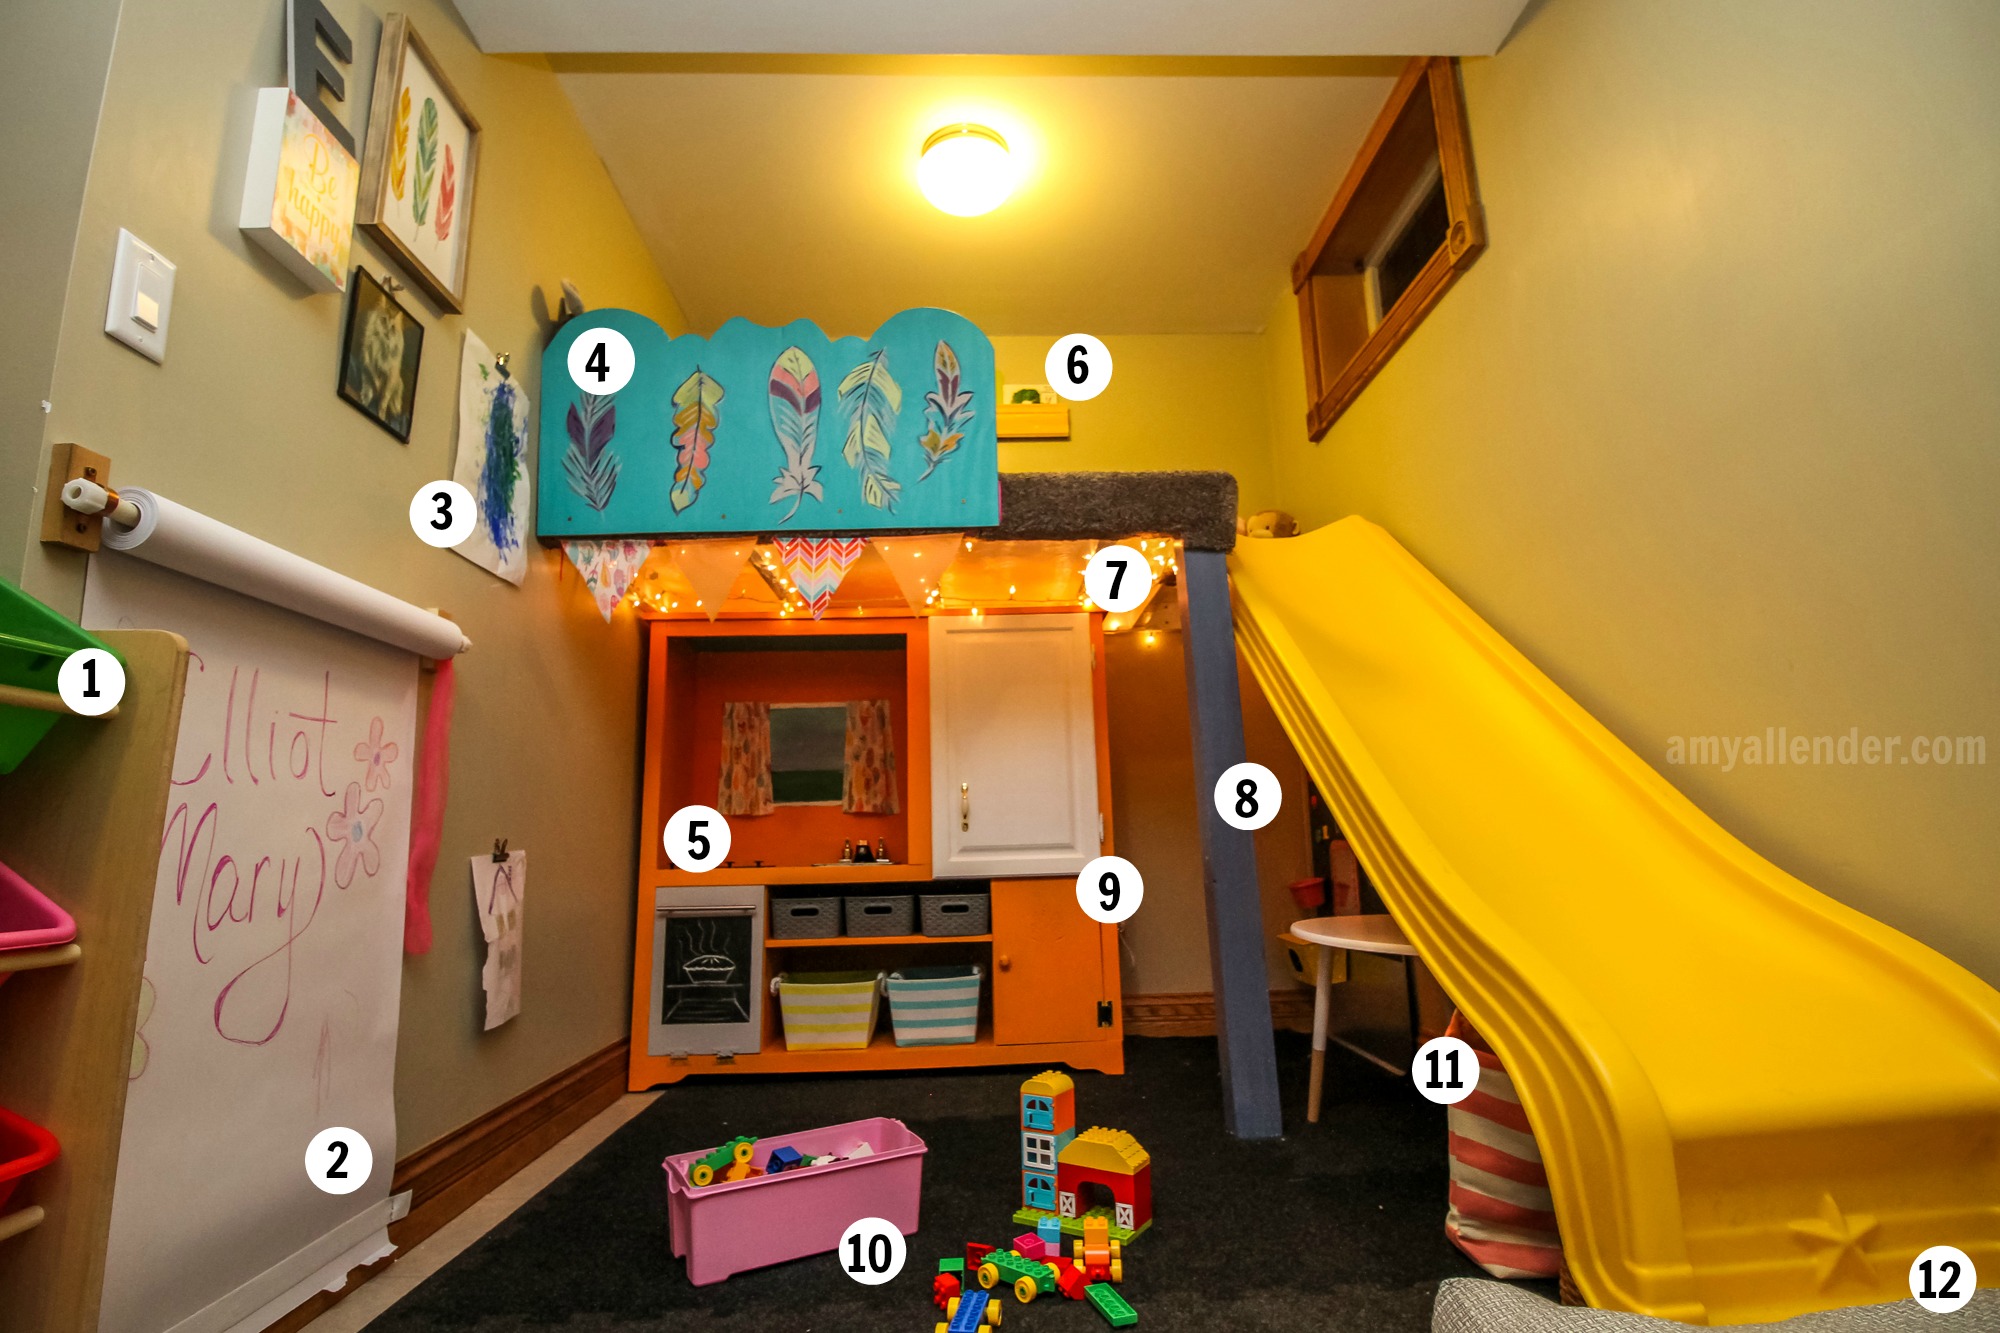
- Erin bought this standard toy shelf from a friend. It fits perfectly next to the arm of the couch {the rest of the basement is a TV/living room} and adds an easy-to-organize space for all of Ellie’s loose pieces and toys.
2. A roll of paper mounted to the wall and secured with pipe straps gives Elliot a place to draw with crayons and pencils. A piece of wide elastic holds the paper in place and prevents it from curling.
3. Office clips hung on the wall {and space for a few more in the future} provide space to display Ellie’s latest artwork
4. A piece of plywood painted with feathers to match the fabric accents acts as a guard rail in the loft. Since Elliot is so young, no ladder was installed–to prevent her from sneaking up unsupervised. As she grows, the barrier will be unscrewed and shifted to the right {next to the slide.} Wall mounted ladder rungs will be installed on the wall as a ladder into the loft without taking up valuable floor space.
5. In addition to being super fun, the play kitchen {upcycled from an old entertainment center} offers lots of toy storage…well hidden in pretty bins.
6. The loft houses large floor cushions from Costco, stuffed animals and books. Scrap molding was used to make a cheap effective book rack. It’s a perfect place for reading, napping, and watching Curious George from across the room. Oh yeah, and it’s great place to throw toys down the slide and launch yourself onto the slide.
7. White lights stapled to the loft frame brighten up the dim space underneath.
8. An oil drip pan covered in chalkboard contact paper {next time I’d use chalkboard paint} is mounted under the slide for a second drawing space and place to play with magnetic letters and numbers
9. An easily changeable and updateable sensory board in mounted on the side of the play kitchen. {See my inspiration here}
10. Rubber backed floor tiles fit together like puzzle pieces and soften up the floor–making it more comfortable to sit on and safer to fall on. It’s easy to vacuum and easy to replace a tile if needed, making it a great place to play Legos.
11. Dead space under the slide houses even more toy storage bins and a play table. It’s easy to slide out and use for finger painting or snack time, but stores neatly under the slide and out of the way to free up space for playing on the floor. {See table in details collage above.}
12. To soften up fast landings, a floor cushion sits under then end of the slide.
Jealous yet? I know I am. And I don’t blame Haven one bit for sneaking over all the time. Wouldn’t you?
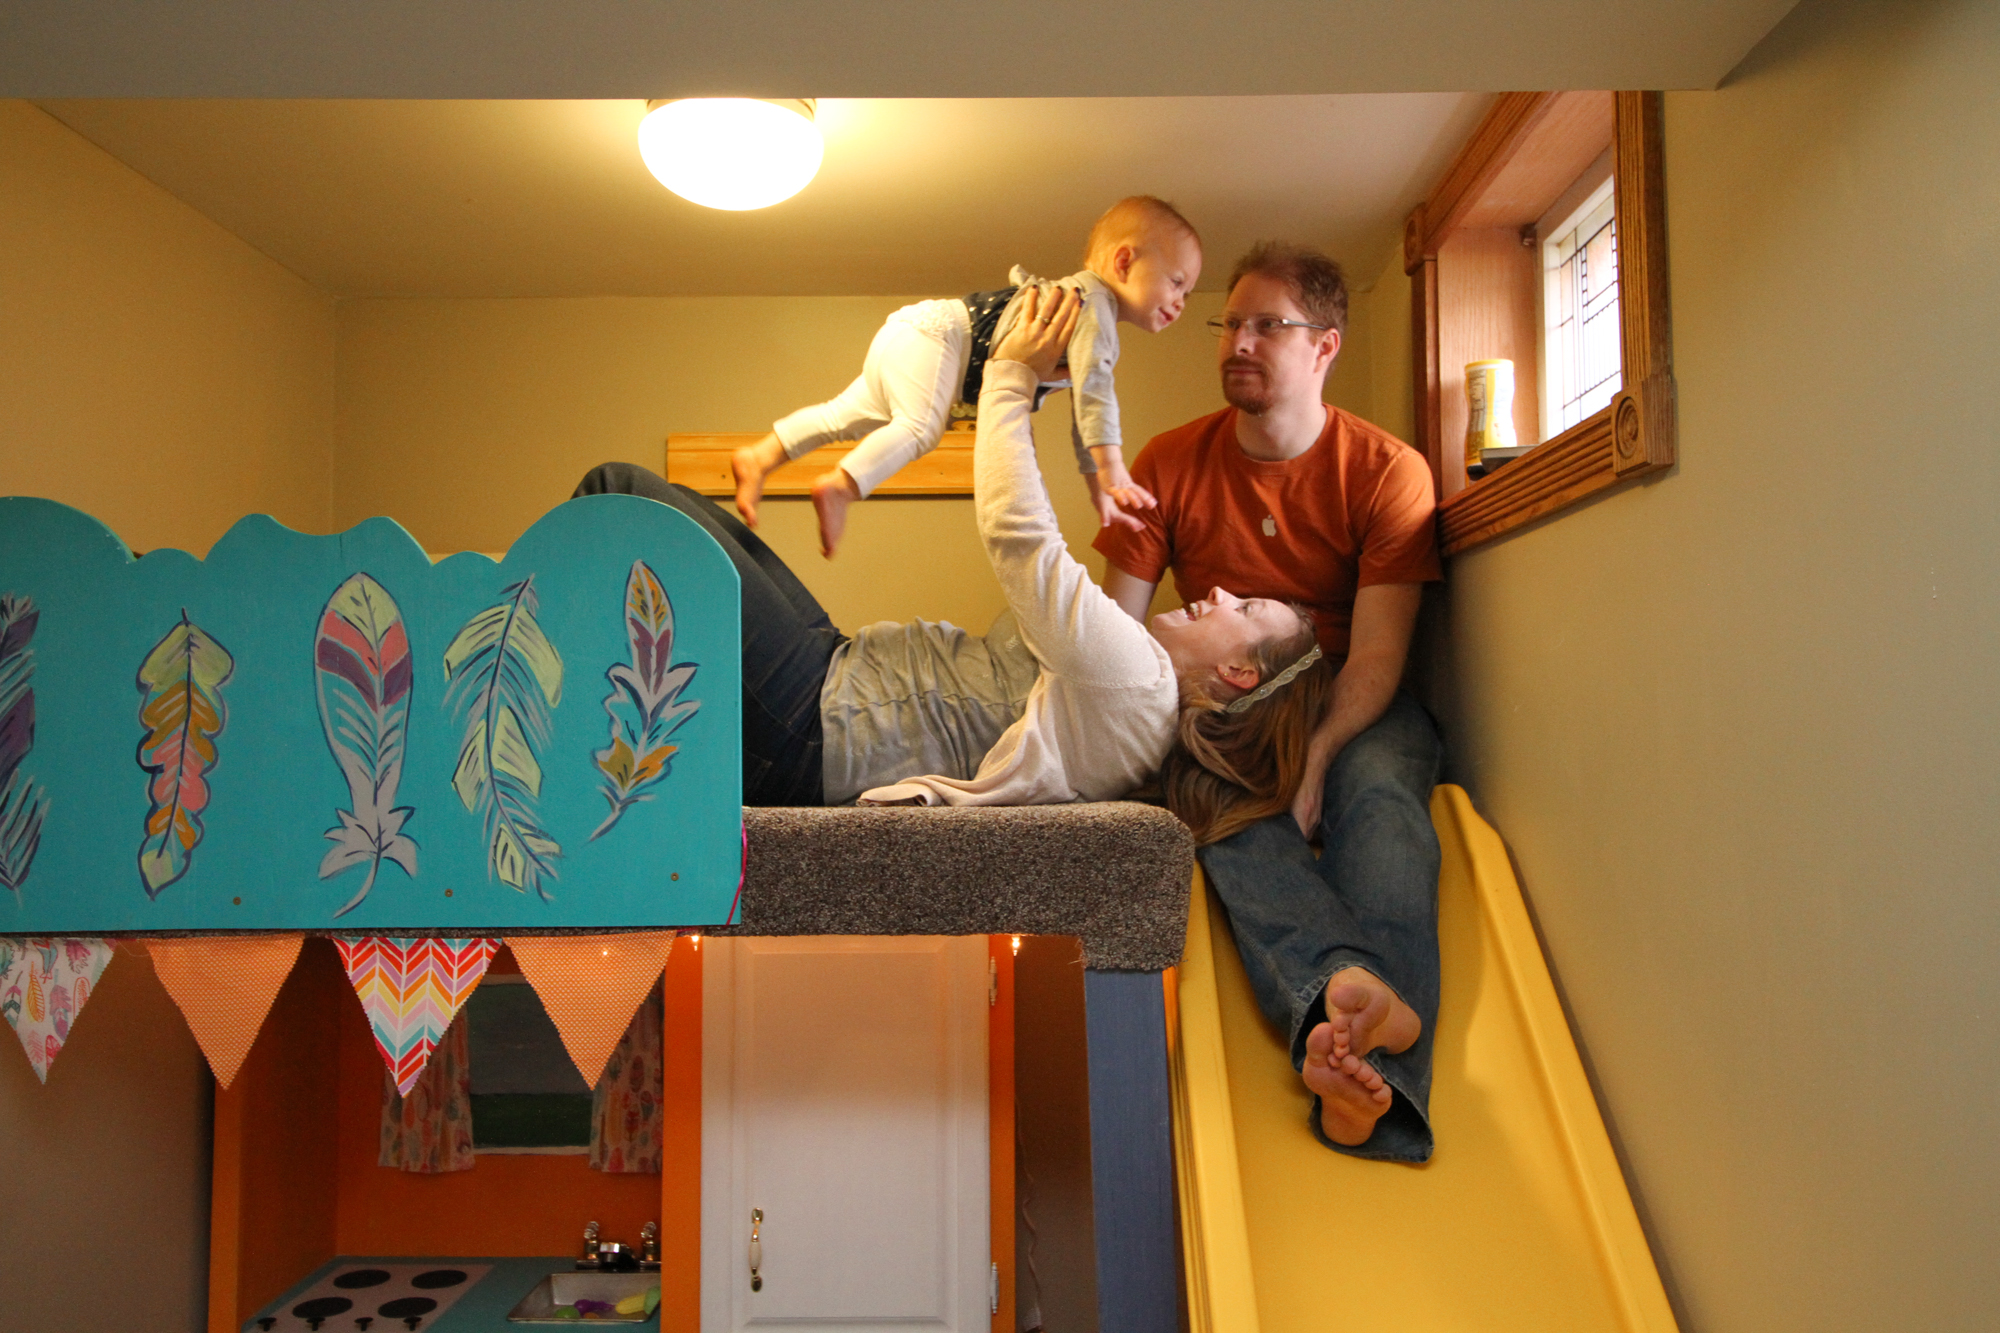
Before I go…I owe some big thank yous: to my dad–Warren “the machine” Allender for all of his construction help; to my mom–for doing all of the sewing and for taking over babysitting duty while Dad and I worked; to Erin and Adam for trusting me with their house, and for giving birth to the cutest baby on record {in my biased opinion}; and to Ellie for melting my heart and giving me an excuse to design the funnest space I’ve ever taken on.
xo
Amy
PS–in case you missed a post this week, here’s the introduction to this project, the post about building the loft, and how to make a play kitchen and art spaces.

