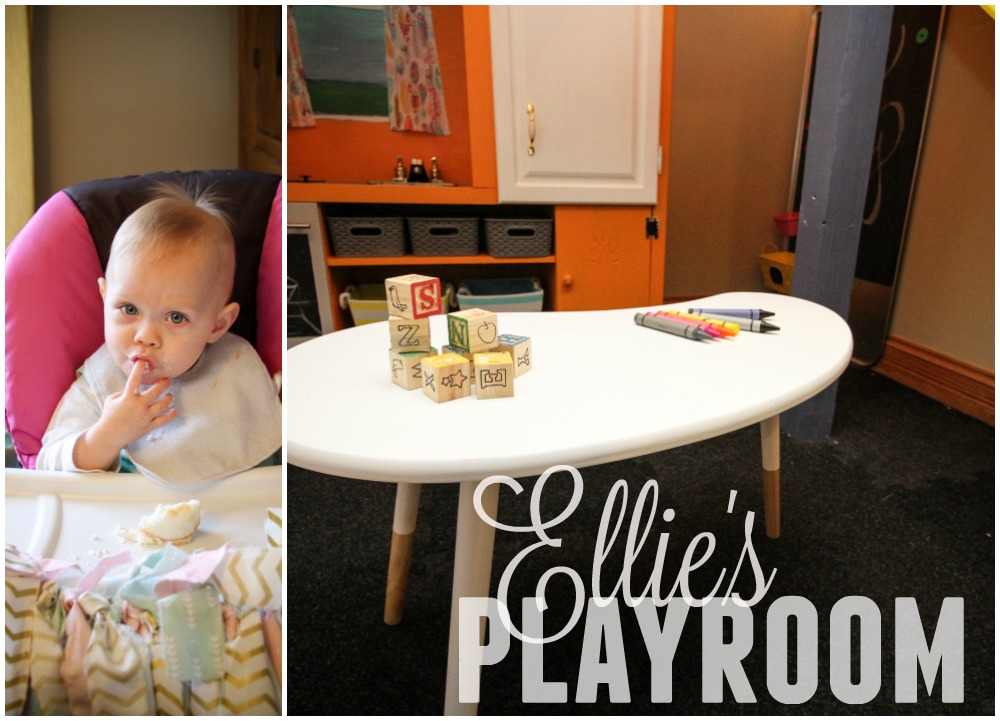
If you missed it, here is a link to yesterday’s introductory post to the DIY playroom project I took on for my sister and her sweet daughter Elliot. Today I’m showing off the DIY Playroom Loft we added to the space.
When I start any project–whether it’s home improvement, a design project or even a classroom lesson–I like to think about objectives. Even if it isn’t plausible to hit them all, I like to come up with a dream list of things a certain project would accomplish and achieve. For the playroom it was no different. Since this was a combined birthday gift for Erin and Elliot {birthdays only one day apart} I really wanted to know what they wanted…and since Elliot hasn’t quite grasped the ability to verbalize, the responsibility fell on Erin.
Oh yeah, and this space is in her house…so it’d be nice if it was something she liked and found useful. Here’s the list we came up with.
- It needs to grow with her–baby appropriate, but with the ability to transition to toddler and child
- Something softer on the floor than the tile
- A soft space for reading and storing stuffed animals
- Book storage
- Toy storage
- An art space
- Enough floor space to play, build with blocks, etc
- Organized and organize-able
- It all needs to fit into the basement nook
I added a few other items to the list. I really wanted to create an active space that could let her tire out, a space that she would enjoy being in…and since she loved playing at her neighbors play kitchen, I really wanted to add a kitchen too. Before we get any farther, let’s take another peek at the before space.
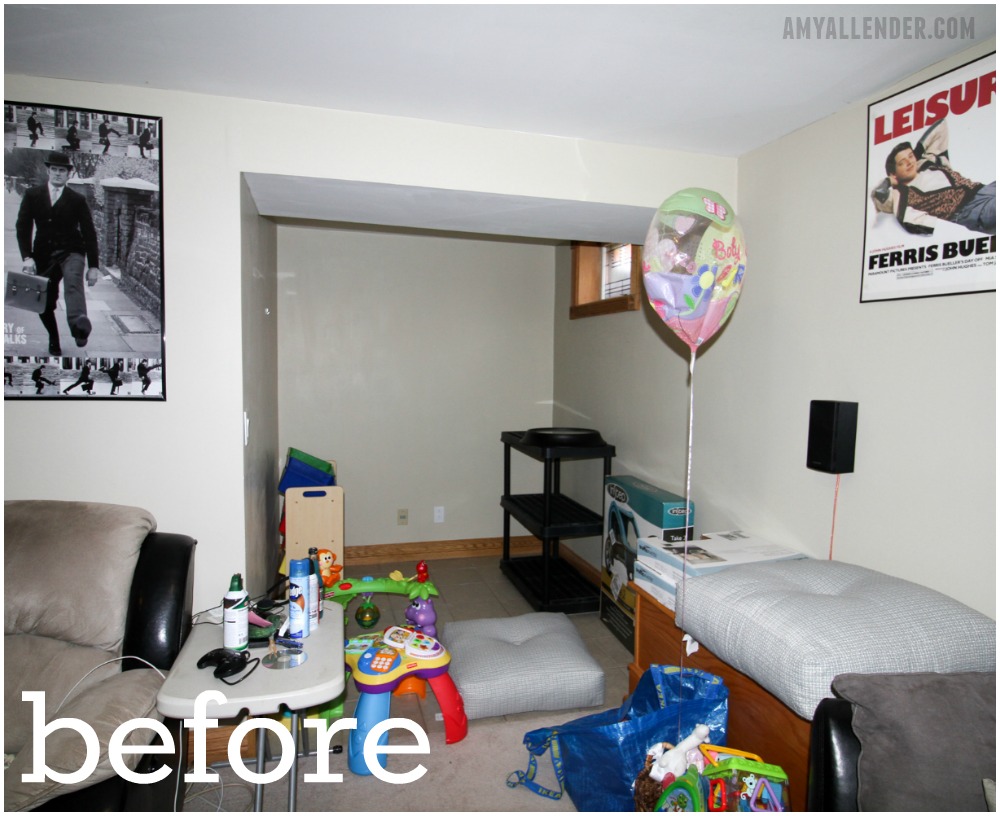
That’s a lot of things in just a 6’x7′ area. It was just a dream list, but I’d do anything for Ellie–especially since I live so far away–so I really wanted to make it happen. There wasn’t a good way to get all of the play zones into such a small space and have floor space left for playing. There wasn’t a lot of space to expand outward into the basement living room. So instead of cutting things from the list or taking up more valuable floor space–I decided to build up.
A loft. A loft would add more floor surface without taking up any additional floor space. The loft could serve as soft space, a reading nook and an active space–we’d attach a slide. The space underneath could house art, kitchen, storage and floor space. I explained the concept to my general contractor–I mean dad–and he helped get it together.
The first issue I addressed was the flooring. The tile was cold and hard and very rough to fall on. Together with Erin and her husband Adam, we picked up these flooring tiles from Home Depot. It’s the kind of rubber backed, floor tiles used in gyms and industrial spaces. They are durable, neutral and super easy to install. Because they are rubber backed they don’t slip and slide, and if something were to ruin one, they are easy to replace. All together, this was the biggest investment I made in the space.

Next we started building the loft.
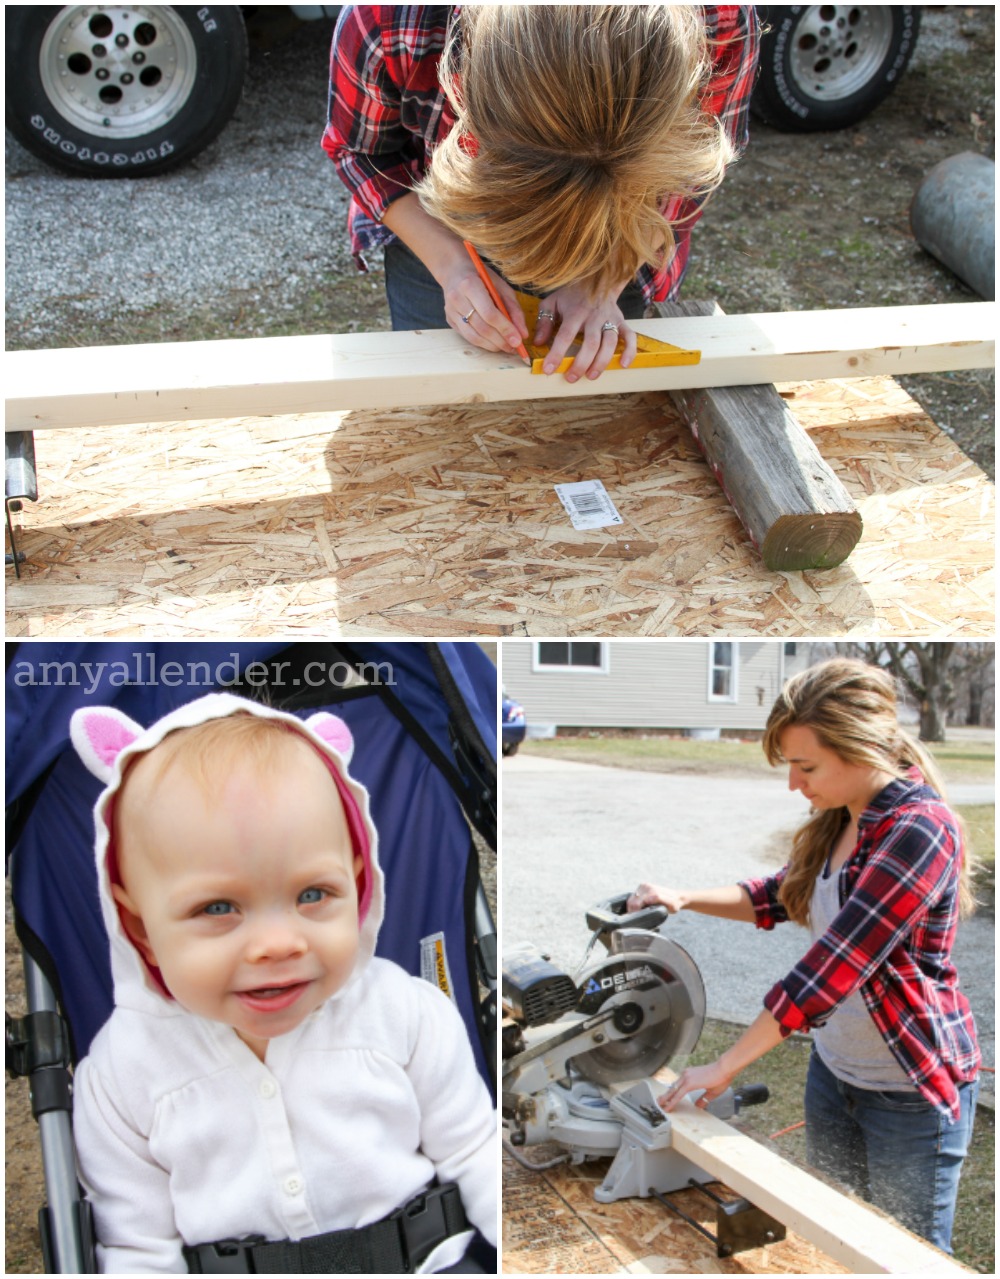
Dad and I made the loft from scrap wood and studs from the barn. First we calculated how deep we thought it needed to be, considering space for a slide–then we build a frame from 2×4’s. Ellie supervised from her stroller between walks around the yard with my mom. Erin and Adam were both at work. {Surprise projects are best.}
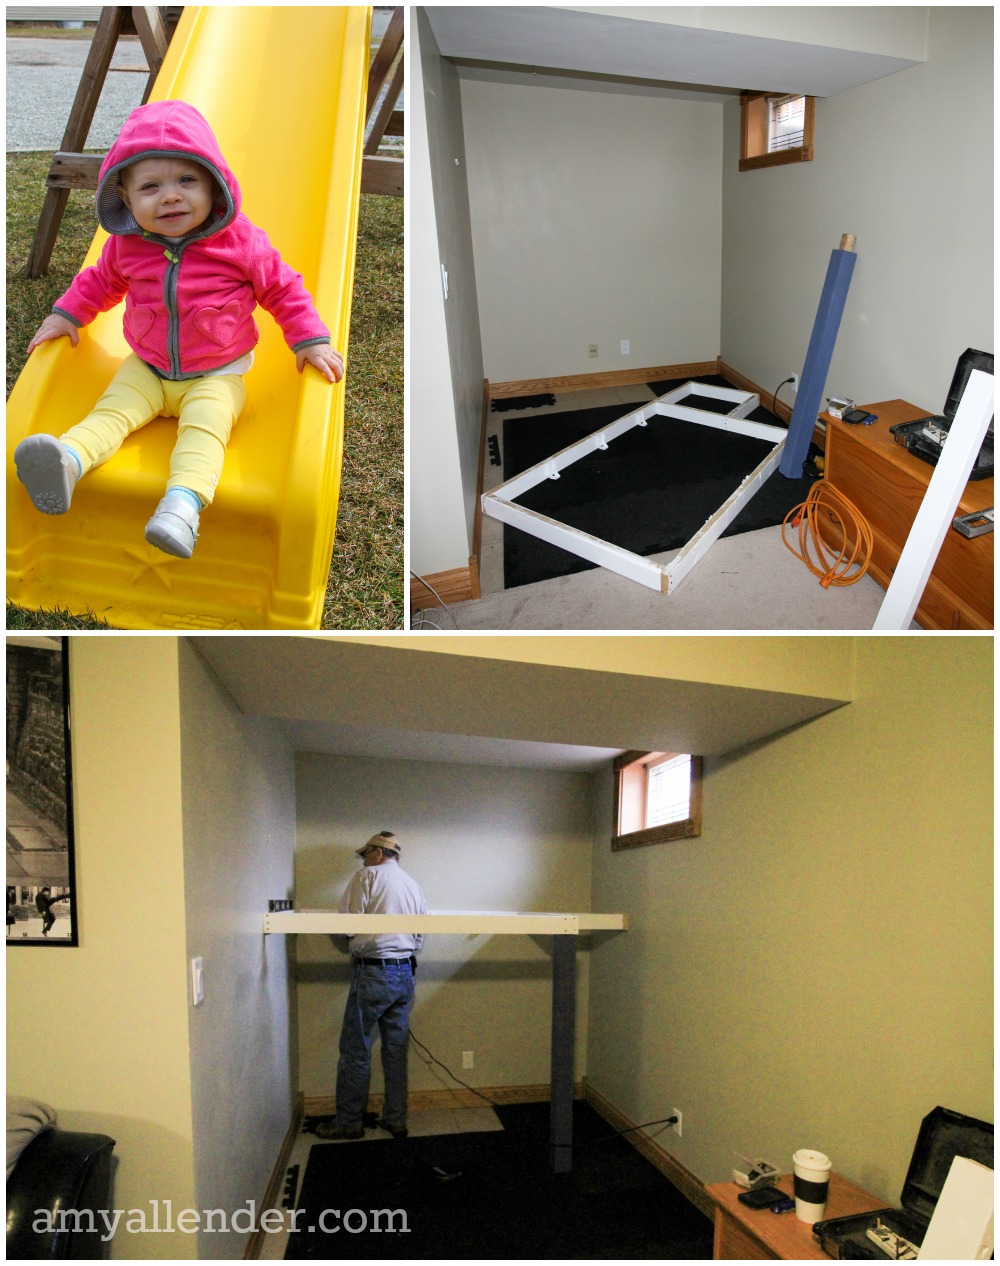
Once the floor had been installed and the loft frame was built {and Elliot had approved of the slide–like this one from Menard’s} it was time to install the loft.
Everyone involved wanted this to be sturdy and safe, so we took extra measures to be sure it would never fall or tip. First we decided on a height {really based on our slide length} and drew a level line around the nook. Next we secured the frame to studs in the walls. To finish the frame, we attached additional 2×4’s to braces across the depth of the loft to support the floor. {You can see the braces in the photo below–I forgot to take a photo of the loft fully framed.} We also included a 4×4 support beam anchored with braces to the loft frame, to support the front of the loft. Below, I’ve included a very technical work up of how we created the support beam.
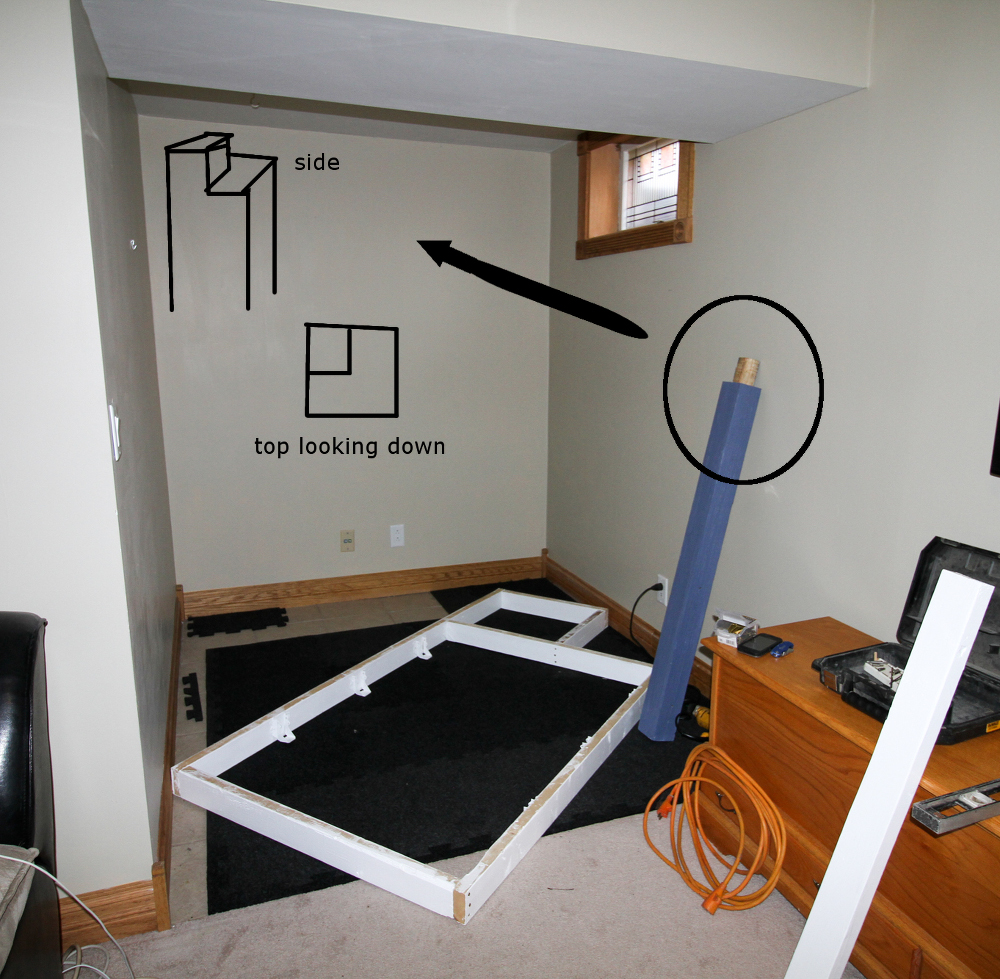
Dad geniusly notched the 4×4 so that it would perfectly fit into the corner of the loft, adding even more support. The loft frame ended up hugging the support beam…if that makes sense.
Over the frame we secured plywood and over that we attached a carpet remnant. Below are some photos of the carpeted loft–mostly unflattering because I’m always mid-chew on my PB&J. Side note…look at my sister’s pathetic little pup. She just wishes she could get up and steal my sandwich…Sorry shorty.
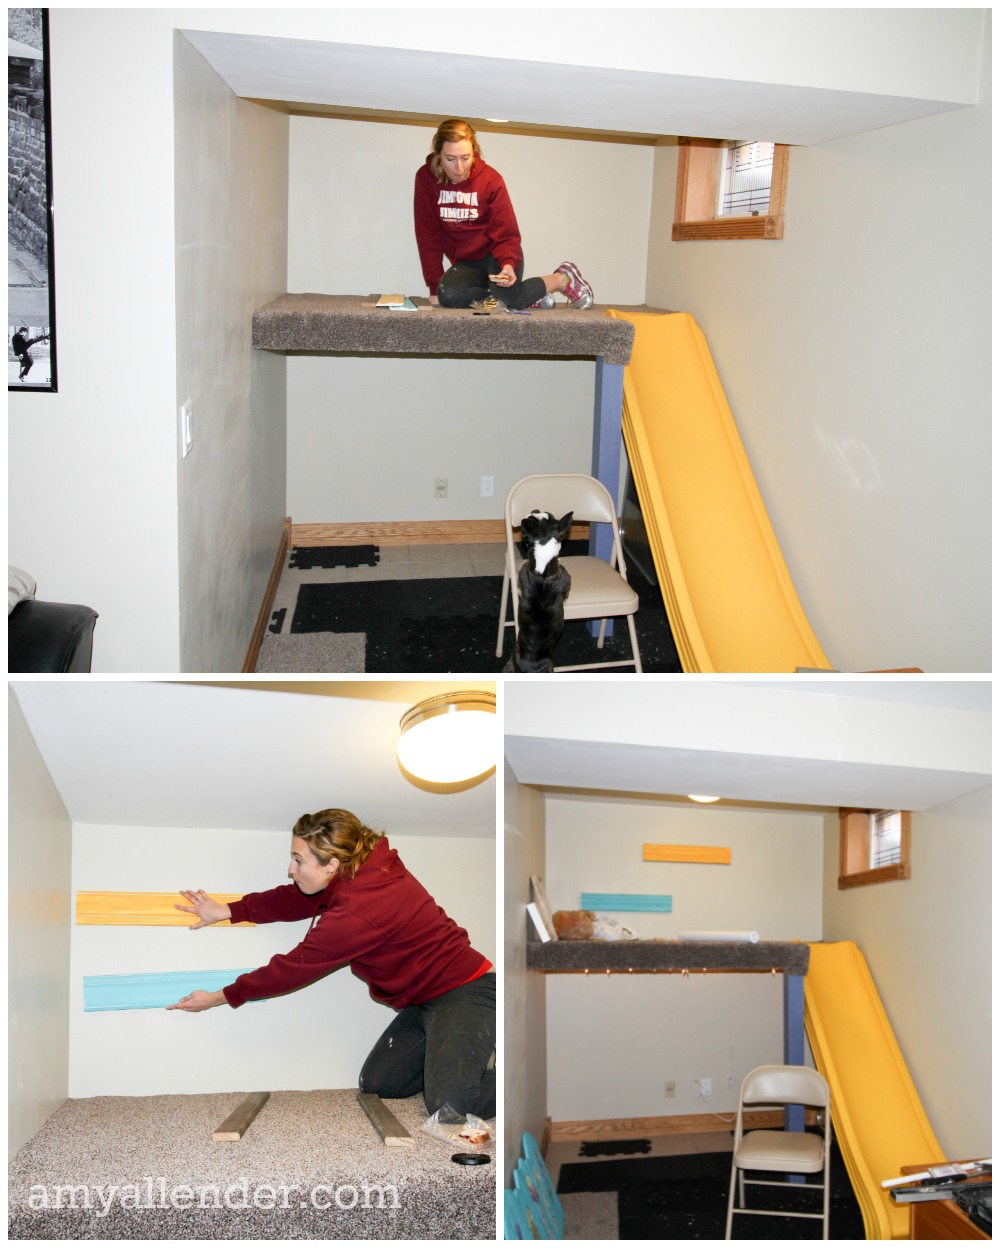
Elliot loves reading, so I also included a little bit of book storage in the loft. These are just pieces of molding I picked up at Home Depot. The employees gave them to me for free because they were scraps. I used the pieces of scrap wood you see in the lower left image behind the molding to create a little book rack. {See the image below for a look at the side of the book rack.} Because the space under the loft was very dim, we stapled up some white Christmas lights to the studs.
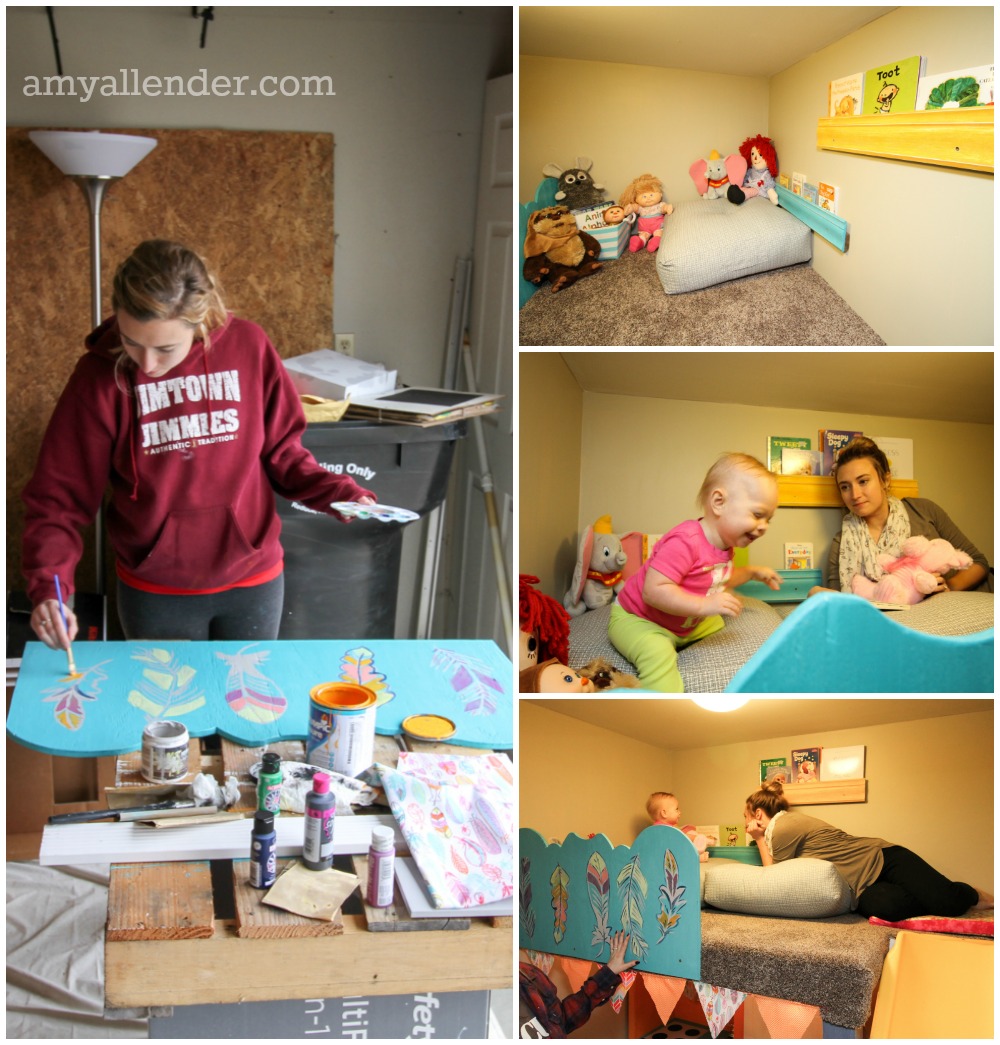
Because we don’t want our precious baby friend falling out of her reading nook, we added a bit of railing. This is another piece of scrap plywood from the barn, jig-sawed a cool shape on the top, then primed and painted. I painted some feathers on the front that match the pattern on fabric I used in other spaces. I filled the space with floor cushions Erin and I picked out at Costco and some of her excess stuffed animals and books. As you can see from “reveal night” Ellie totally digs it.
As you can maybe tell from the bottom right photo, there is no ladder attached to the loft at this time. The idea is that right now, Ellie can only be lifted up into the loft–fully supervised–so there is no risk of her getting up on the sly and taking a fall. When I show you the finished product, I’ll tell you the plan for converting this in the future.
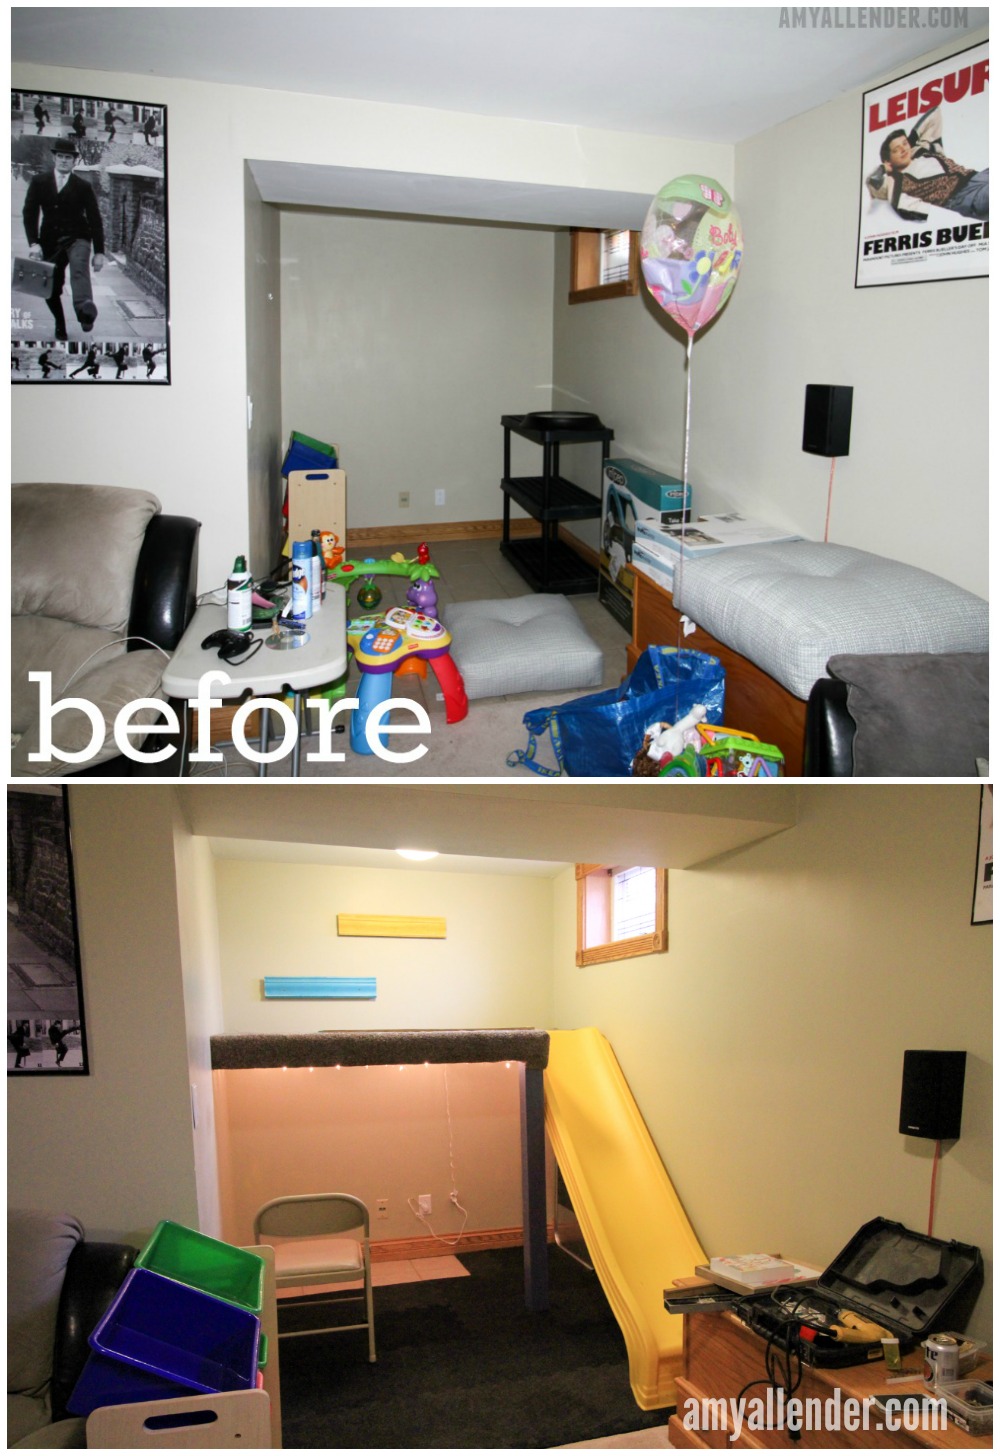
And speaking of full reveal…we are only a couple days away. Tomorrow I’ll show you the play kitchen I made from an old entertainment center and the art space. Come on back.
xo
Amy

