Yesterday was about getting things d-o-n-e. Yeah, it was so hard core and awesome I felt the need to spell it out. Because that really proves how much I got done.
Okay, enough explaining why I write the things I do. If I did that I’d never leave the laptop…
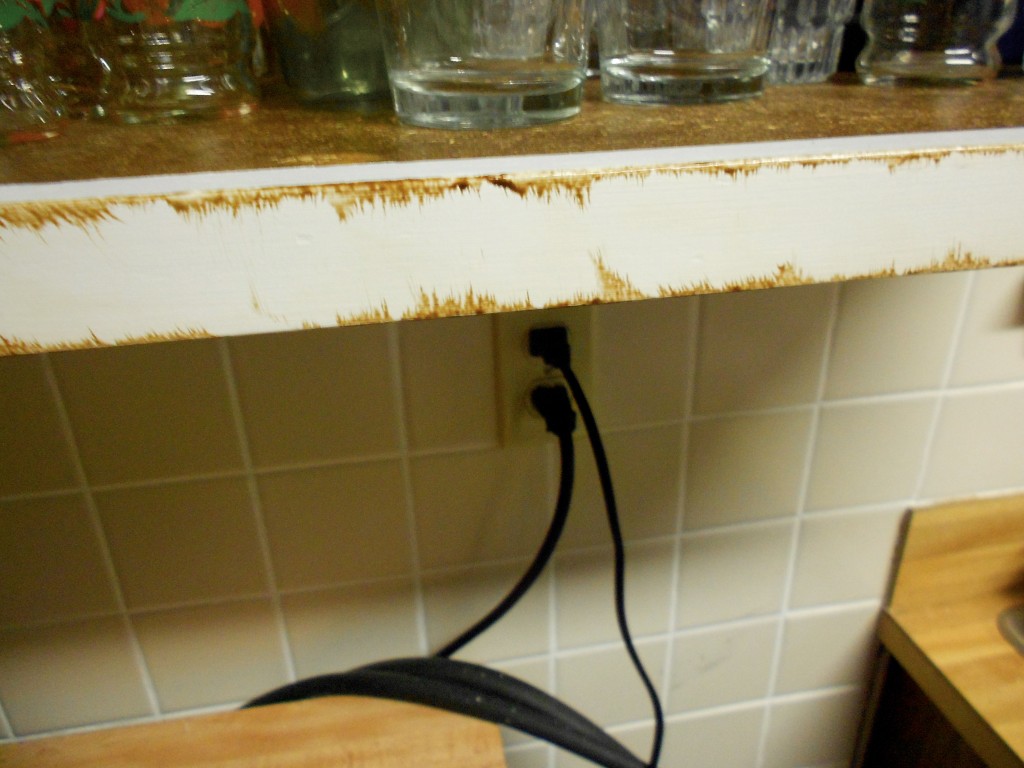
Anyway at the end of the day on Wednesday I had the cabinet frames painted {with three coats} and the back of the cabinet doors painted {with three coats.} I ran out of tape…so things were only partially taped off when I headed to bed.
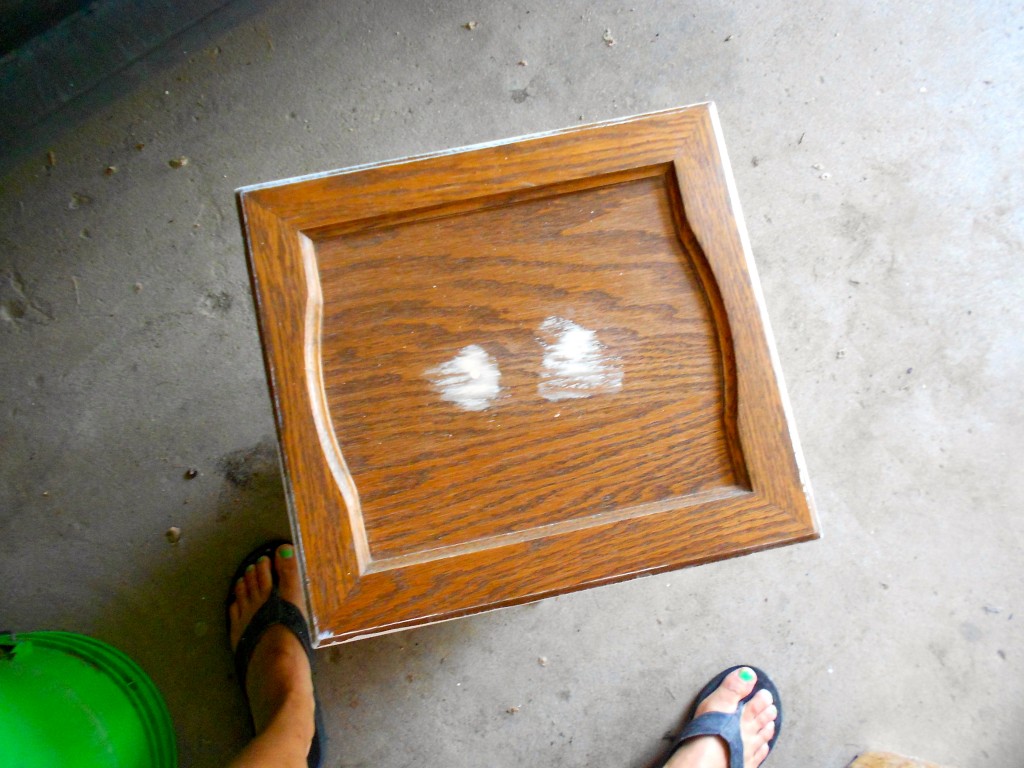
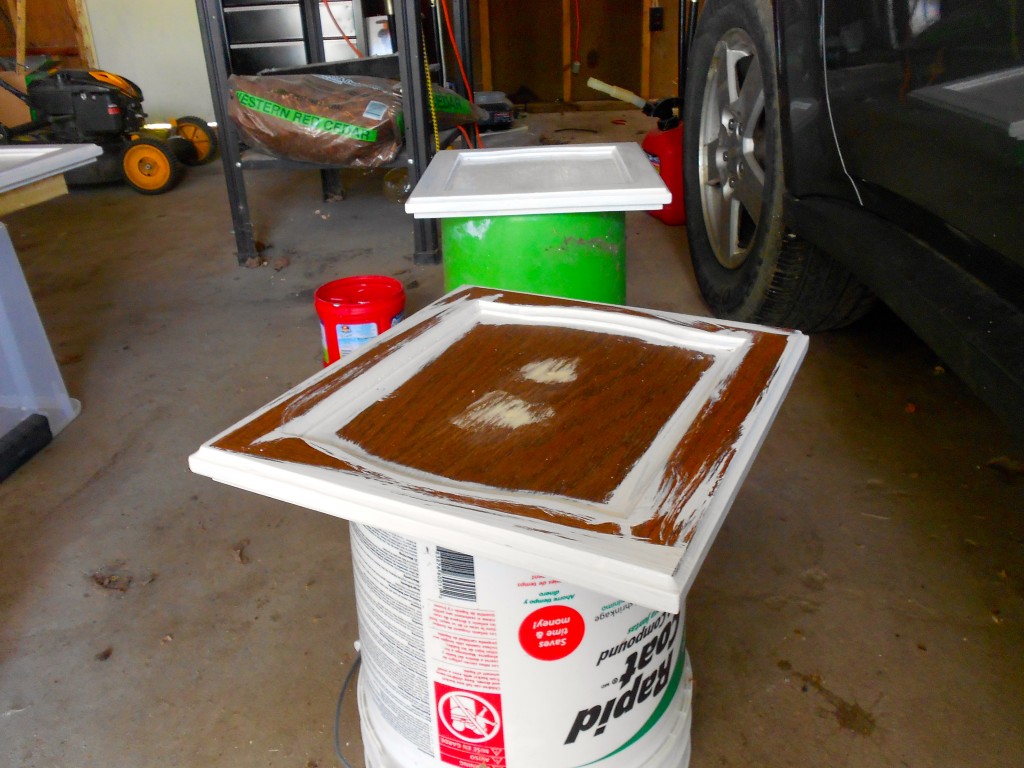
I was a little slow to start, a few late nights of DIY-ing can leave a girl sleepy in the a.m. But yesterday I had a ton to get done in order to stay on my timeline. So, I started by flipping all those cabinet doors over in the garage. Something I forgot to mention is that I filled the hardware holes in with wood filler after deglossing. They were all big, bulky and attached to the center of the doors. I thought it made them look outdated. So i filled the holes in. After flipping them all, I gave the wood putty a quick sand and wiped each door off with a rag to get rid of the dust.
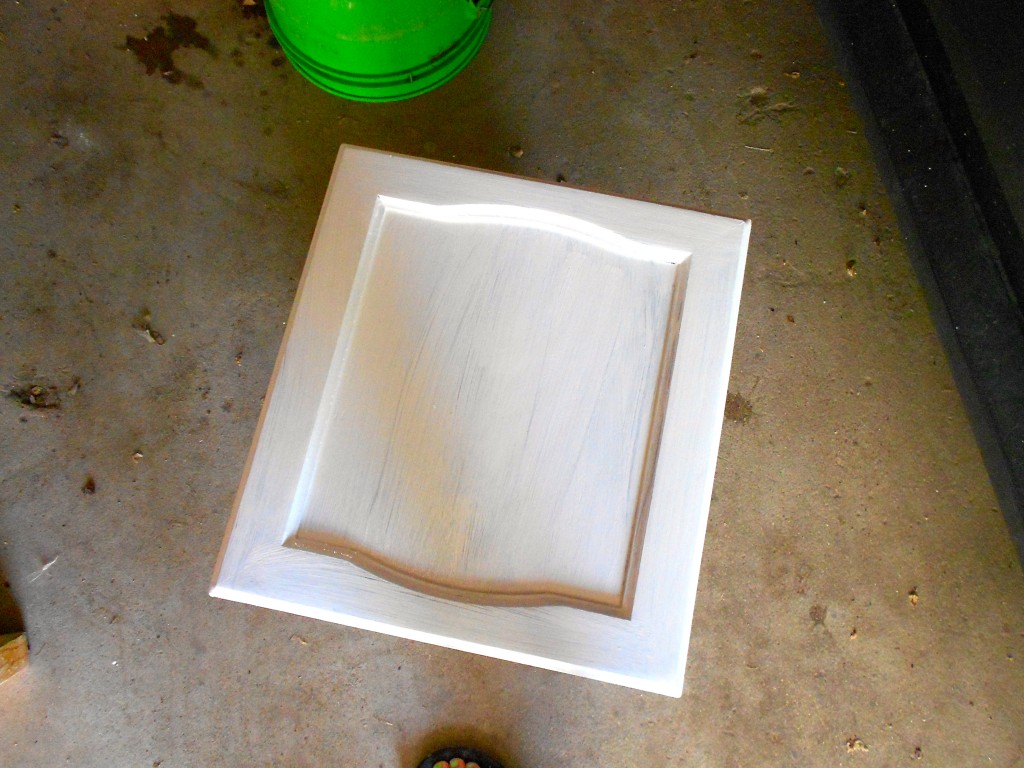
Then I started painting. Paint your cabinet doors fronts like this.
After doing lots of doors, I found this technique to be the most efficient. Start with the outside. Remember to paint with the grain of the wood. Get your brush down into all the beveled edges. All the painting for this project was done with a 2″ synthetic brush.
After you’ve gone around the edges paint the vertical and horizontal flat edges. Then fill in the middle.
I did a coat on the all the door fronts then went inside to tape off the ceiling trim. I ate lunch, then it was time for coat number two on the doors.
After that I painted the ceiling trim and started in on glazing the cabinet frames. Let me just say that I love this kit more and more every day. It comes with everything you need to make your project look totally high end. I almost opted out of using the glaze that came with the kit. In the DVD and on the box they show a very heavy technique for using the glaze provided. They paint it all {ALL} over the cabinet then wipe it off. That leaves the nice, crisp, white cabinets looking…tan.
Lemme ask you this: Why would I paint my cabinets white just to smear them with a brown stain and leave them looking tan? Why not just paint them tan?
There’s no answer to this.
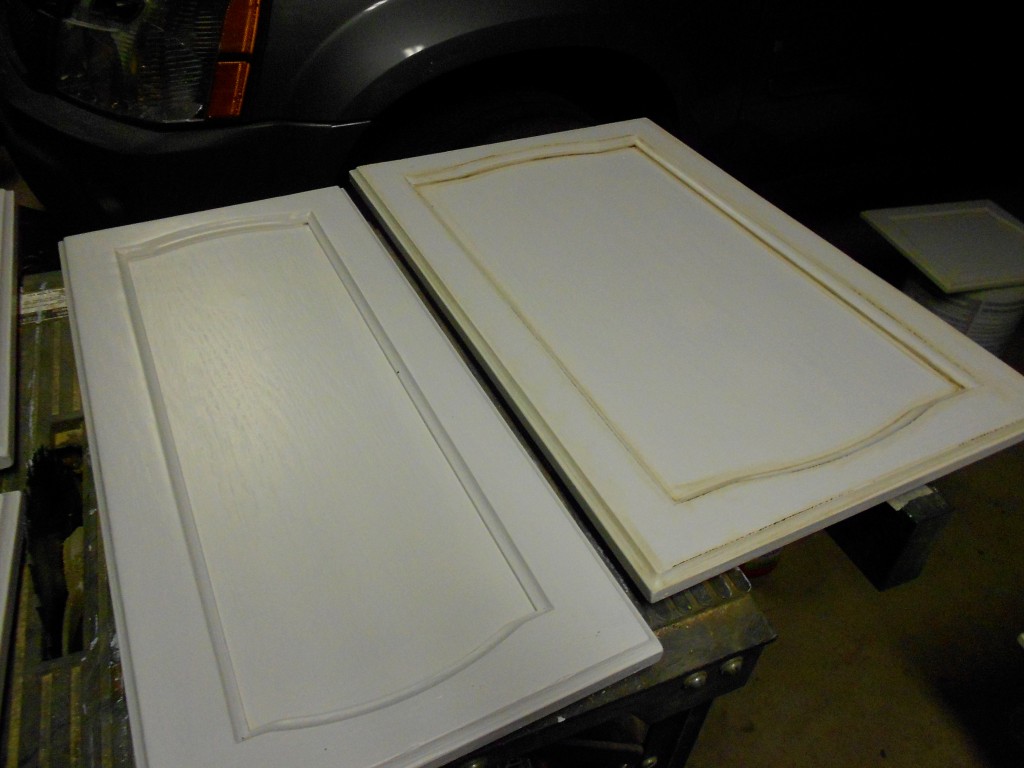
So instead I made my own technique. I wanted a nice light glaze that really just highlighted the texture of the doors and the lines of the frames. I only applied it to the edges of the frames. Like this:
Use your same {but clean and dry} brush to paint a line on the edges of the frame. Then feather it inward. Next, use one of the rags that comes with the kit to gently wipe some of it away. You get lots of these rags. And you’ll use a lot. From here of out we’ll be calling them boogie rags. {That’s a nod to my dad, it sounds like something he’d say. If you know him, I know you’ll agree.}
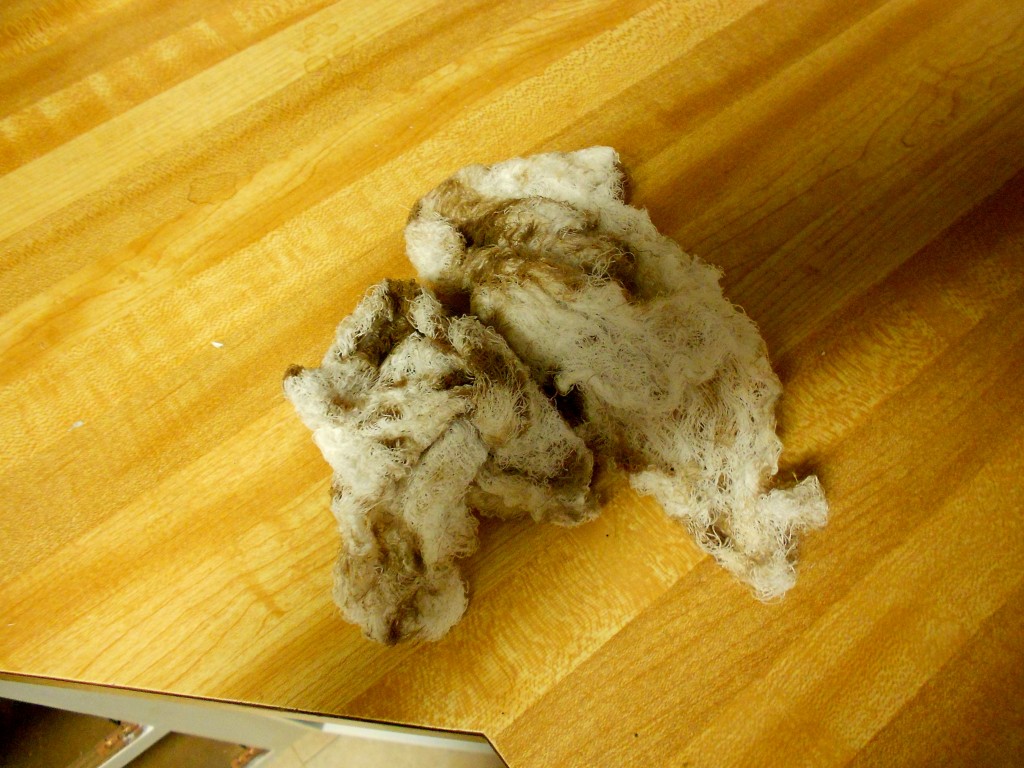
This is what a boogie rag looks like. Throw it away when it starts to get too stained. You’ll just be wiping more stain on your beautiful cabinets…instead of wiping it off.
After getting about halfway through the cabinet frames it was time for coat #3 on the doors. So I did that. Then it was time for Insanity at the gym. I love those workouts. It worked perfectly because I had just enough time to finish glazing the frames before the dry time was up on the doors. When the 2.5 hours had passed since I finished painting that third coat, I went out to the garage to glaze the doors.
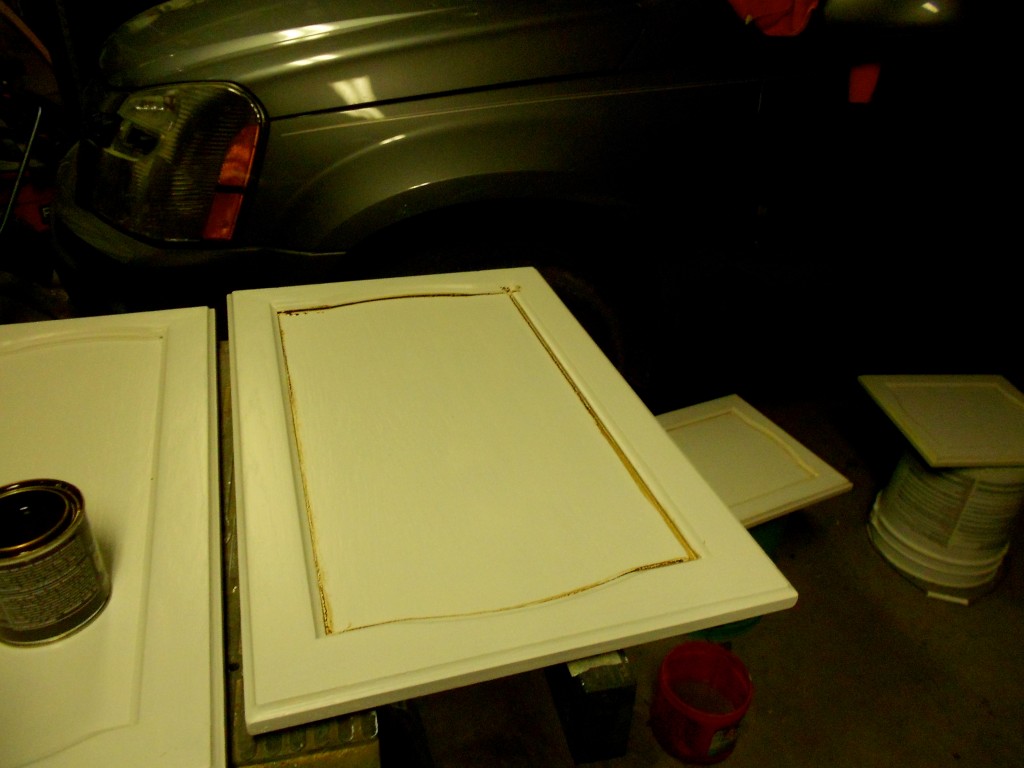
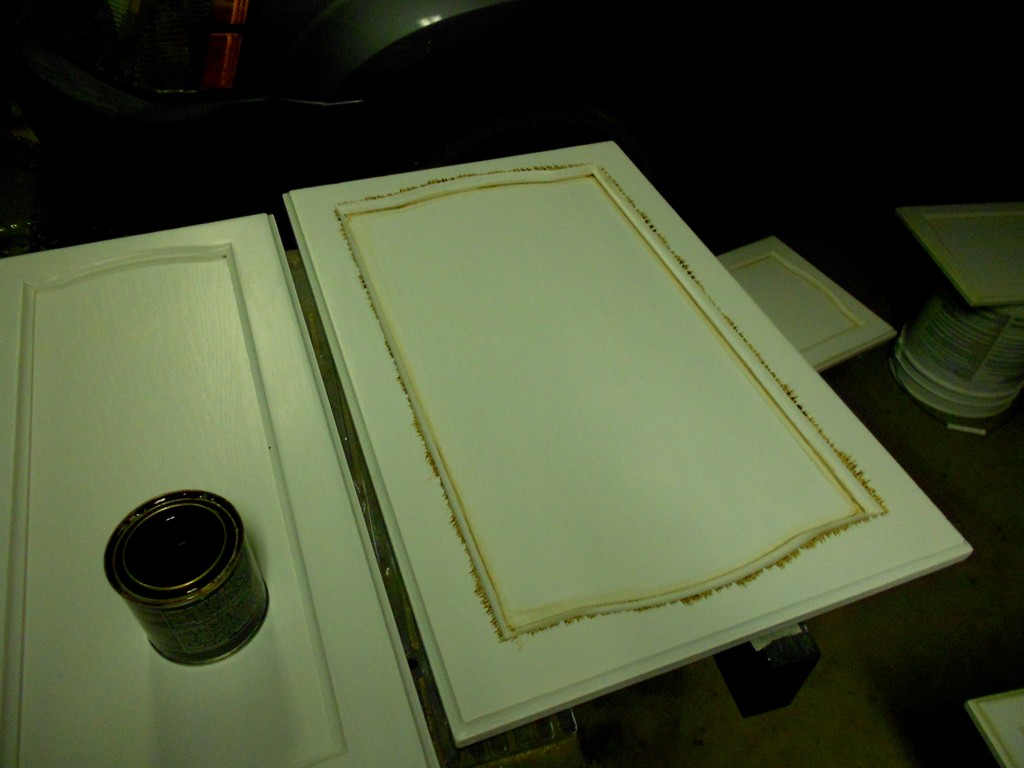
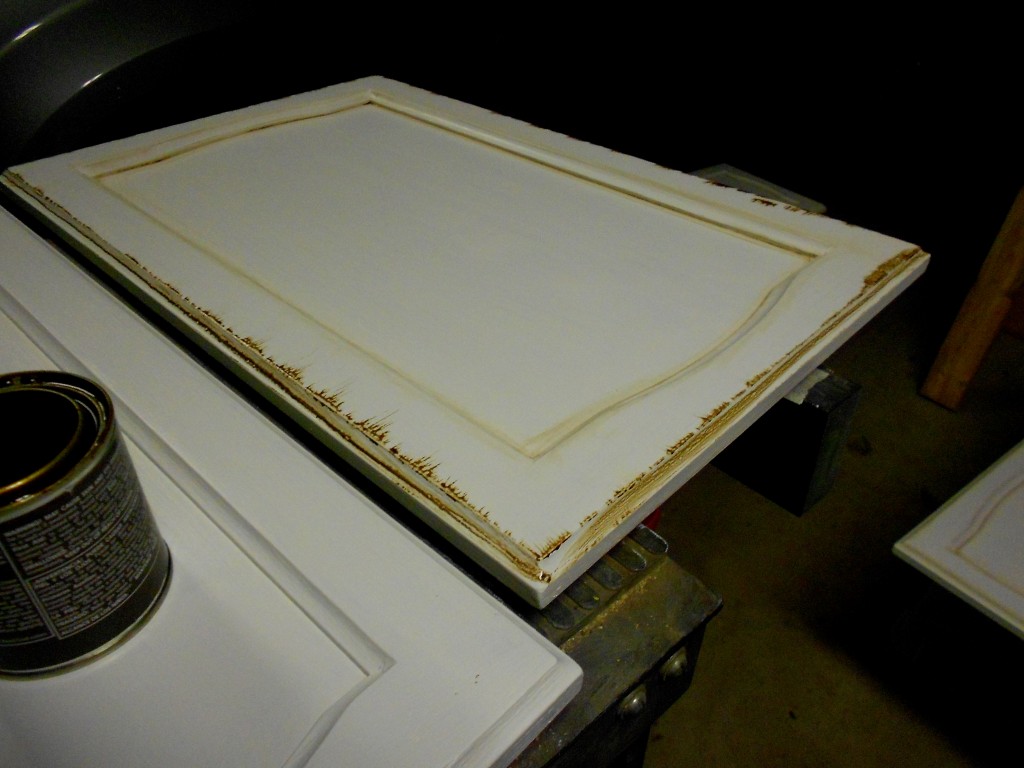
This took a little doing, but eventually I got the look I wanted. here is my most efficient method of getting it done.
Step one: Put your brush into the crack around the inside bevel of the door. Then wipe away the glaze. Wedge your finger into the edge to really press the glaze into the crack to highlight that line.
Step two: Just like on the frames, feather your glaze. Drag it out toward the outer edge of the door. Again wipe it away. This time, pinch the corner, leaving a bit of glaze on the edge.
Step 3: Brush a line into the outer edge of the door and feather that inward. You guessed it…next, you wipe it away.
Lastly to add just a tiny bit more emphasis on the edges of the decorative trim I lightly touched the side of my brush {not the tip, this side of the bristles} to the hard edges and dragged it a few inches. Above here you can see the difference between a glazed and unglazed door. Doesn’t it look high end?
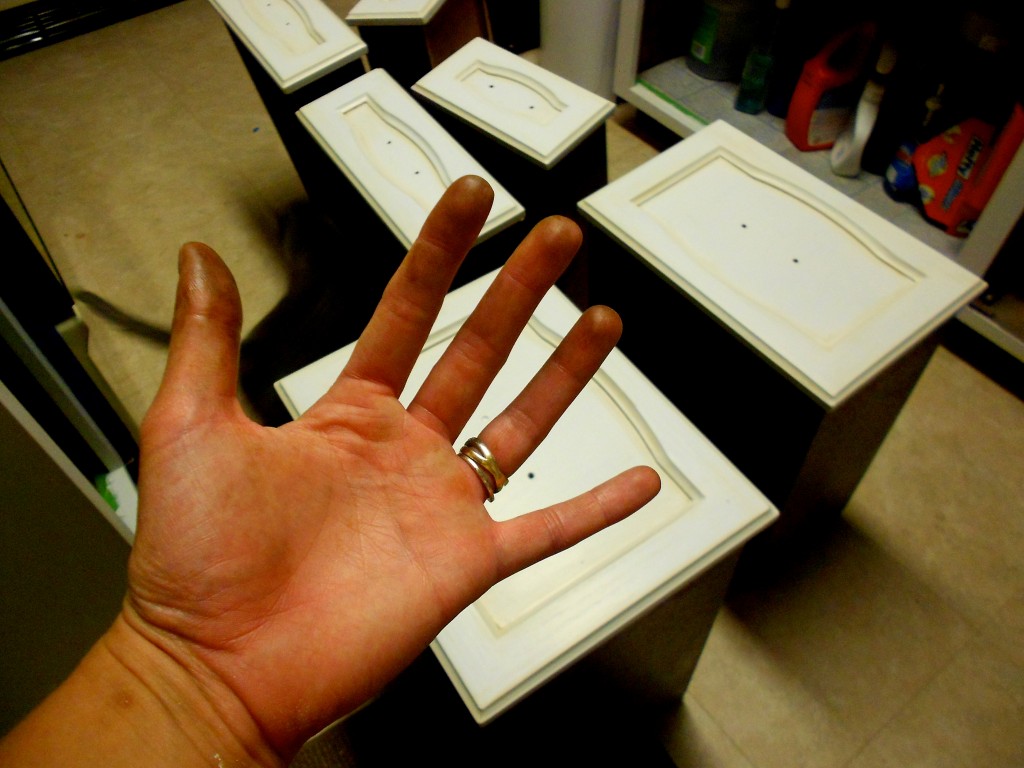
The answer to that question is: Yes. But it does come at a price:
Gross hands.
Today I’m happy to report that all the painting is done. But I’ll tell you about that tomorrow. Right now I need a {literal} midnight snack.
Thanks for popping in!
Amy

