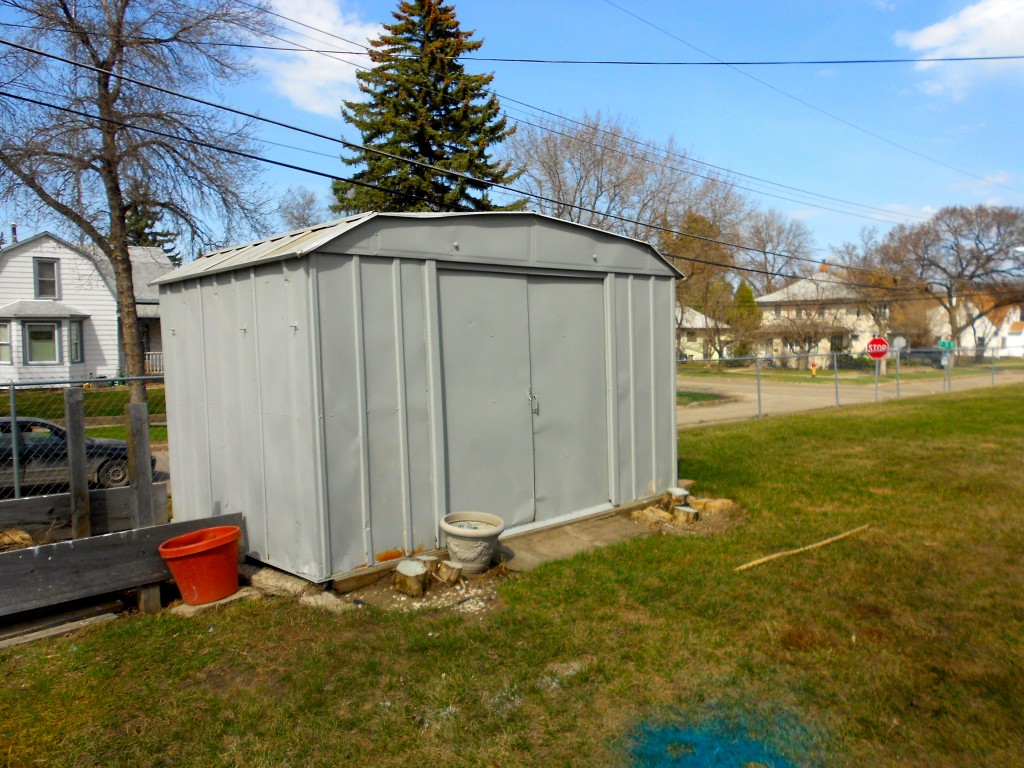
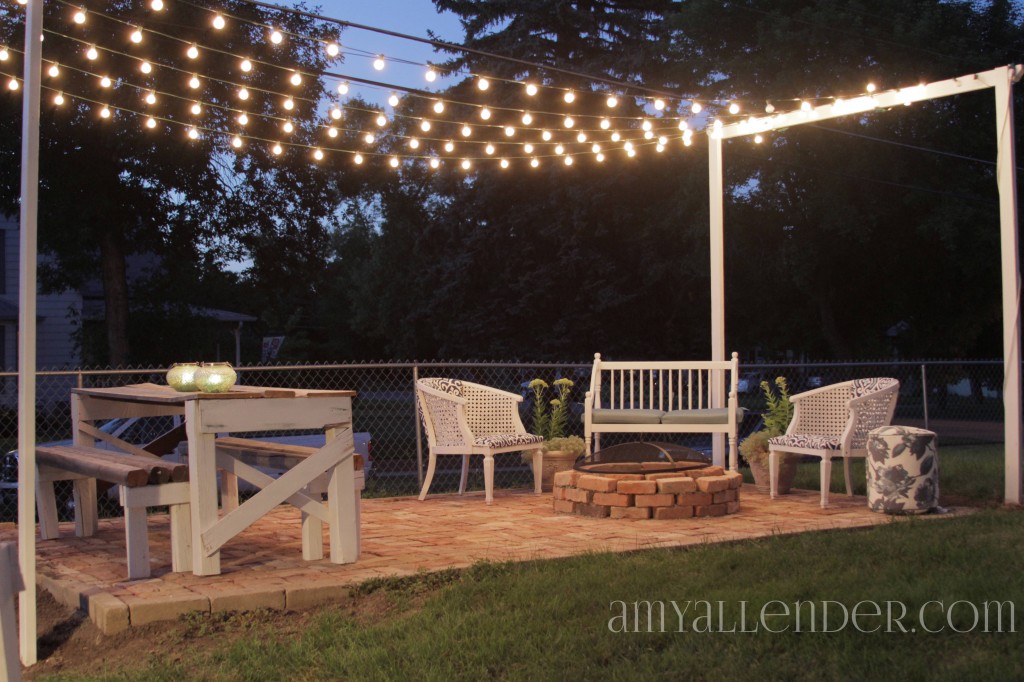
Okay folks. Today is the day I show you how I made my outdoor room dreams come true. I’ll tell you what I did, what I bought and where I got it. Heck, I’ll even tell you things that I got wrong so you can get them right. Now, I know you’ve seen this photo a million times…but here’s the shed. This is what I started with.
The first challenge was getting rid of that thing. Originally I had thought the toughest part of getting that out of the yard would be convincing Derek that it was a good idea. But, well, then he had to leave for a bit. And there is very little he can do to stop me via Skype. So I made sure all our stuff had a home in the garage or the garbage can and listed this bad boy online.
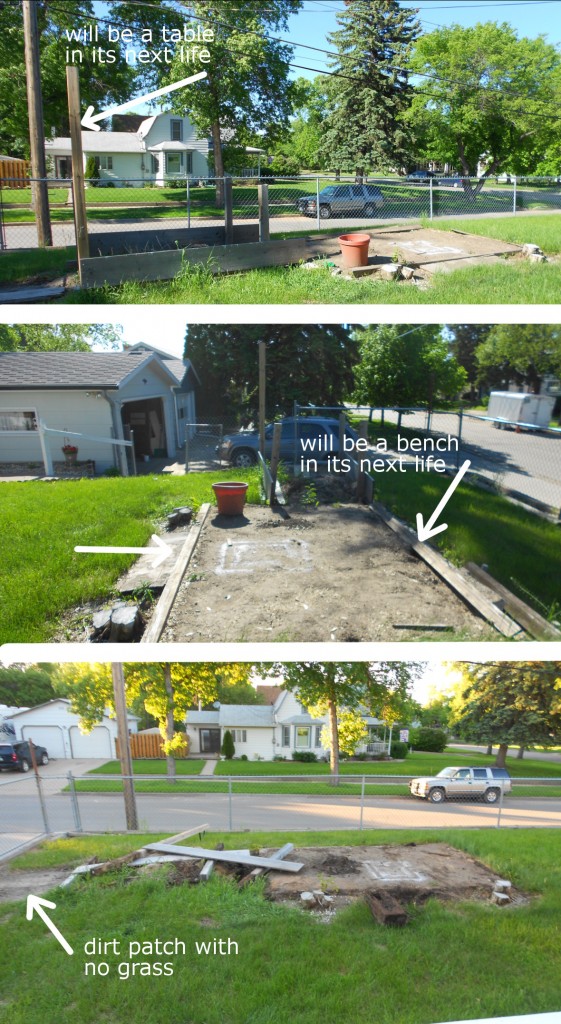
A nice gentleman and his wife wanted it. They came, dissembled it and hauled it all away. Then I was left with this…Which, according to the neighbors, was already an improvement.
There are a couple things you can note from these images. First of all…I used the packed dirt where the shed had been to do a little spray painting. That’s from a frame I repainted for my gallery wall. Next you can lay your eyes on all the other junk trash usable materials without the shed to distract you. At the time I didn’t know if or what for I could use all that weathered wood, but I decided to keep it on hand…just in case. It was all pressure treated, so despite it’s color it was actually pretty good quality.
In the end, keeping it proved to be a good choice. Now I have a table and benches to match.
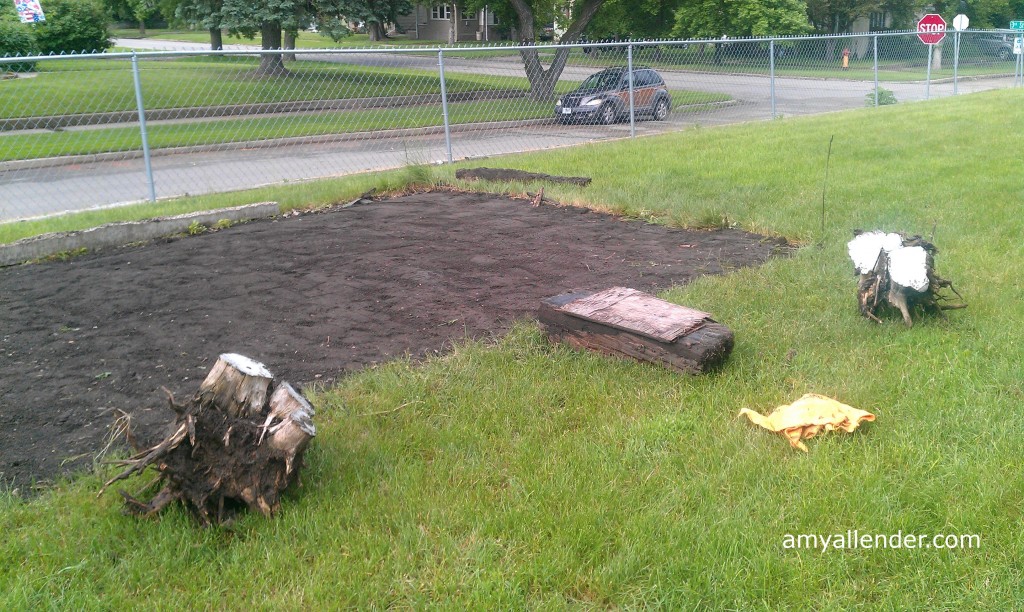
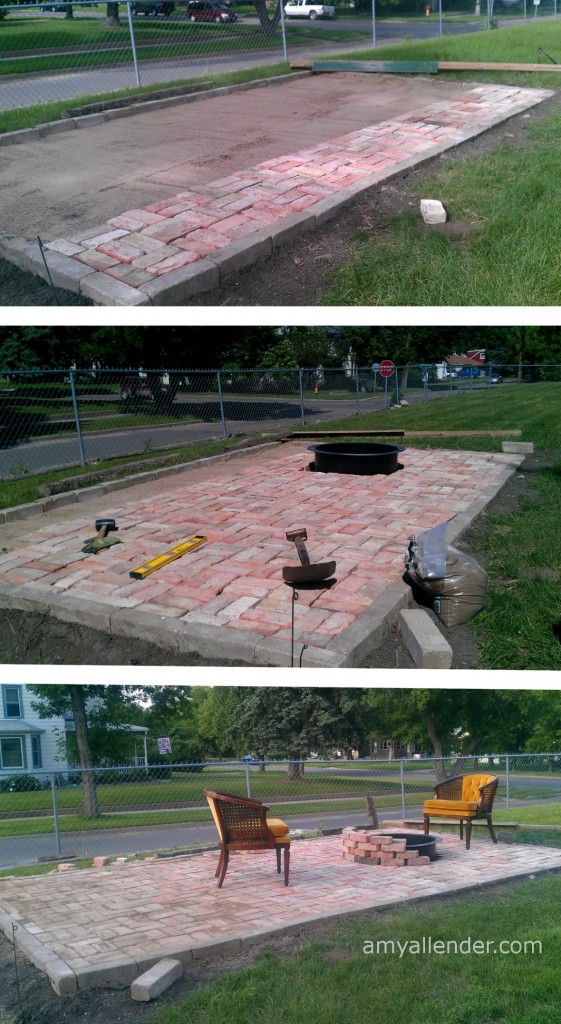
Next came the most challenging part of this whole process: making the ground level. This was hard for a few reasons. One being that there were two stumps and a chunk of rail road lumber in the dirt where the patio would be. I had decided on a 10×15′ patio space, so I needed to level the ground where the shed had stood as well as the surrounding area.
I looked at renting tools to remove stumps. {I’m too cheap.} And tutorials on burning them out. {Too impatient…I was itching like a kid with poison ivy to start laying bricks.} Eventually though, I decided to just dig. If I couldn’t get them out…well…then I’d have to resort to different measures. So I dug down around each stump. It was pretty easy going because the stumps were a big rotten underneath. When I hit a root that my shovel couldn’t cut, I took an axe to it. This took a bit of time…and boy were they heavy to pull out, but out they came.
To get the rest of the area leveled, I began shoveling the elevated dirt from the shed’s foundation to lower areas. In places where grass would be covered I dug it up and transferred it to that dead dirt patch you saw in the previous image. There is no secret to this. Just one shovel at a time. I packed the dirt down with a home-rigged tamp and checked for level until it was pretty much even.
Now I had to make a big trip to Menard’s. I picked up edgers to contain the patio floor {that’s those long gray stones around…well…the edge}, play sand {the cheap kind you’d use in a sand box}, and a steel fire ring {nothing too fancy since it would be covered by brick anyway.}
First set your edge blocks. This is a bit hard and time consuming. They need to be set in the dirt a few inches to be firmly held in place. And they need to be level.
Now…let me take a moment to talk about level on a patio. You do not want things to be exactly level. Yep, you read that right. To allow water to run off, set your stones on a slight {very slight} slope.
So put your edgers in one at a time. Check for level after each one. Use a square on your corners to make sure they are 90 degrees. This friends, I did not do. And boy was it a mistake. If you come to my house you’ll notice a weird side of my patio. That’s because it’s not perfectly square. Bummer. So check for level and square. It’s worth it.
Once your perimeter is in place rip open those bags of sand. The area of my patio is about 150 ft sq. I used 30 bags of sand at 50 lbs each. You need a bed of sand at least an inch deep. So pour it in. Then level that out. I used a little contraption my dad showed me how to make. You can see it in the first image above.
Take a long level length of wood. {I used a 4×4 post I dug out.} Lay that across your patio space, resting on the edgers. Attach a second, skinnier piece to its side. Attach it so that it hangs down to the point you want the bottom of your pavers or bricks to rest. In my case, I used 2.5″ bricks, so my board {the green one above} hung 2.5″ down from the edgers. With your long post resting on the edgers, drag it across your area {best if you invite a friend to help}. No you have level sand. Make sense? I hope so.
Once the sand has been leveled out, you can start laying your stone. Again, always check for level.
I used a quick set mortar to hold the bricks in place around the fire.
After all your bricks are in place get a few more bags of sand. {I used 2.5 50 lb bags.} Dump some sand out and start sweeping it into the cracks. Do this over several days as the sand settles.
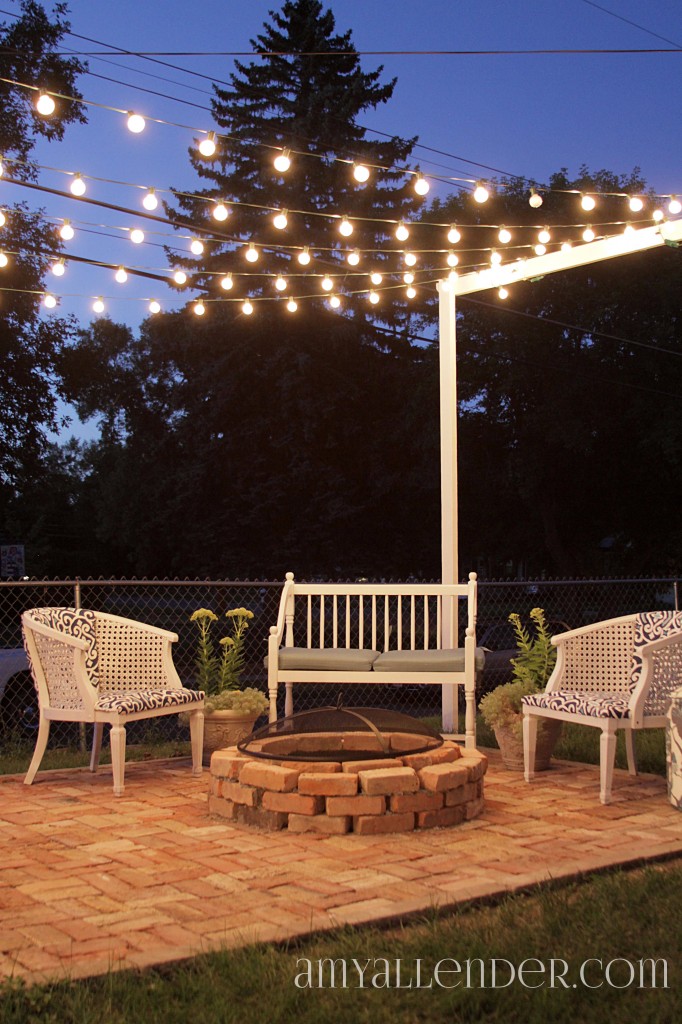
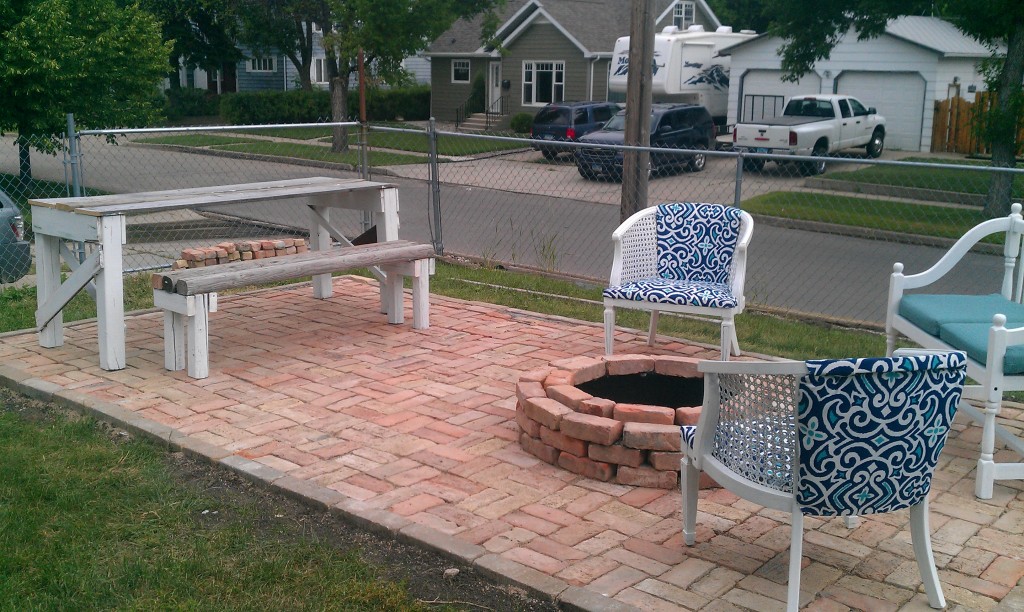
Then furnish your new space. As I told you in previous posts…the pair of chairs was a Salvation Army find for $30 total. I recovered them. The bench was pulled from a local variety shop in town. The cushions were a summer clearance item from Target.
It looked good…but I craved more. It needed light! I have no trees around the patio to hang them from…so I came up with this alternative.
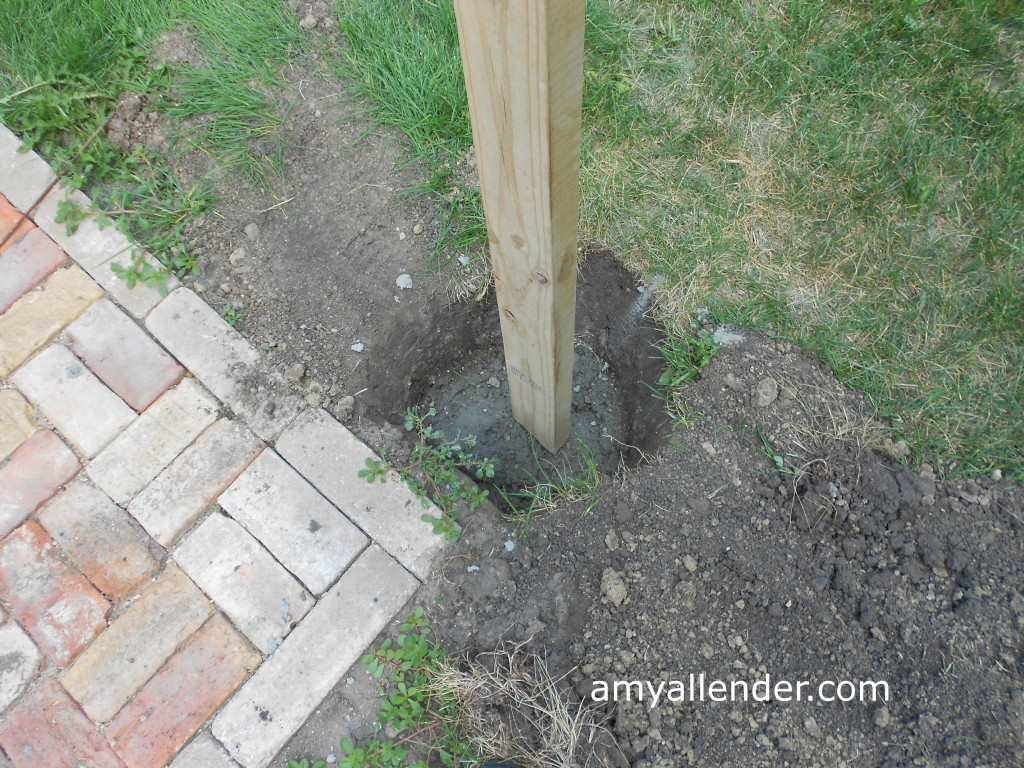
Back to Menard’s. This time for new 2×4’s. I bought 4 12′ posts and 2 10′ posts. At each corner of the patio I dug down three feet. Yes, that’s deep. Then I cemented the four tall posts in with Quickrete. Check for level!!
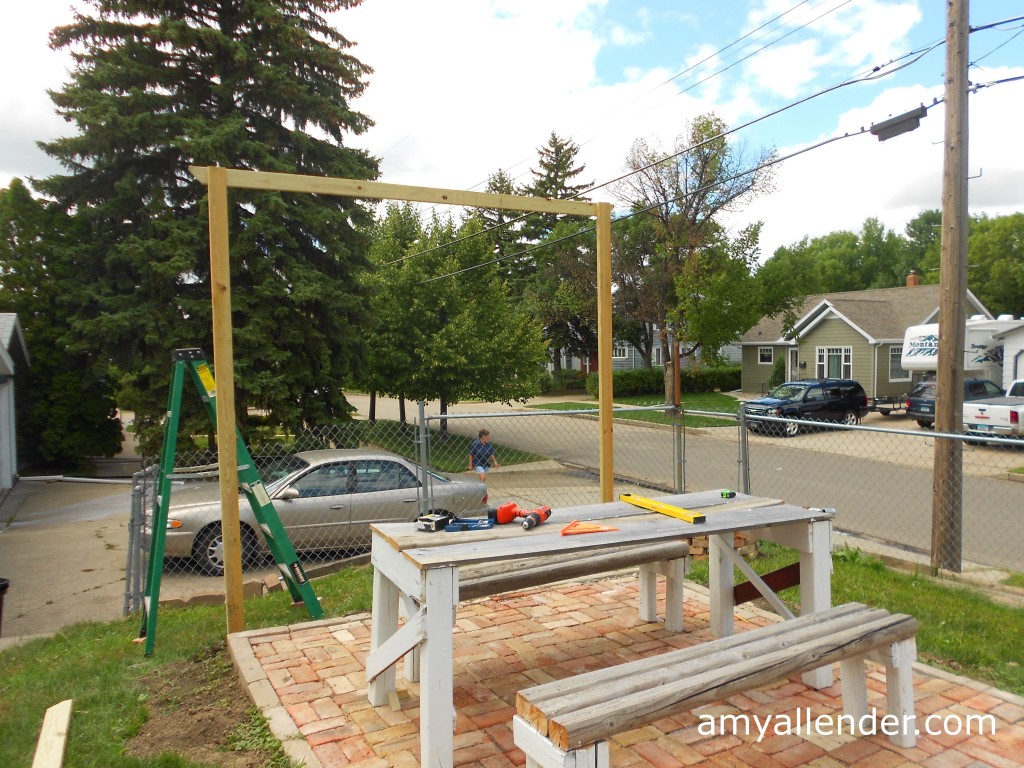
Grab a friend for this next part. Once the concrete has dried completely, you can hang the upper lintel. I did it alone…but I really don’t know how I manages it. Screw them in place with deck screws.
I used 5 strands of 20′ patio lights from Target to create a canopy of light above the patio. I ran each strand between the posts around nails that I put in the top of each lintel. After wrapping the cord around I hammered the nail head down slightly to hold the cord in place.
Then I moved all the furniture back in and boom…patio, roasted.
Other things on my shopping list:
A grate to cover the fire pit…that’s code here in PraCan.
An adorable ottoman…super sale from Target for only $12.00
Plants for planters recovered from the yard
A white extension cord to power those precious lights {Target}
Two mercury glass lanterns from Menards
Two citronella candles to ward off the state bird of North Dakota {mosquitoes}
Did I miss anything? If you have questions that I didn’t cover…let me know! I’d love to hear from you. And yes, I did this. Me. A girl. With no husband in sight. I’m terrible at math. And only moderately strong. If I can, you can.
Amy

