Have you ever faced a goal or wanted to start in on a big project, but were unsure of where to begin? I think most of us have been there. I know I’ve been there many times. But being unsure of how to start a big project, is no reason to avoid ambitious undertakings. I wrote a piece on tackling large goals for Start Up Mindset a while back–you can see the piece here. Today I’m going to talk about tackling a big home improvement project.
Whether your projects are big or small–when you’ve got lots of things that need to be done, it’s tricky to find a good starting point and have the tenacity to get the job done. Today, I’ve compiled a list of five tips for tackling overwhelming home projects.
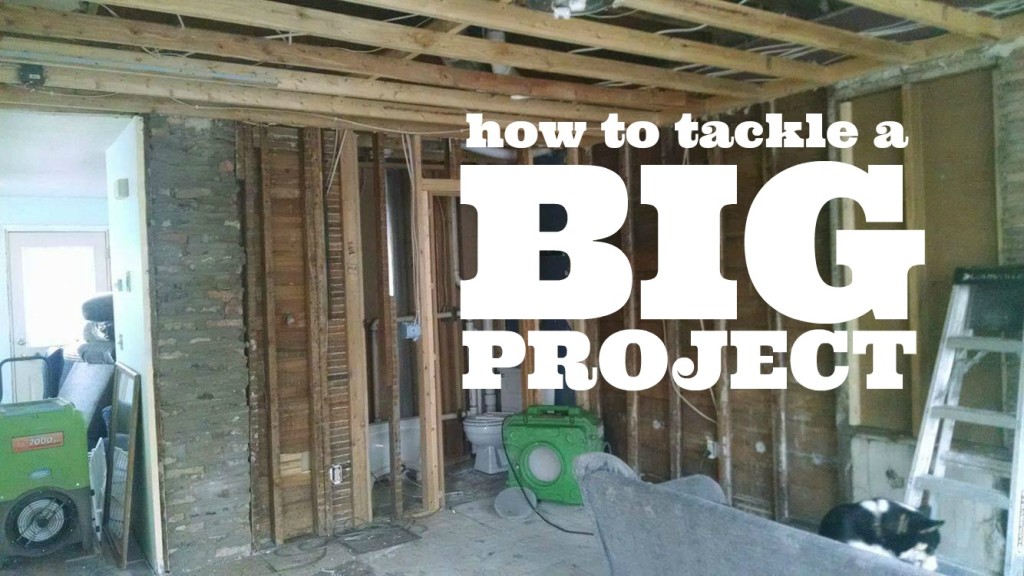
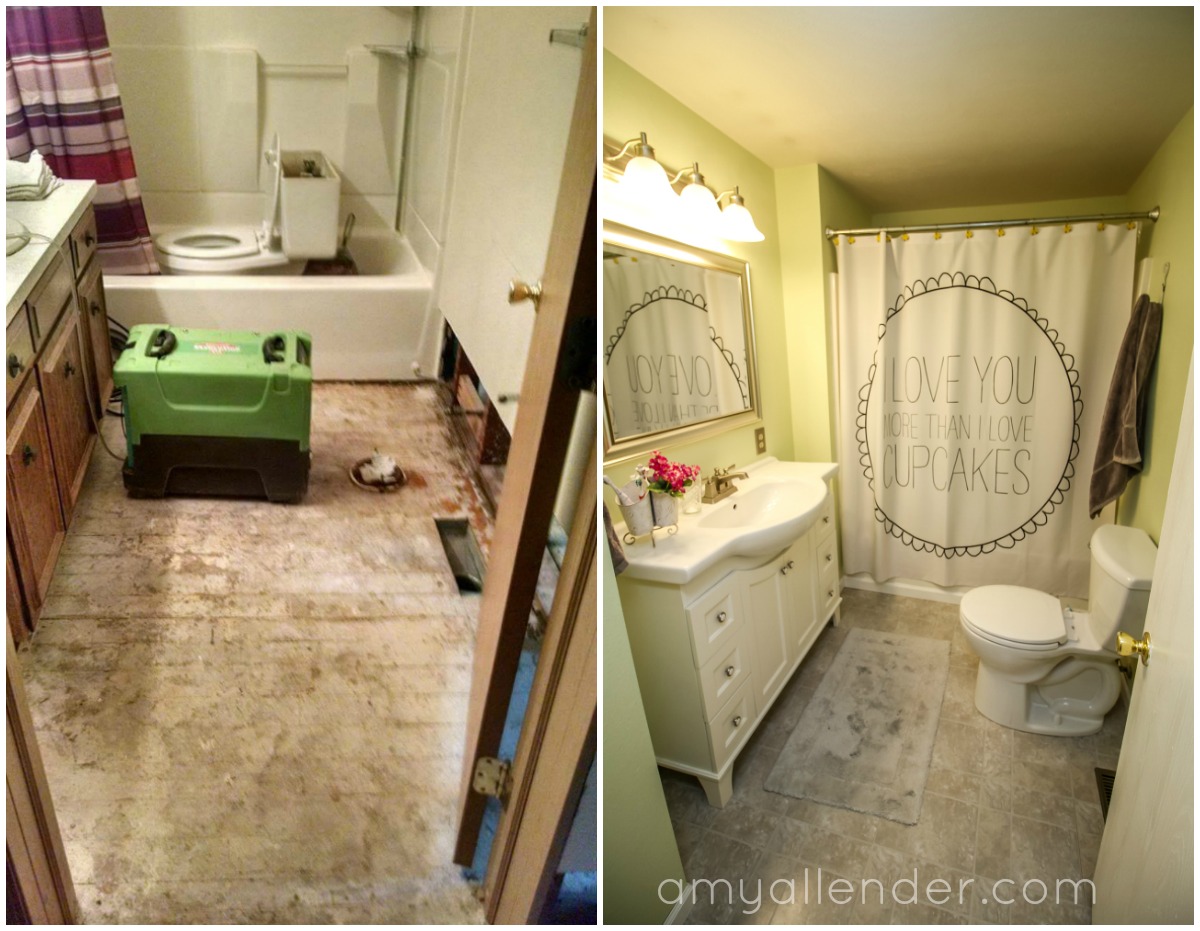
Yesterday I told you about Katie and Sam’s tragic indoor flood. Since the water laid waste to most of their house, and the rest of it was already on the do-list, their home is the perfect case study for undertaking a big project.
1. Identify the most important things.

Take it from me, some parts of a project are much more fun than others. Picking out a new couch, potting plants, and hanging a gallery wall are all super fun and super rewarding. They offer instant gratification and rarely leave your mind frazzled or toes stubbed. But–these are not the most important components of your project.
Don’t get side tracked by the stuff you find fun. Keep a rational mind. Look around objectively and decide what is most important to your day to day living.
For Katie and Sam, the absolute most important thing was getting their full bathroom up and running again. The flood displaced them from their home and they were unable to move home until they had a place to shower and a toilet to use.
Take care of the necessities first. A working bathroom. A water heater. Working appliances. Proper plumbing and working sinks. Safe, working lights. Fix broken windows. Take care of leaks.
2. Know your limits.

After you’ve decided on your priorities, think about your limits. Are you capable of putting in a new toilet? Do you know how to hang drywall? Can you safely and properly install new wiring? If vital parts of your project are outside of your scope–outsource them. Delegate. Years down the line when your wiring isn’t catching fire and your pipes are intact, you’ll be glad you trusted a pro–even if it did cost a little extra.
Another limit to think about is your time. Even if you can do these things–do you have the time? Can you commit to getting these things done in a timely manner, or is it worth the extra expense to have it done quickly, efficiently and professionally? Lots of folks want to be DIY-ers, but soon find out that home improvement takes a lot of time and projects can drag on much longer than expected. I believe in finishing projects–as well as starting them. It becomes cumbersome to live in a construction zone–if you don’t have the skills {or energy/ability to learn the skills needed}, or time to commit, delegate.
At Katie and Sam’s place they helped with lots of stuff and delegated lots of stuff. Proper flood clean up, plumbing, drywall/texturing, doors, trim and floor installation were delegated to contractors. They helped with painting, prep, shopping, electronic installation, etc. It was important to them that they project was done quickly and skillfully–so they outsourced the big stuff and some of the smaller things that they were capable of, but didn’t have time to commit to.
3. Make a list of wants and objectives.
Outside of the things that must work and must be done to give you a functional home–home improvement gives you a lot of creative freedom. How do you want your rooms to be used? What do you want to do in your yard? What is important to you? Do you need space for entertaining? A place to read? Peace and quiet? A durable home that can endure the wrath of teenage shenanigans? Discuss these things and come up with a “dream sheet” of sorts. My list for a living room might look like this:
Durable furniture that I won’t stress about getting dirty or dinged up, new floor, big rug, fresh window trim, wall mounted-floating TV, gallery wall, washable wall paint, cozy seating with space to add extra seating for large gatherings.
Once you know what you want out of your rooms you can get to work.
4. Work rooms from most visible to least visible.

I already covered starting with repairs that make your house safe and livable. Once your leaks have stopped and your wiring isn’t threatening a fire, start improvements from the most visible rooms in your house to the least visible.
Start by tackling the room you spend the most time in–and where guests spend the most time. For me, this is usually our living room {a kitchen is usually a close second.}. Next up it’s a common area bathroom. Then any other common space. Then outdoor entertaining space, bedrooms, and finally hidden storage spaces that only I lay eyes on.
5. Work top to bottom.

My dad taught me to work top to bottom when washing a car. My mom taught me to work top to bottom when cleaning the house–any dust that fell would be vacuumed up last. Now, I’m telling you–in your home, work top to bottom, outside in.
Take a look at what you are doing and execute it from the top down. Work from the outside–from the outermost part of your walls {for example: wiring/plumbing..things that go inside the walls–drywall–paint–trim–curtains}
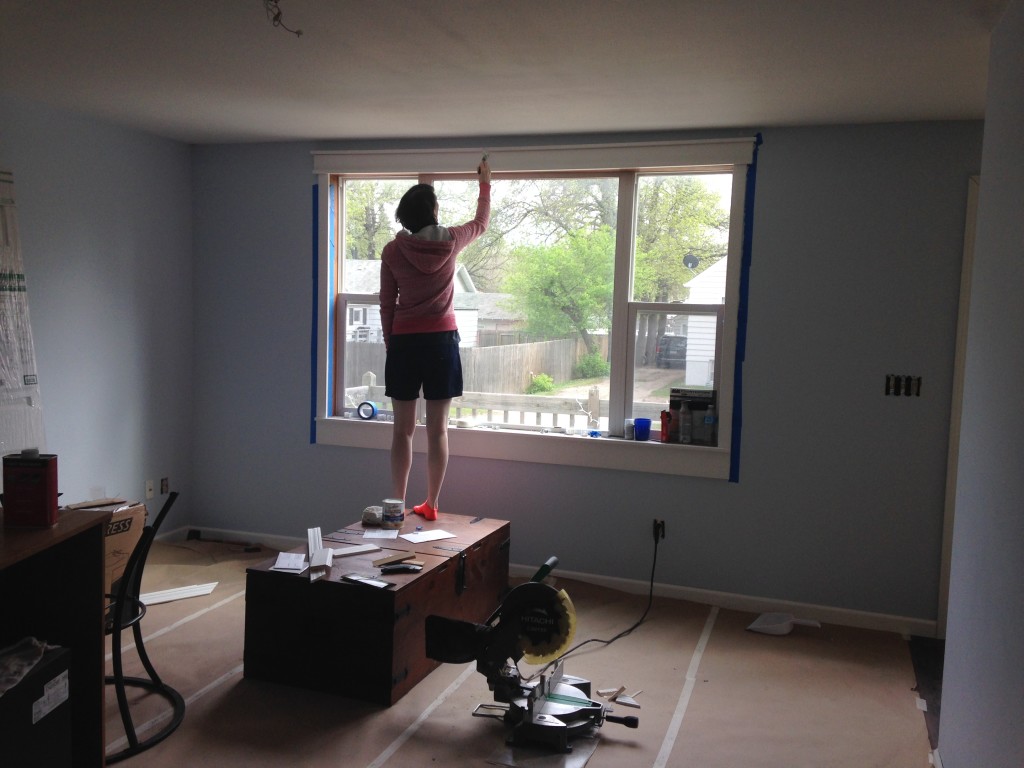
First do anything that lies behind the wall–electric, plumbing, recessed shelving. Next tackle texture and painting from the top down, starting with the ceilings {if you are replacing the floor always do the painting before the new flooring is installed so you don’t need to stress about spills}. Finally hit the floor.
Once you’ve got a floor, start working inward–add trim and baseboards before any permanent fixtures are installed {like a toilet, mounted TV or fireplace} so you don’t have to work around them. After permanent pieces are in place tackle the moveable–furniture, rugs, curtains. Finally–breaking the pattern just a smidge–add the semi-permanent. I consider anything that will most likely not be moved often, but can be moved if needed–peg racks for coats, gallery walls, wall decor, etc. I put the semi-permanent up last because I like to see the furniture and rugs in the room first. And I like to have a place to sit down at the end of the day.


