I can count the number of manicures I’ve ever received on one hand. Heck, I could count them on a Fraggle’s hand. The number is two. Once during a bridal luncheon before a wedding. Once before my own wedding. You know I’m cheap. I don’t fancy spending money on something that I wreck in a day or two. My hands get a lot of use {could you tell…?} and I’m not very delicate with them. All in all, it’s not worth it.
But professional manicures, and a certain friend {Angel McCurdy…awesome name, right?} have taught me all the proper steps to take for a lasting mani.
And I’ve come to the conclusion that refinishing cabinets, or probably any furniture for that matter, is a lot like a manicure.
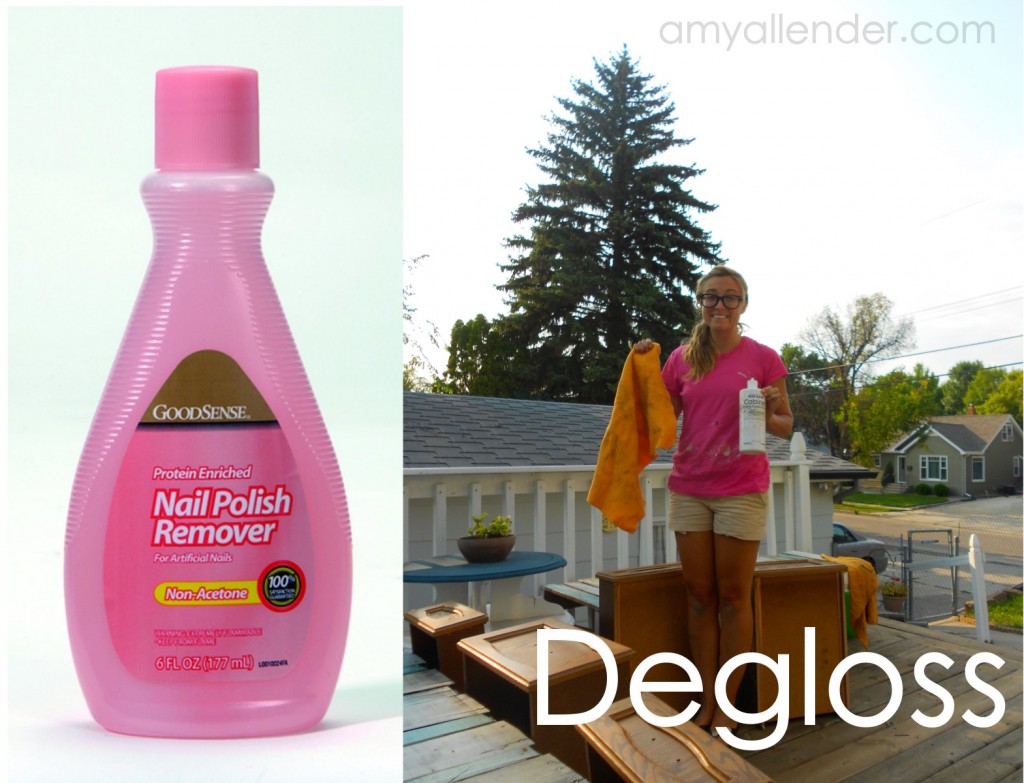
First, you get out the nail polish remover and buffer. Get all the old paint off and prep the surface for your new paint. That would be the deglossing process I showed you last week.
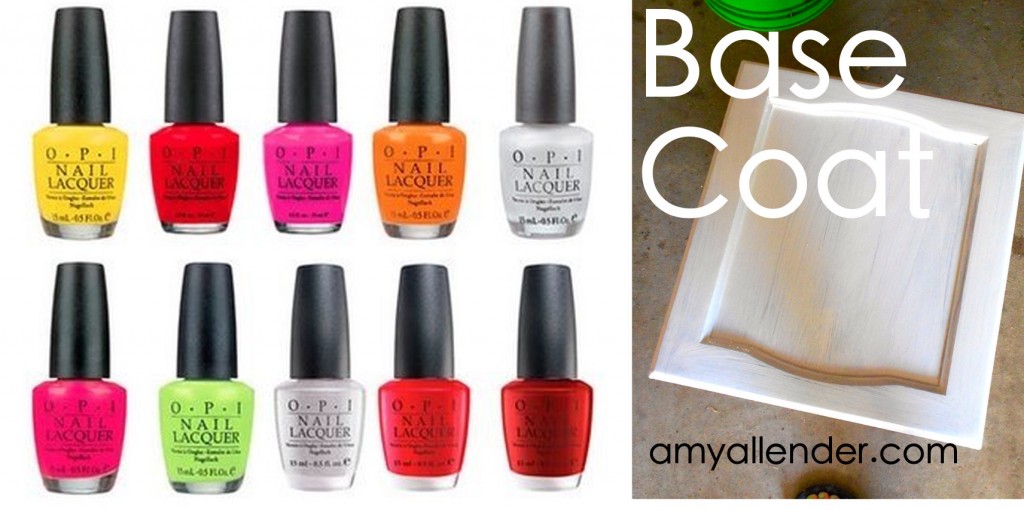
Next put on your base coat. That’s the bond coat I told you about.
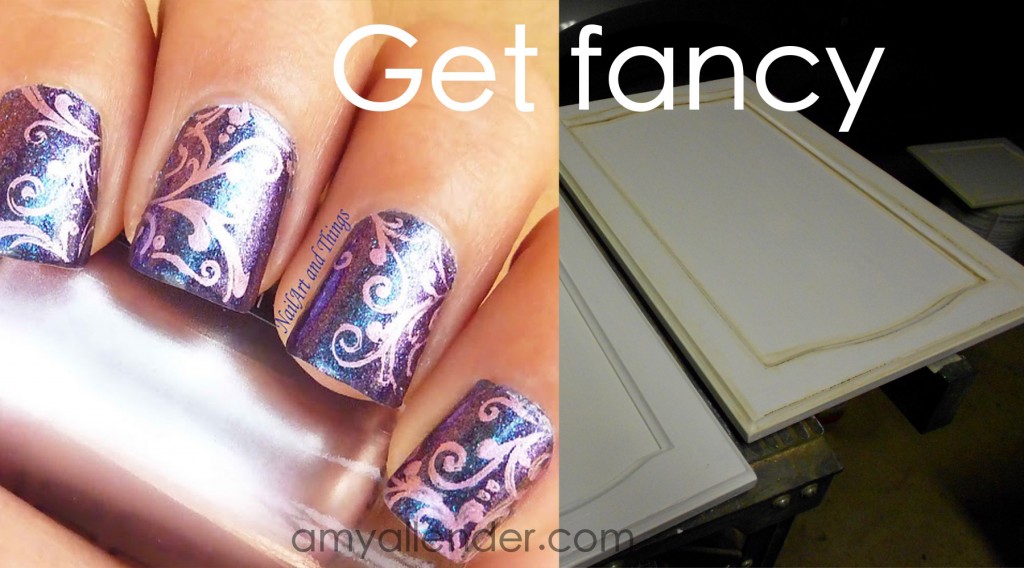
Follow that with any embellishments you want to add. Glaze.
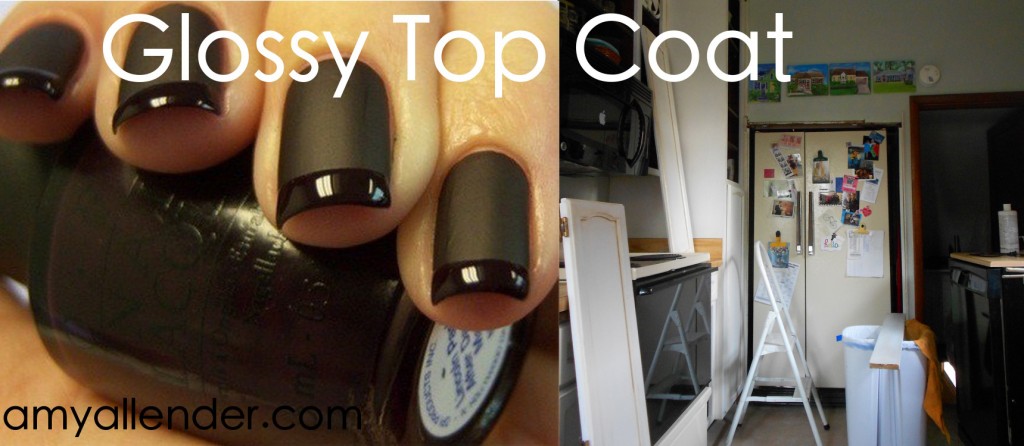
Top it all off with a top coat to keep it all in place for a good, long time.
That was the final step in my cabinet project before rehanging them. And since it is a clear, slightly glossy finish…there really isn’t anything to show. It took a day to put the top coat on all the frames, rails and doors. Only one coat {awesome}, but the doors needed to dry 3 hours before I could flip them. Then the whole shebang had to set up for 6 hours {overnight} before hanging them.
So that was Friday.
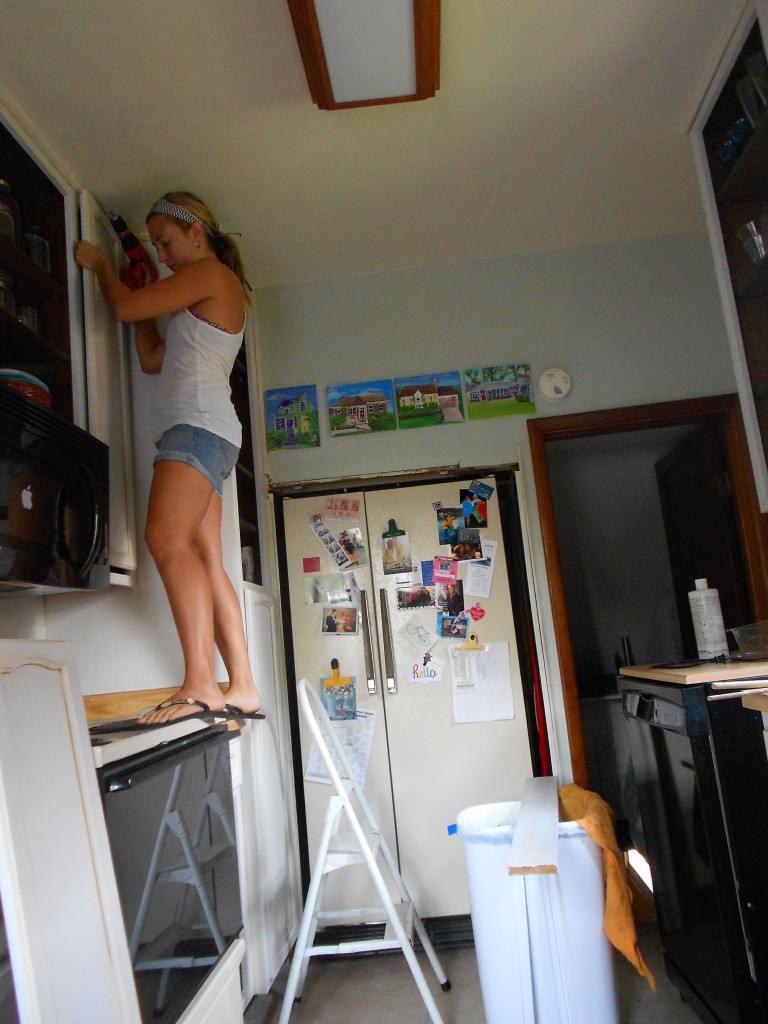
Saturday afternoon I started the hanging process, which is relatively difficult solo, but I got it done. More than anything it’s awkward to do alone. I started by reattaching the hinges. Then I held the door up to its former home, lined up the screw holes and braced it in place with my body. The lower cabinets were easy. The uppers were a different story. For this stage in the game I’d recommend bribing a friend/parent/family member/spouse with a treat of some kind to help you out.
I should also tell you that my mom and dad were due to come in Sunday afternoon. However, I’m impatient. And when I saw how lovely things looked I just couldn’t wait. I needed those cabinets up. Needed.
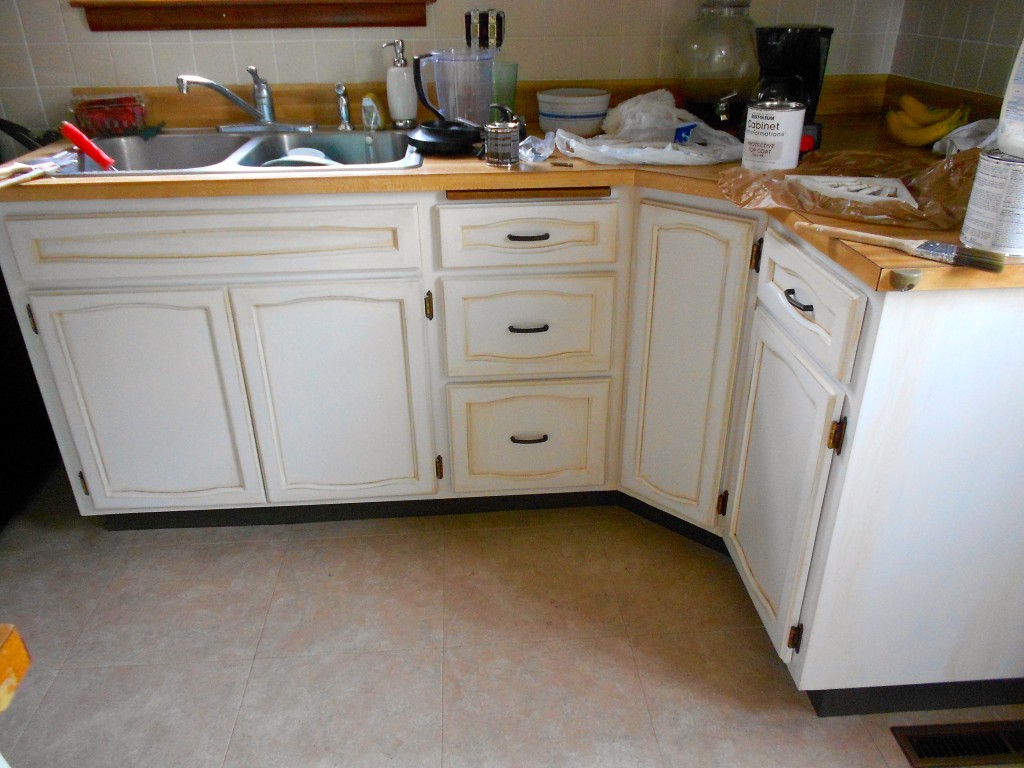
So I hung them. And. It. Looks. Awesome.
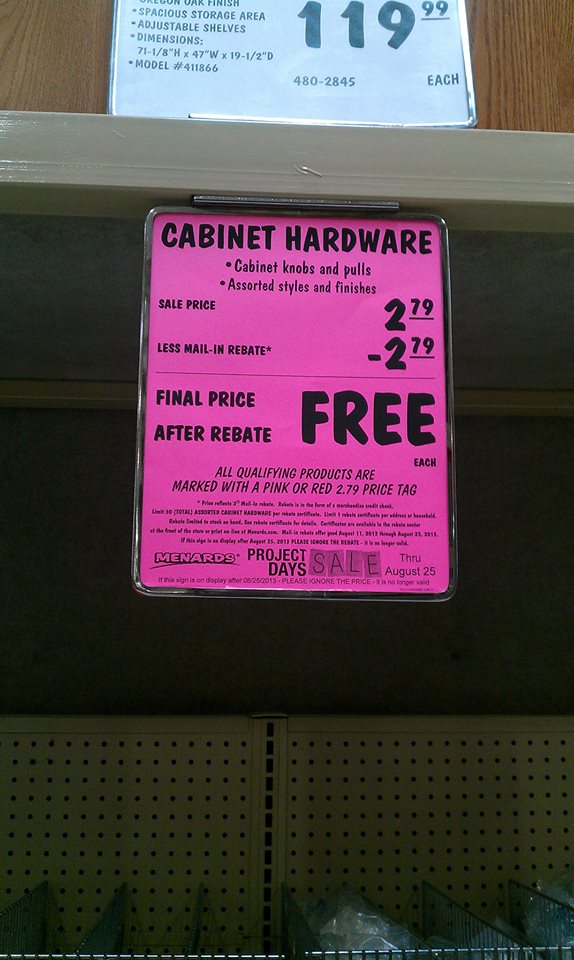
Oh, and the best part? If you follow the Facebook page, you saw this when I was at Menard’s shopping. {And if you don’t follow, you should. Then your should tell all your friends to follow too. Because it makes me feel good when I see a new ‘Like’ notification.}
If not, I’ll tell you about it right now. I got all my knobs with a mail in rebate…a rebate for 100% of the price!! After I get my rebate, I will have only paid tax on them. Pretty great, right?
So, yeah…take a look. Tomorrow I’ll have a full B&A along with my final review of the Rustoleum Cabinet Transformation kit. {Hint: It’s going to be a rave review.}
Amy

