Many moons ago when I first started writing about all my projects and adventures, I wrote a post about an adorable fall garland I made with my mom.
And since most of you weren’t reading back then, and it’s not fair that you miss out, just because you didn’t know this blog existed, I thought I’d do a rerun. The adorable fall garland you see below is a compliment catcher. I get comments on it every year when I hand it up. And it only cost $5 to make two of them. All you need is some felt, very sharp scissors, a Sharpie, and a buddy to chat with while you snip these bad boys out.
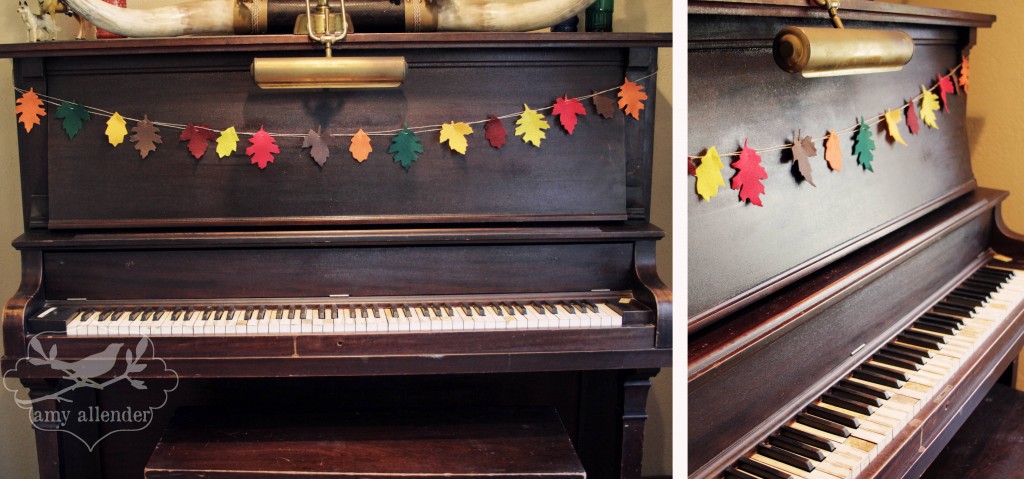
Here’s the finished product. Simple and lovely.
I originally made this to be hung on my mantle. But now I live in a house with no mantle. So it resides here. On my piano.
Here’s what you’ll need:
Craft twine–I got a big spool of it at Hobby Lobby for $2.
Felt–Your choice in colors
Computer
Paper
Sharpie
Sharp Scissors
Wide Eyed Needle
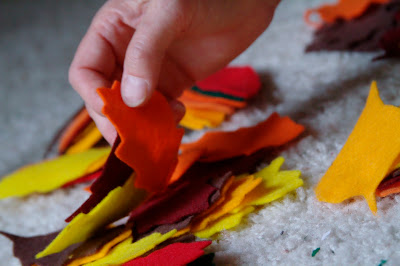
Step one: Google Image some leaves. I used five different shapes. Then, use your computer as a light-box and trace the shapes onto some regular or stiff paper. You could easily do this using only one type of leaf. The templates I made were about 3-4″ long. But, you pick the size. Next, cut your templates out and trace them onto the felt. I used a Sharpie for this.
Remember, this is a craft. It’s not going to be judged by a tree specialist. Do your best on tracing and cutting but it doesn’t have to be perfect.
Step Two: Cut out your leaves. My garland used 16 leaves for my 4′ mantle. It may be helpful to decide where you want to hang it before you start, so you have the right amount of leaves.
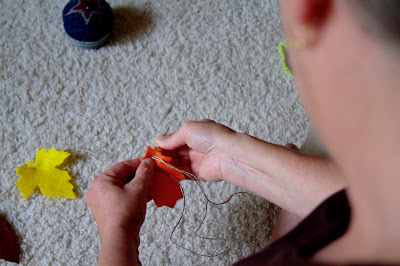
Step Three: Cut your twine the length you need. Leave a few inches on either end to hang by. Thread a wide eyed needle with the twine. Begin to stitch the leave on the line. Use a simple running stitch so you can adjust the spaces between leaves once they are all attached.
Step Four: Once they are all on the line, space them out how you like. I left a few inches between mine. My mom finished hers by tying scraps of fall colored fabric between each leaf. I left mine bare. Do what you like. To hang it, tie the extra twine into a loop on either end. Use a small nail or clear thumb tack (that’s what I use) to secure it to the wall, window or mantel on either side.
Amy


