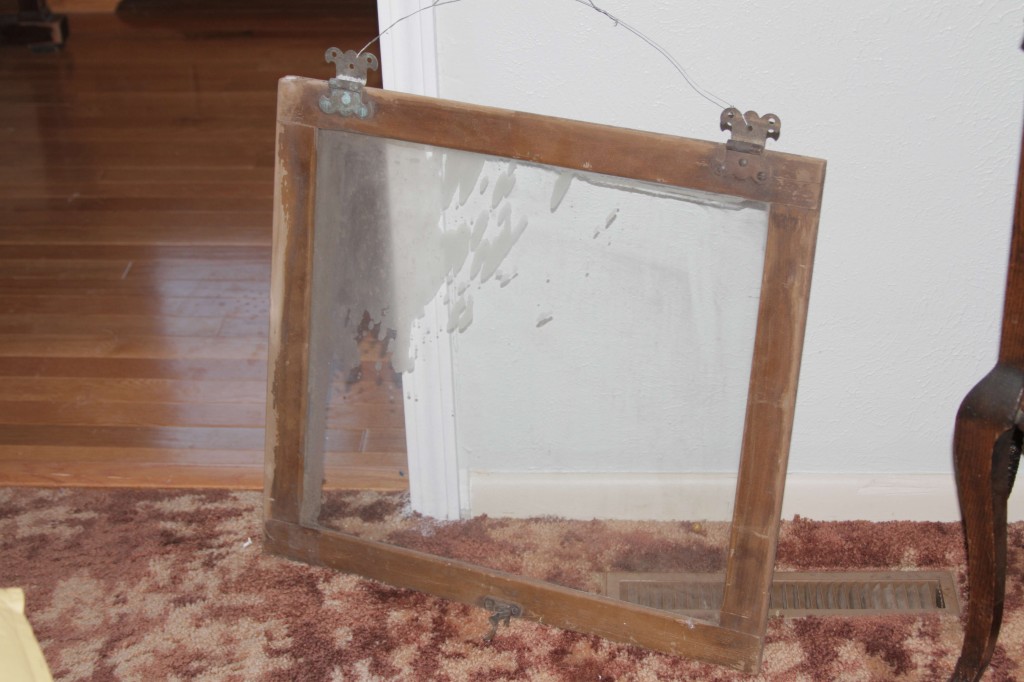
Here’s the thing. A few years ago {about three to be exact} I found an awesome old glass cabinet door in my family’s barn. You never know what you’ll find in there. There was something so…perfectly rustic about it. I needed it.
So I asked my dad if I could have it. He obliged.
And I convinced Derek to haul it back to Florida from Indiana.
Once I had it home, suddenly I was stumped. And I stayed stumped. For years.
I moved the glass door from Florida to Oklahoma to Louisiana and finally up to North Dakota. By the time we got here Derek was less than pleased that I had dragged this piece of cast off garbage all over the country, only to let it sit in the closet. He even wanted to throw it out. Lucky for me {and the door} I tucked it behind the tool chest when he wasn’t looking.
Then a few weeks ago, I decided if I didn’t use it before Thanksgiving…it would be tossed out. It was beautifully rustic. I didn’t want to mess it up…but it was time to be bold or send it to the curb. So I made a plan and followed through.
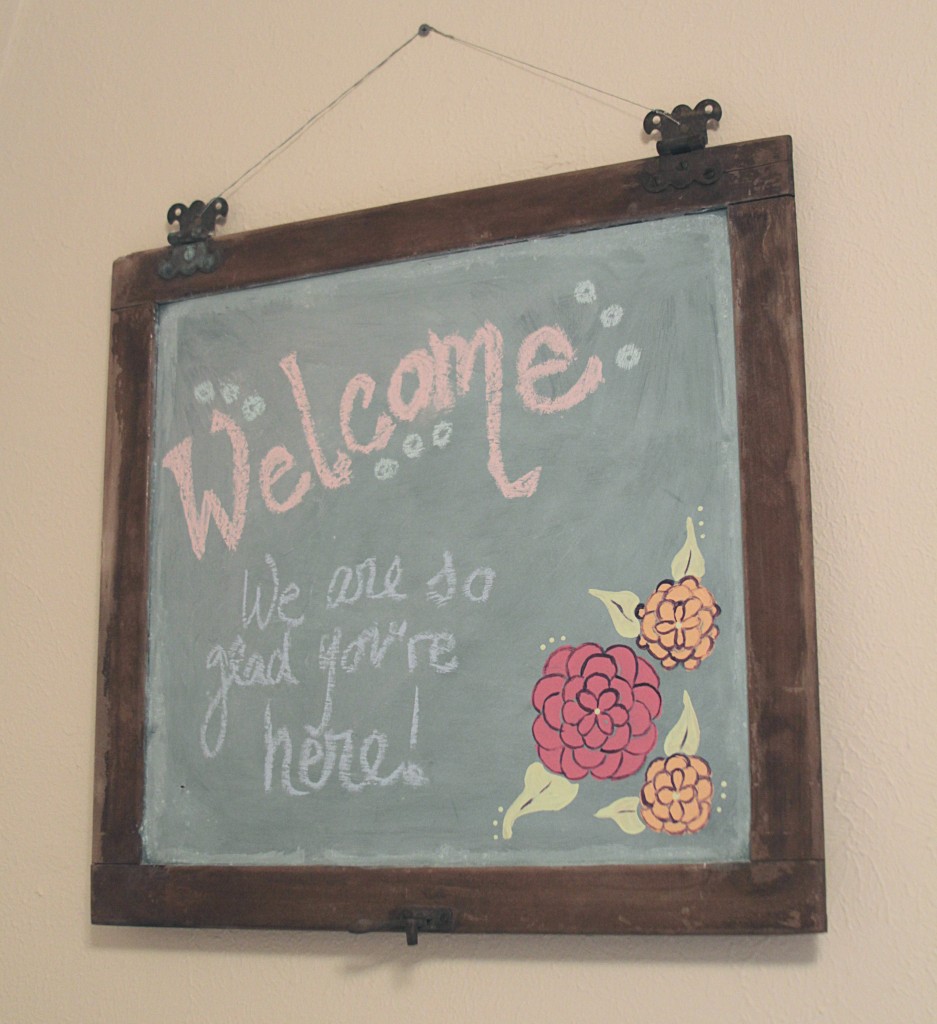
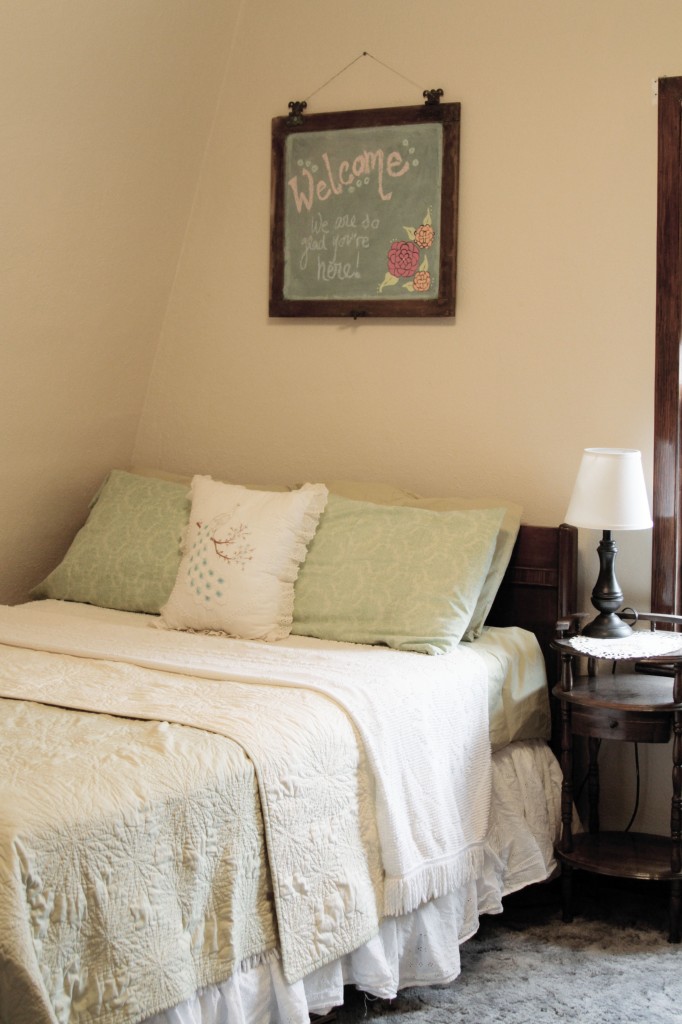
I gave the old glass door a coat of custom chalkboard paint that I mixed up right here in my living room in a paper cup, and added a few painted flowers. I wrote a little message, and hung it up in the guest room. And I love it.
Doesn’t it feel good when you mark something off the to-do list that has made it’s home there for years??
Okay, so I bet you want to know how to make that awesome chalk board paint. It’s easy…but you may need to make a trip to the hardware store.
First prime your surface with a coat of paint. Then mix up your chalkboard paint:
Put 1 TBSP of unsanded grout into a disposable container. Add a couple drops of water and stir until you have a smooth thick substance. Then add 1/2 cup of paint. Stir again until it’s mixed up real good like. Easy, right?
Your mixture will be thick. You can double, triple, quadruple…this recipe for bigger surfaces.
Apply it with a foam brush to get a good even coating without brush strokes. After it’s all dry lightly rub a piece of chalk on its side across the surface to condition it. Wipe the slate clean and use your new board!
Happy Crafting!
Amy
PS…For those of you following along, I was doing this project when I made that tragic oopsie poopsie on my carpet…
This post is partying at Between Naps on the Porch and these other great sites.


