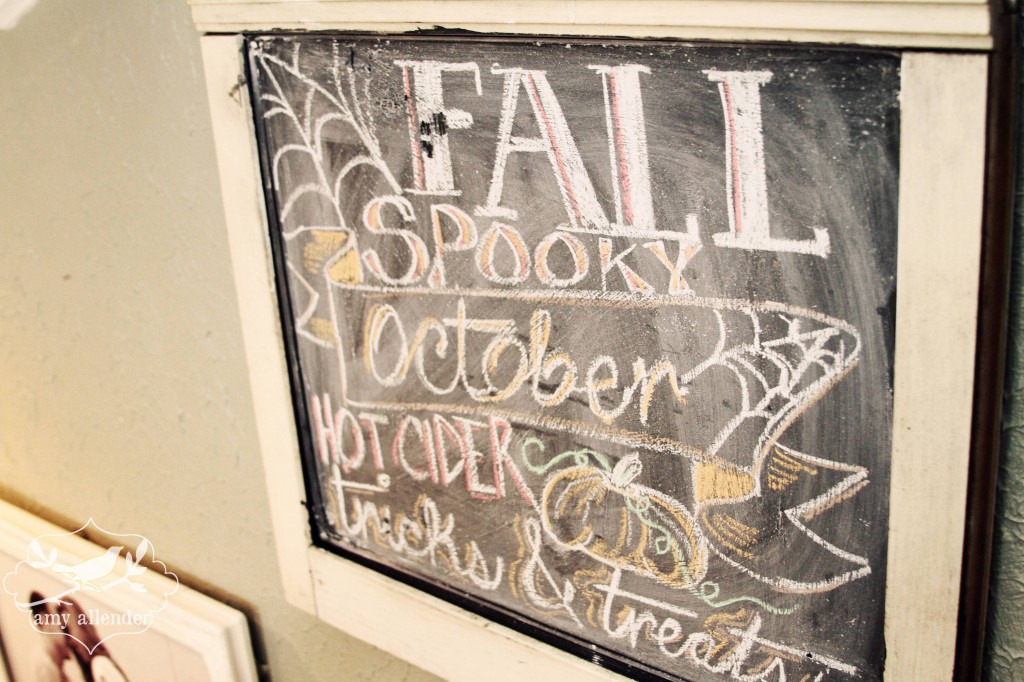
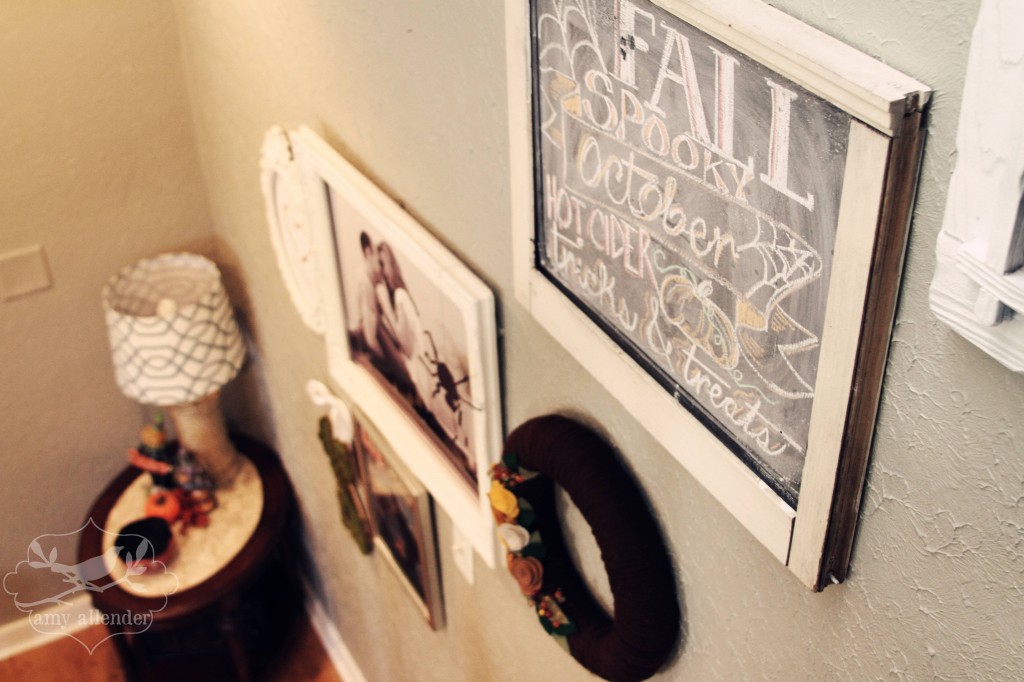
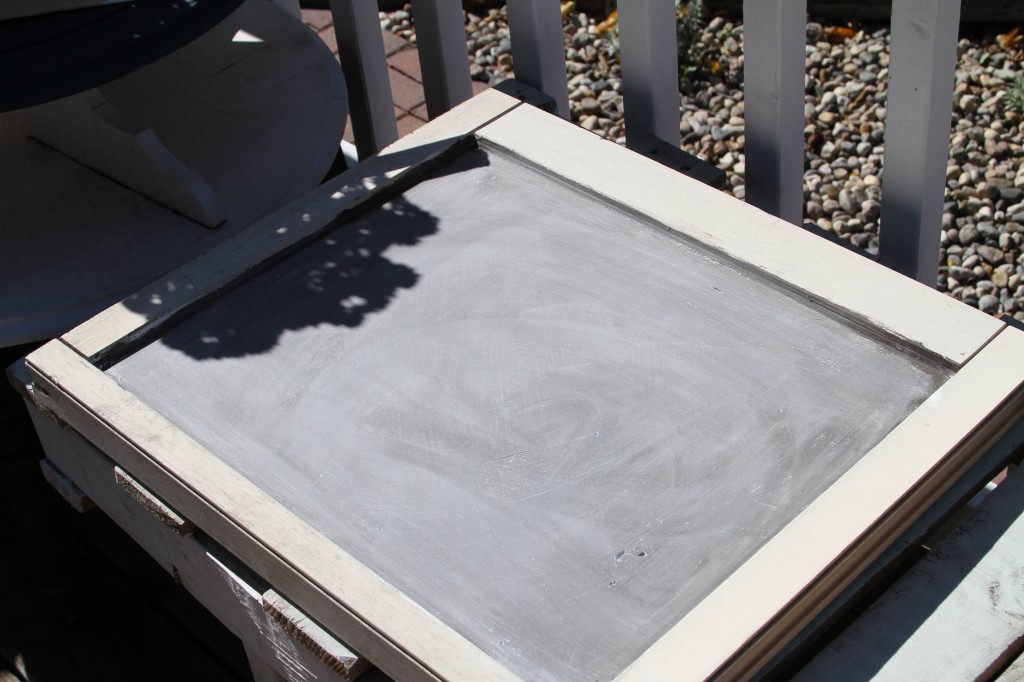
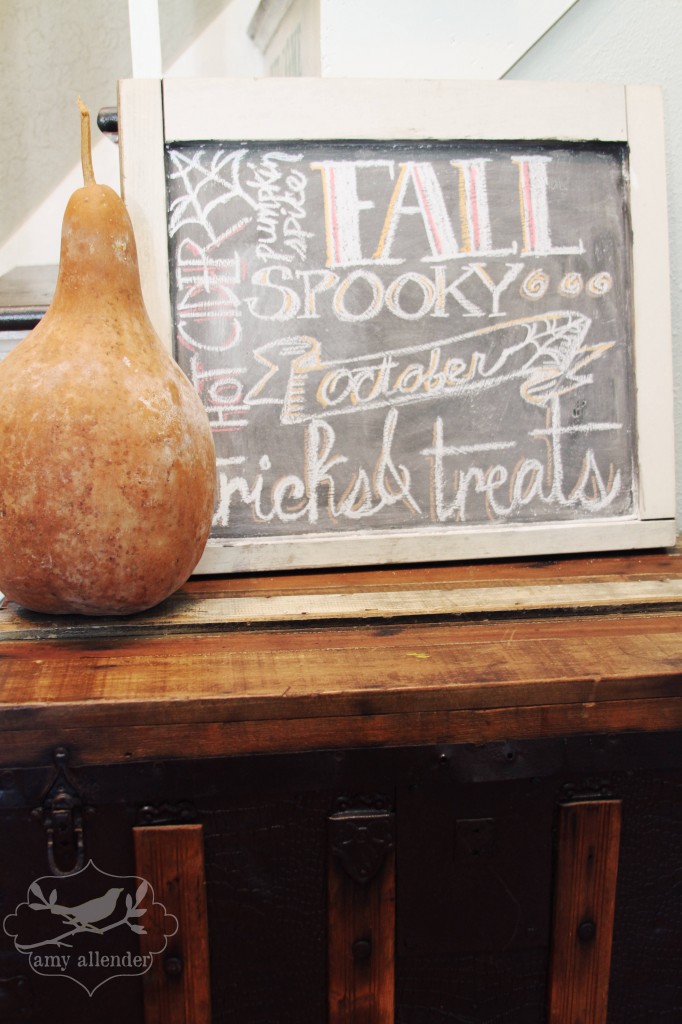
If you follow the Facebook page, you saw that yesterday I was working on a couple new chalkboards. A while back a friend gave me a couple old window panes that she didn’t need. It’s been months and finally I’ve converted them into something useful. I plan to use them in photo sessions, but when they aren’t in use there, one will be hanging on the gallery wall.
Nearly a year ago I showed you guys how to make your own custom chalkboard paint. Today I thought we’d revisit that technique. Since last time I forgot to take photos and the tutorial was really lacking.
Here’s what you need:
Paint in the color you’d like your chalk board
Unsanded grout
Water
Something to mix in
Something to mix with
Something to chalk board
A paint brush
Here’s what you need to do.
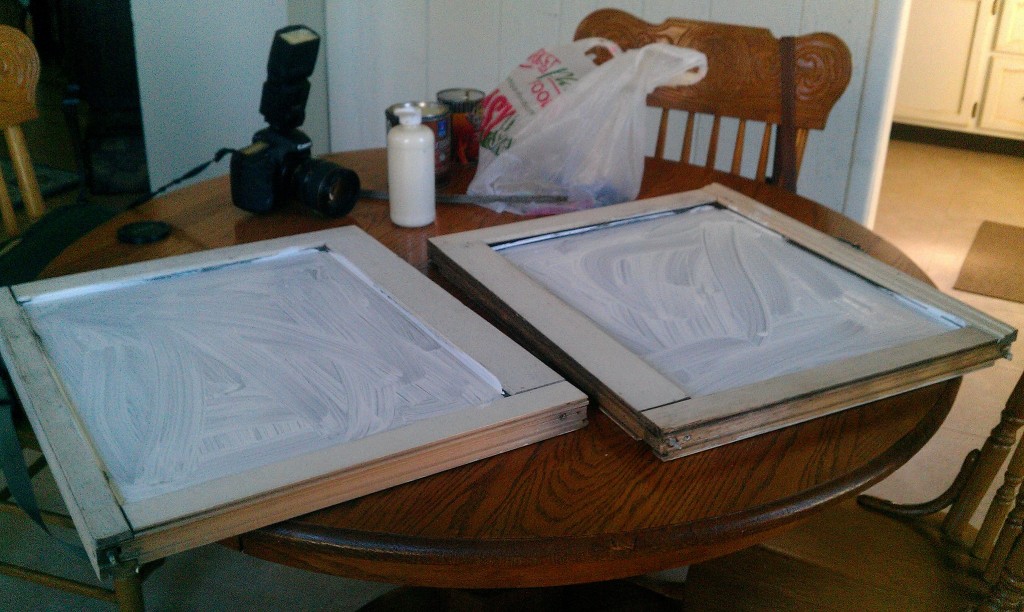
Start by priming your surface. In my case, I primed window glass. But you can use basically anything that can hold paint. I prime with basic acrylic or latex paint.
After you’ve let that dry completely, mix up your chalkboard paint. I mixed mine in an empty baked beans can. It was handy, free, and disposable.
Mix together, 2 TBS unsanded grout and a few drops of water. Just enough water to make a really thick, but smooth paste. If yours is looking thin because of too much water, add a little more grout. Then mix in 1/2 cup of your paint. Paint an even coat all over your surface and let it dry.
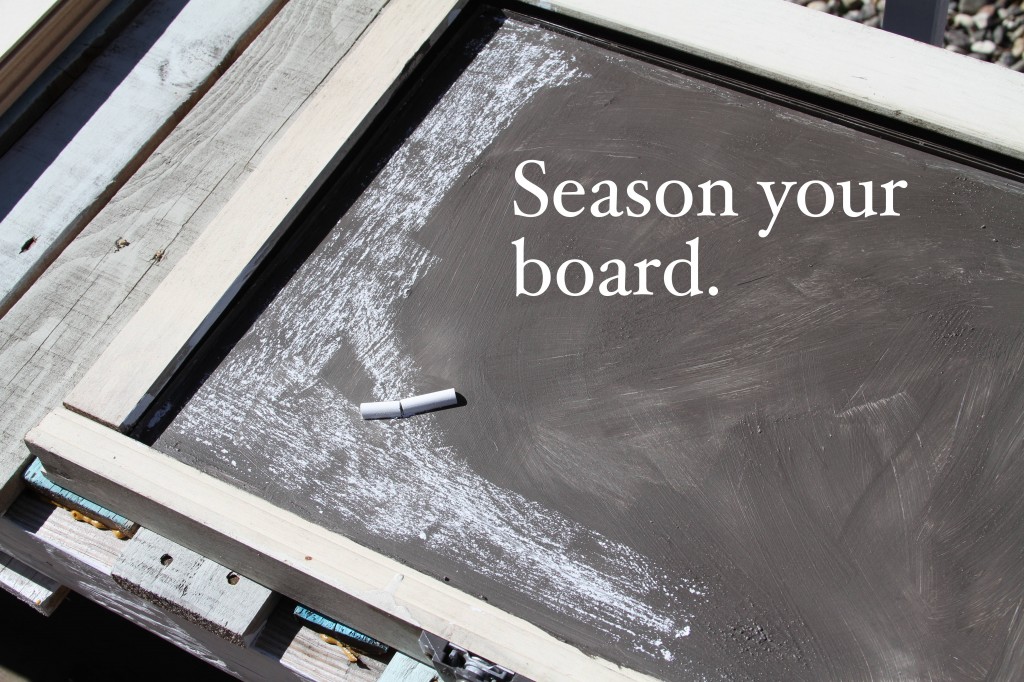
Once that’s dry, season your new chalkboard by rubbing the side of a piece of chalk over the whole surface and gently wiping it off. Because of this, your color will not be as vibrant as it was in the jar. Keep that in mind when you choose a color.
Now you are ready to write on your new board.
I used this graphic I made for a little inspiration. But, let’s face it, everything looks cool written on a chalkboard.
Hope this one helps you more than the last tutorial. See you tomorrow,
Amy

