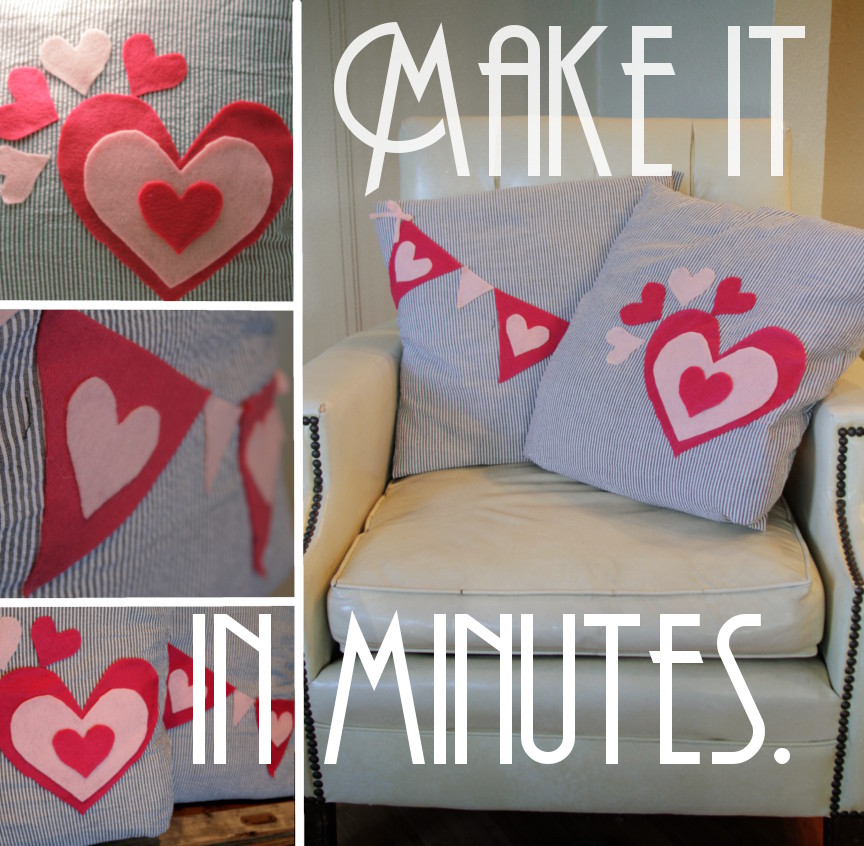
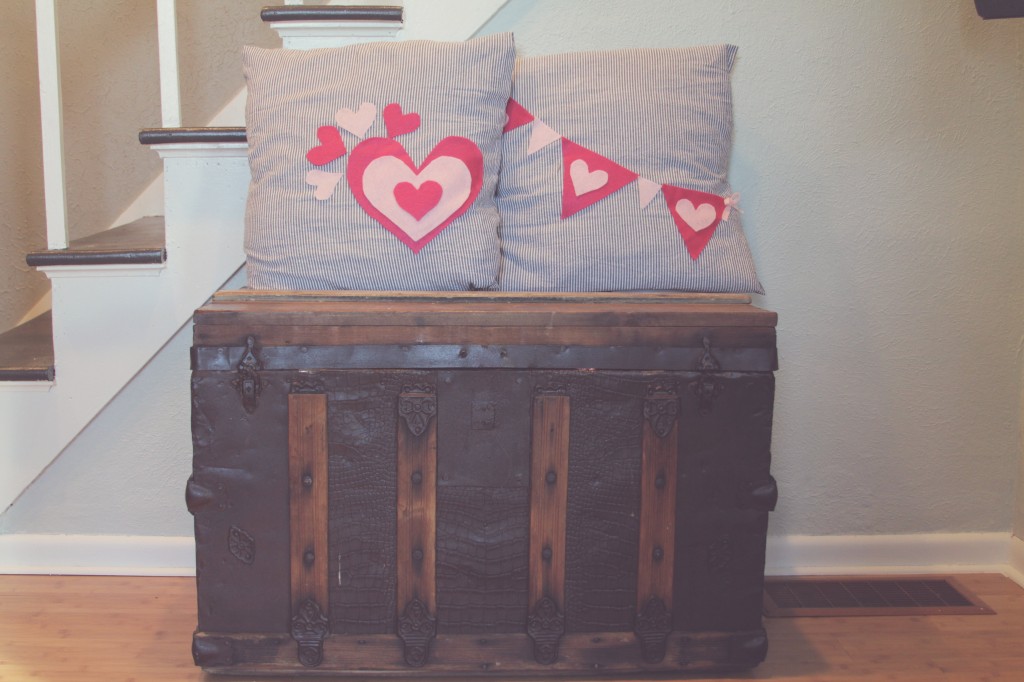
Hi there. So…as promised, today I’m going to show you how I whipped up these pillows. Now, you are not even going to believe how long these took. Ready? 9 minutes 35 seconds. Did I just blow your mind. Okay, total transparency…they took that long to make each…and it didn’t include the time it took to cut out felt hearts and glue those on. That was another 10 or so.
For this project you’ll need 1 yard of fabric {that’ll make 2 square pillows}, felt, and hot glue.
This is a long post…so if you are following along, go on and click through now.I made these graphics by myself. Can you tell? I’m not a professional pattern maker. Whatever.
This is a great tutorial to use to customize the size of your pillow covers so they fit just right. I like making covers for my couch throw pillows, so I can swap them seasonally, without having to always buy new.
My pillows are square. This tutorial is for square pillows. You tracking? Mine are 17 inches or so…and pretty old and lumpy. Okay. Step One.
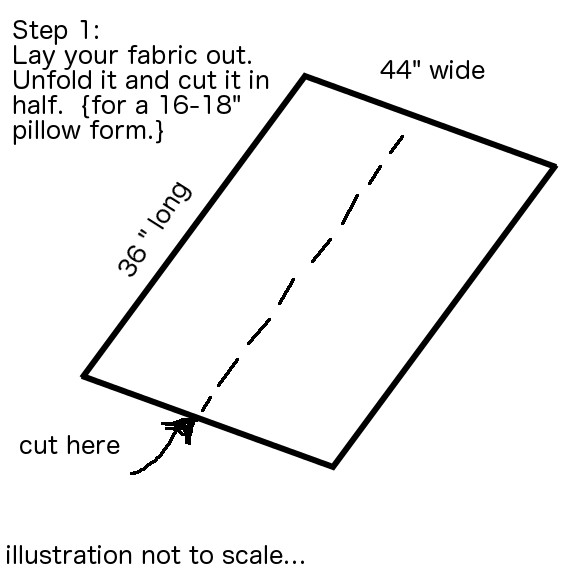
When you get fabric from the store it’s folded in half. Unfold it…and cut right on the crease.
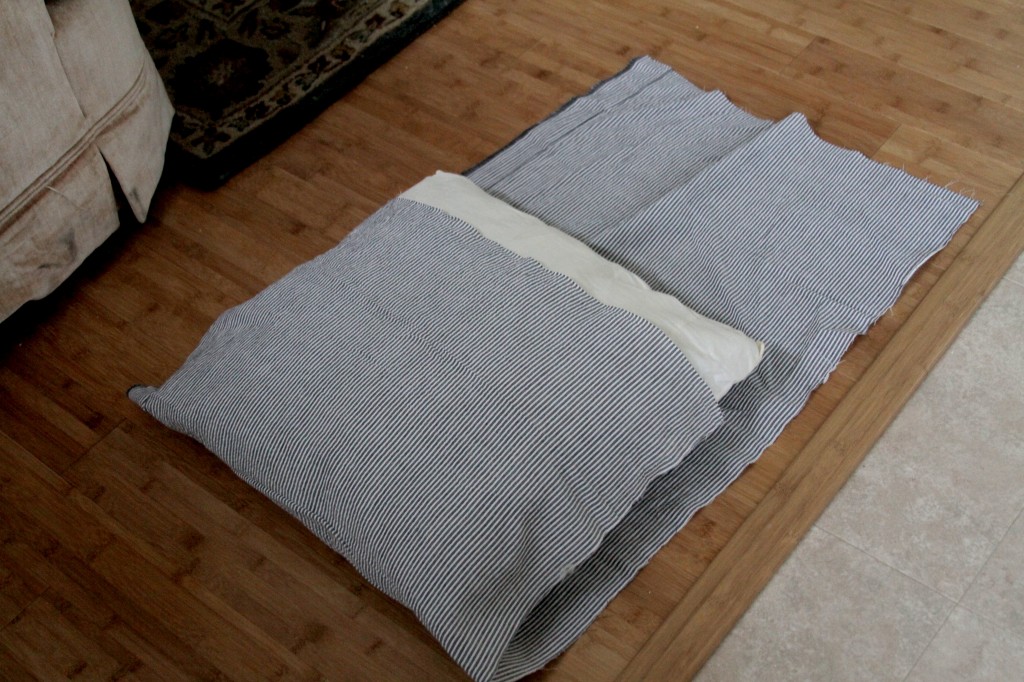
I found it helpful to lay the pillow on top of the fabric and gauge how high up to fold it. Like this:
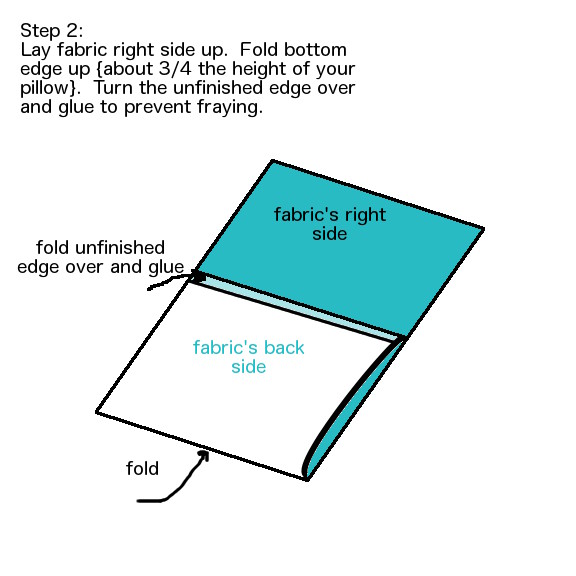
Use your hot glue gun to seal the raw edge. Turn the edge over and run a line of glue across to hold it in place. {You’ll fold it over so the unfinished part is on top…remember we’ll be turning this whole thing inside out at the end.}
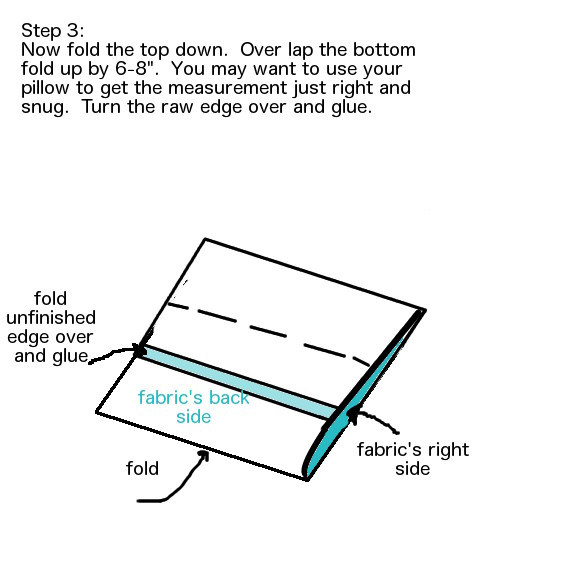 Pretty self explanatory…but I’ll tell you this: You want this to be a SNUG fit. The fabric will stretch a little. So make sure it’s a little on the tight side, so your cover doesn’t look floppy and sloppy. Put your pillow in there again to check the size. Cut off any extra length that you don’t need. Just be sure to leave enough to overlap your first fold up by at least 6″.
In the graphic that weird dotted line is where the fabric is underneath.
Then finish this edge like the other one.
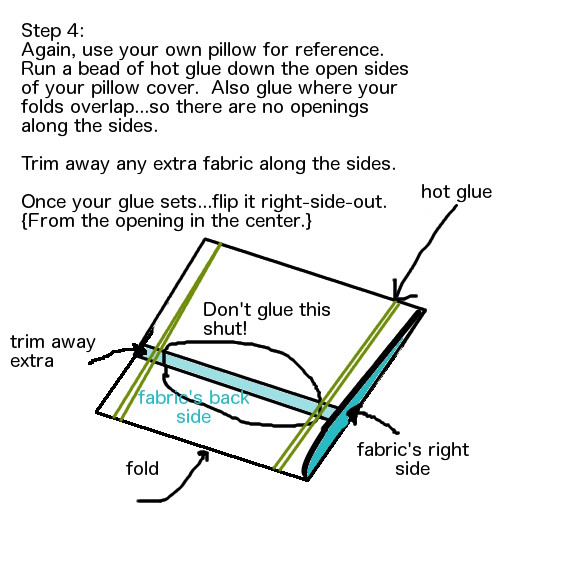 Almost done! At this point you definitely need to put your pillow back in there. Fold it all up and take note of how far in you need to make your side seams. Use a pencil or pen to make a mark.
Glue gun those sides shut. I did one side, put the pillow back in and double checked to be sure I had the right size…I was nervous I’d mess it up. Once the glue cools trim away any extra and turn the whole thing inside out. Just be sure you DON”T GLUE IT ALL SHUT! Leave the pocket open in the center.
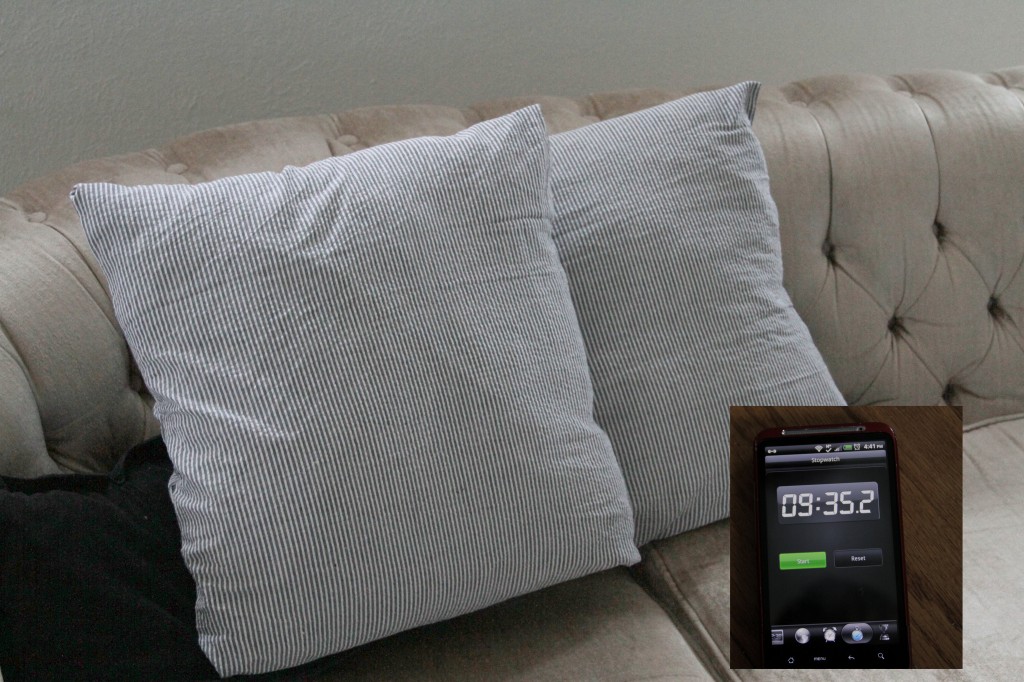
While I made my second cover I ran a timer. Here you go…you can totally make this.
Once you’re done making the covers get crafty with some felt. Pick your own adventure, make your own design. {Deciding what to do here was the most time consuming part of this project.}
Just for good measure I will also tell you that I’ve misplaced my fabric scissors. So this project was officially brought to you by my kitchen shears. Don’t judge me.
Amy

