I start lots of thoughts and stories with the phrase, “Here’s the thing…” And as hard as I’ve tried to think of another way to start this post, I just can’t. So…
Here’s the thing about really gutsy accent pieces. I find them very easy to create for other people…and I’m terrified to make one for myself. Is this because I’m a safe person? I don’t know. I don’t think my mom would use “safe” as the first adjective to describe me. It’s probably that at heart I’m a big scardy cat of commitment. In my house, I stick to what I know–white, white and more white. Or–I just leave a piece untouched and spend months years mulling over what color to paint a ratty old chair.
BUT–I’m a lot more brave when it comes to other people’s things. Especially if they are confident, and bold, and hip enough to want a funky accent piece. Which is exactly the case with Sam and Katie.
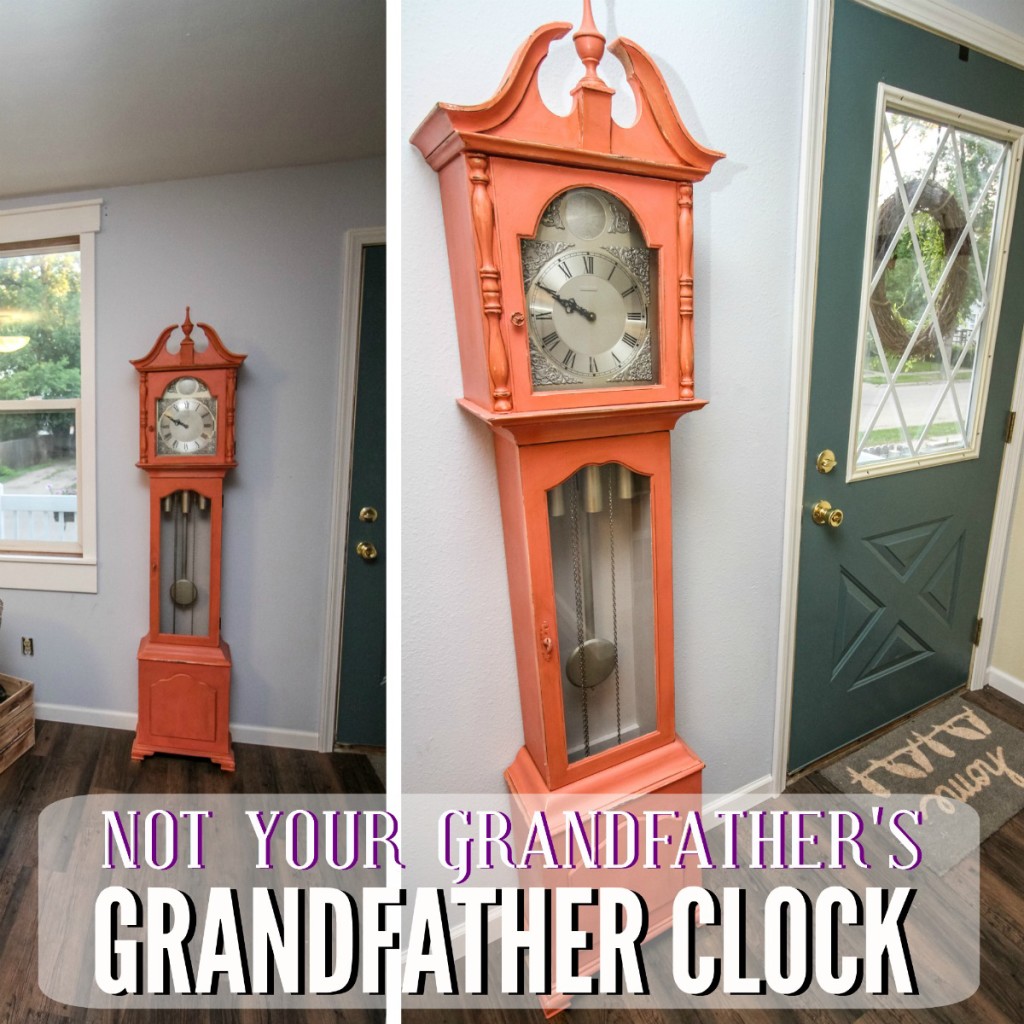
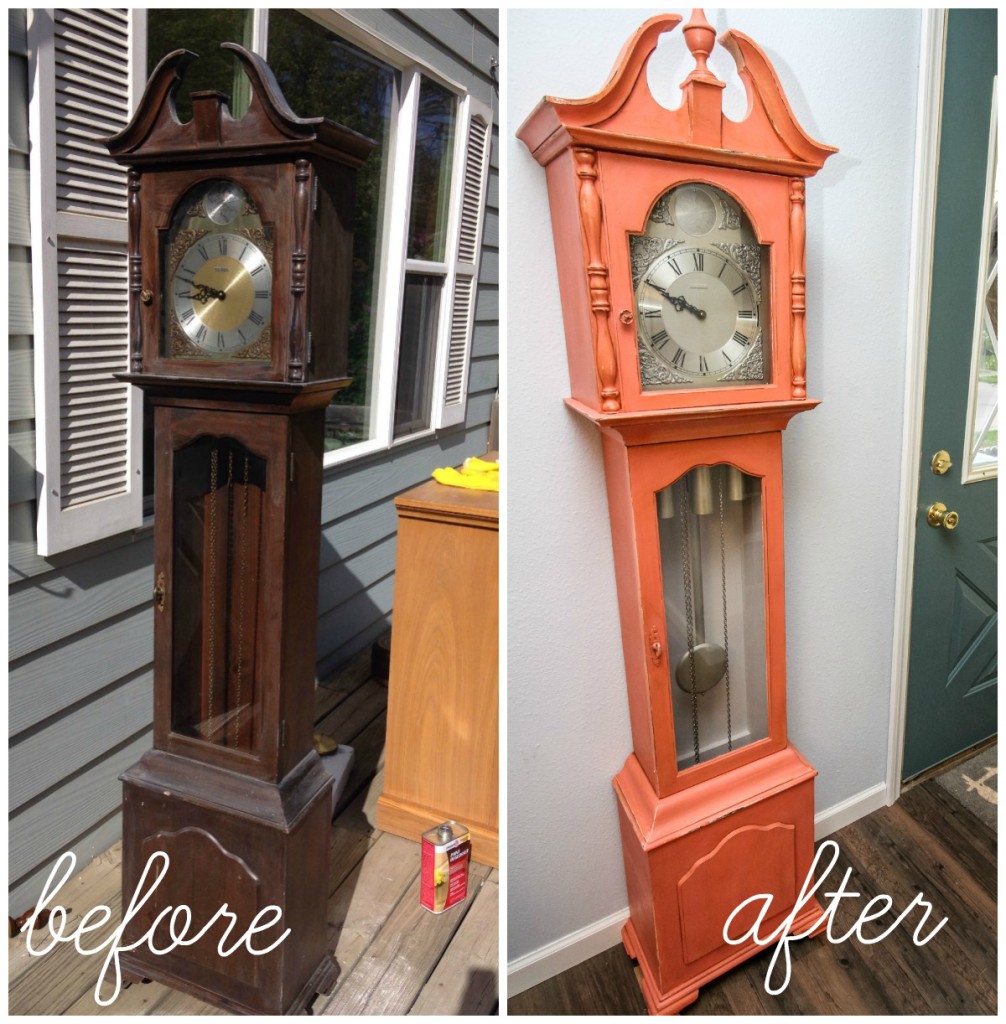
Here’s the other thing–usually it’s the wife who wants furniture painted, and the husband is all, “…that’s real wood! You can’t paint that. I like how it is…” Not in this house! In this case Sam was the big, bold, furniture-painting, color-popping machine. When he told me they had an old grandfather clock that he wanted painted in a quirky color, I knew it’d be a fun project…but never in a million years did I imagine just how fabulous it would turn out. I think the moment when the last bit of paint was dry on this bad boy and I peeled off the last scrap of tape was a momentous moment in my life: It was a moment when I shed a little color fear and my eyes were opened to just how awesome something totally bold can be.
This is one of my most favorite things ever. For real. I want to make one for myself. Or steal theirs. Luckily–it was pretty easy. Here’s how we did it.

Shopping List
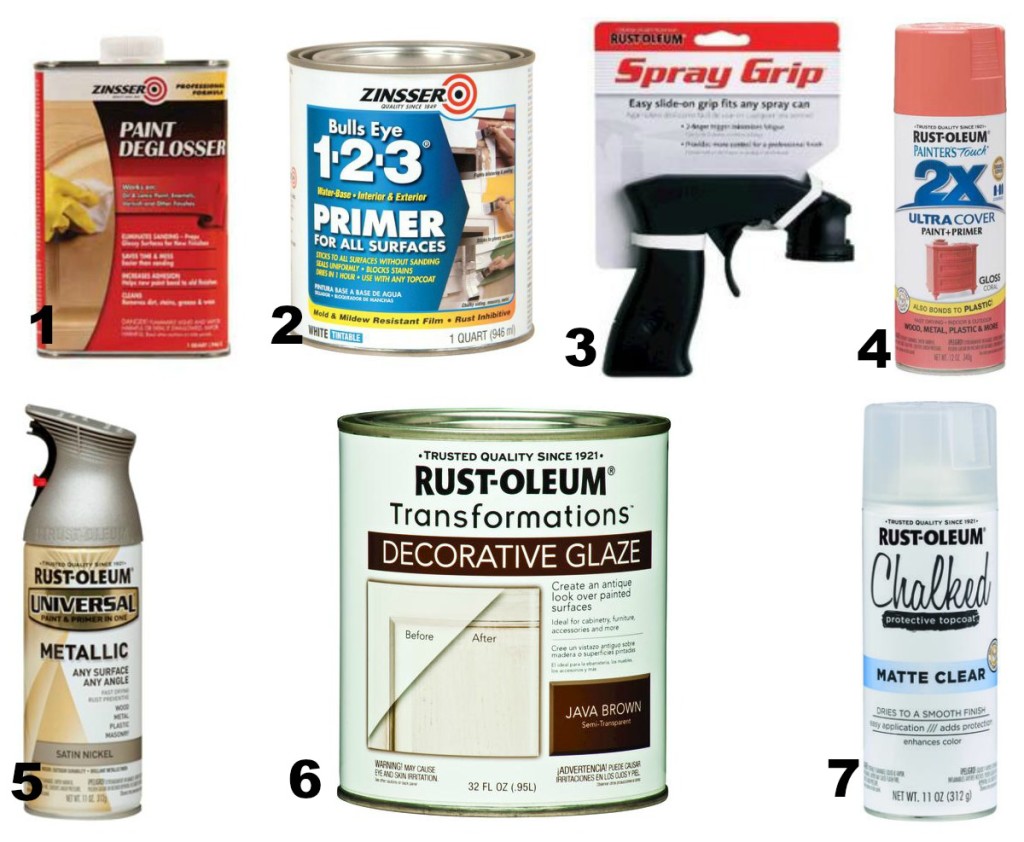
Here is a handy list of all the supplies I used on this project. I got them all at Menard’s {who should really be sponsoring this blog because I love them so much and I give them a lot of free advertising.} But I’m sure you can get most of this stuff at your local store.

I’ve conveniently listed the supplied in the order they are used. Just use one after the other {follow all package instructions} and you’ll be good to go. Click the links and you’ll be taken to the Menard’s product page.
- Paint deglosser from Zinsser {I love their products and trust them all.}
- Bull’s Eye Primer–it’s formulated to stick to all surfaces
- Spray paint nozzle–this will change your life for $2.50
- Spray paint
- Rustoleum satin nickel finish spray paint
- Java Brown decorative glaze–I used the leftovers from my cabinet project
- Chalked clear top coat {can you guys tell I’m a huge fan of Rust-oleum?}
Find Your Piece
Step one is choosing a cool piece to accent. The clock came out especially cool because it’s a very classic and formal piece in a totally unexpected color. That kind of juxtaposition makes for a great accent. They had this clock sitting around. They didn’t love it. It wasn’t getting used or looked at. It was a little beat up. It was not a family heirloom, so if it got messed up, they wouldn’t be heart broken. All these factors add up to a good make over piece. {Especially for a beginner.}
Don’t Skip Steps

If you want your paint project to last, don’t skip steps and definitely don’t skip prep! For something that’s not going to get touched very often, or treated roughly you have a little more leeway. Since the clock probably isn’t going to endure a lot of abuse, using mid-grade products and prep will do just fine. For something that will see heavy traffic–like a dining table–you’ll want to go to extremes to make sure your finish isn’t going to chip off.
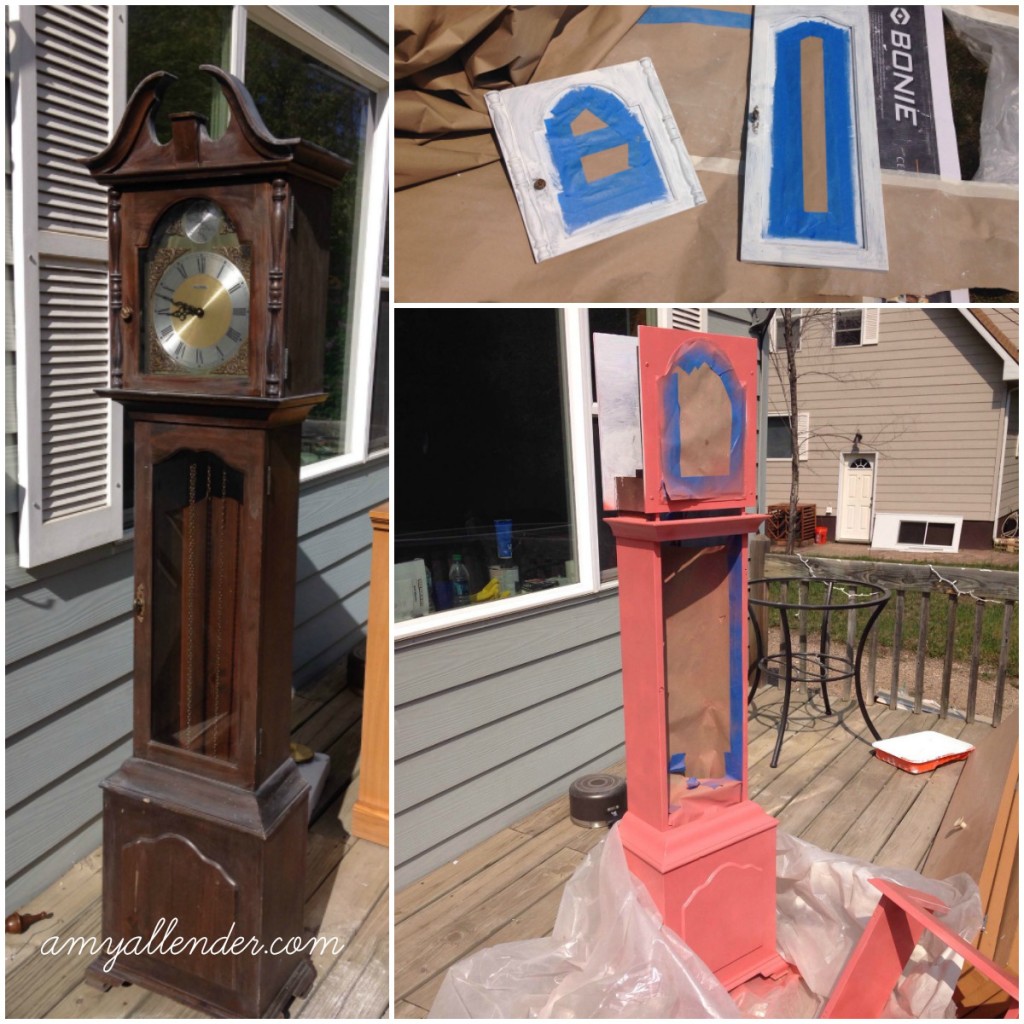
First I dissembled the clock as much as possible–be super careful with the springs and gears, though! Carefully remove the head and doors and finial. Take out the weights and protect anything that you don’t want painted with tape or paper.
Next, degloss the whole surface. Grandfather clocks are typically pretty shiny/glossy. Dulling that surface down will give you a clean surface to work with–and will help the paint adhere better.
Prime all your pieces using a brush. I did two coats of primer and a light sanding afterward to get rid of any drips or brush lines.
Now spray paint your surface. Seriously, get one of those spray nozzles if you don’t already own one. In my ideal world, I would have been able to find a matte spray paint in the color we wanted…but it didn’t happen. The end result of my spray painting left me with a very shiny, very Barbie-pink clock. To tone it down I added a few extra steps:
After the pink paint had dried {you might need two coats}, I went over the whole piece with deglosser again to get rid of the shine–just don’t rub too hard, or you’ll strip the paint. Then I sanded down the edges of the details {any curved piece, sides of doors, etc} to add a little wear to it and expose the dark wood tone below. Finally, I used the glaze to bring out the detail even further. Using a small paint brush, brush glaze {or use wood stain} into the crevices of the piece–then immediately wipe out the excess…leaving dark stain or glaze in the cracks. I also brushed and wiped glaze off of the sides of the clock to tone down the color a bit.
Then…while all that was drying, I went to work on the inside of the clock. We painted the inside using one of the paint samples that was not chosen for the living room walls {see discussion on paint samples here.} I sprayed the weights satin nickel, and carefully taped off the wood and also sprayed the face of the clock–the gold just didn’t seem to fit with the funky new color.
After it’s all dry, move it inside and bask in the glory of your clock. Awesome, right?


